Puppet Builders - Safety Blog

Hey puppet builders, crafters, DIY-ers, and students!
There are a lot of dangerous tools and toxic chemicals that go into creating a professional-quality puppet. We wanted to share some helpful tips and tricks that will help you for years to come whether you’re just getting started or an experienced builder. Since this is a LARGE topic, we’re going to cover the basics with common tools/materials/practices that most professional puppet shops and builders traditionally use.
As always, let us know if you have any thoughts, ideas, or start a discussion that can help strengthen our community in the comments section below. KNOWLEDGE IS POWER.
Before we begin…
REGARDLESS of what material OR tool you are using, PLEASE READ AND FOLLOW THE MANUFACTURER'S RECOMMENDED GUIDELINES AND USAGES FOR EACH PRODUCT. If you are a minor, please ask your parent or guardian for assistance.
Now that that’s out of the way… let’s dive in!
In safety, it’s all about protecting yourself and those around you. There have been many professional puppet builders who have gotten hurt over the years because they’ve skipped a step or weren’t careful. It’s just NOT worth it. Please take your time and be safe so you can enjoy creating high-quality puppets.
3 Steps TO SAFETY:
1.) Proper safety equipment
2.) Proper ventilation
3.) Common sense
Remember those 3-steps moving forward. Now let’s dive into the nitty-gritty of recommended tools and solutions.
FIRST AID KIT
ALWAYS keep these on hand. You never know when you’ll need them and if/when you do, you’ll be glad you have one.
FIRE EXTINGUISHER
You never know when a tool might burn out, a chemical might react a certain way OR a fire breaks out in any capacity. Having this tool around your shop is NECESSARY.
GLOVES
Protect your hands at all times. Chemicals WILL get into your skin. Long-term exposure to resins to the skin is not good as one can become sensitized to them, at which point you’re likely not even get near them without having an allergic reaction.
Some of the most common tools we will need gloves for is as follows: Contact Cement, Epoxy, Resins, Sprays, Butane Fuel, Etc.


GOGGLES/EYE SAFETY
When sanding/grinding, etc. You don’t want anything to get in your eyes.


SINK
If possible, have a slop sink around you. (Most professional shops will have these) Not only for washing your hands BUT also in case if you do get something in your eye - you have a place to go.
RESPIRATOR
We also highly recommend investing in a respirator (that’s fitted to your face and has the proper cartridges) - always use these while working. Protect your lungs and organs - they’re important!
(We’ve attached two below recommended for most puppet building applications including contact cement)


VENTILATION:
ALWAYS WORK IN A WELL VENTILATED AREA when working with contact cement, spray paint, and any resins/chemicals regardless of type.
Solutions for ventilation:
1.) When possible, we always recommend working outdoors.
2.) If your shop or garage has good airflow, this works well. When using this option, we of course recommend a respirator and use of a fan. Setting up a fan will allow you to blow the chemicals away from you and work to push the fumes out of your space.
3.) Invest in a ventilation table - these are GREAT if you’re working in a small space and don’t have a lot of ventilation. You can work inside of it freely while the inside fan pushes out all of the toxic fumes out of a drier duct and outside.
Additional resources for ventilation: westsystem.com - EXPOY SAFETY


Keeping your work area clean:
It’s important to keep your work area clean whether you’re working from home, garage or in a shop - not only will it keep you more organized, but it will also prevent cross-contamination of products (Plus your employer would appreciate it)
That’s all for now. We hope you found this blog helpful.
Please let us know if you have any thoughts or ideas in the comments section below OR on social media. Be sure to subscribe & follow for more and please be sure to share this with other community members!
Thanks so much, we’ll see you in the next blog!
Supplies/Materials Resource Page
Hey puppet builders, crafters, DIY-ers, and students,
We just officially launched the Supplies/Materials Resource page on our website!
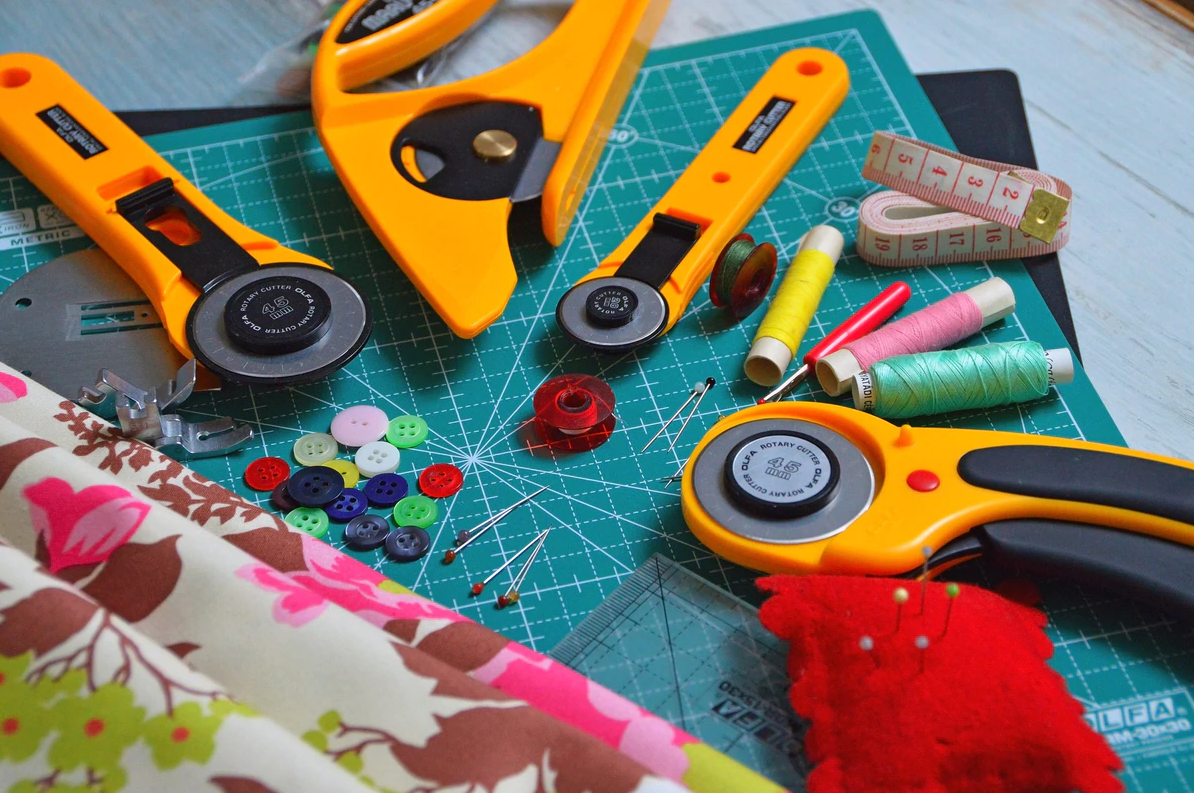
This page was created to help jumpstart your puppet-building journey, whether you’re an amateur or a pro looking for new supplies or tools for your shop or home - this page is a great starting point.
All the supplies listed on this page, we highly recommended and utilize in creating many of the custom puppets for our clients.
Have you taken one of our classes, order a pattern from us, or watch one of our online tutorials? Check out the materials list, there’s a good chance you can order almost all the supplies from this page.
So… what are you waiting for? Get your supplies today! https://creventive.com/supplies
EINSTEIN CUSTOM PUPPET

EINSTEIN CUSTOM PUPPET
FOR INSURESMART AGENCY INC in Rockford, IL
Creventive Puppet Company recently just wrapped on another exciting project!
We were commissioned by InsureSmart Agency Inc to recreate their mascot in puppet form for a series of tv commercial spots to help advertise their company in Rockford, IL.
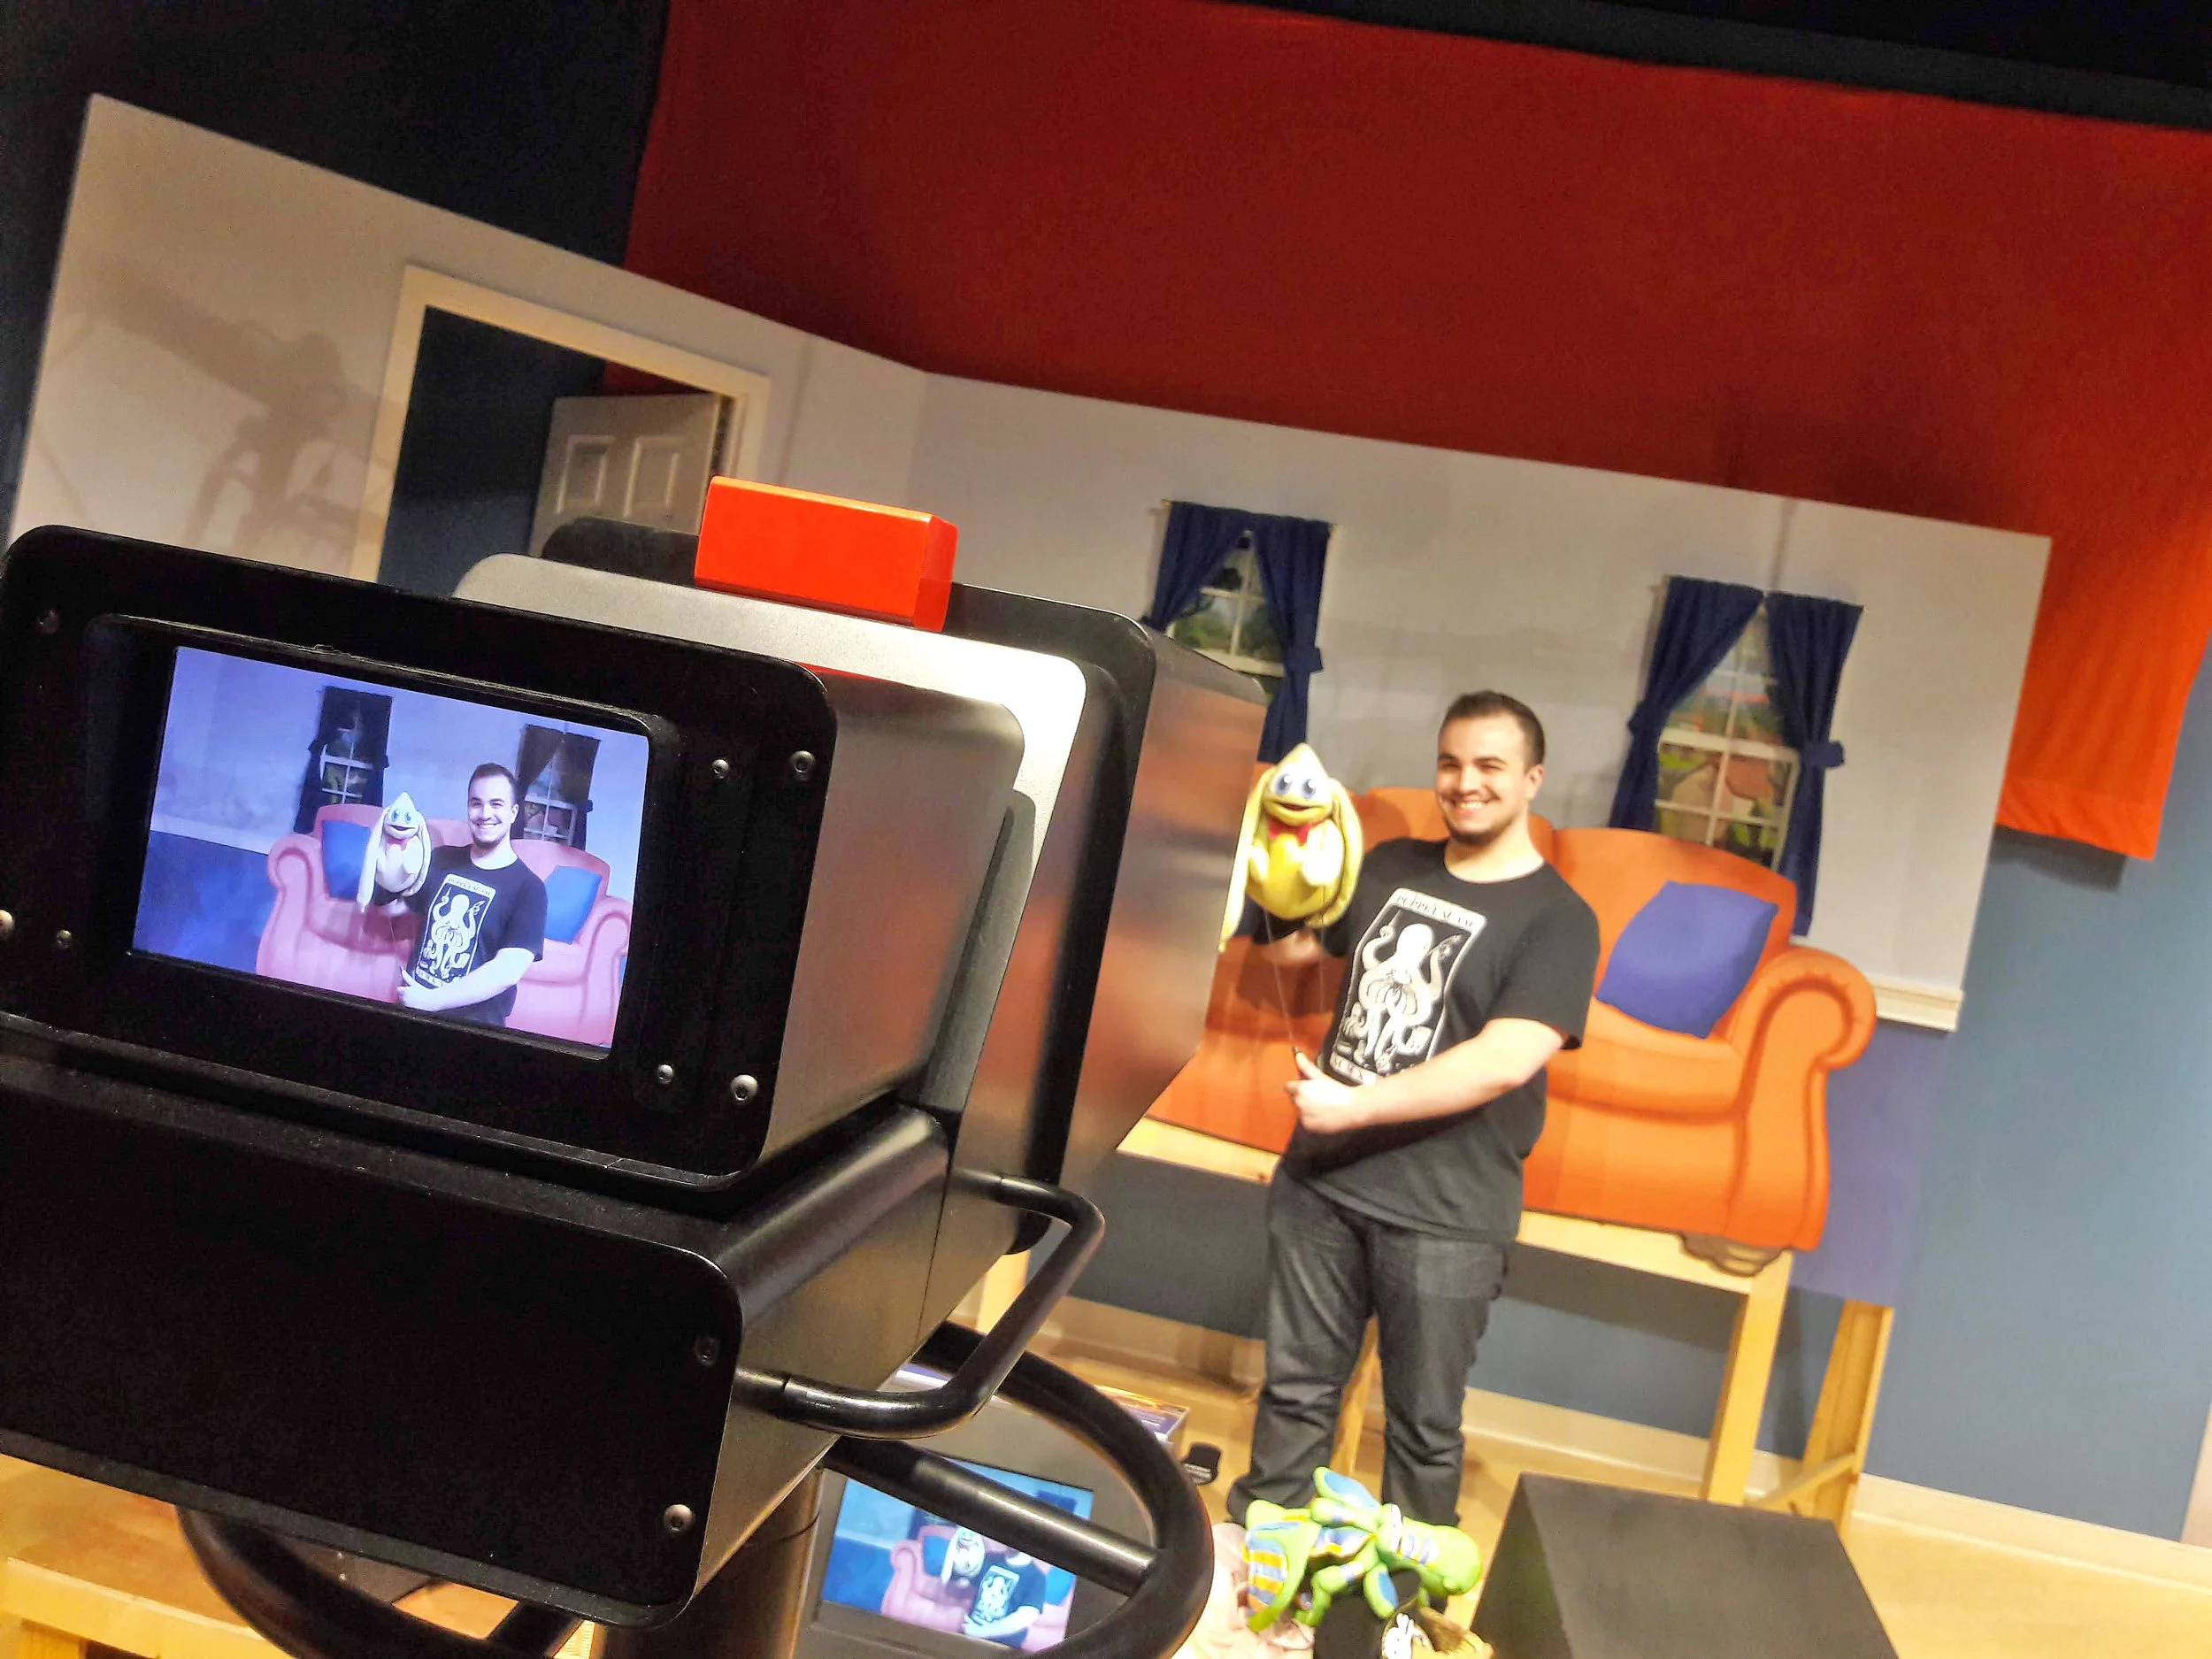
In addition to creating the custom puppet, Creventive Puppet Company also provided our puppeteering and puppet wrangling services for the tv commercial shoot.
Here are a few behind the scenes pictures and videos of the project including final pictures of our Einstein puppet as well as the finished ADS
BUILD CREDITS:
CONNOR ASHER - LEAD FABRICATION
SYDNEY ALEXANDER - FABRICATION
MAE RISK - WARDROBE
COMPLETED SPOTS
BEHIND THE SCENES
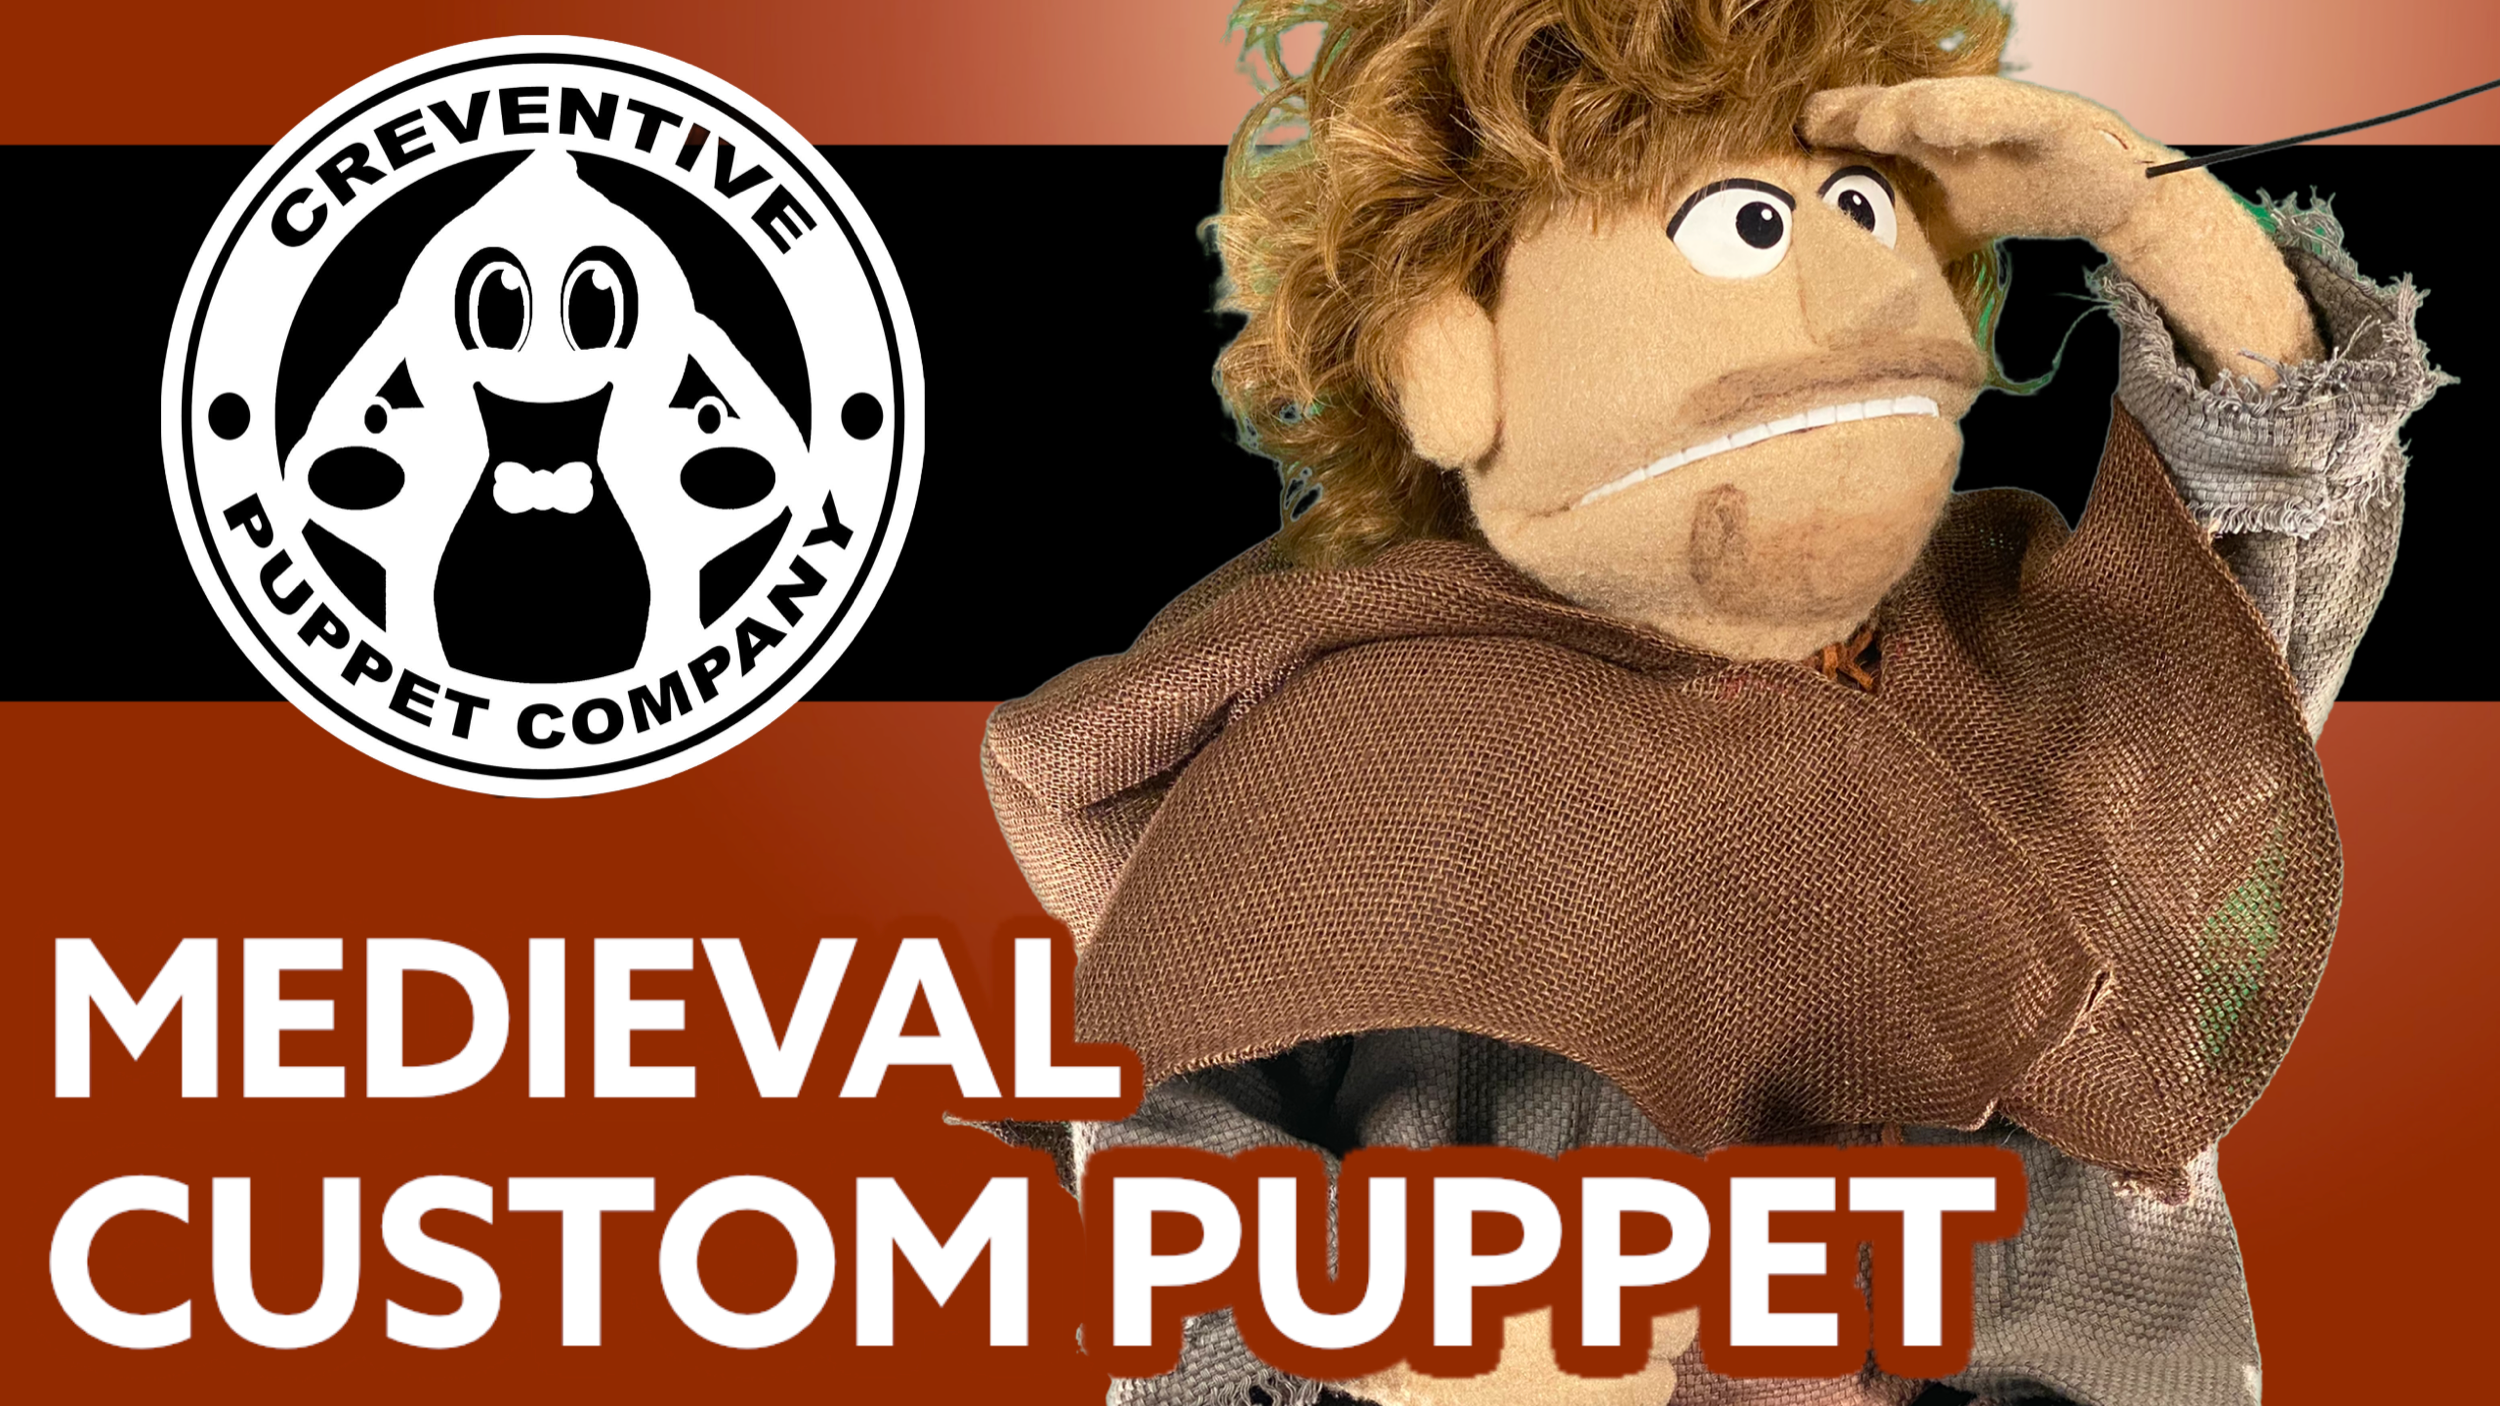
Medieval Character Custom Portrait Puppet
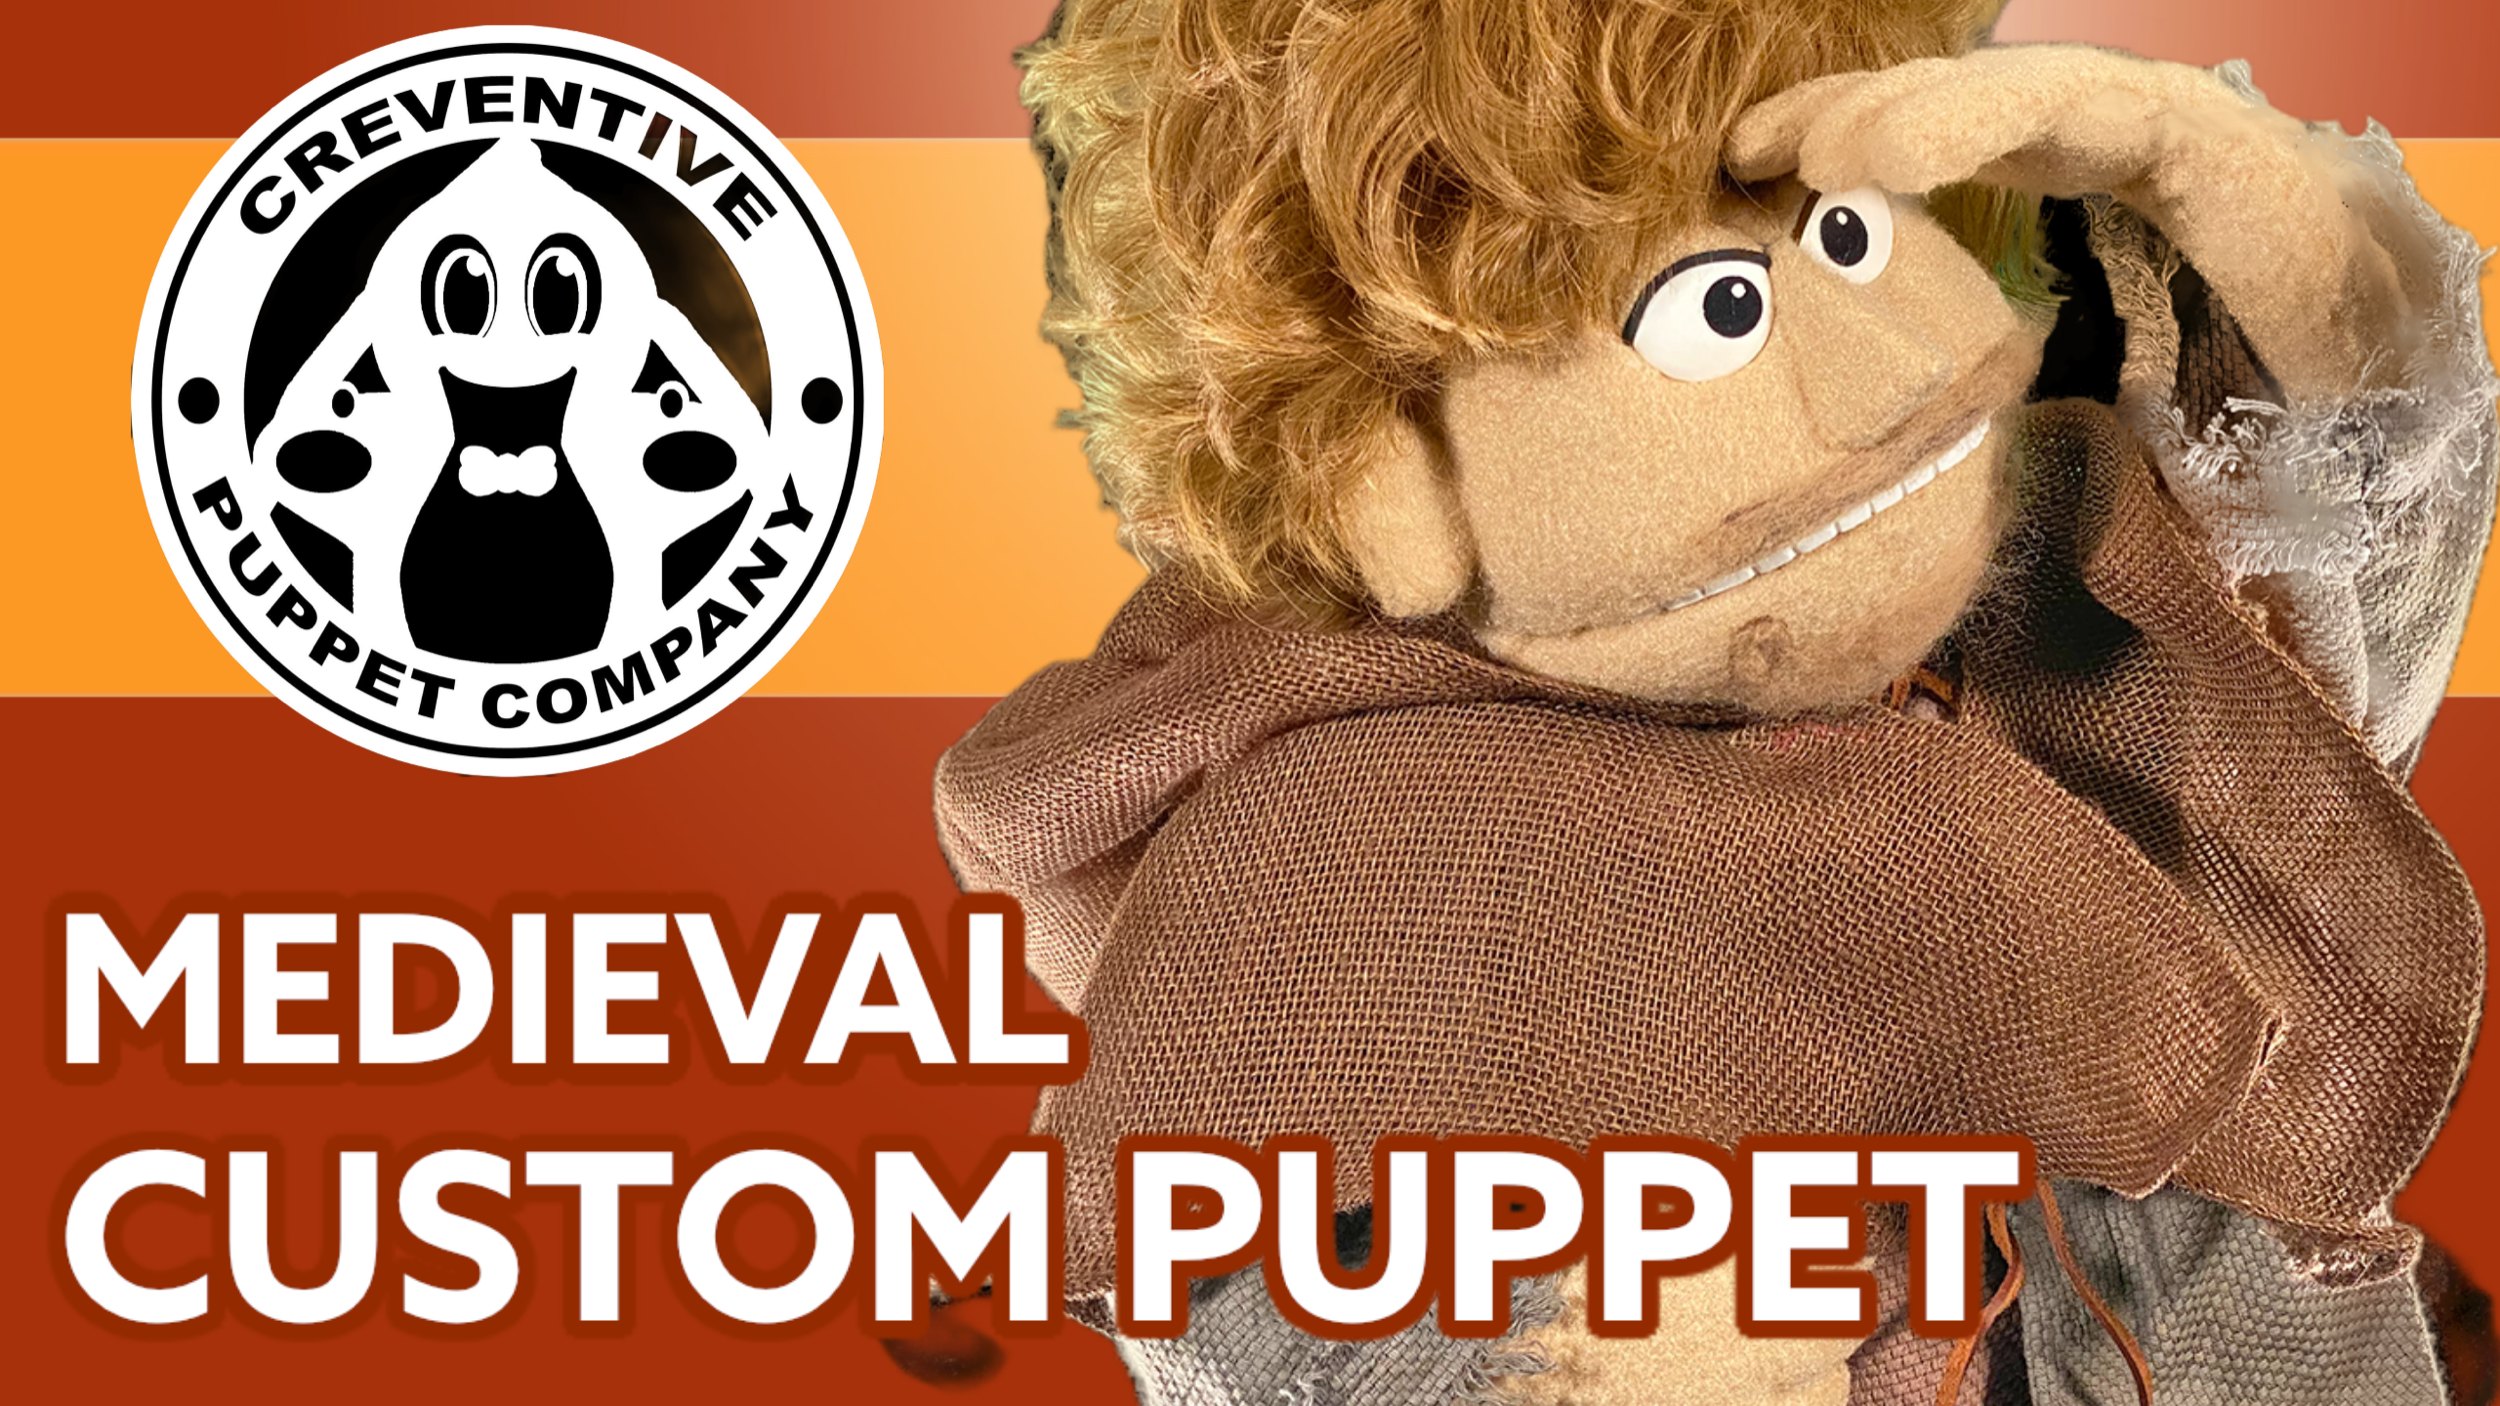
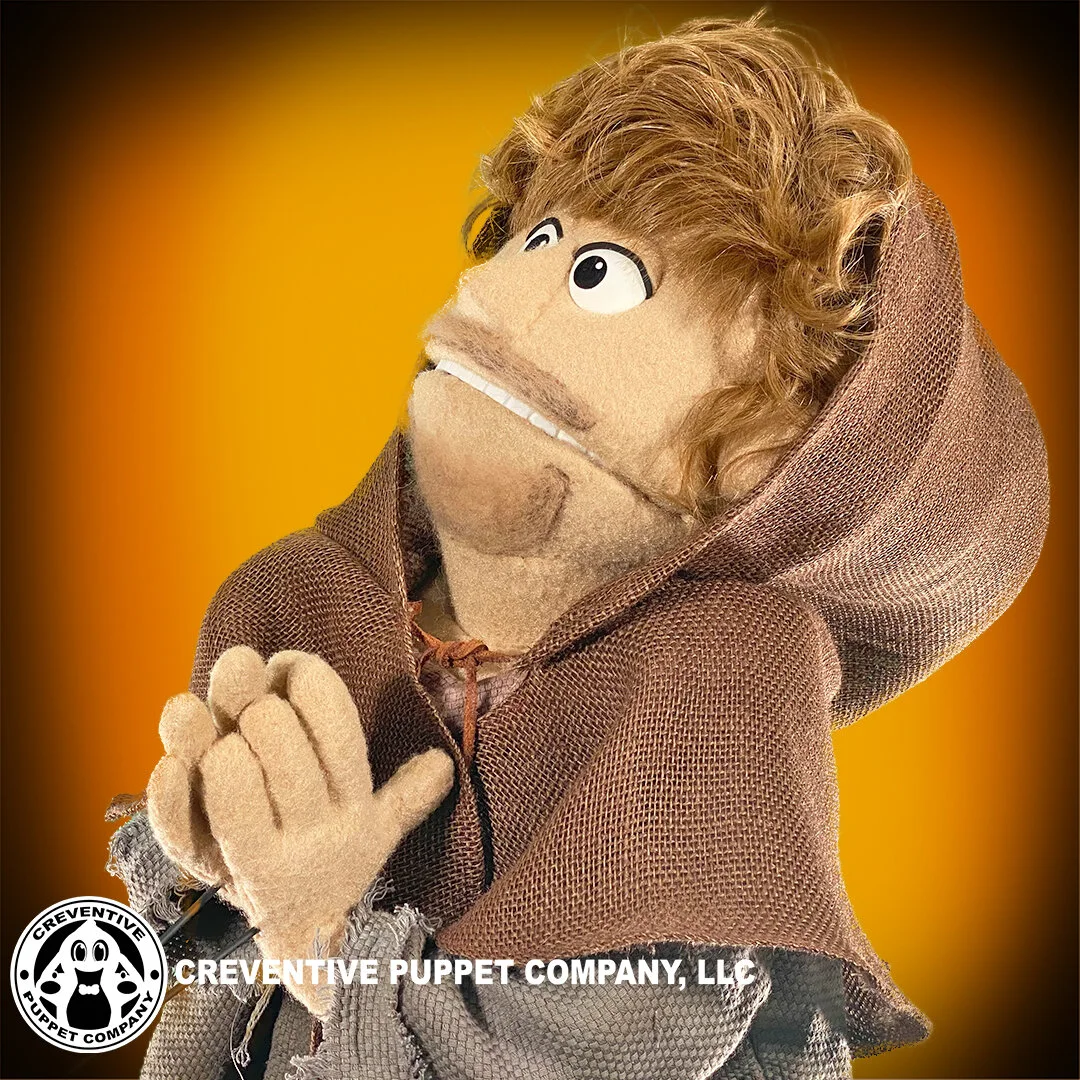
We recently built a medieval custom hand/rod puppet character for a private client in Saint Paul, MN.
The client provided us with reference to a medieval character based off of an old BBC show.

Reference photo(s)
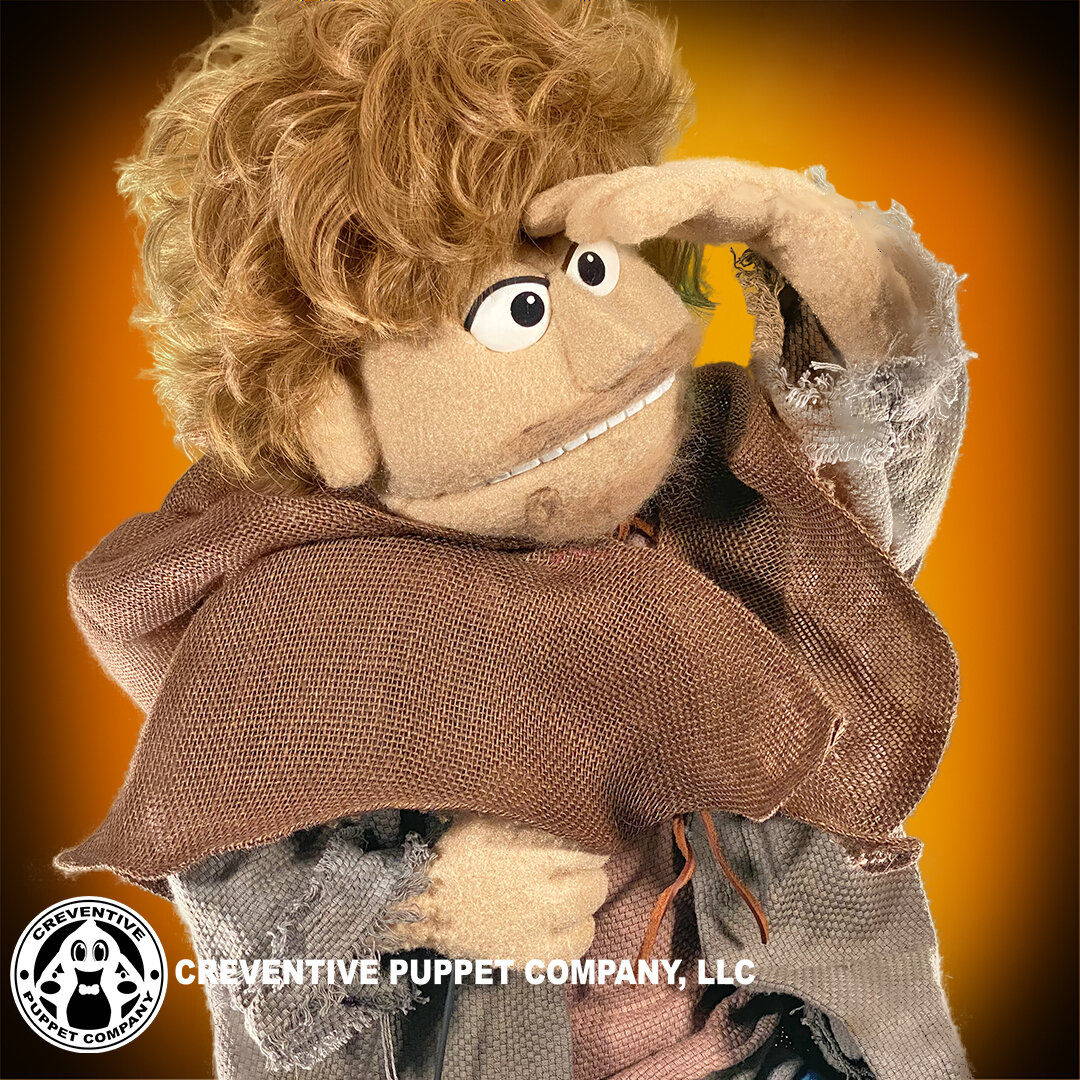
Here are the results…
How was the puppet built?
Puppet was built using NylaFleece, ultra suede, custom-made eyes/nose/ears, foam-carved teeth, treated/styled wig with custom-made wardrobe to match client’s reference photos.
Puppet also includes removable arm rods, pose-able armature wire hands and removable costume plus hood.
Credits:
Puppet design & fabrication by Connor Asher, Sydney Alexander
Costumes created by Mae Risk
Ed Bassmaster - Custom Portrait Puppet Build
ED BASSMASTER CUSTOM PUPPETS
CREATED BY CREVENTIVE PUPPET COMPANY, LLC
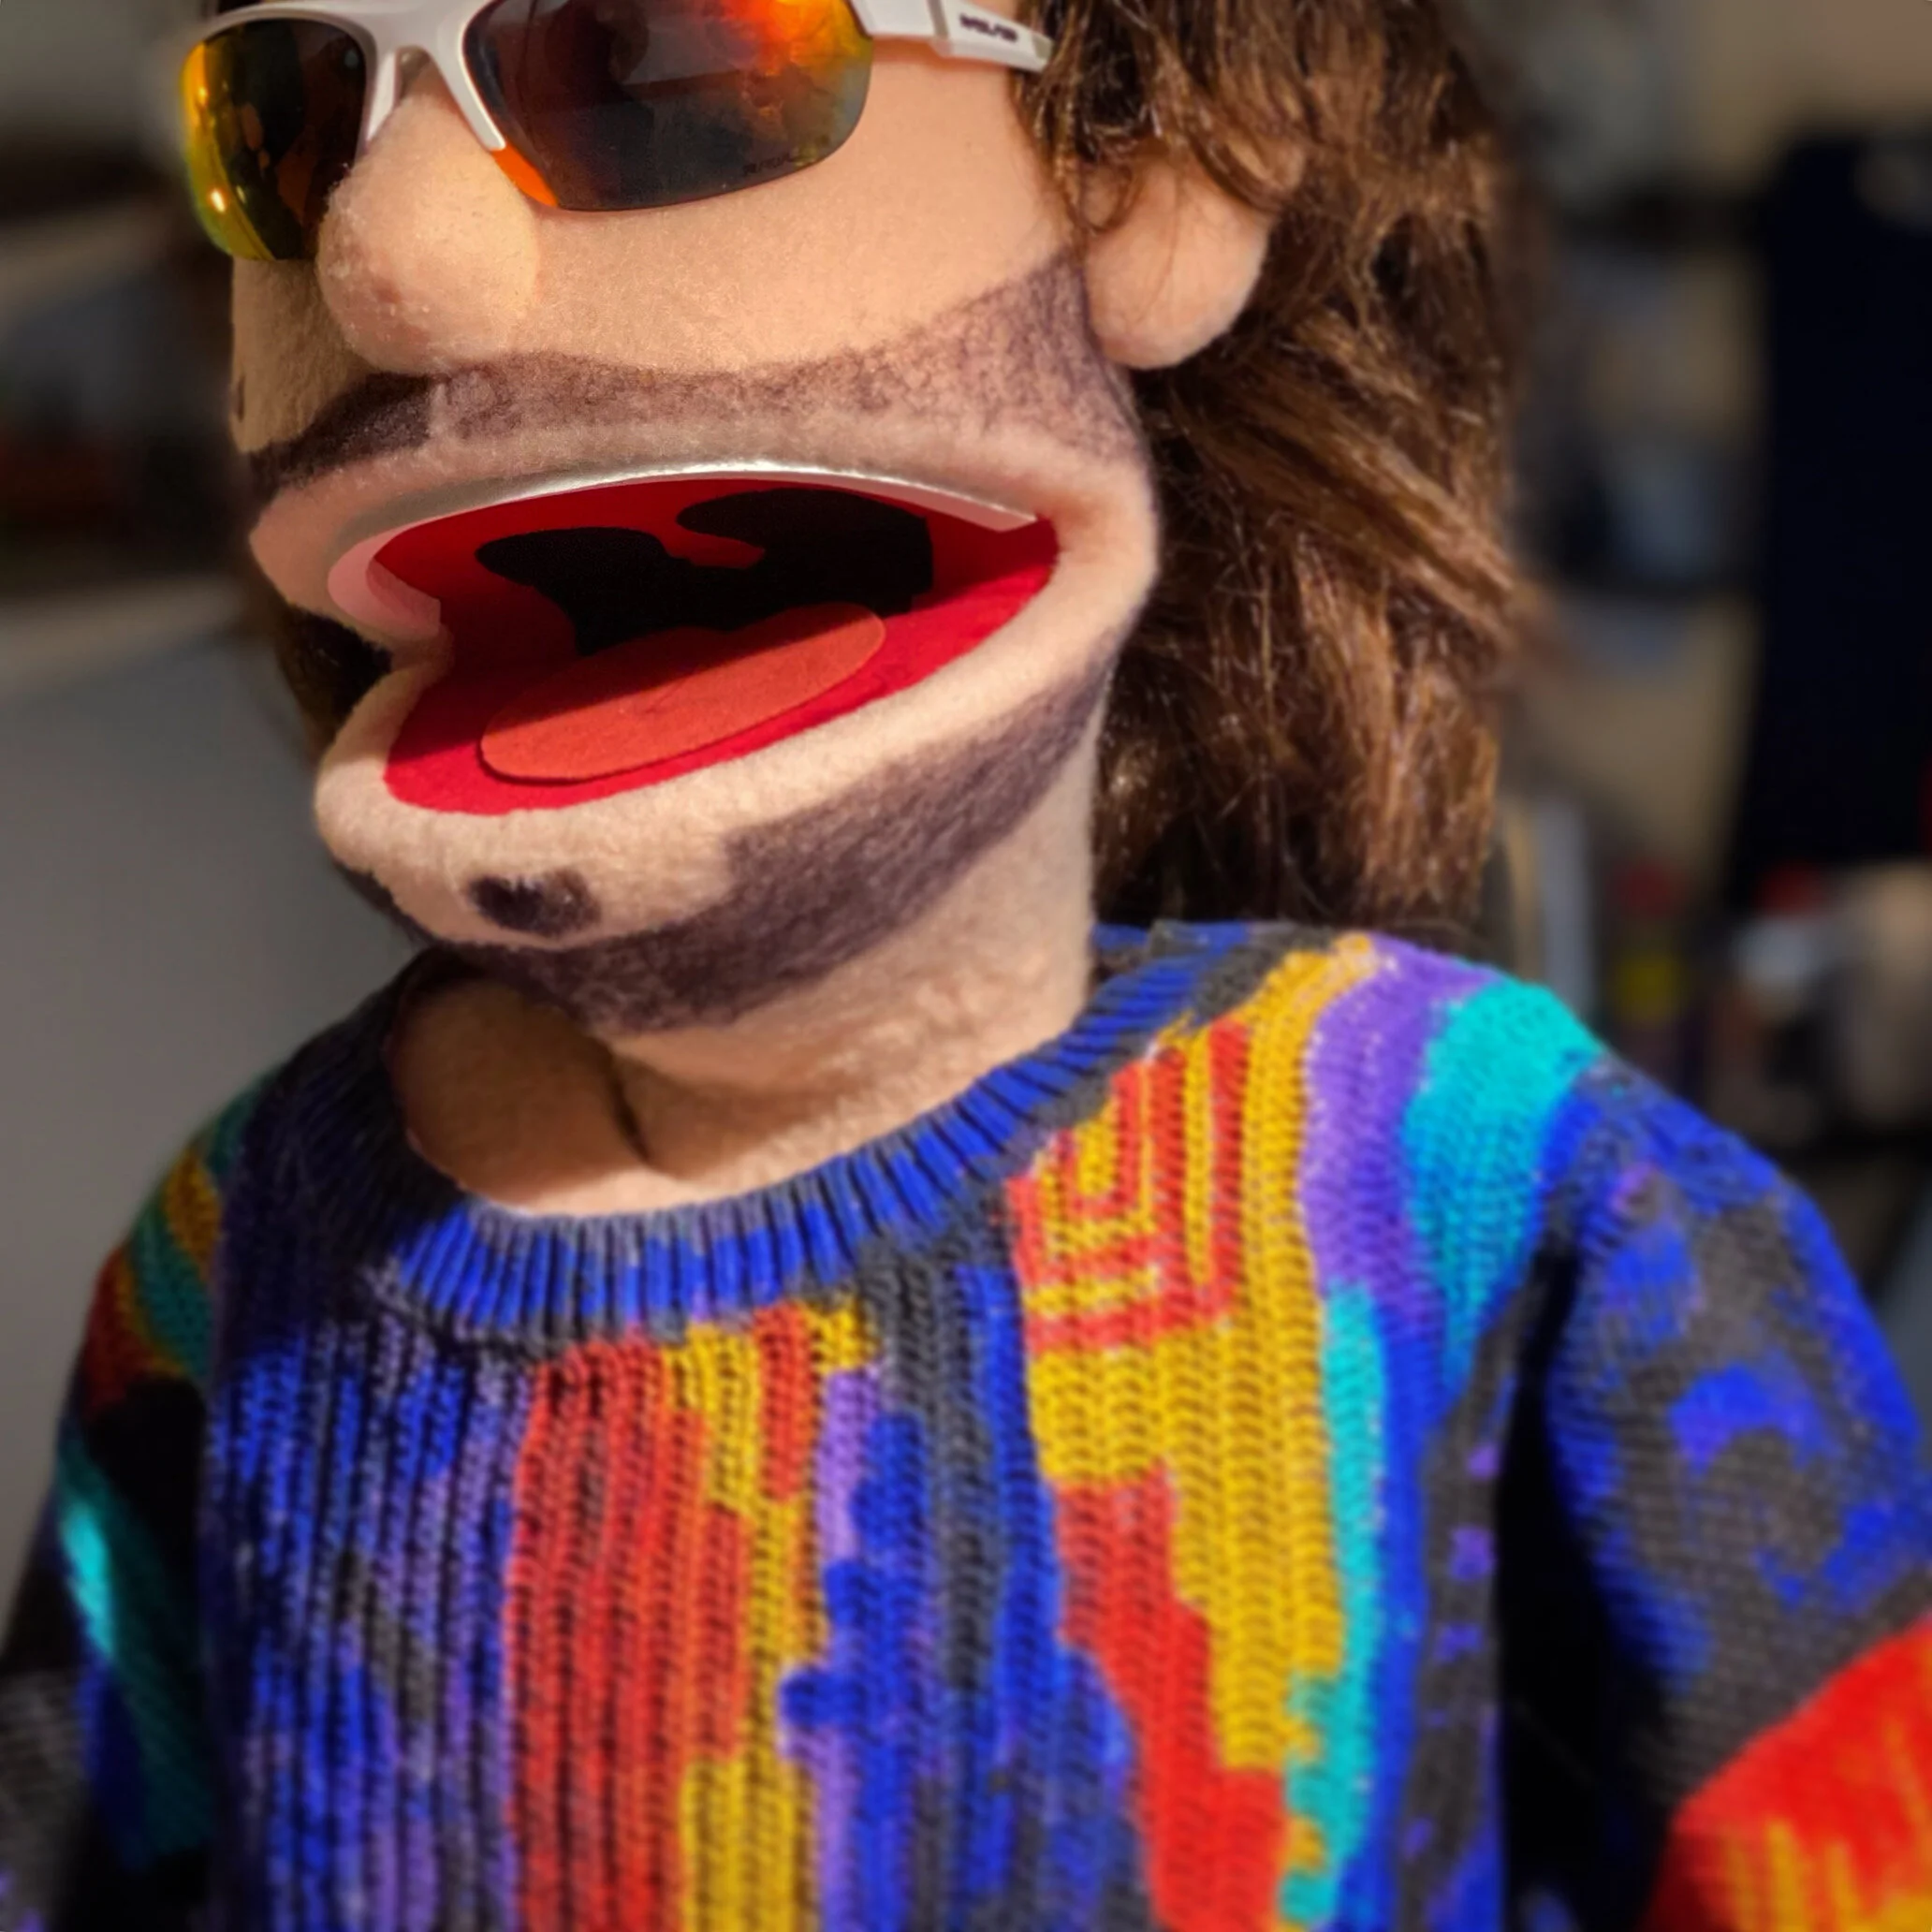
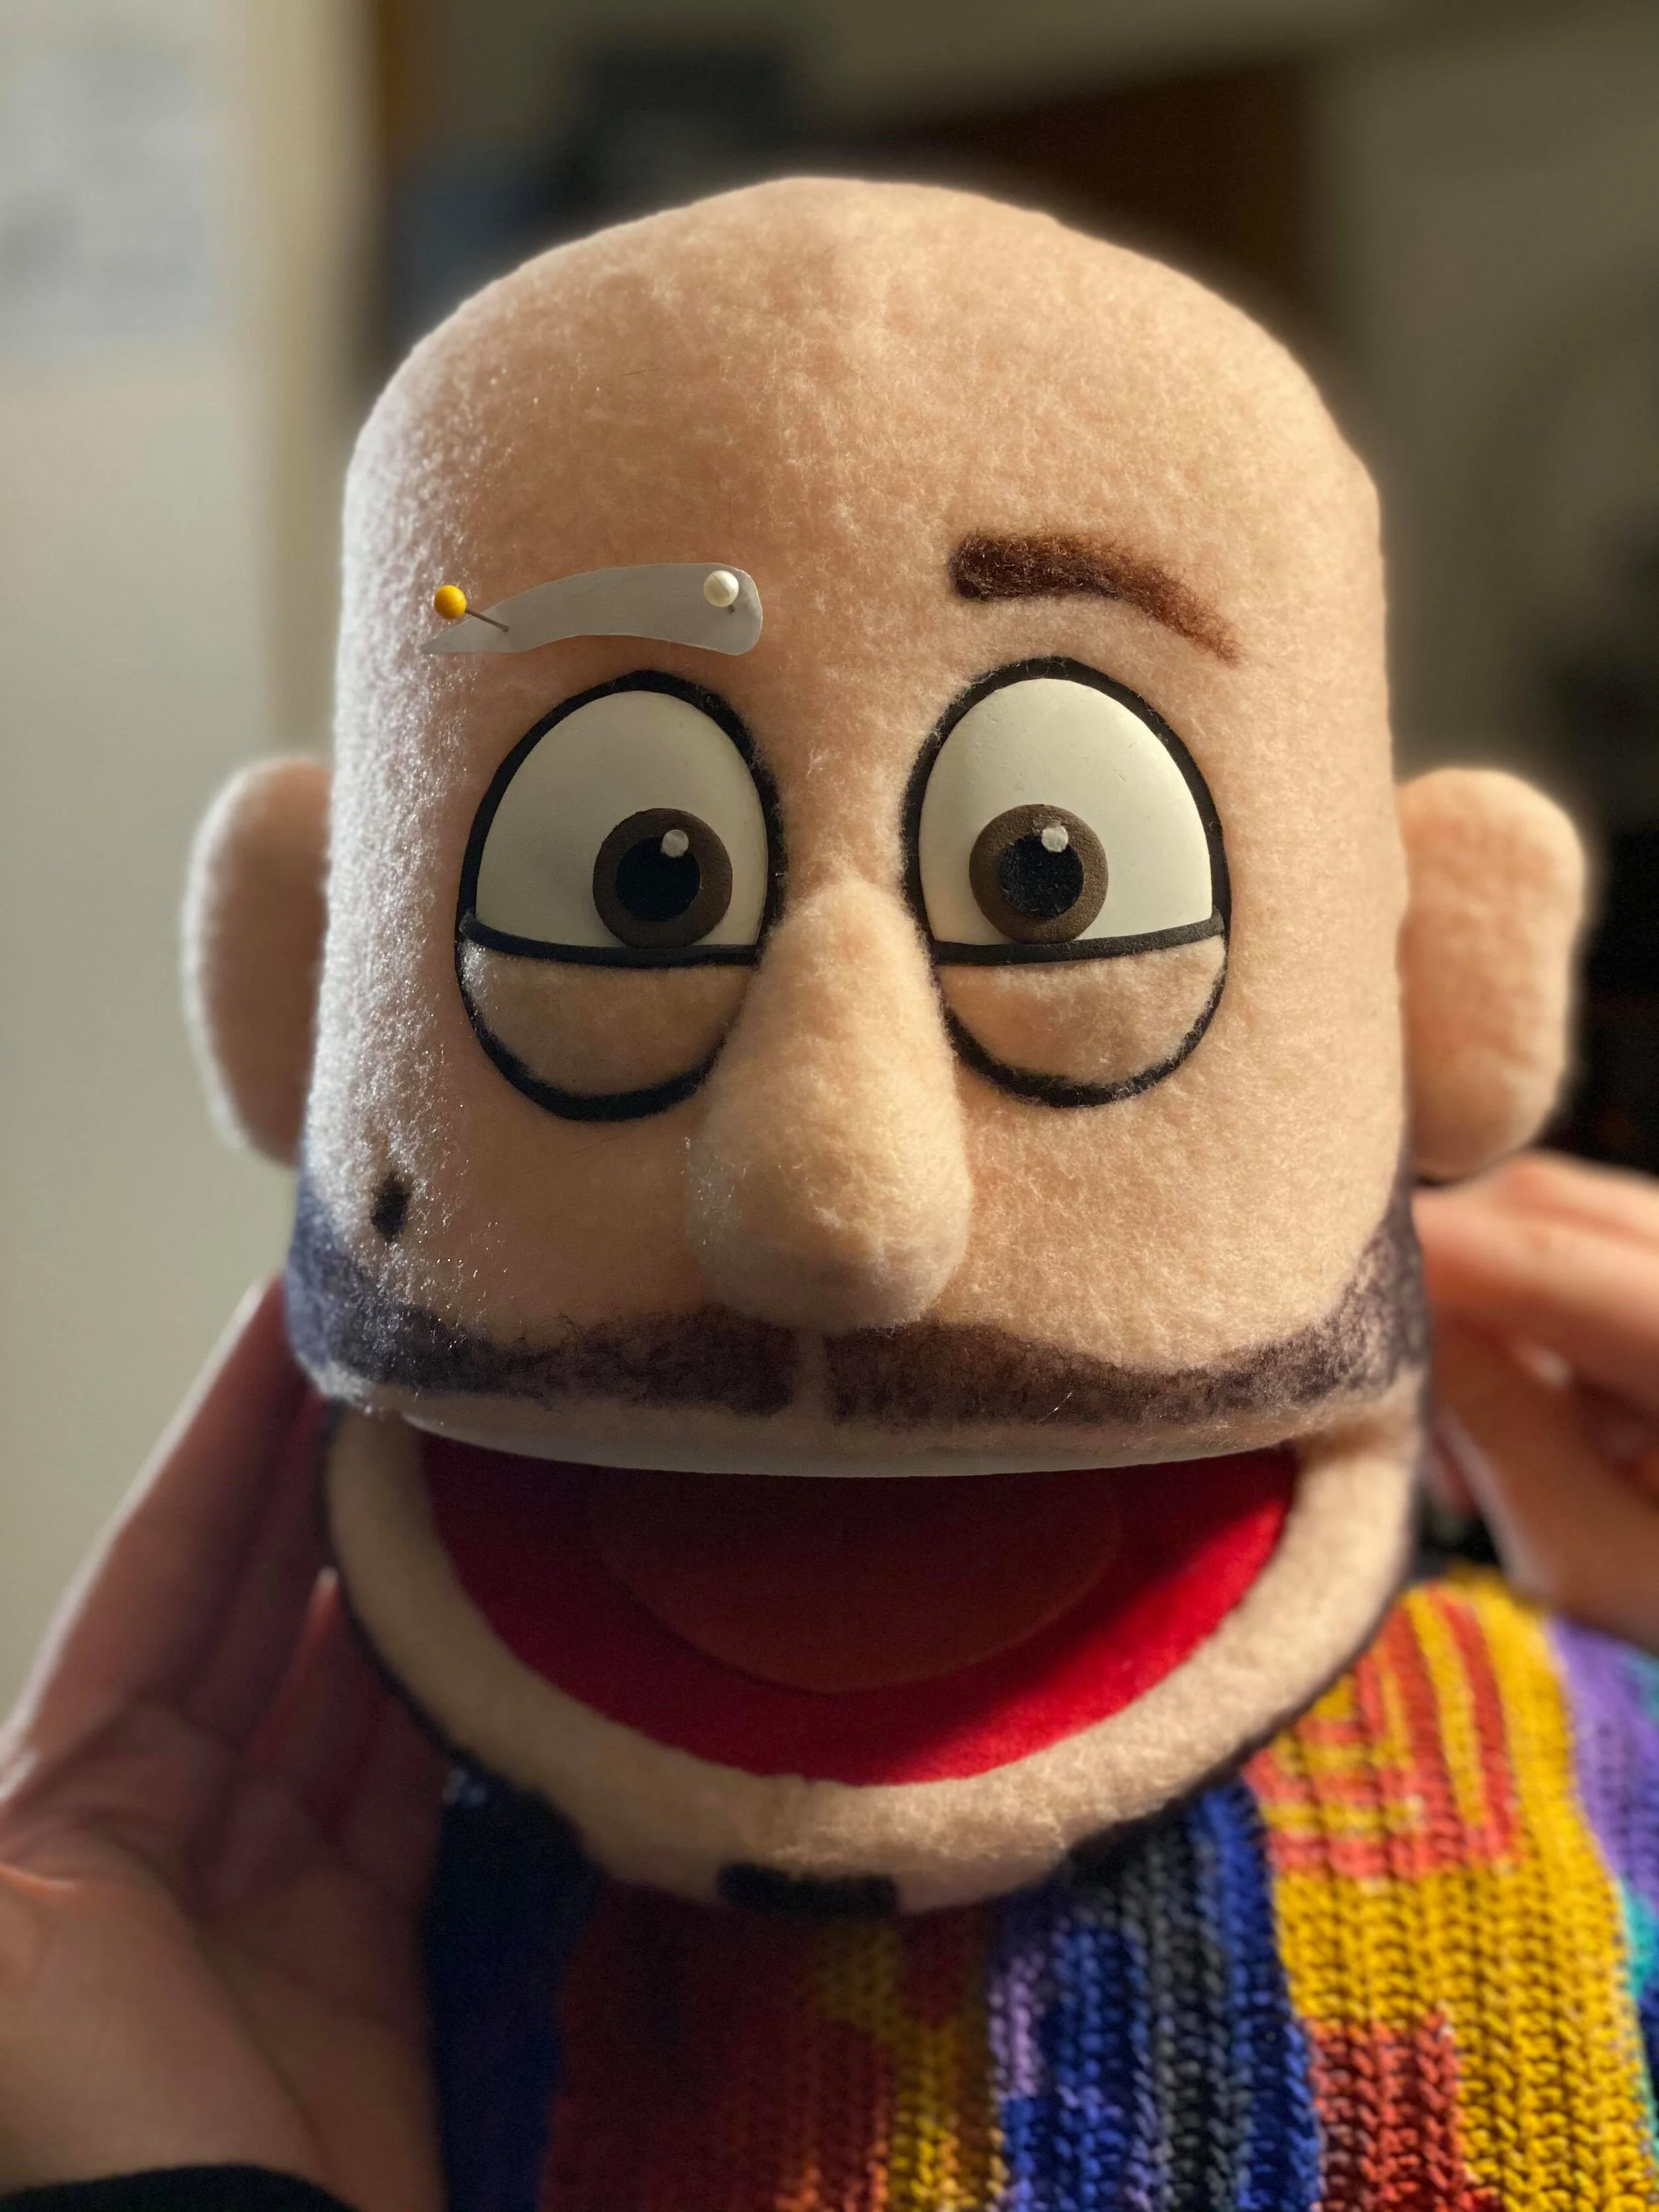
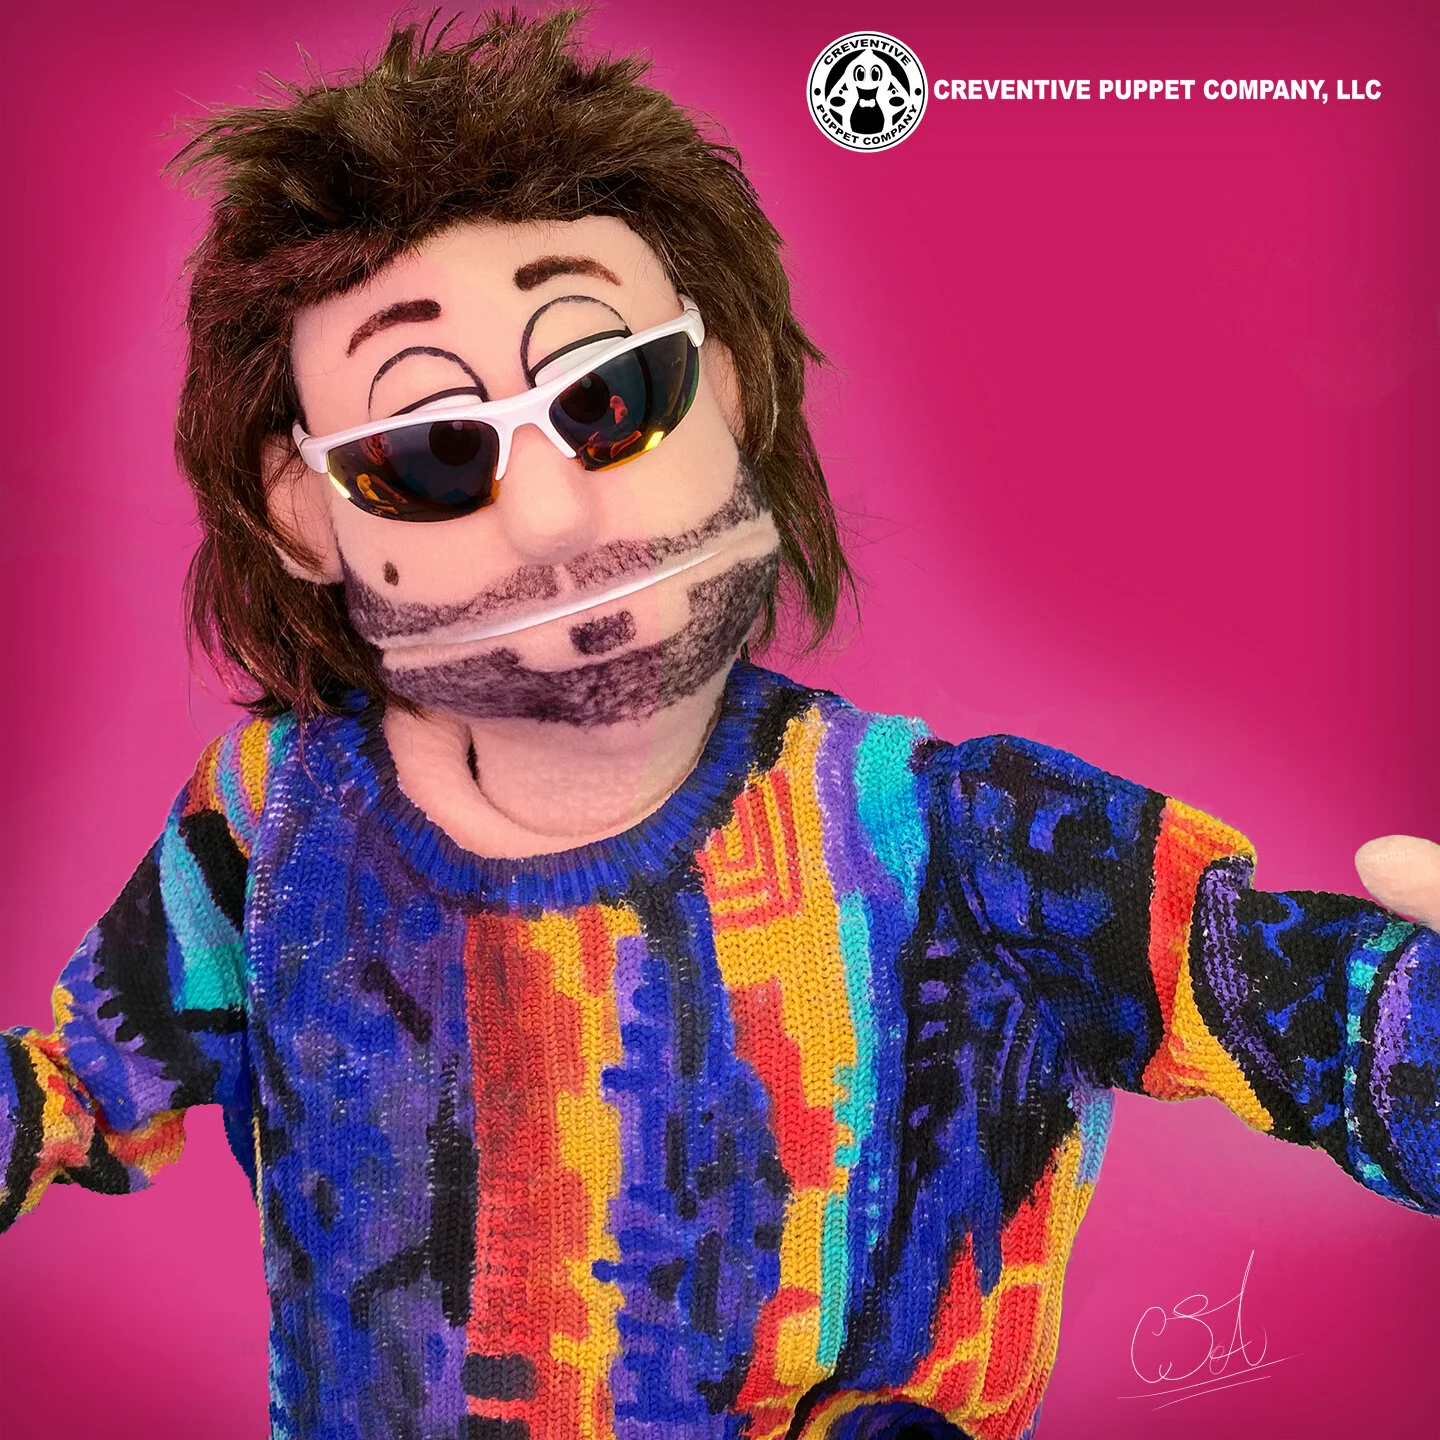
We recently wrapped on a collaboration with Ed Bassmaster to create a portrait puppet of his characters.
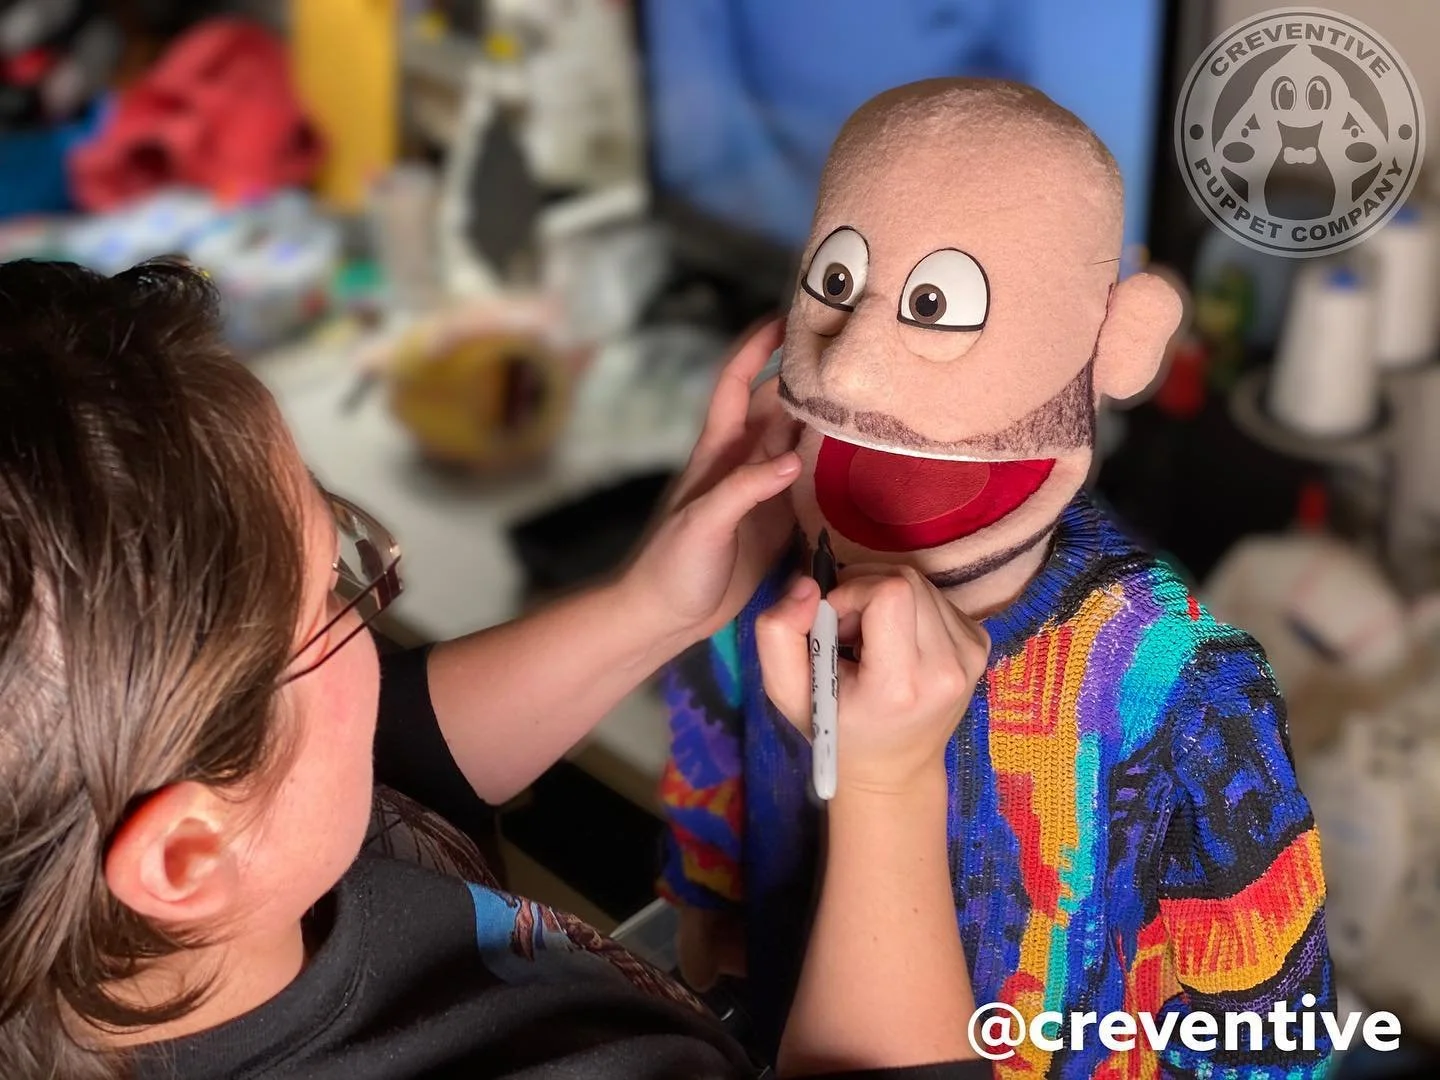
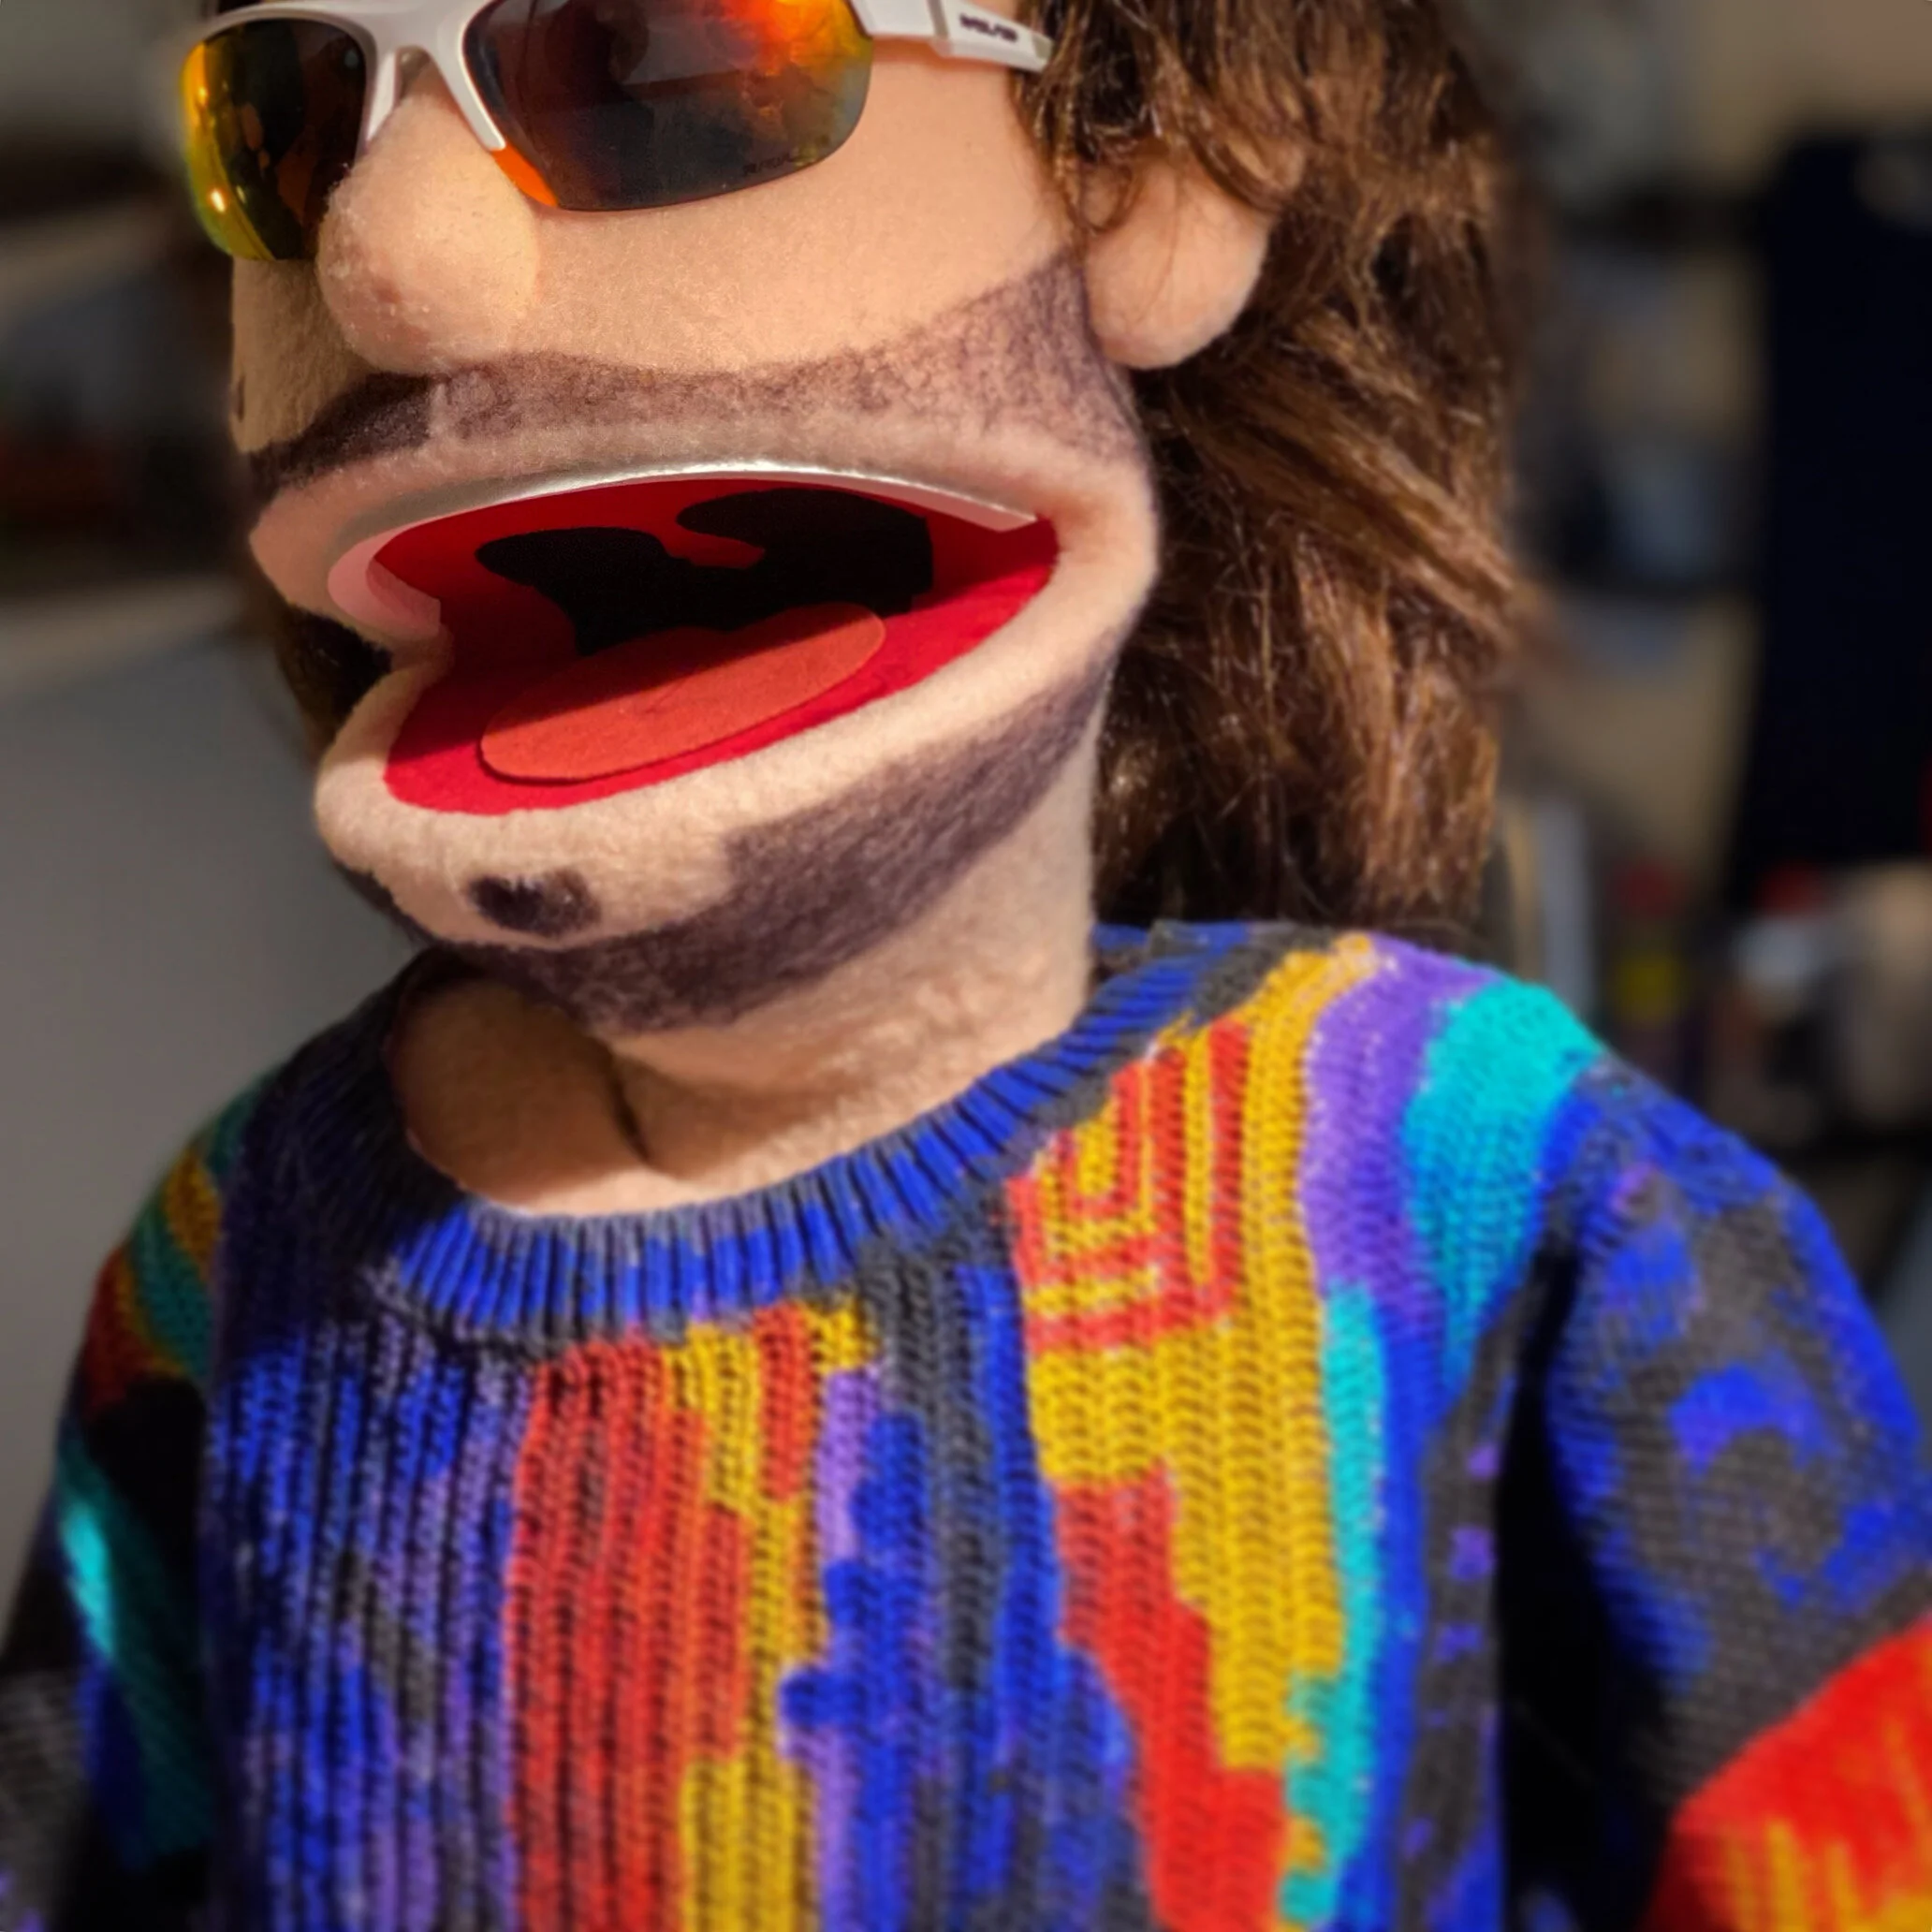
The puppet was built as a blank what-not that could be dressed with different clothes and accessories to match his personas including Chip Diamond, Mumbles, and Always Teste.
Puppet was fabricated by Creventive Puppet Company’s own Connor Asher and Sydney Alexander. Connor created the understructure and covering for the entire puppet while Sydney worked on the detailing including the beard, mole and ensuring the puppet looked clean at all times.
Our costumer, Mae Risk knocked it out of the park recreating the costumes based on Ed’s actual costumes as reference.
BUILD CREDITS:
CONNOR ASHER - LEAD FABRICATION
SYDNEY ALEXANDER - FABRICATION
MAE RISK - WARDROBE
BEHIND THE SCENES


HOW TO DRESS/MAINAIN PUPPET VIDEO
VIDEOS FEATURING OUR PUPPETS
#PuppetChainLetter Collaboration Project
Hi everyone,
I’m so excited to talk about #PuppetChainLetter project collaboration started by Swazzle Puppet Studio in California. I was invited to be one of eight builders from across the country to participate.
First, lets talk about the project…
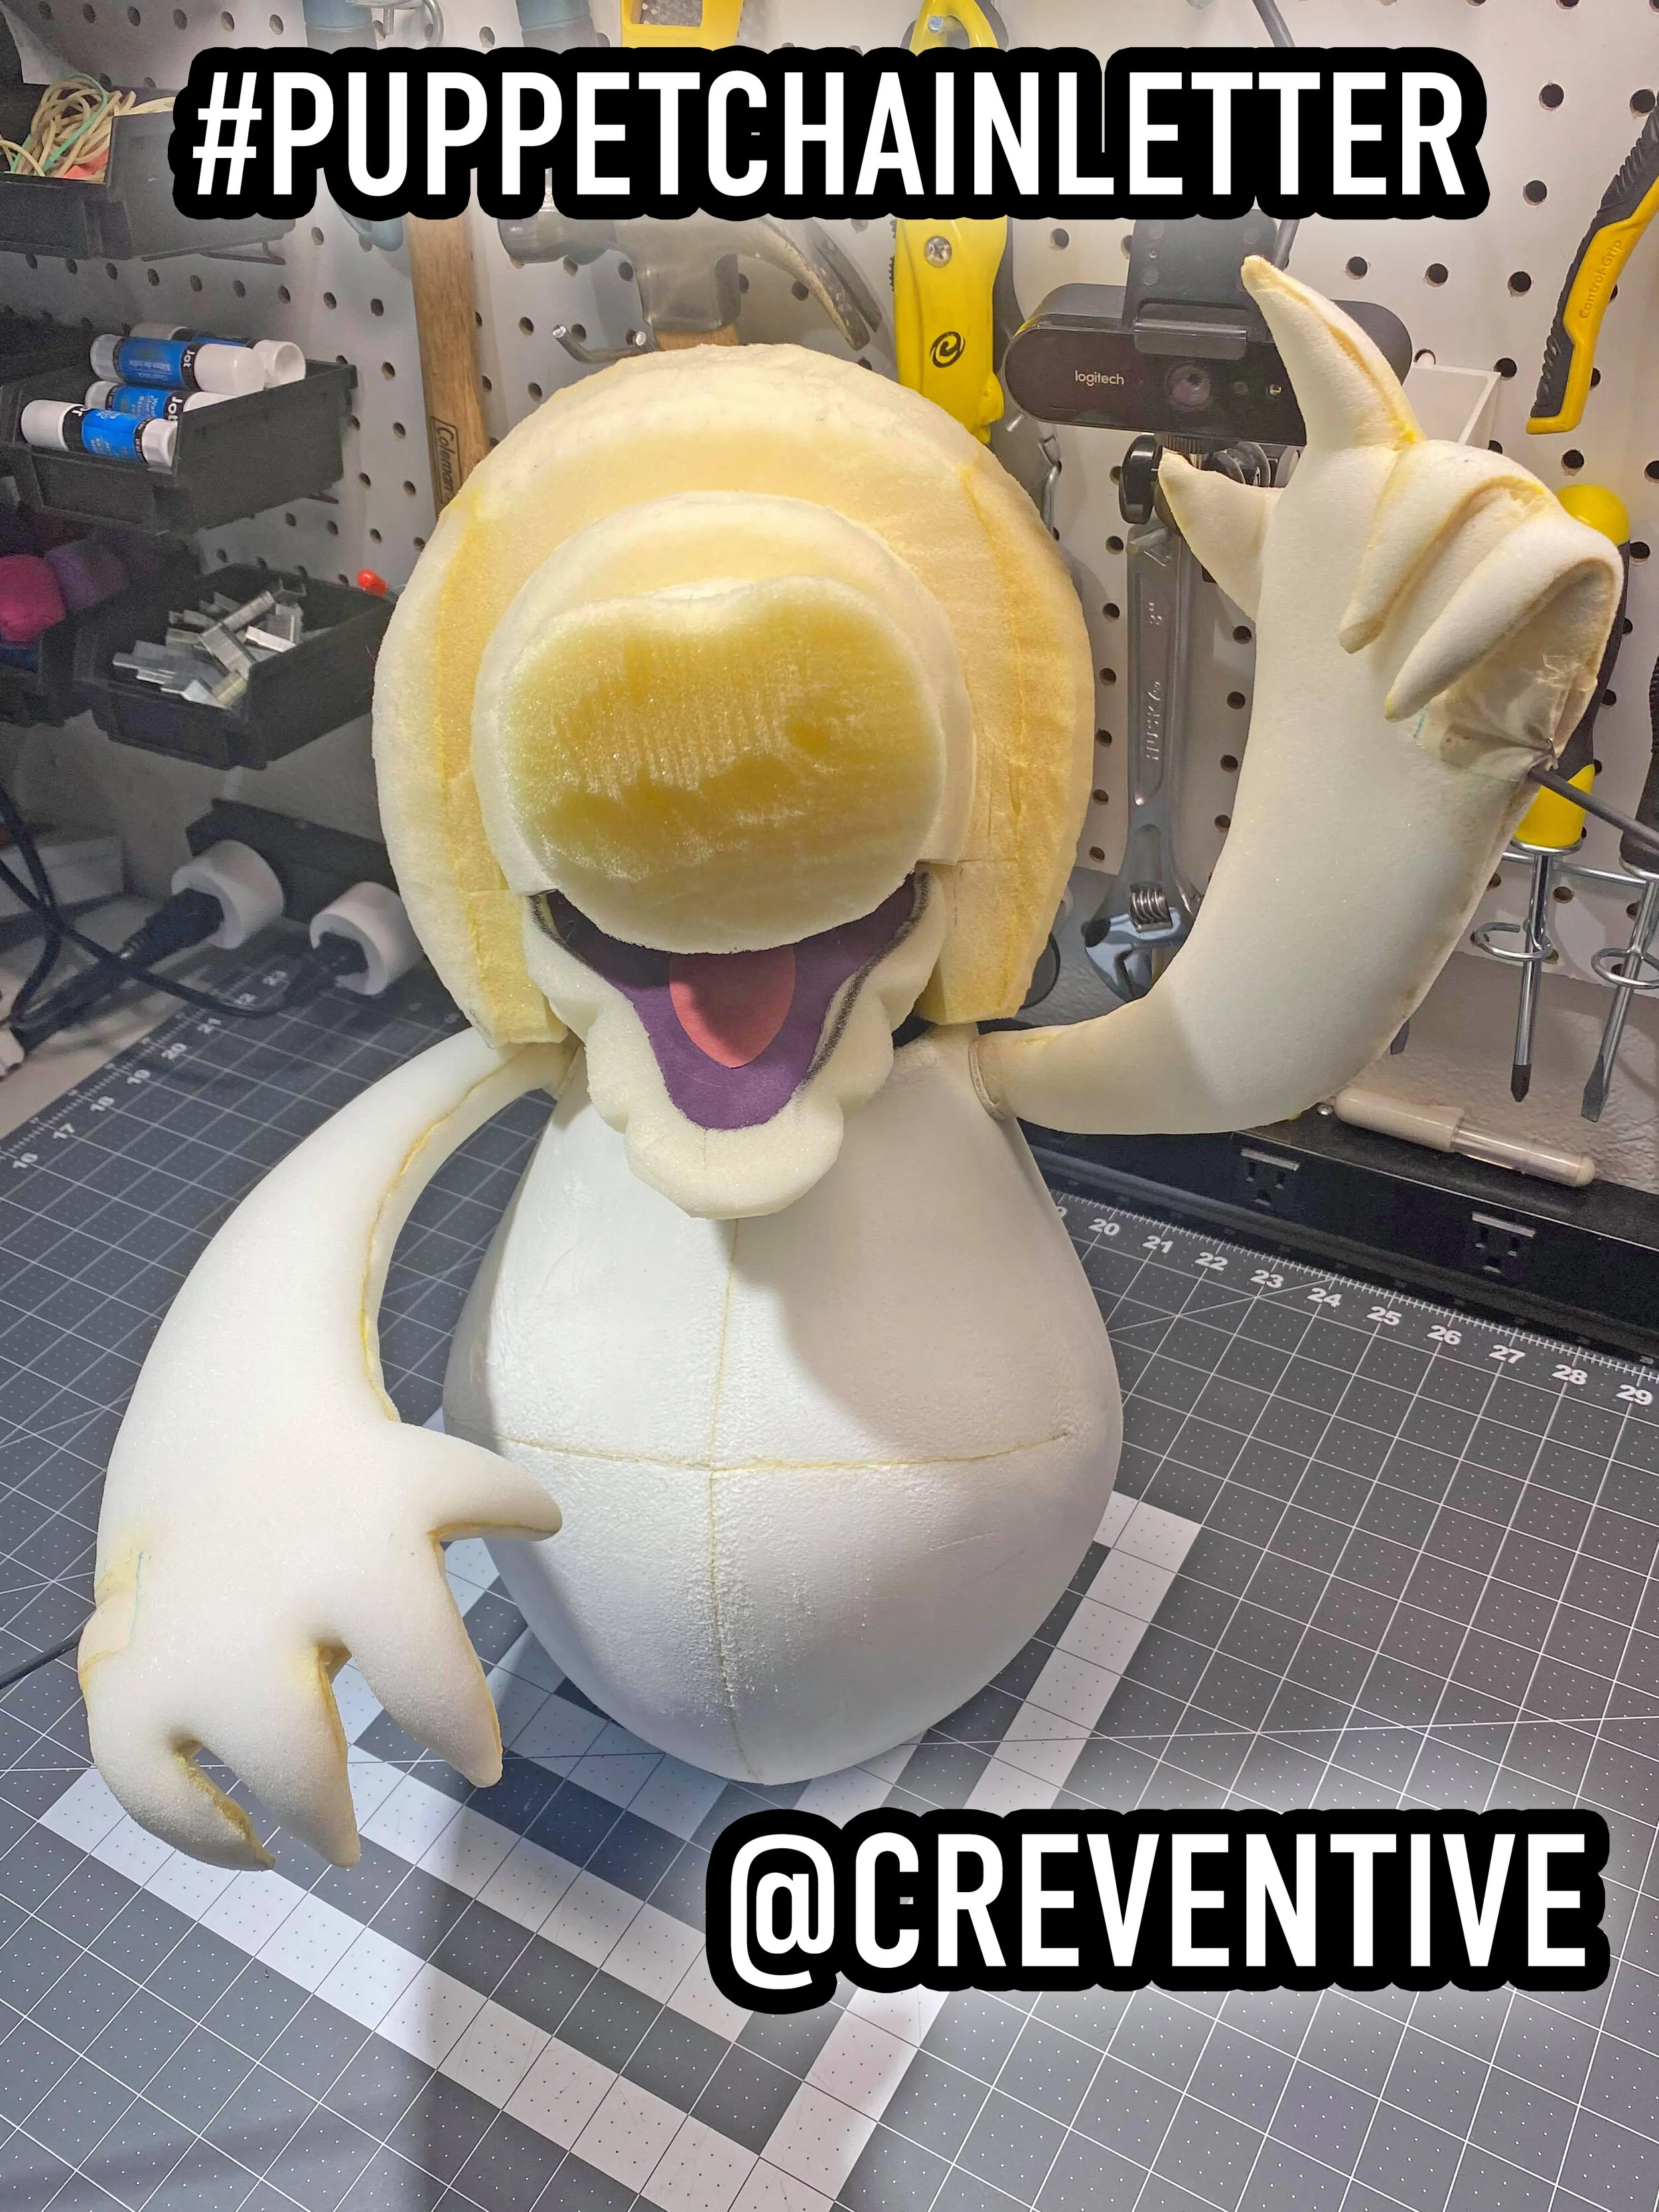
Eight puppet builders across the nation will contribute to the creation of a single puppet.
The final result will be auctioned with the proceeds benefiting the @puppeteers_of_america Direct Relief Fund for Puppet Artists!
Contributors include: @swazzlepuppetstudio @connorasher @projectpuppet @dluxpuppets @adrianroseleonard & @rachelmadestudio
#puppet #puppetry #puppetmaker #directrelief #puppets #puppeteersofamerica #puppetbuilding
My contribution to the chain letter was to design and fabricate the foam arms and hands.
Unboxing video:
LIVE reveal of the completed arms where I share my step-by-step thought and build process:
FOLLOW the hashtag #PUPPETCHAINLETTER on social media to follow this puppet’s journey from beginning to completion.
Special thank you again to Swazzle for bringing me on board this exciting project. Can’t wait to see how this puppet turns out!
As usual, please feel free to get in touch if you have any questions!
Until next time,
Connor Asher
Cute & Expressive Custom Puppet
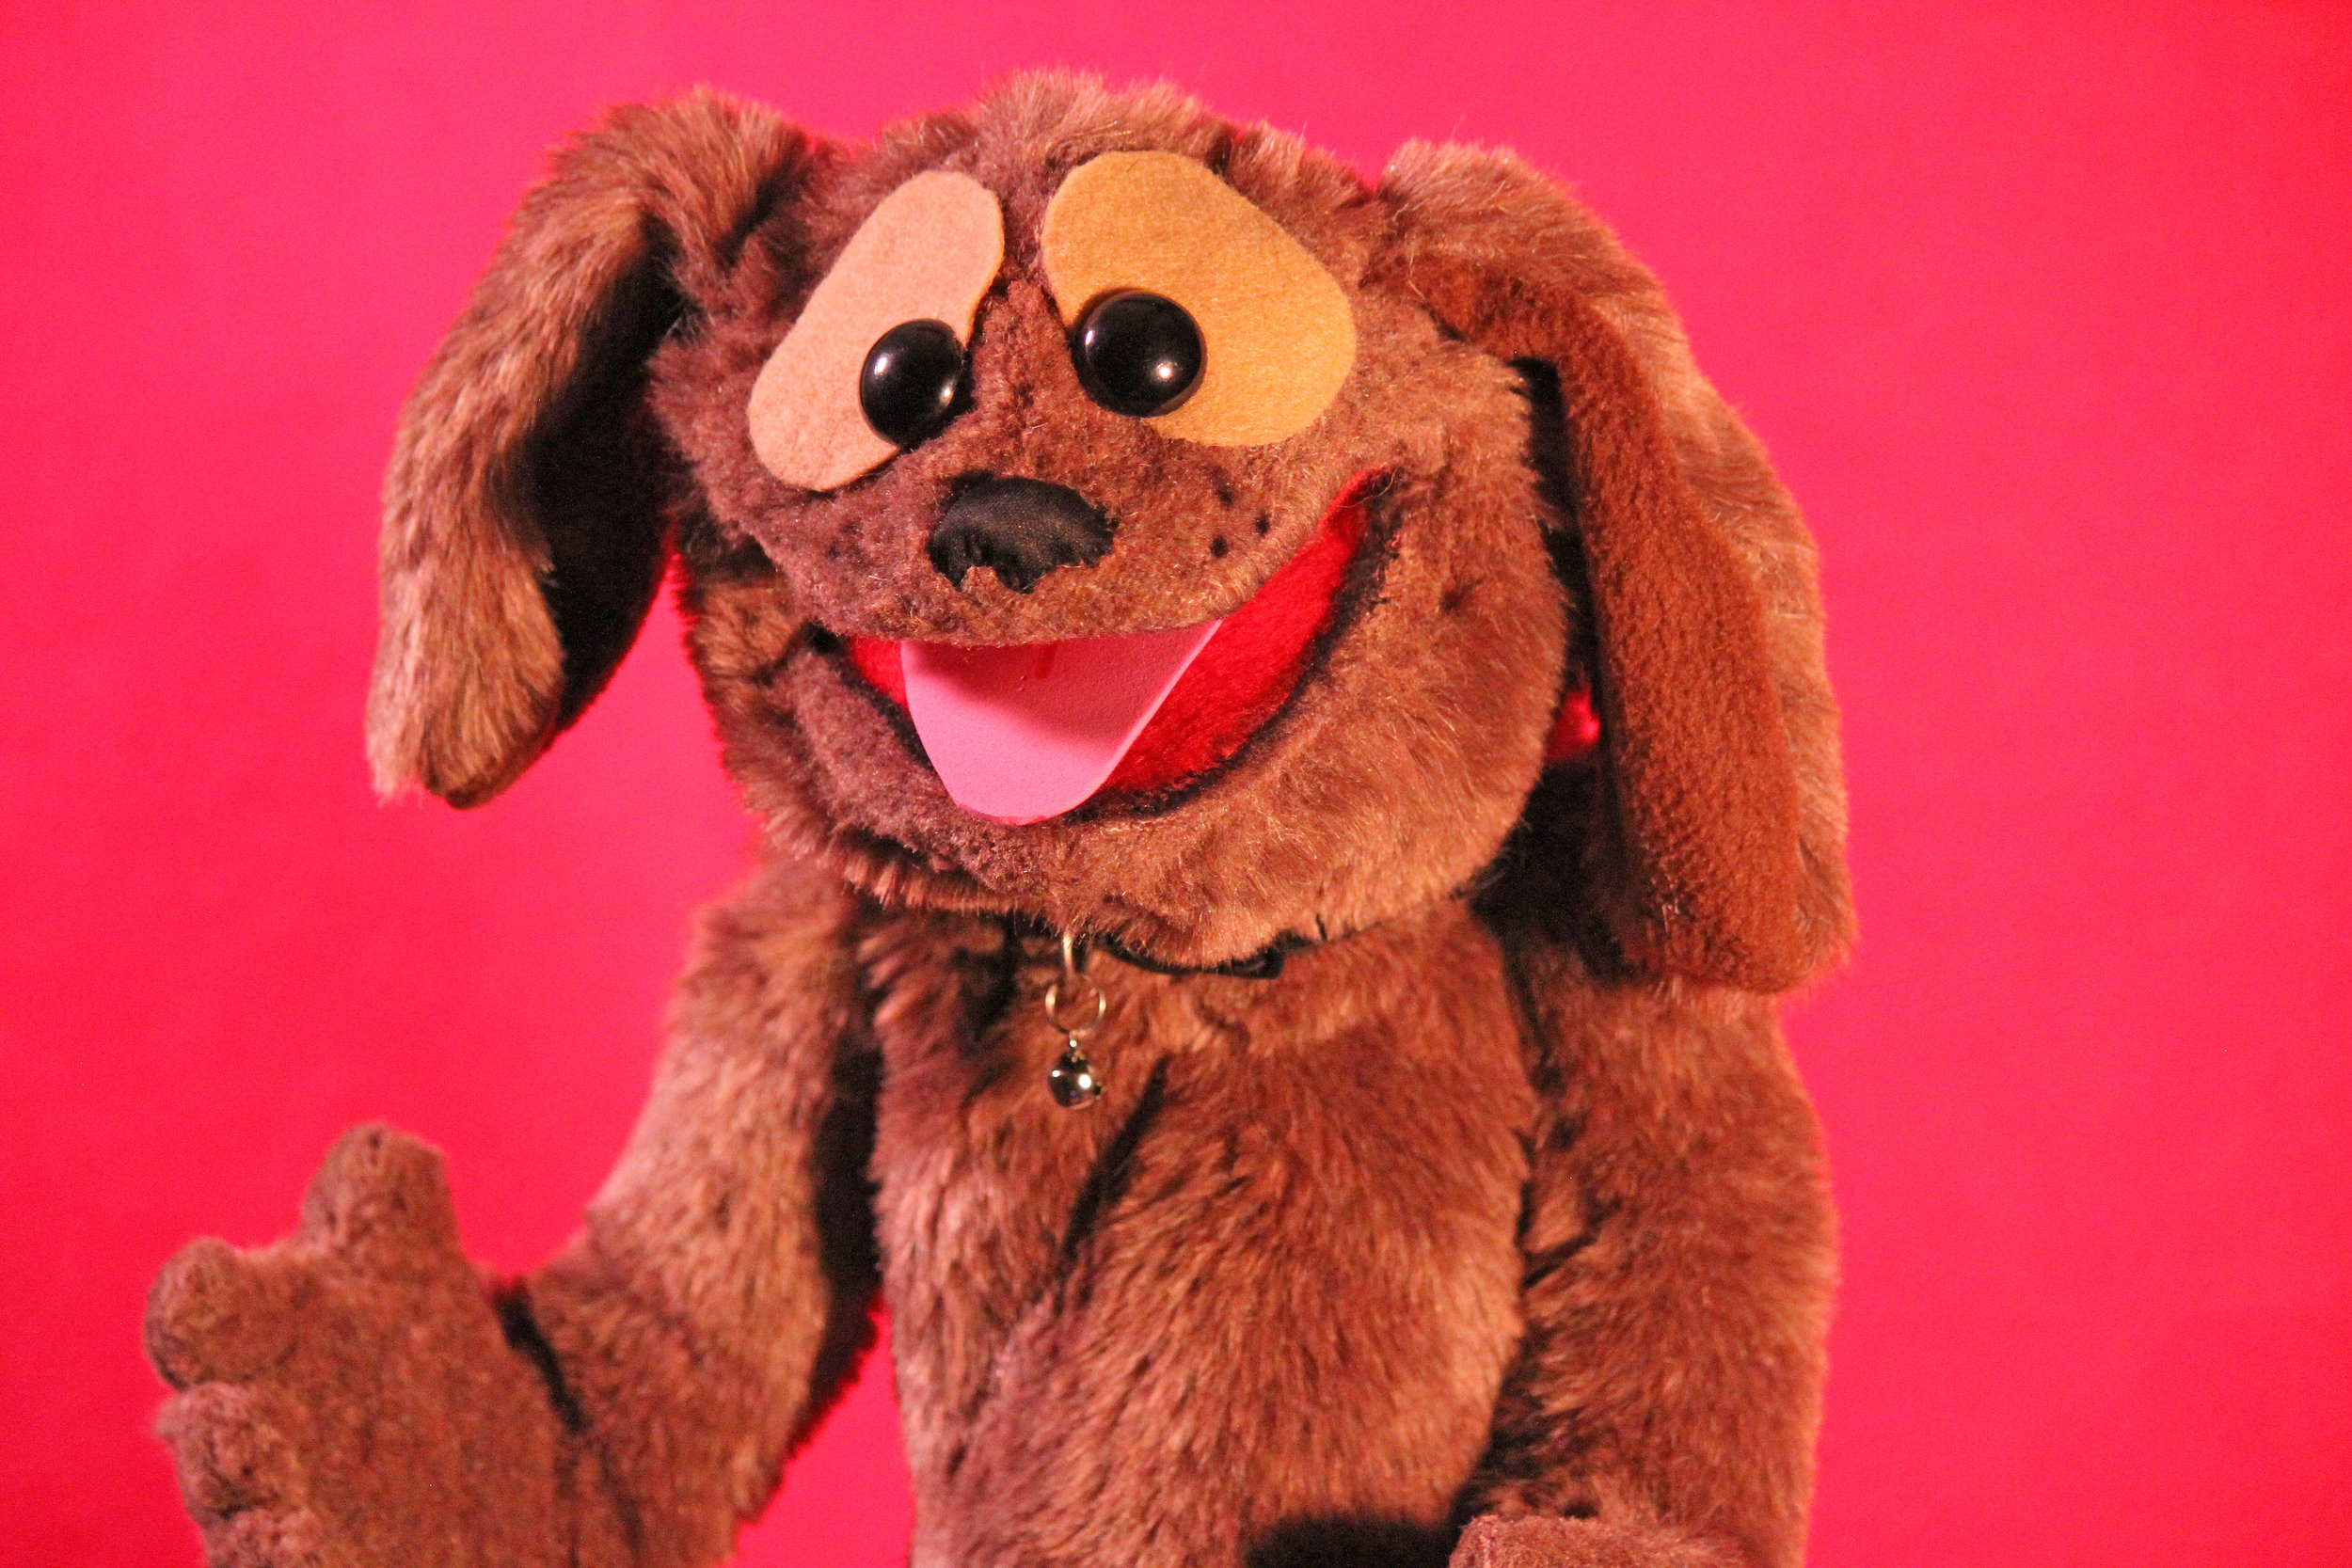
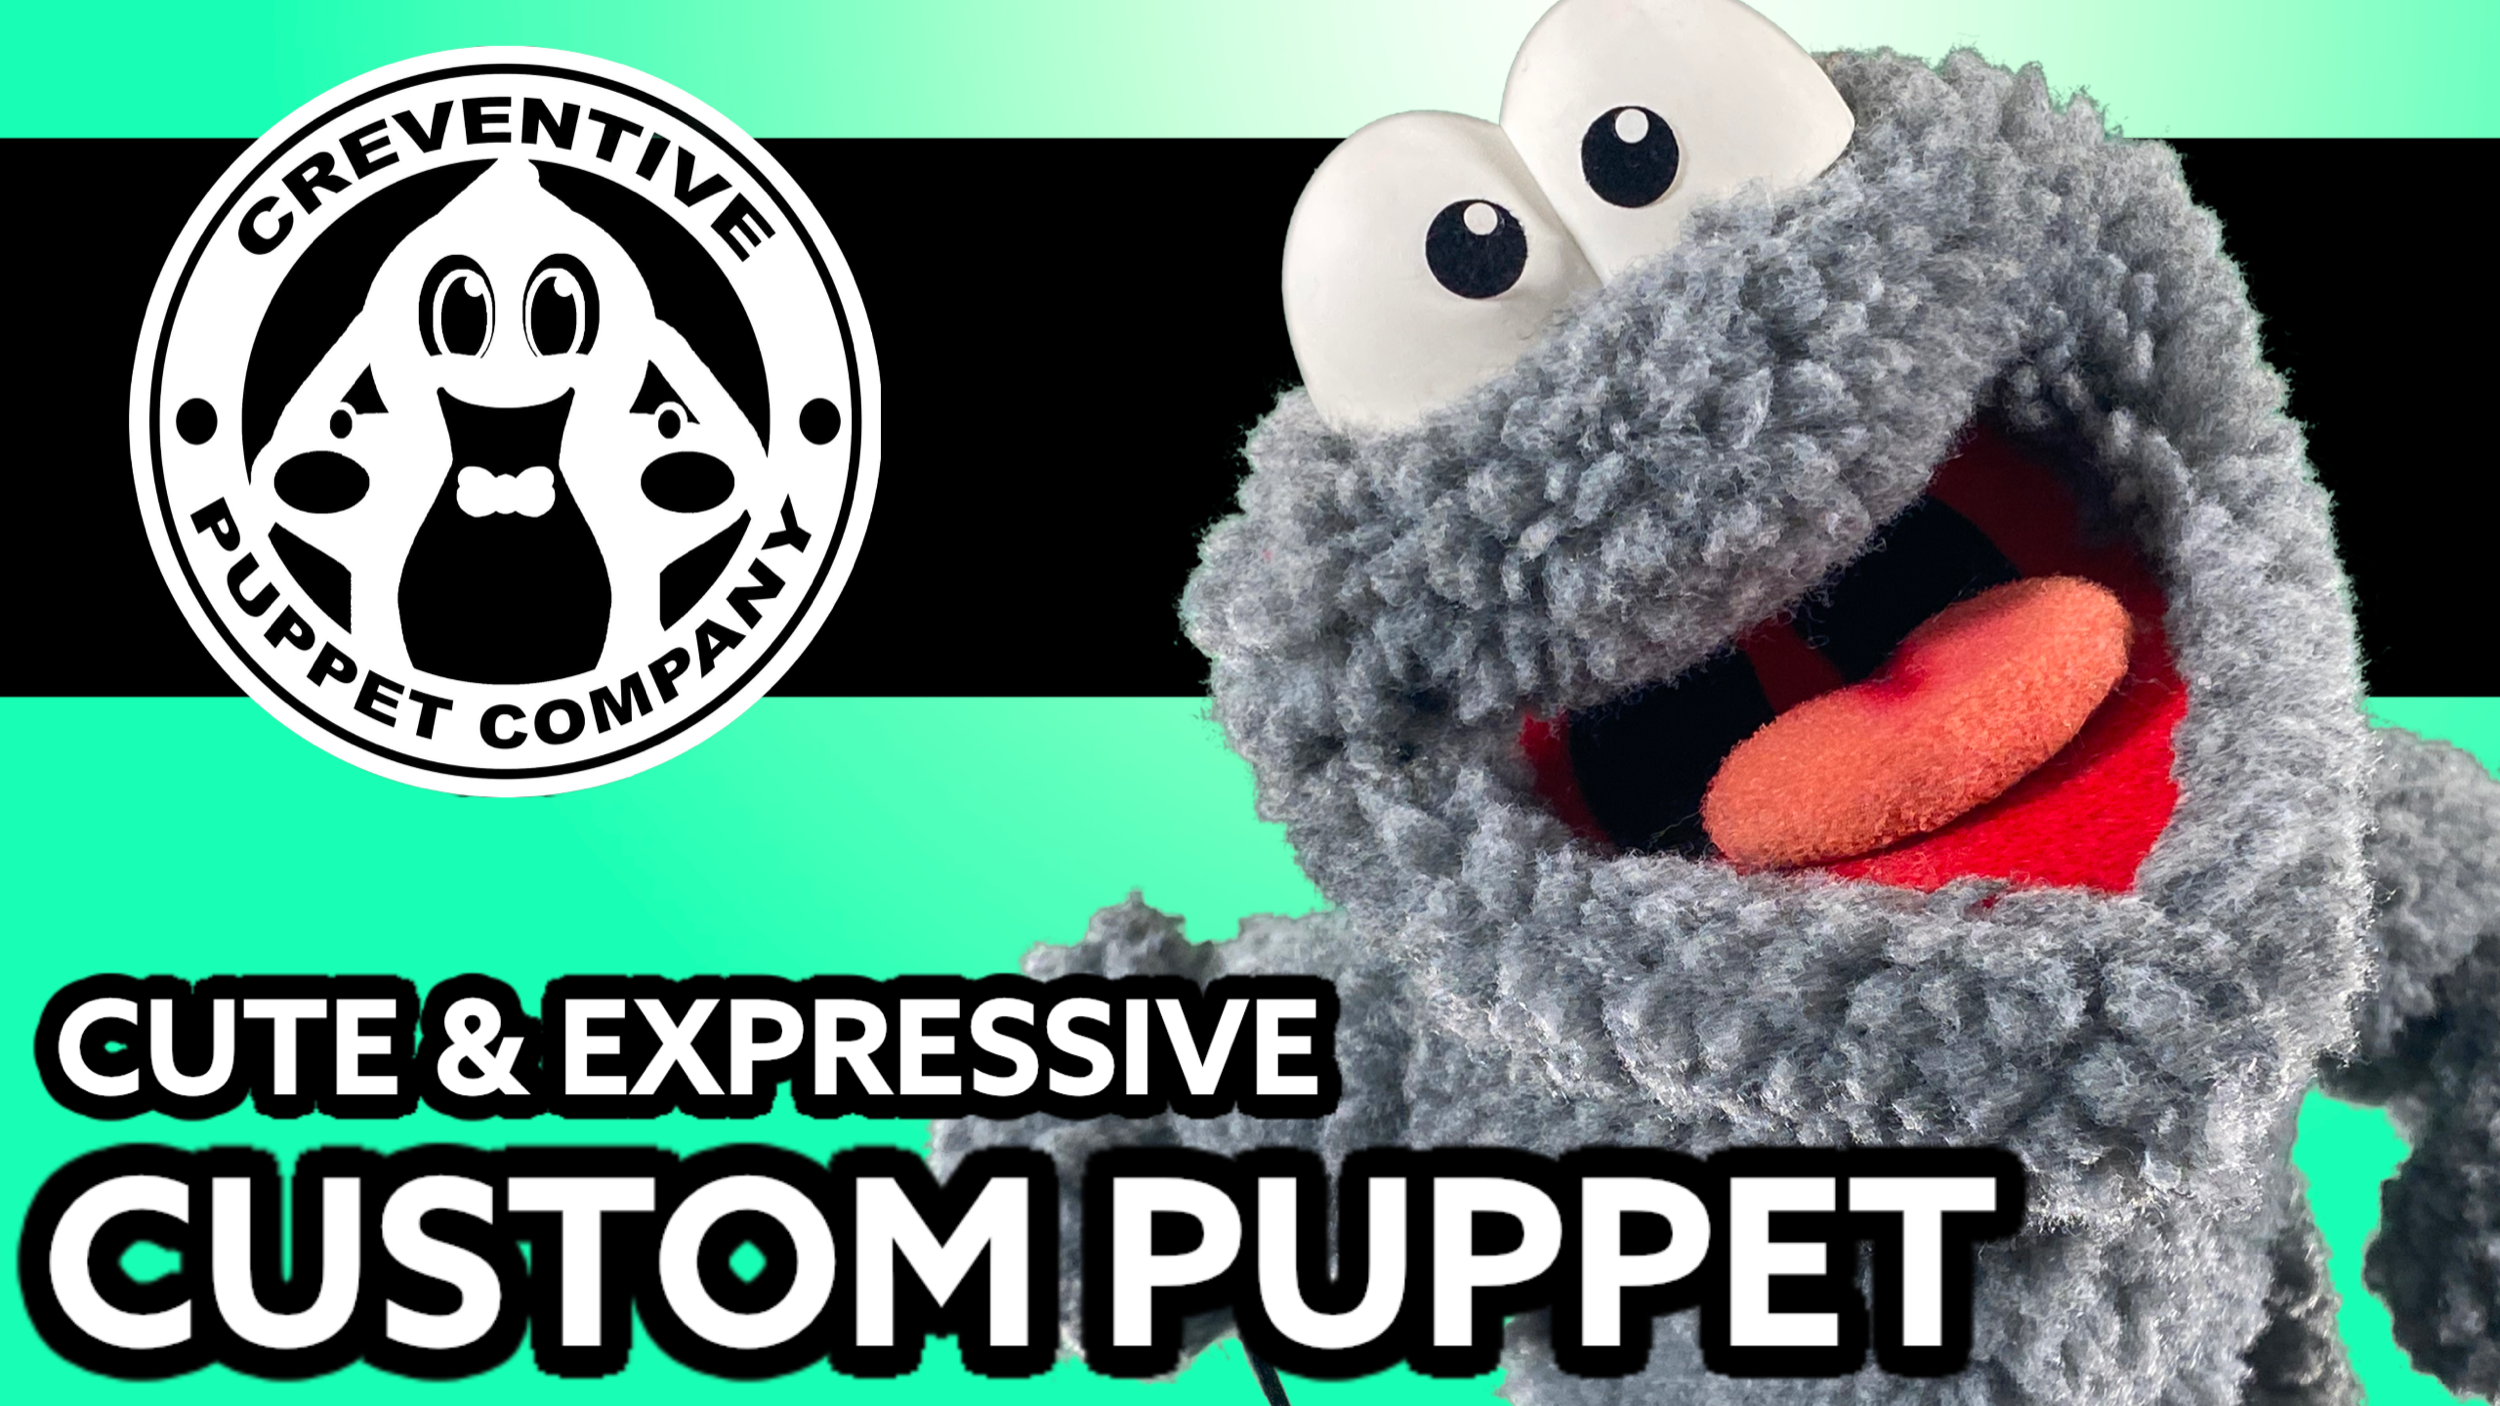
We recently built this cute, expressive little character.
Sometimes the best puppets are the simplest. Especially the smallest ones that fit snug to your hand. These puppets, in my opinion, are some of the best to operate as a puppeteer.
There’s almost no barrier between your hand and the outside of the puppet, similar to a sock puppet, which allows a direct link between your hand and the puppet. Depending on what materials are used to construct the puppet, this can allow the most amount of expression and subtlety.
Let me talk more specifics about this particular build…
How was the puppet built?
The puppet was built out of faux fur that was boiled, felt, gasket rubber, custom-made plastic eyes, foam-carved tongue, with removable arm rods.
Credits
Puppet design & fabrication by Connor Asher, Sydney Alexander