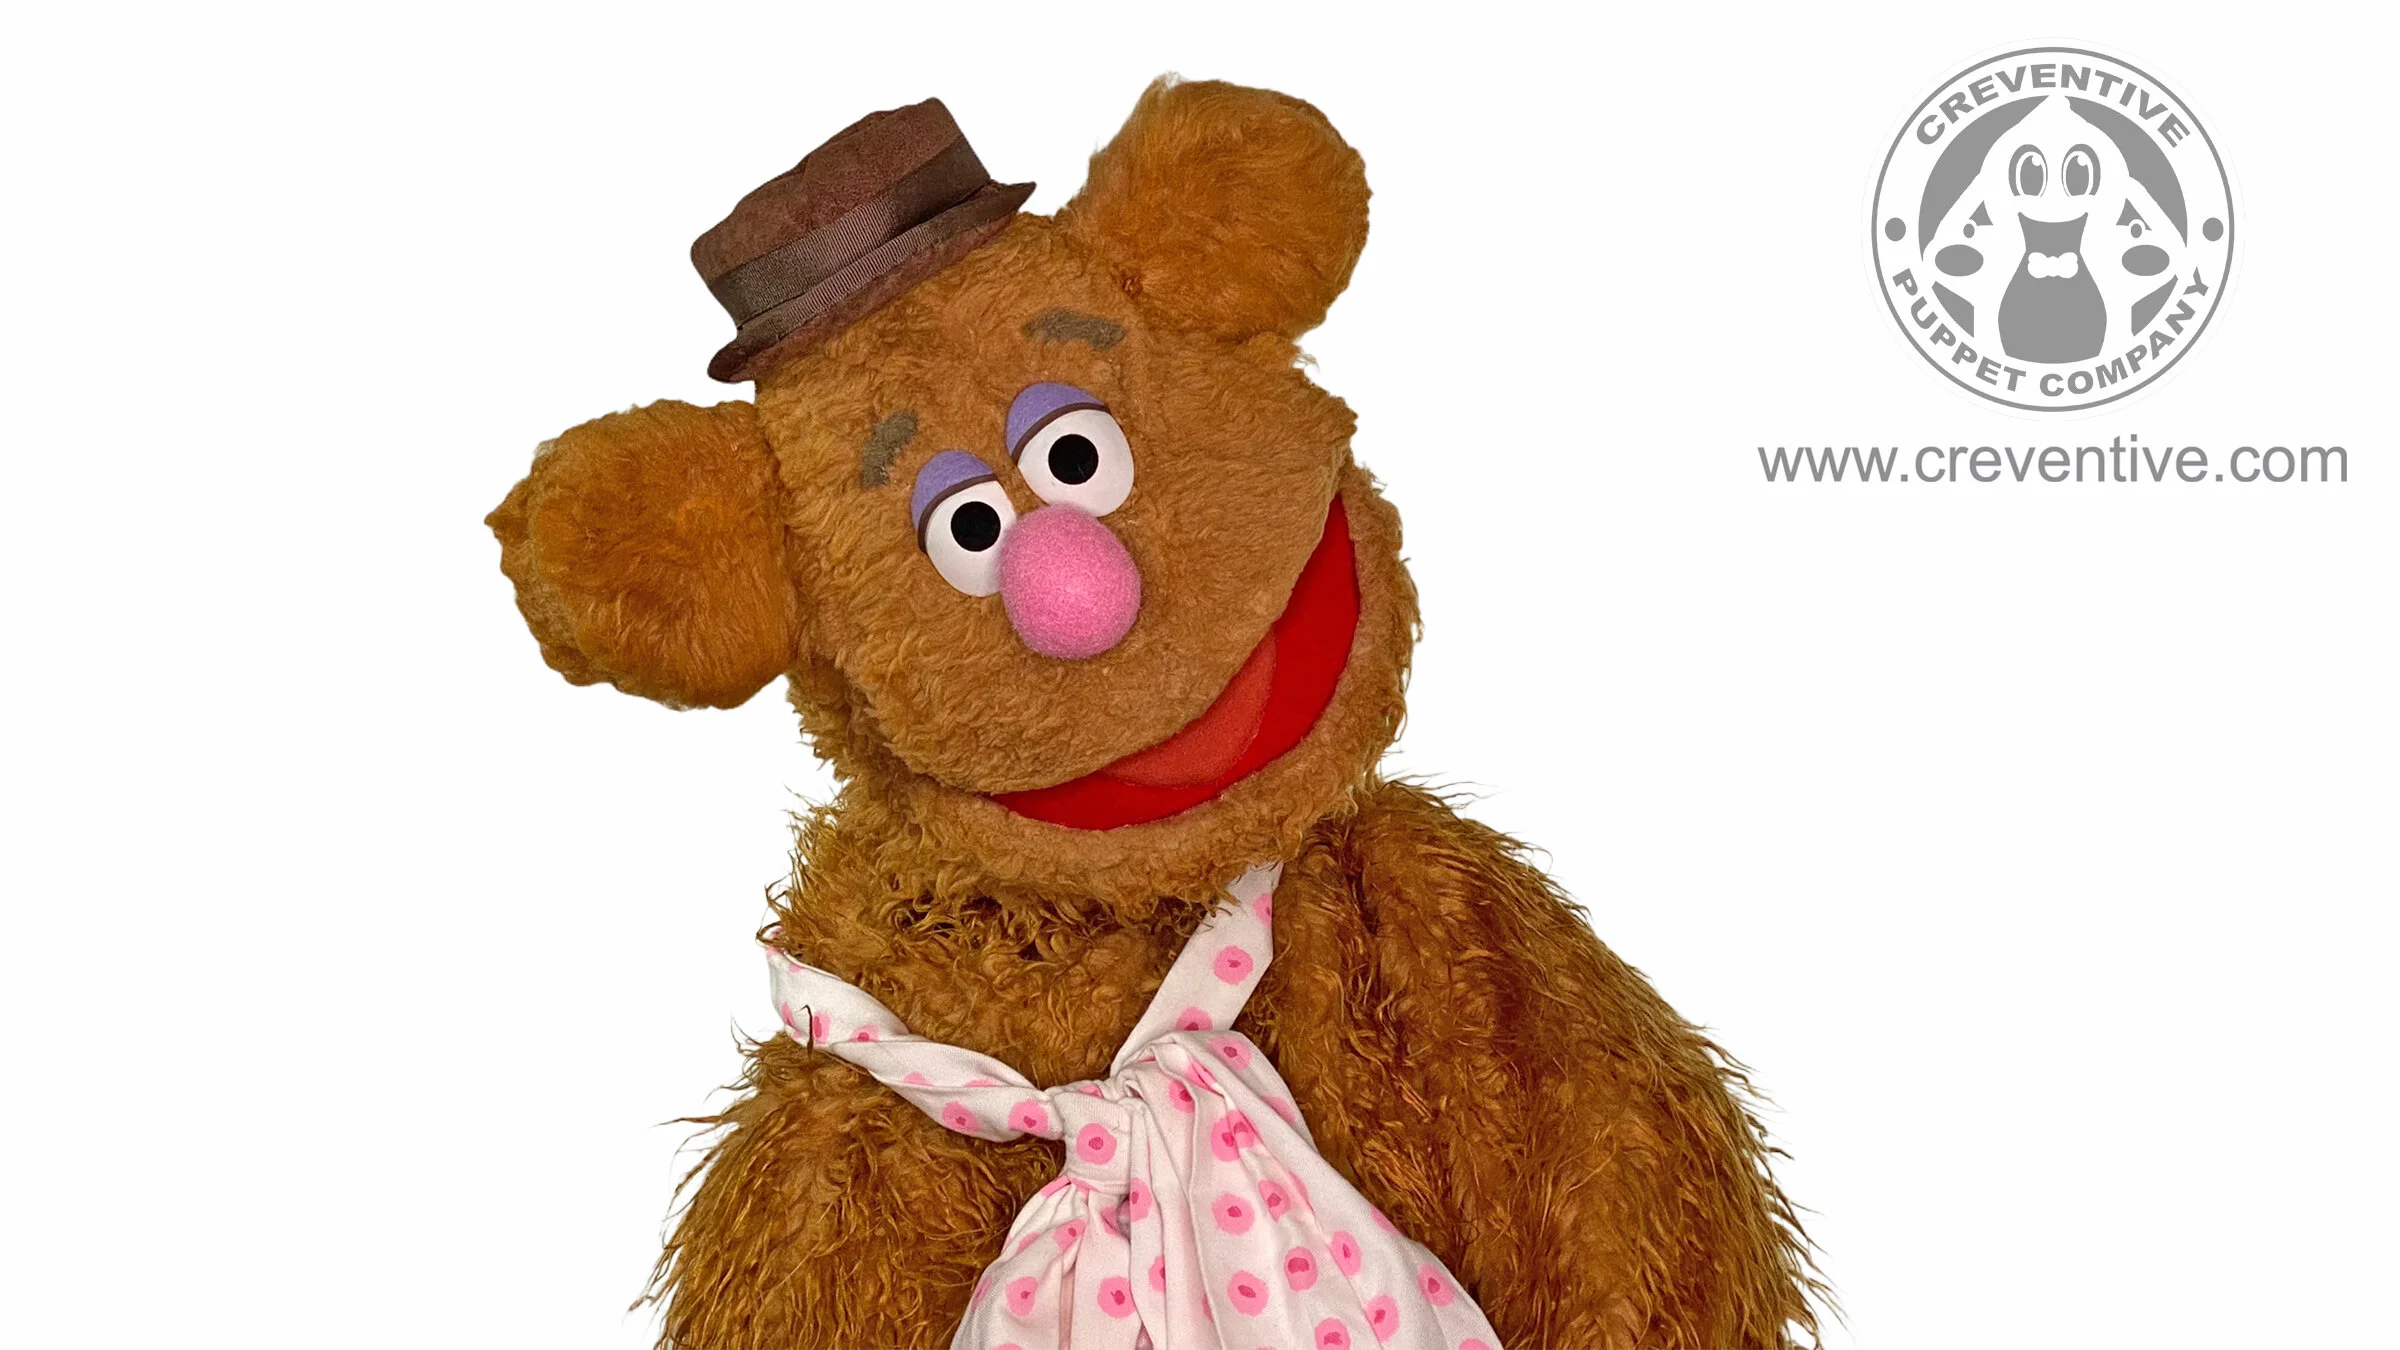
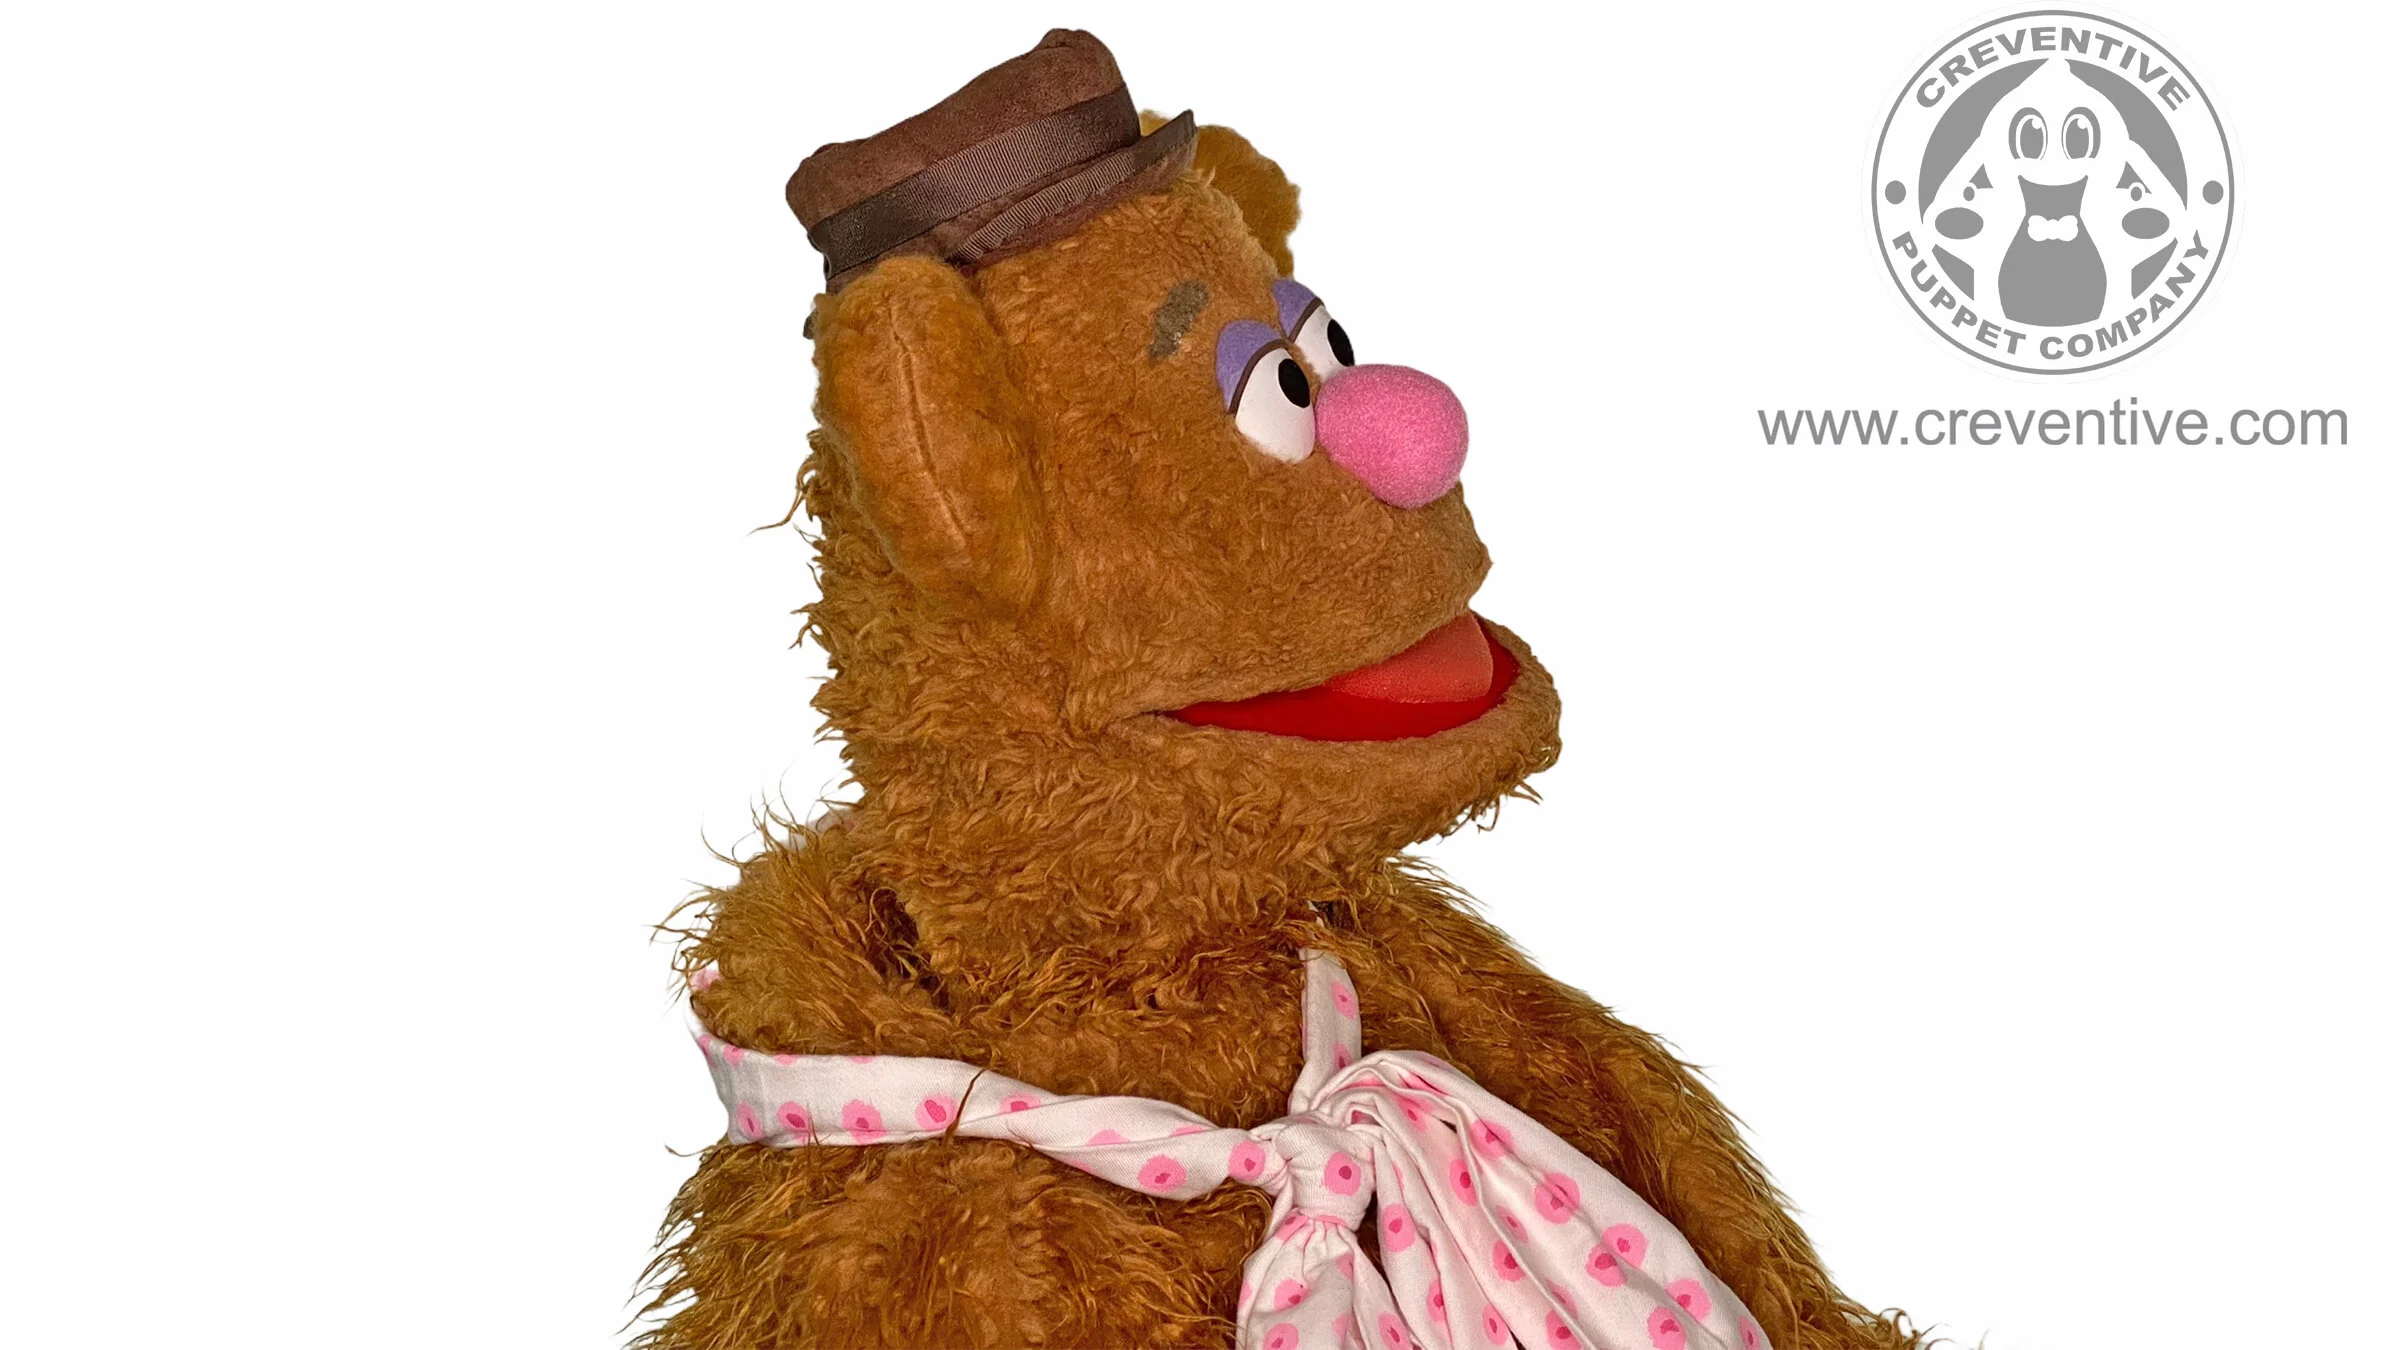
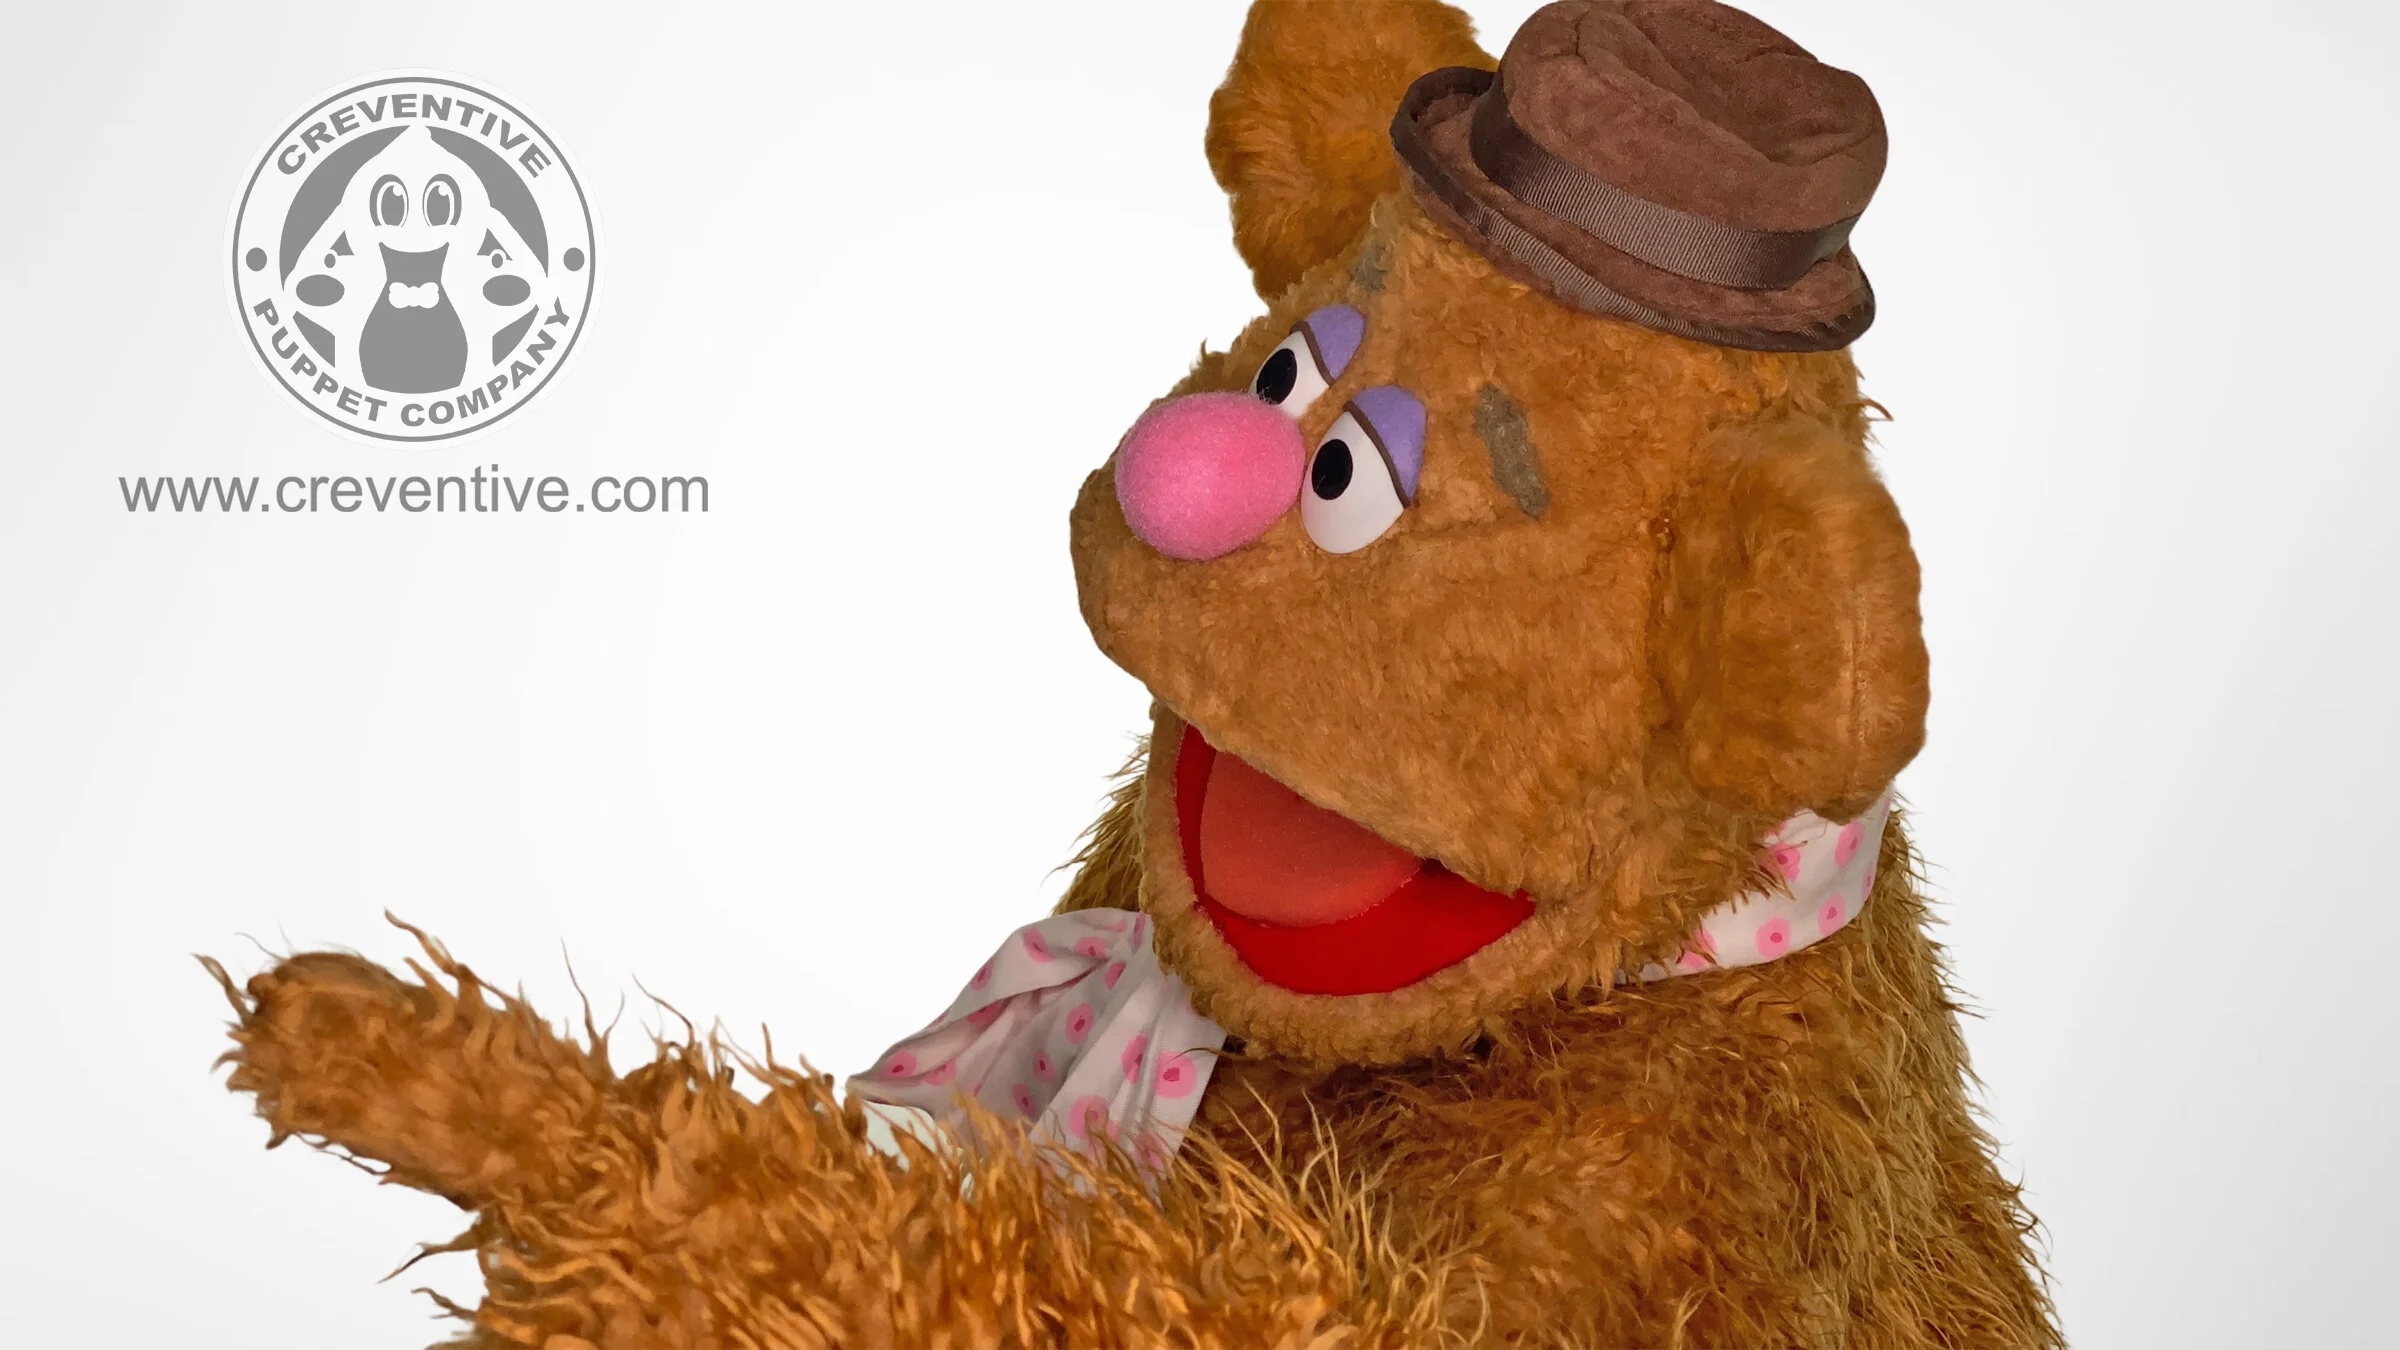
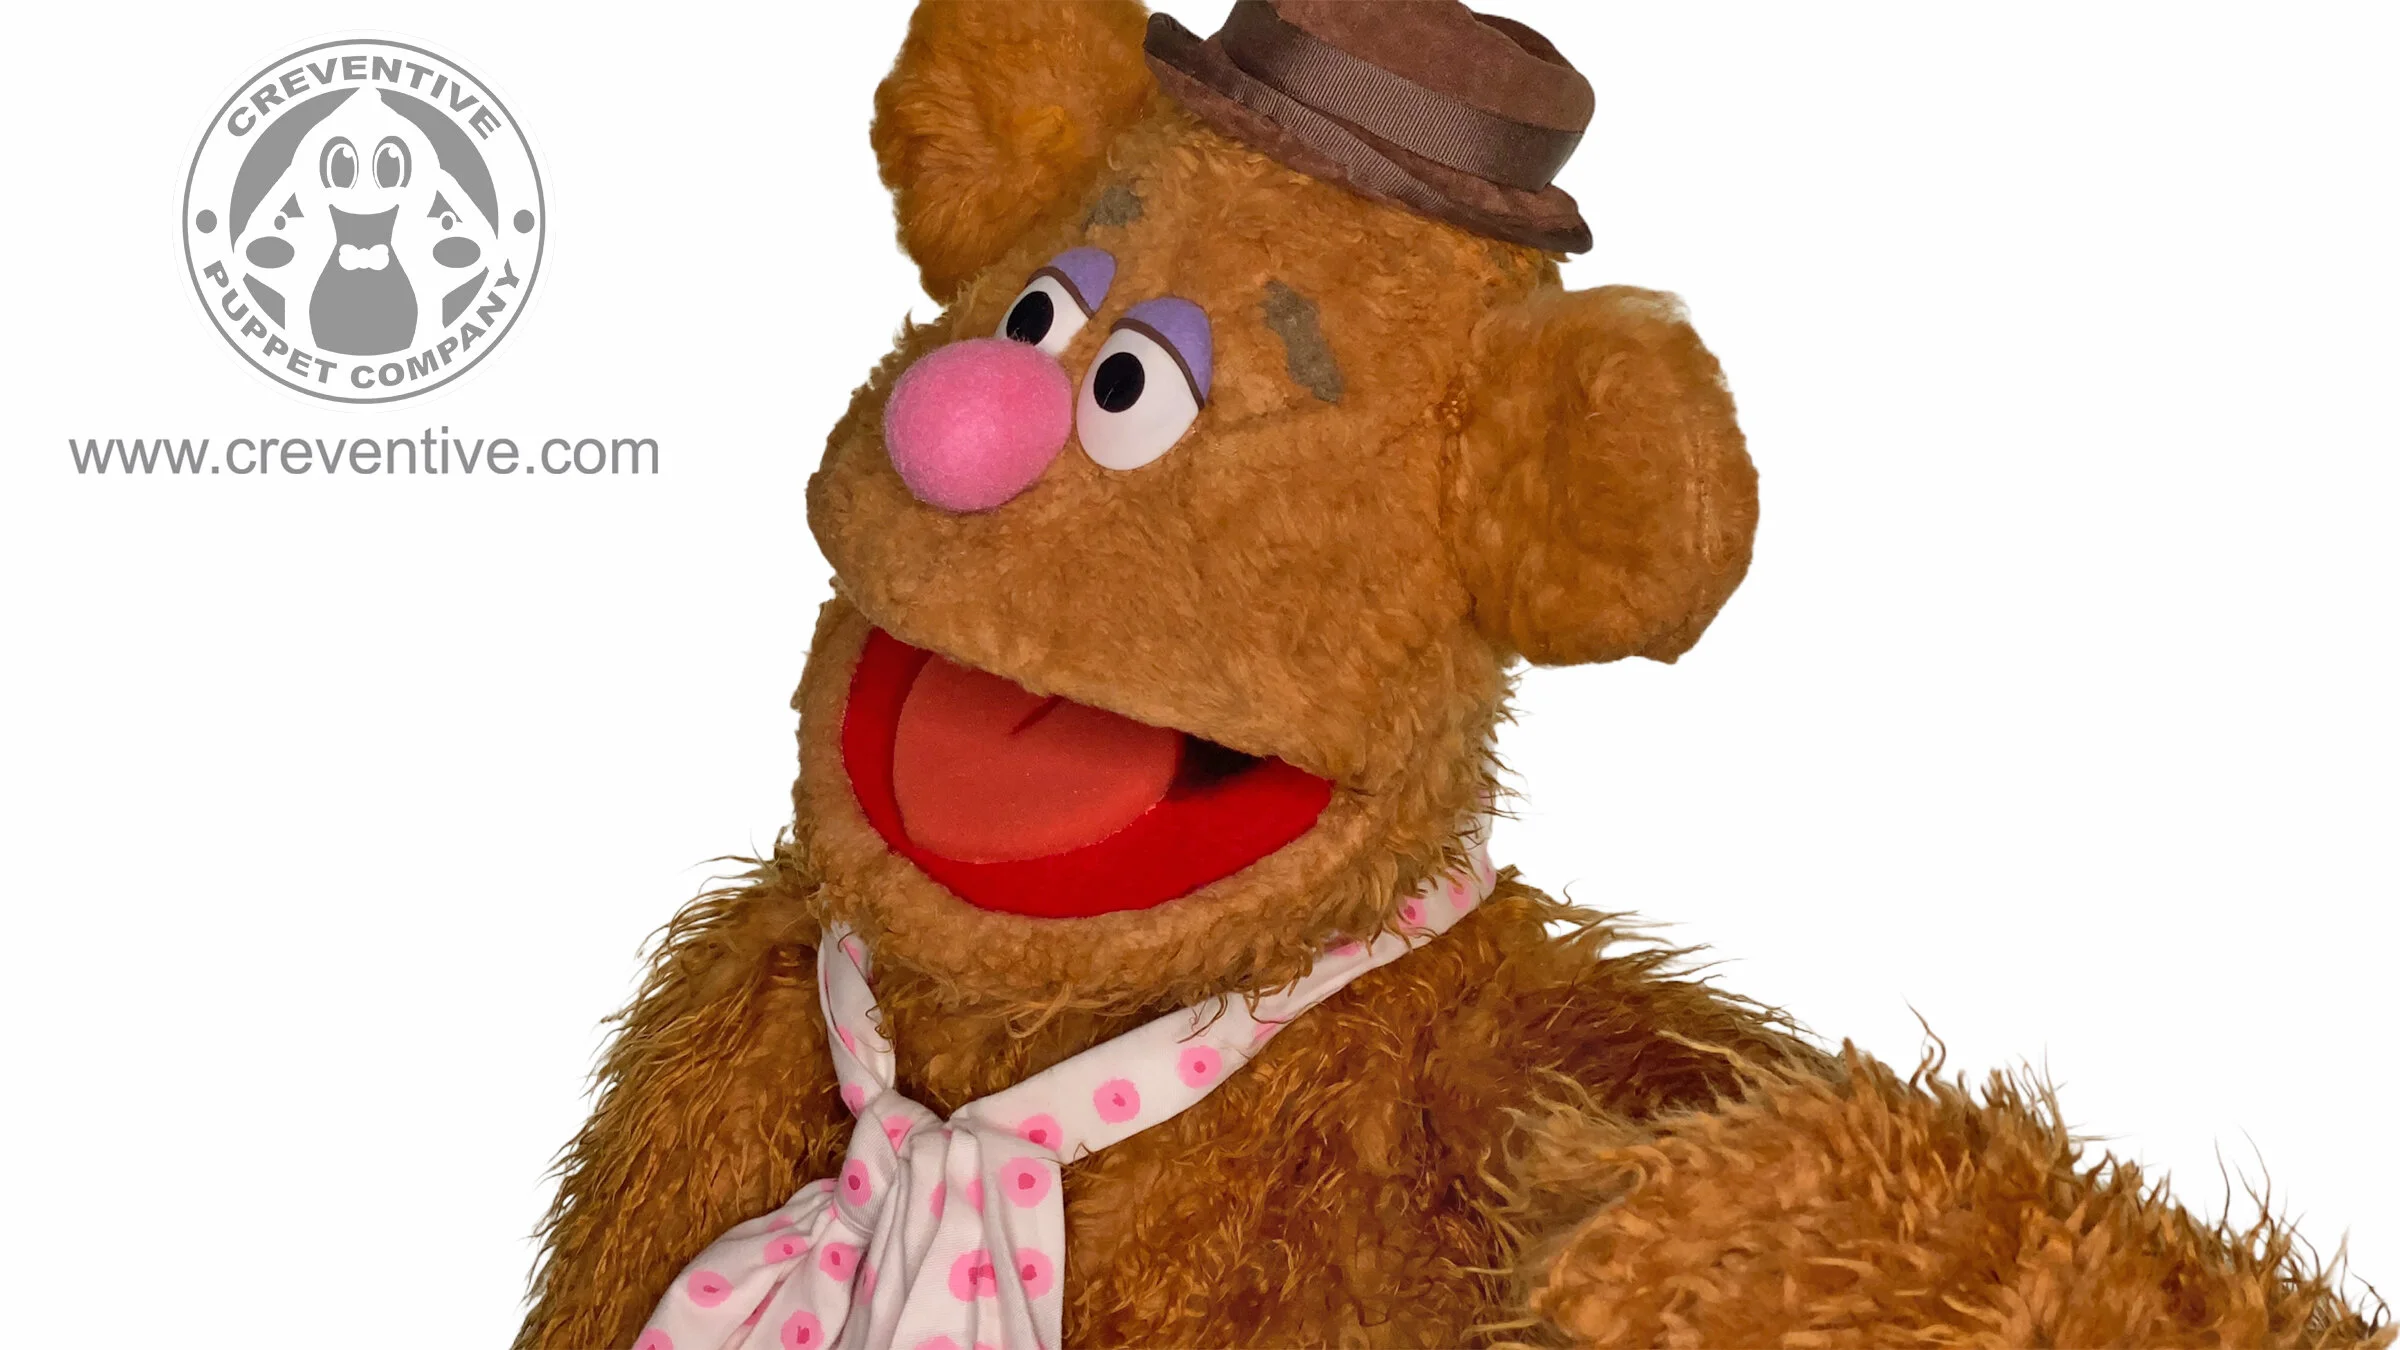
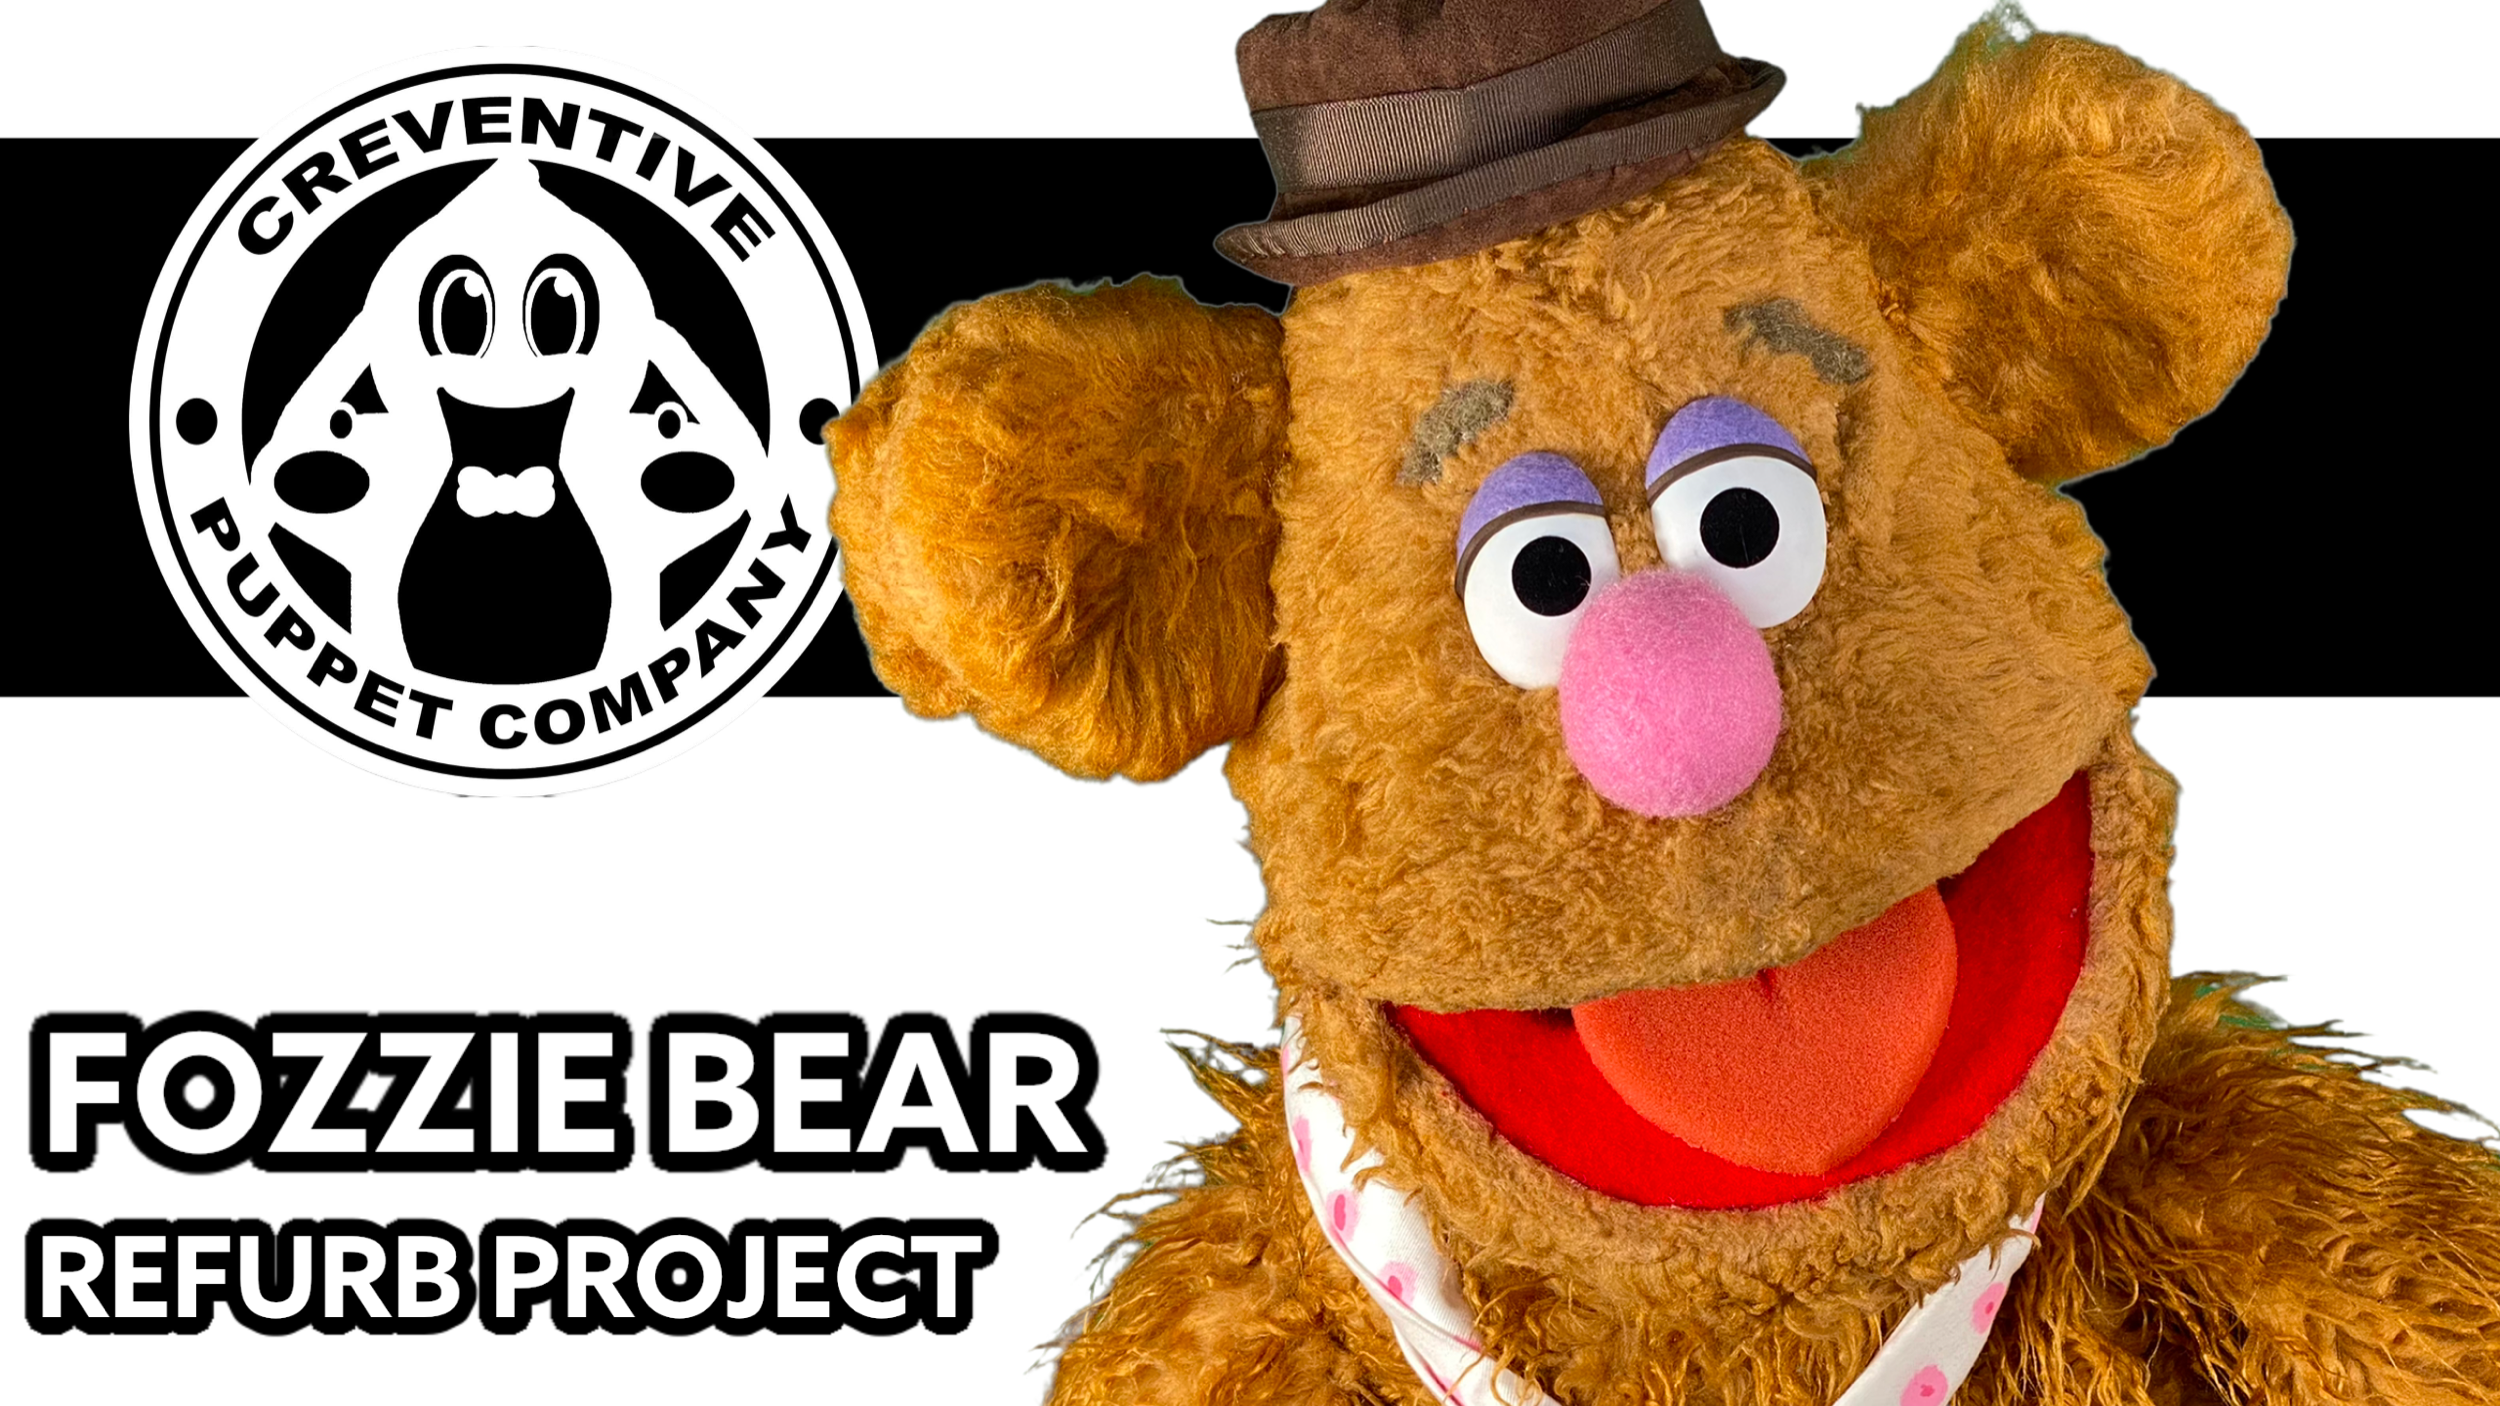
Fozzie Bear Puppet Refurb Project
Before I begin,
NO! I do not accept replica requests/commissions. Don’t ask.
A close friend of mine reached out asked if it were possible to refurbish a puppet from their personal collection for private use.
Normally I would NEVER do this since it’s a copyrighted character however the idea of a refurbishment project intrigued me as both a puppet builder and Muppet fan especially since I wasn’t building it from scratch nor was charging for it.
I decided to take the project on as a favor for my friend and challenge to myself to tackle between projects. (Once again, I did not get paid for this project)
It was a major challenge but I learned a lot of great techniques and would like to share some of the lessons I learned during this build.
So let’s dive in!
The Process

I received the puppet in a pretty beat up condition. The first step was looking at the puppet from both an internal and external perspective to see the amount of work that needed to be accomplished.
My friend wanted me to try to keep as much of the original’s materials as possible since it was an unpaid project.
I then began dissecting the puppet into pieces to see what the internal structure was made out of.
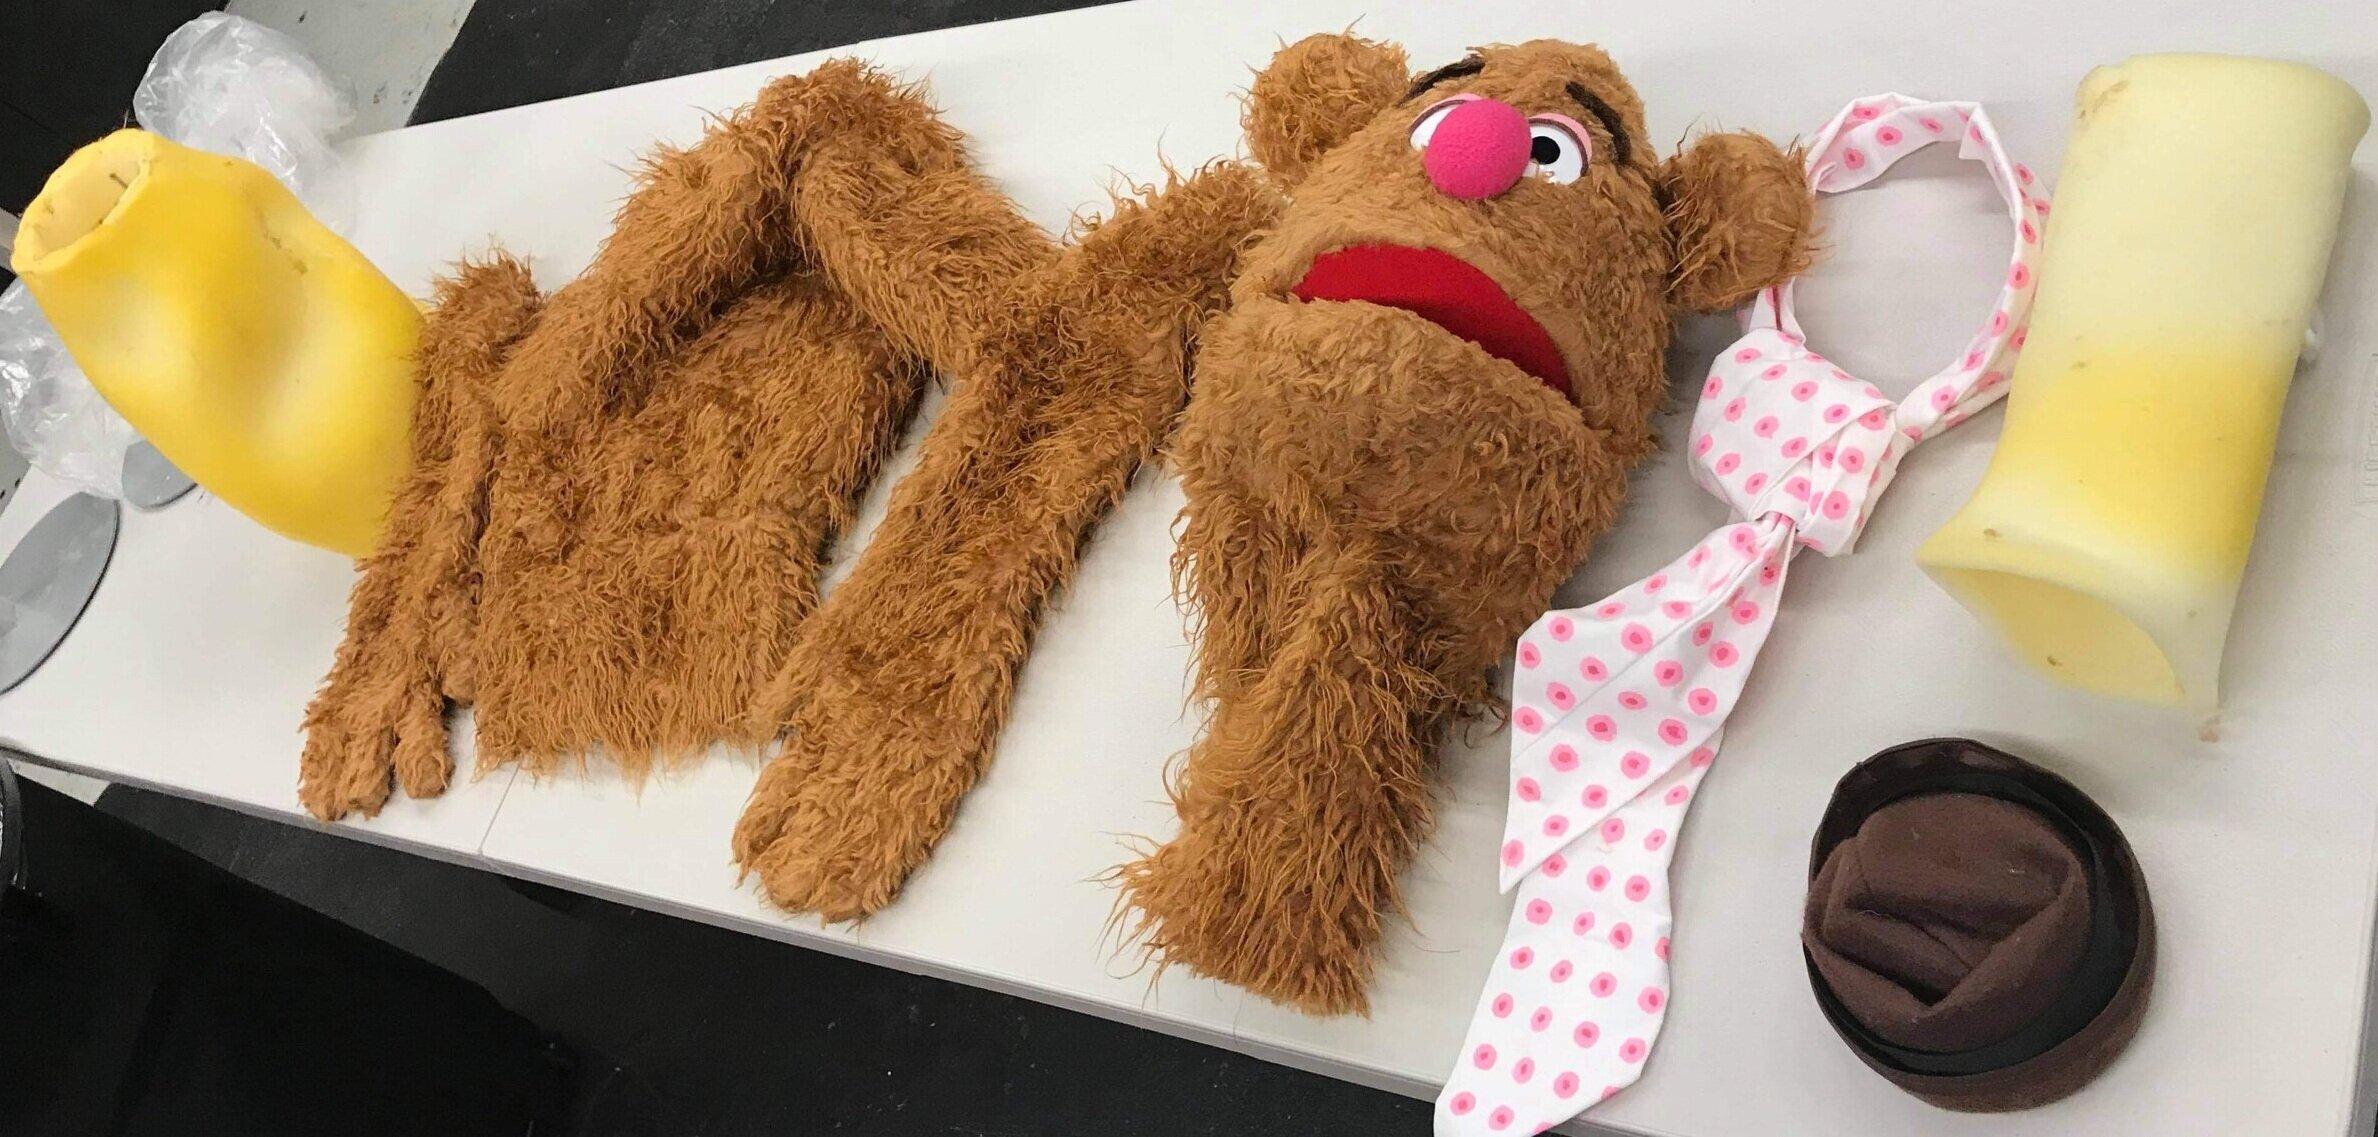
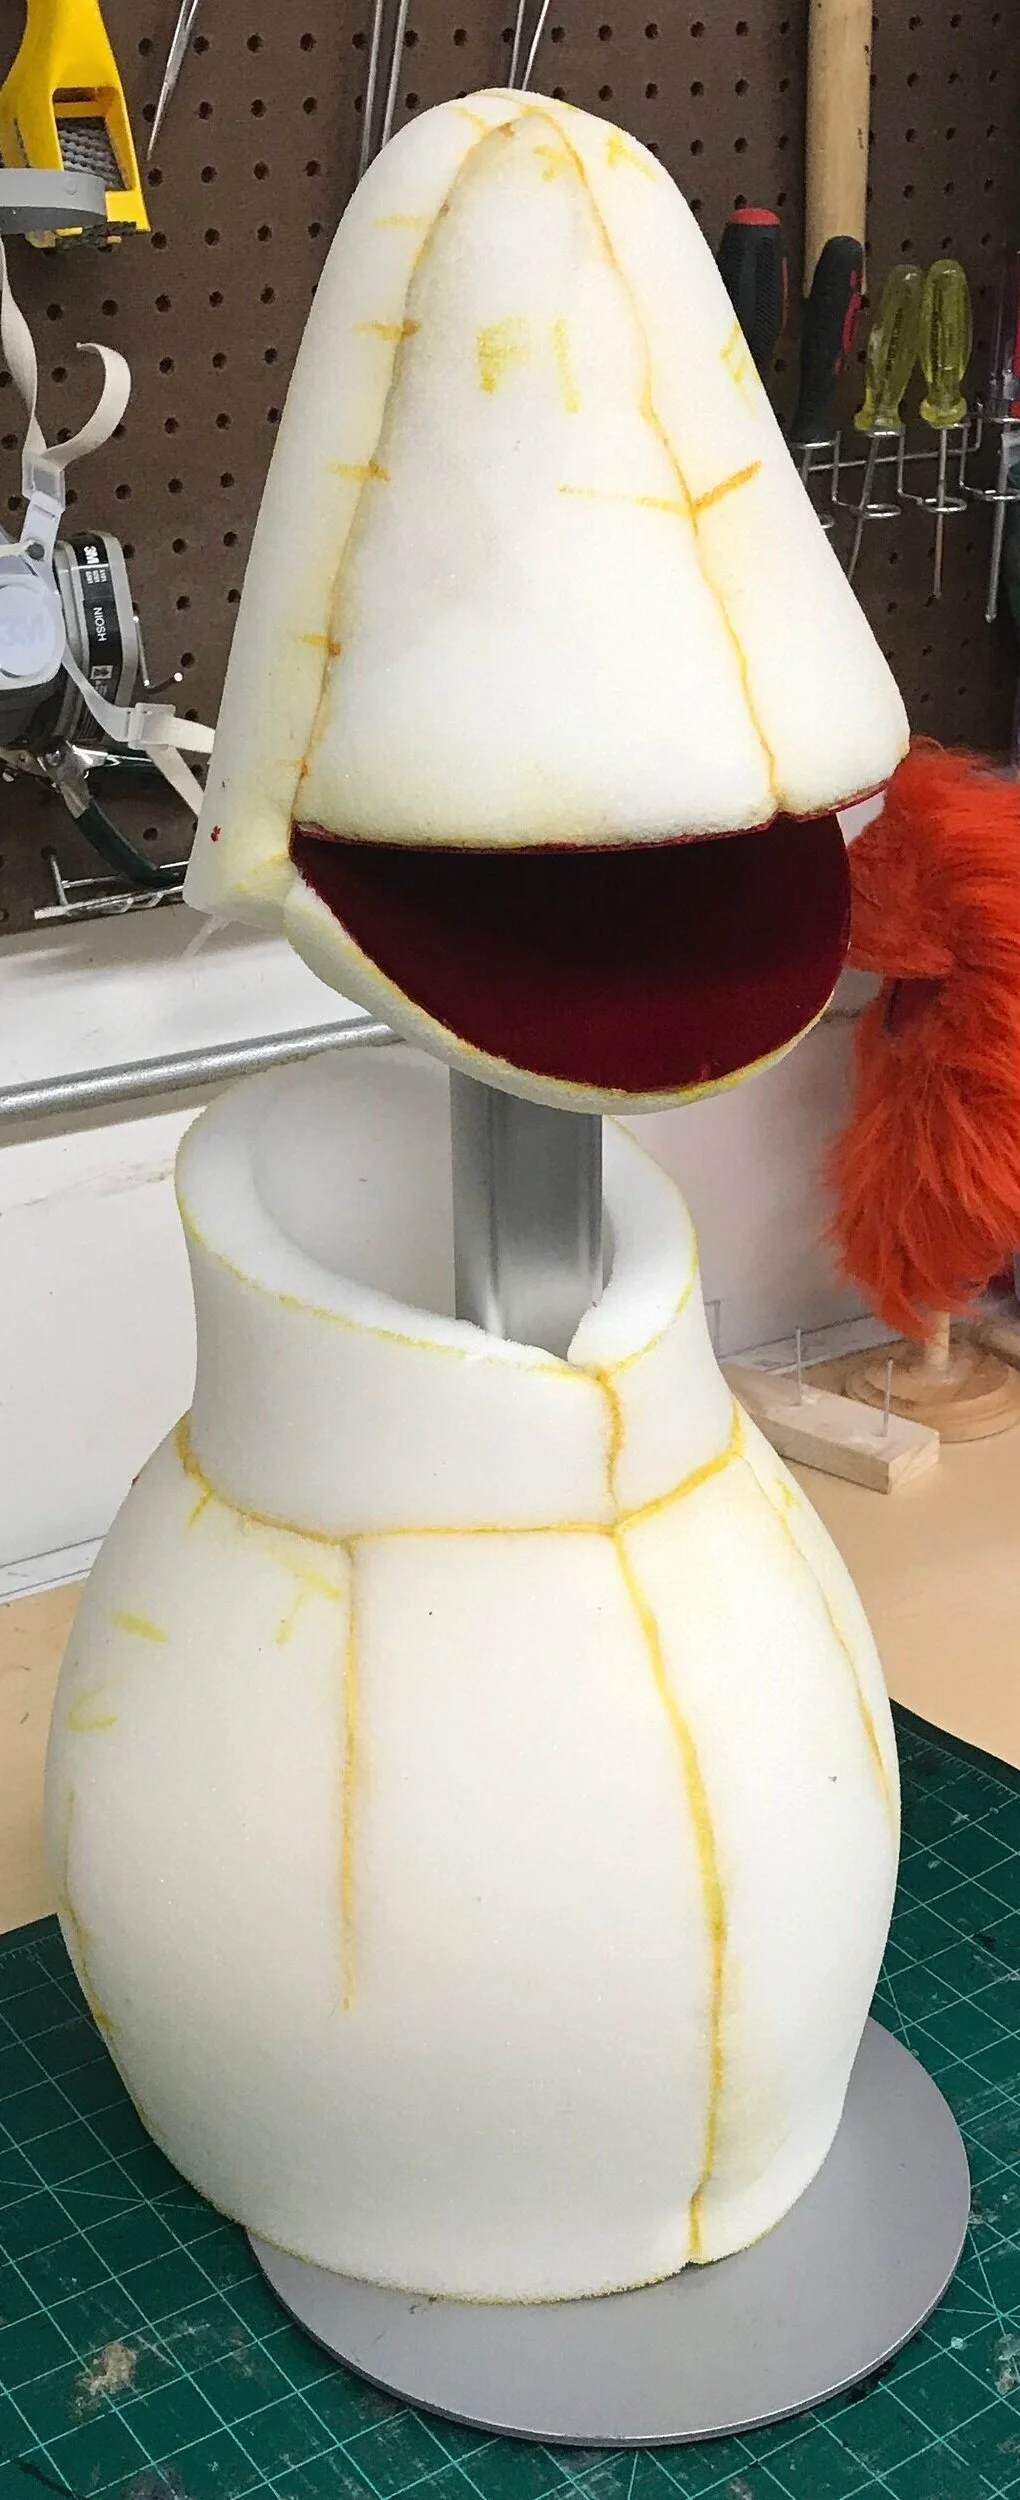
All of the foam was disintegrating/toasting, mouth plate was built out of card board, nose was built with styrofoam. One of the major issues with some of those materials is that they’re inferior, don’t last long and don’t handle performing well.
After, I began recreating the patterns using some of the original’s along with creating new patterns to make the shapes more accurate to the actual puppet.
One of the most challenging parts of this build was reference images. The actual character changed so much over the years, I decided to try my best to be as true to the character as possible.
Capturing subtle details can be a very difficult and time consuming process on certain characters but I’m always up for a challenge.
After putting together all the new foam, mouth plate and neck sleeve, I began draping the head, neck and body to get new covering patterns.
I then traced those patterns onto remnants of the original faux fur that I got from dissecting the original puppet. (Which was a challenge within itself - so if I needed extra fur, I didn’t have it) and luckily had just enough to cover the head, body and neck. I decided to reuse the original’s ears, arms and necktie to save time and costs.
After everything was sewn together, I treated the fur with heat to give it more texture.
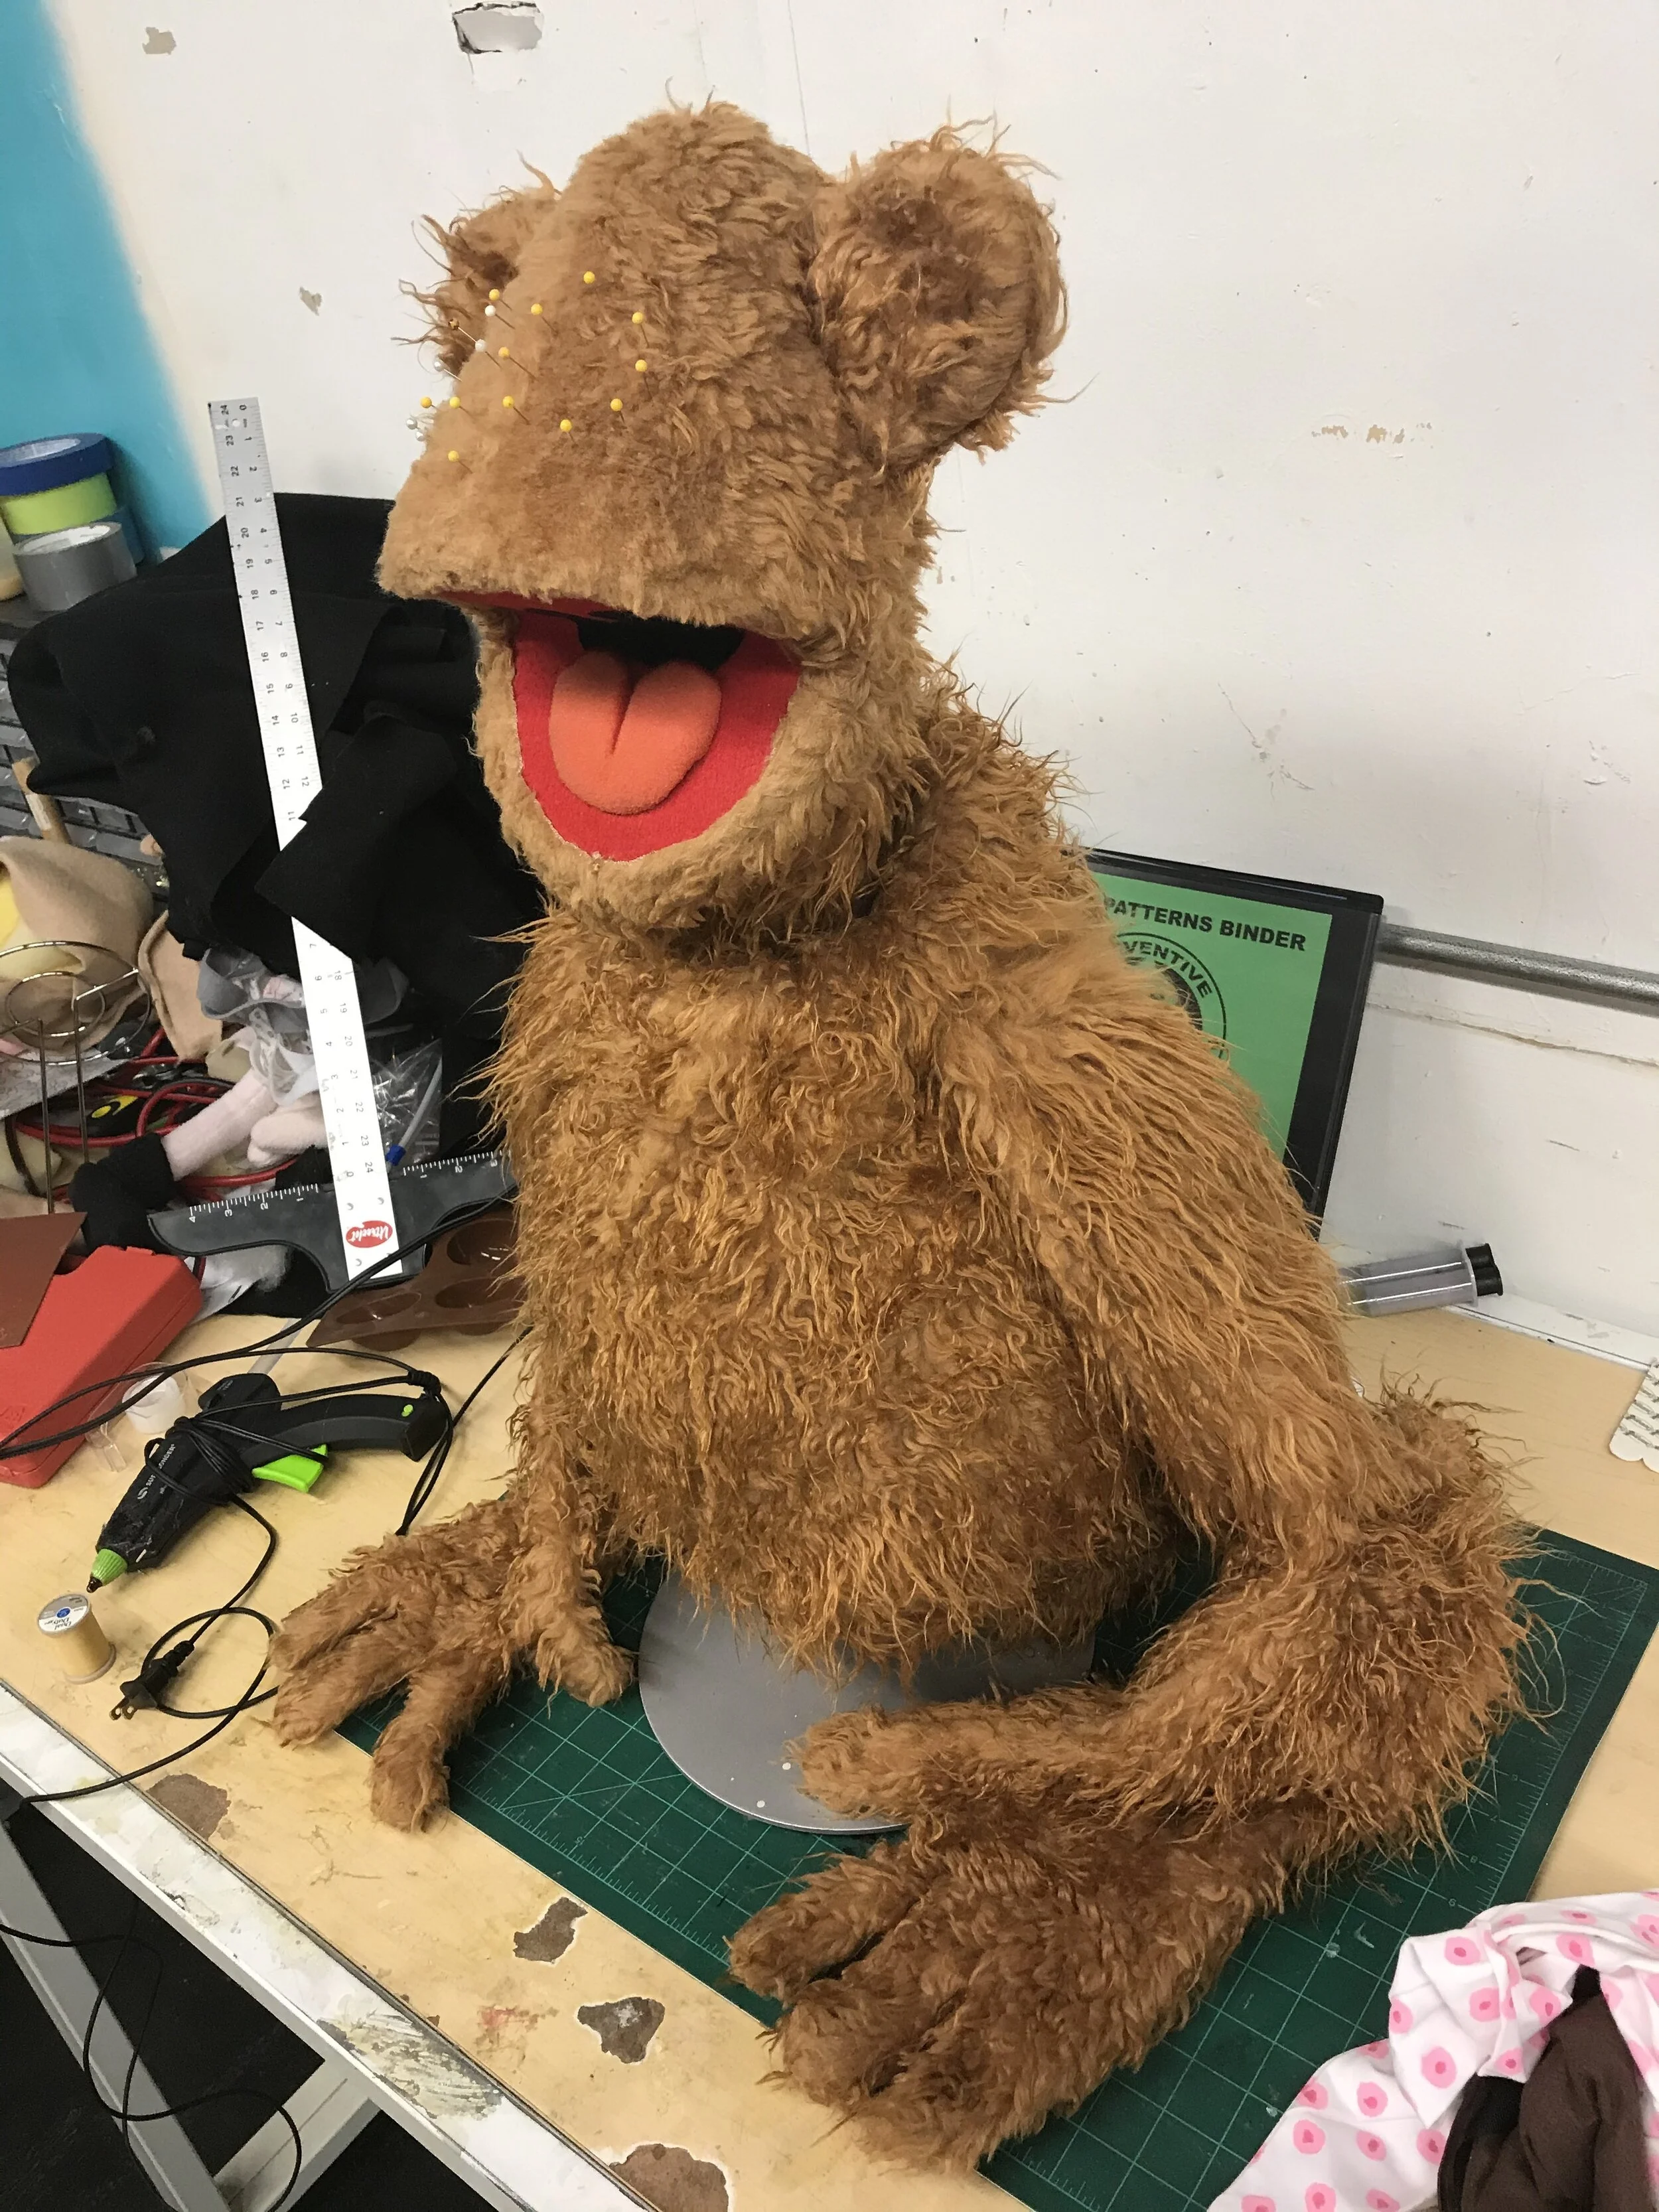
After this, it was time to problem solve the features. Figuring out the eyes, nose and ear placement took quite a bit of time.
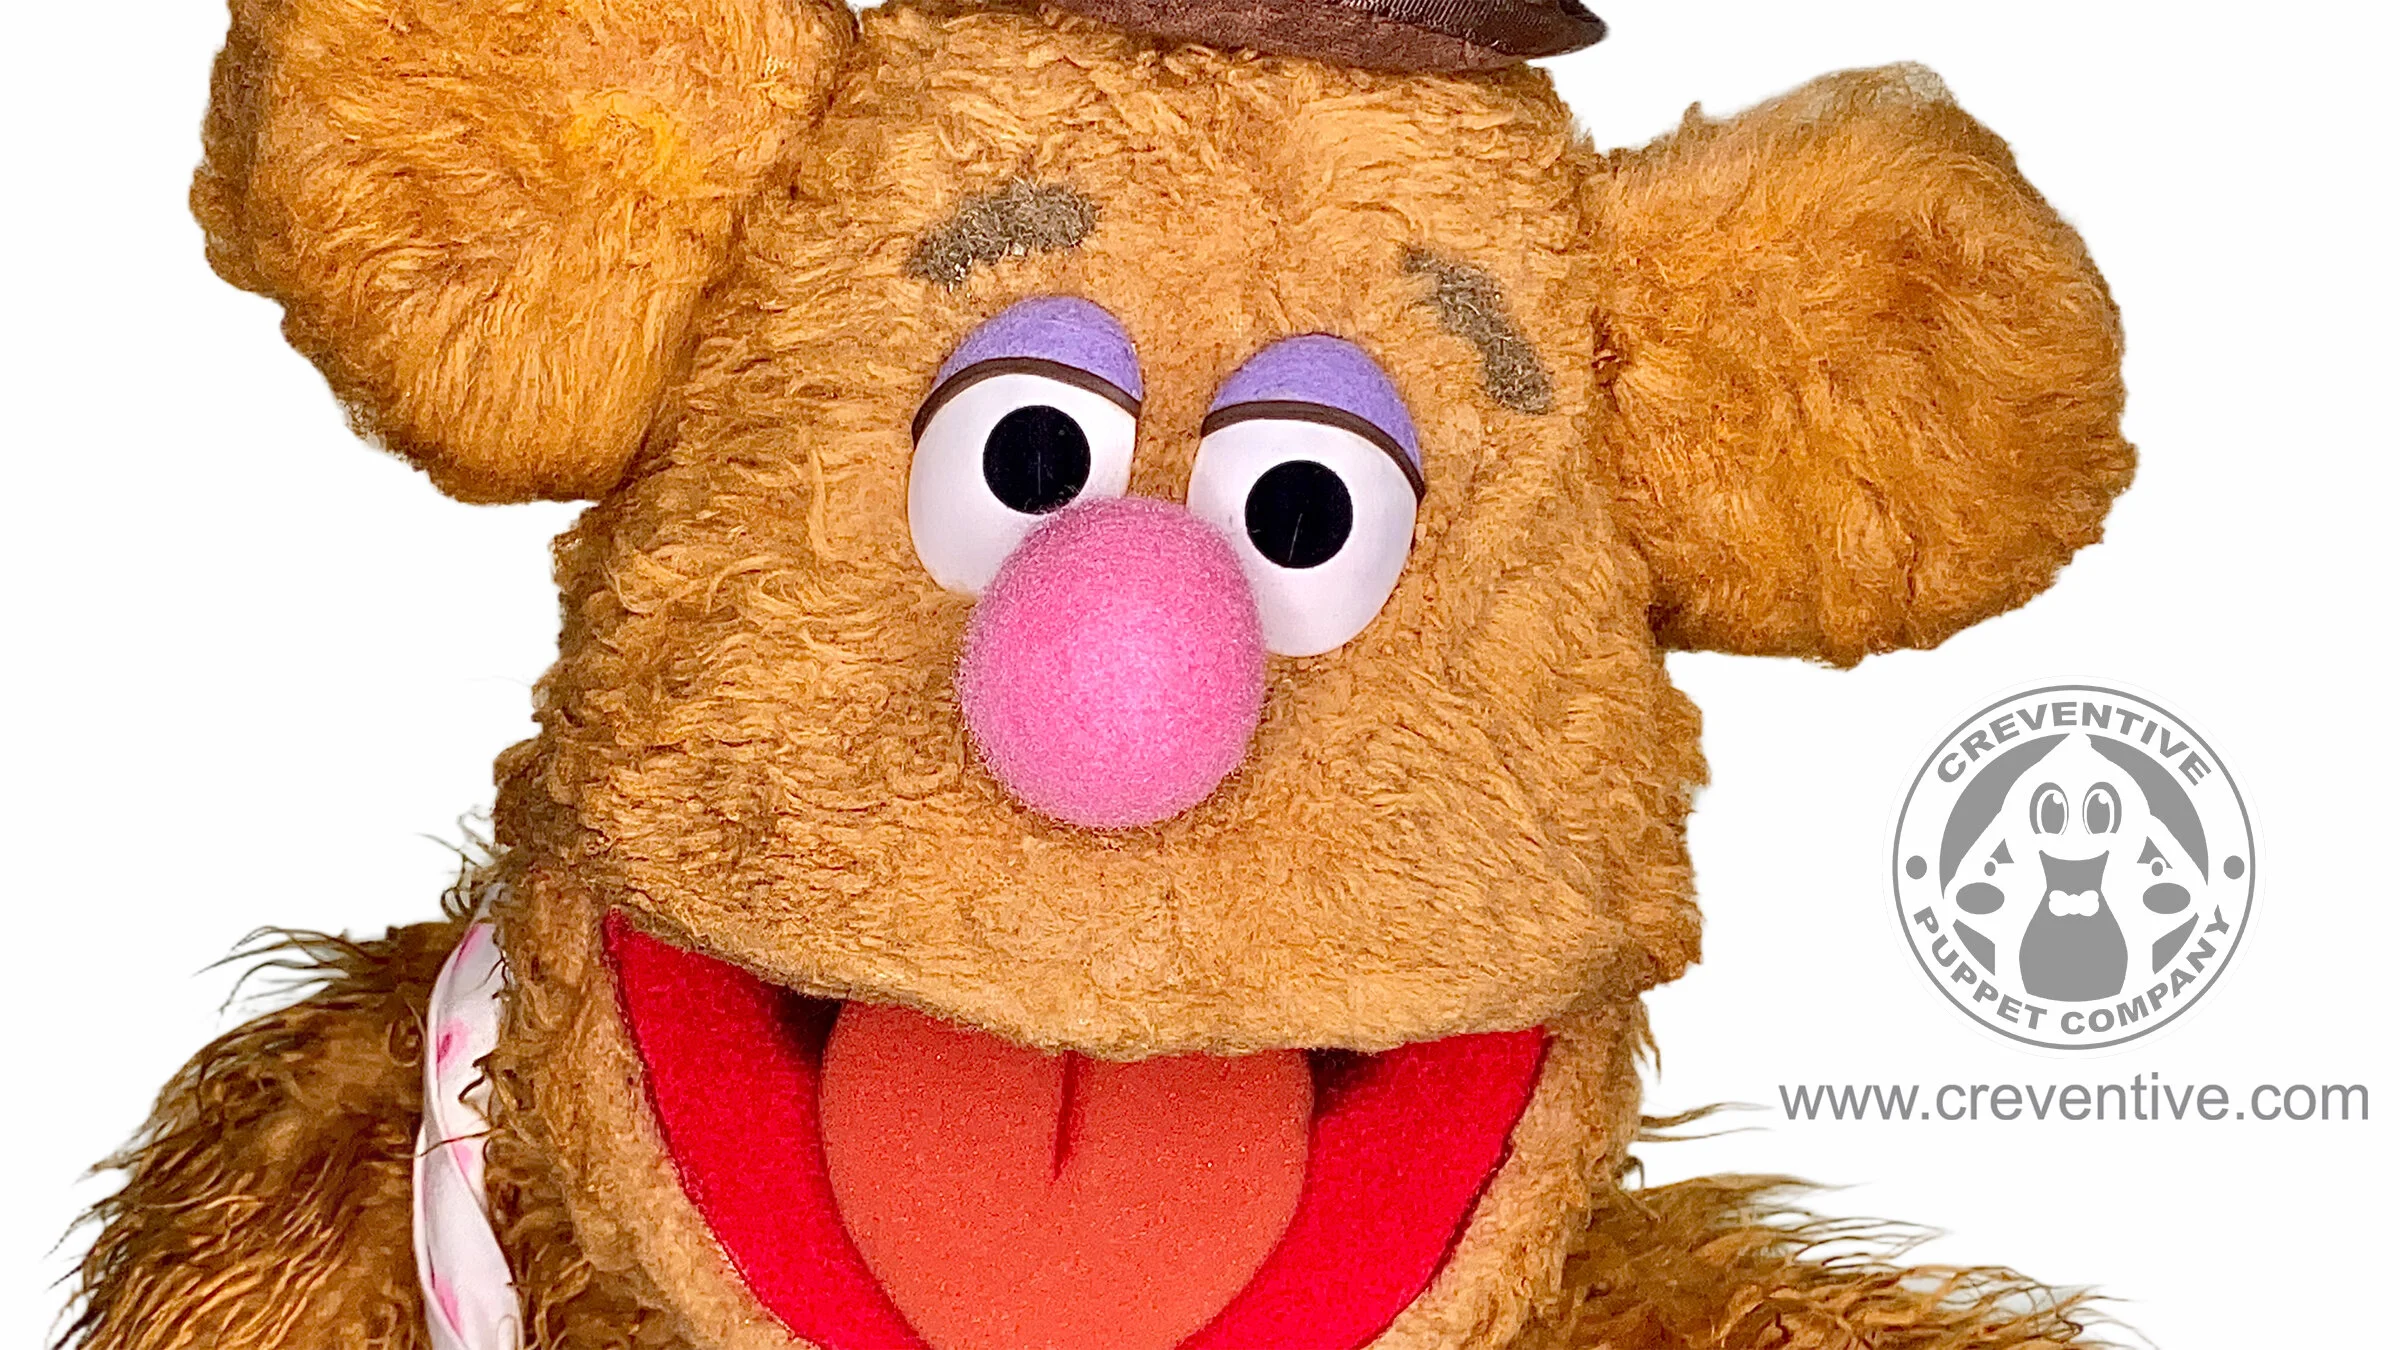
In the end, I ended up designing and creating about 9 prototype noses to get the size and shape correct. Some of the noses were foam patterned and fleeced and some I designed in 3D, printed them and covered in Nylon Fleece. The end result was 3D printed and covered.
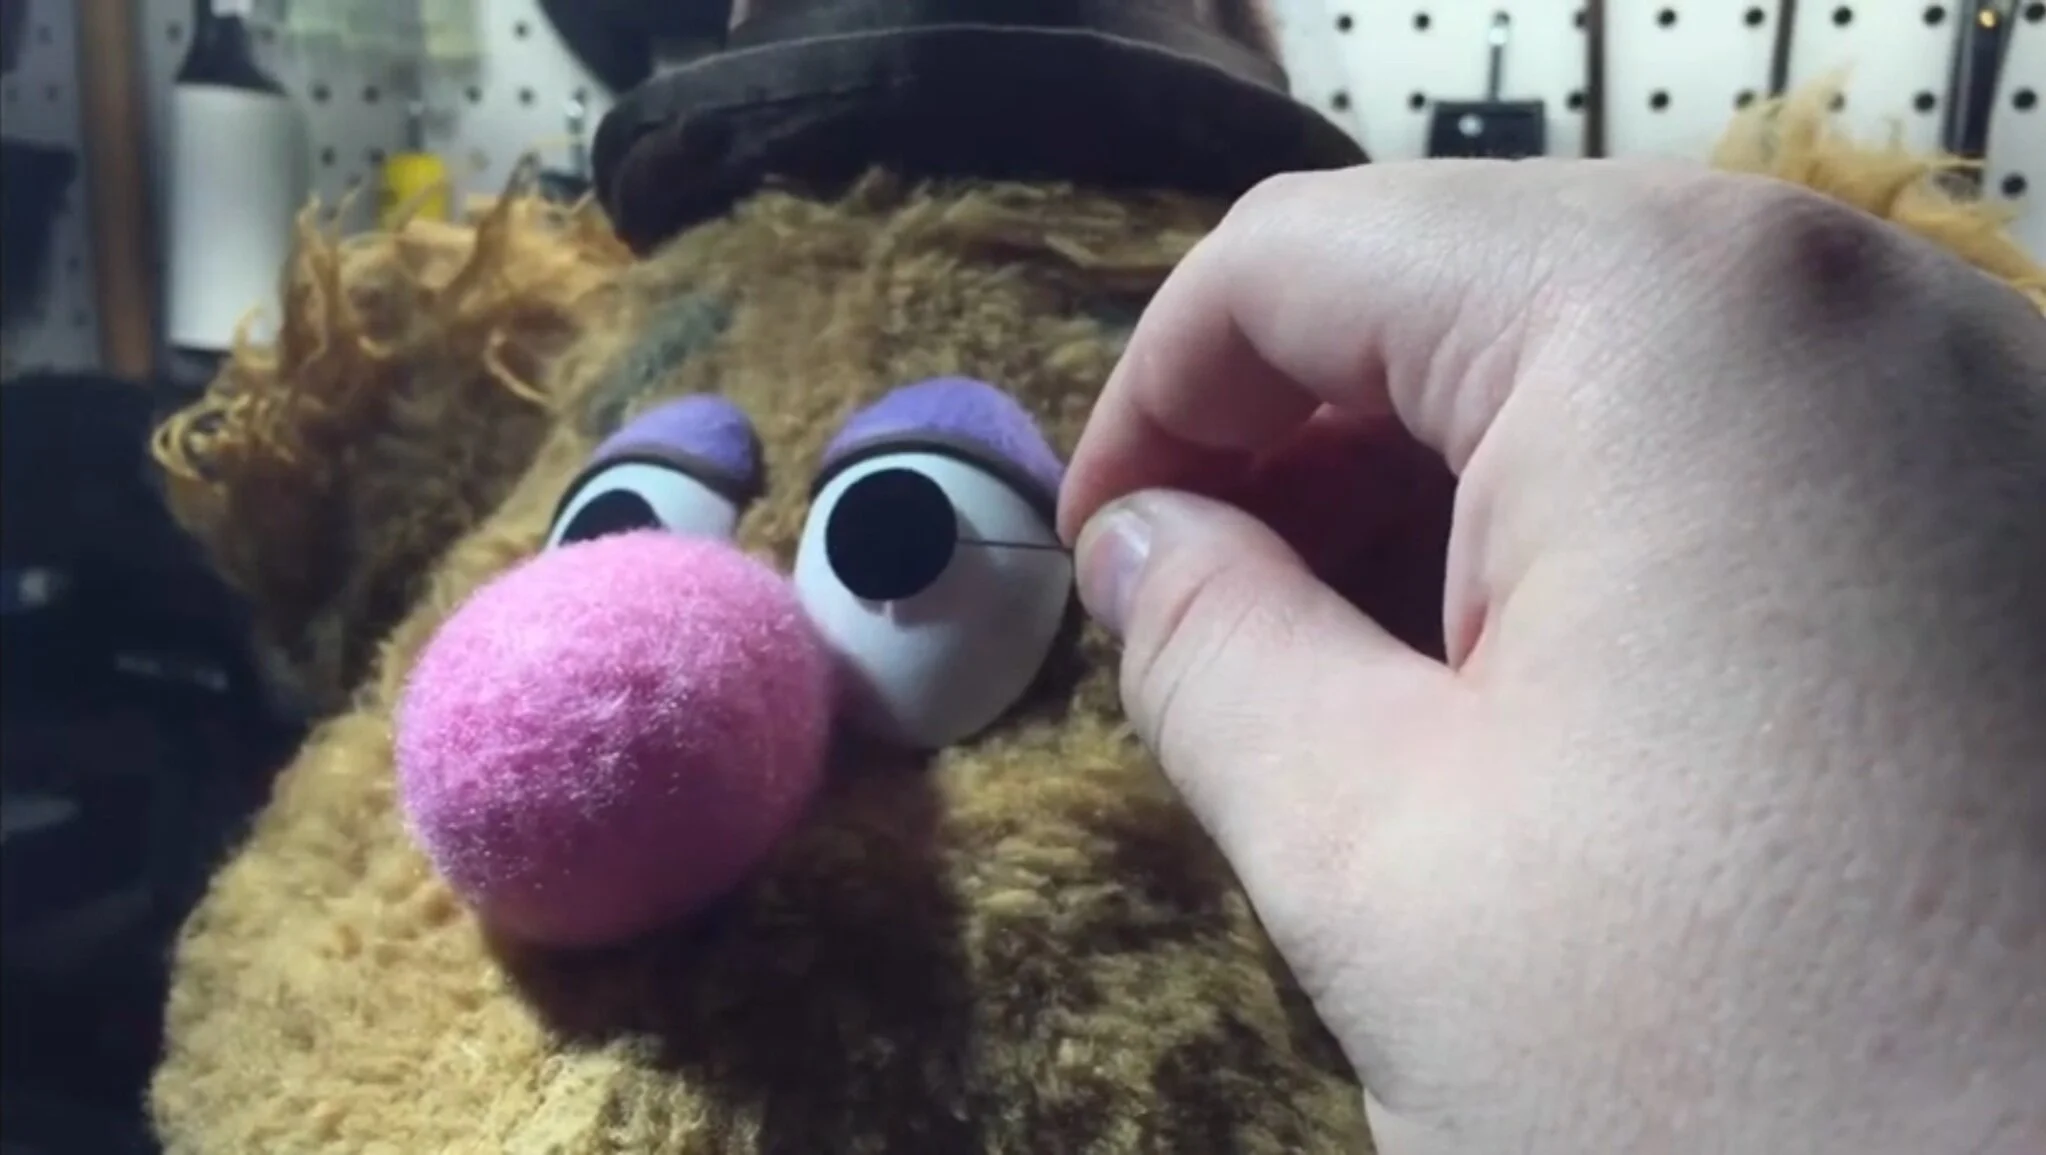
Similar situation with the eyes. The eyes took about 12 pairs to get just right to where I was satisfied with them.
The end result were made from soup spoons that were sanded, had a screw and bolt epoxied to the back of each eye then inset inside of the head.
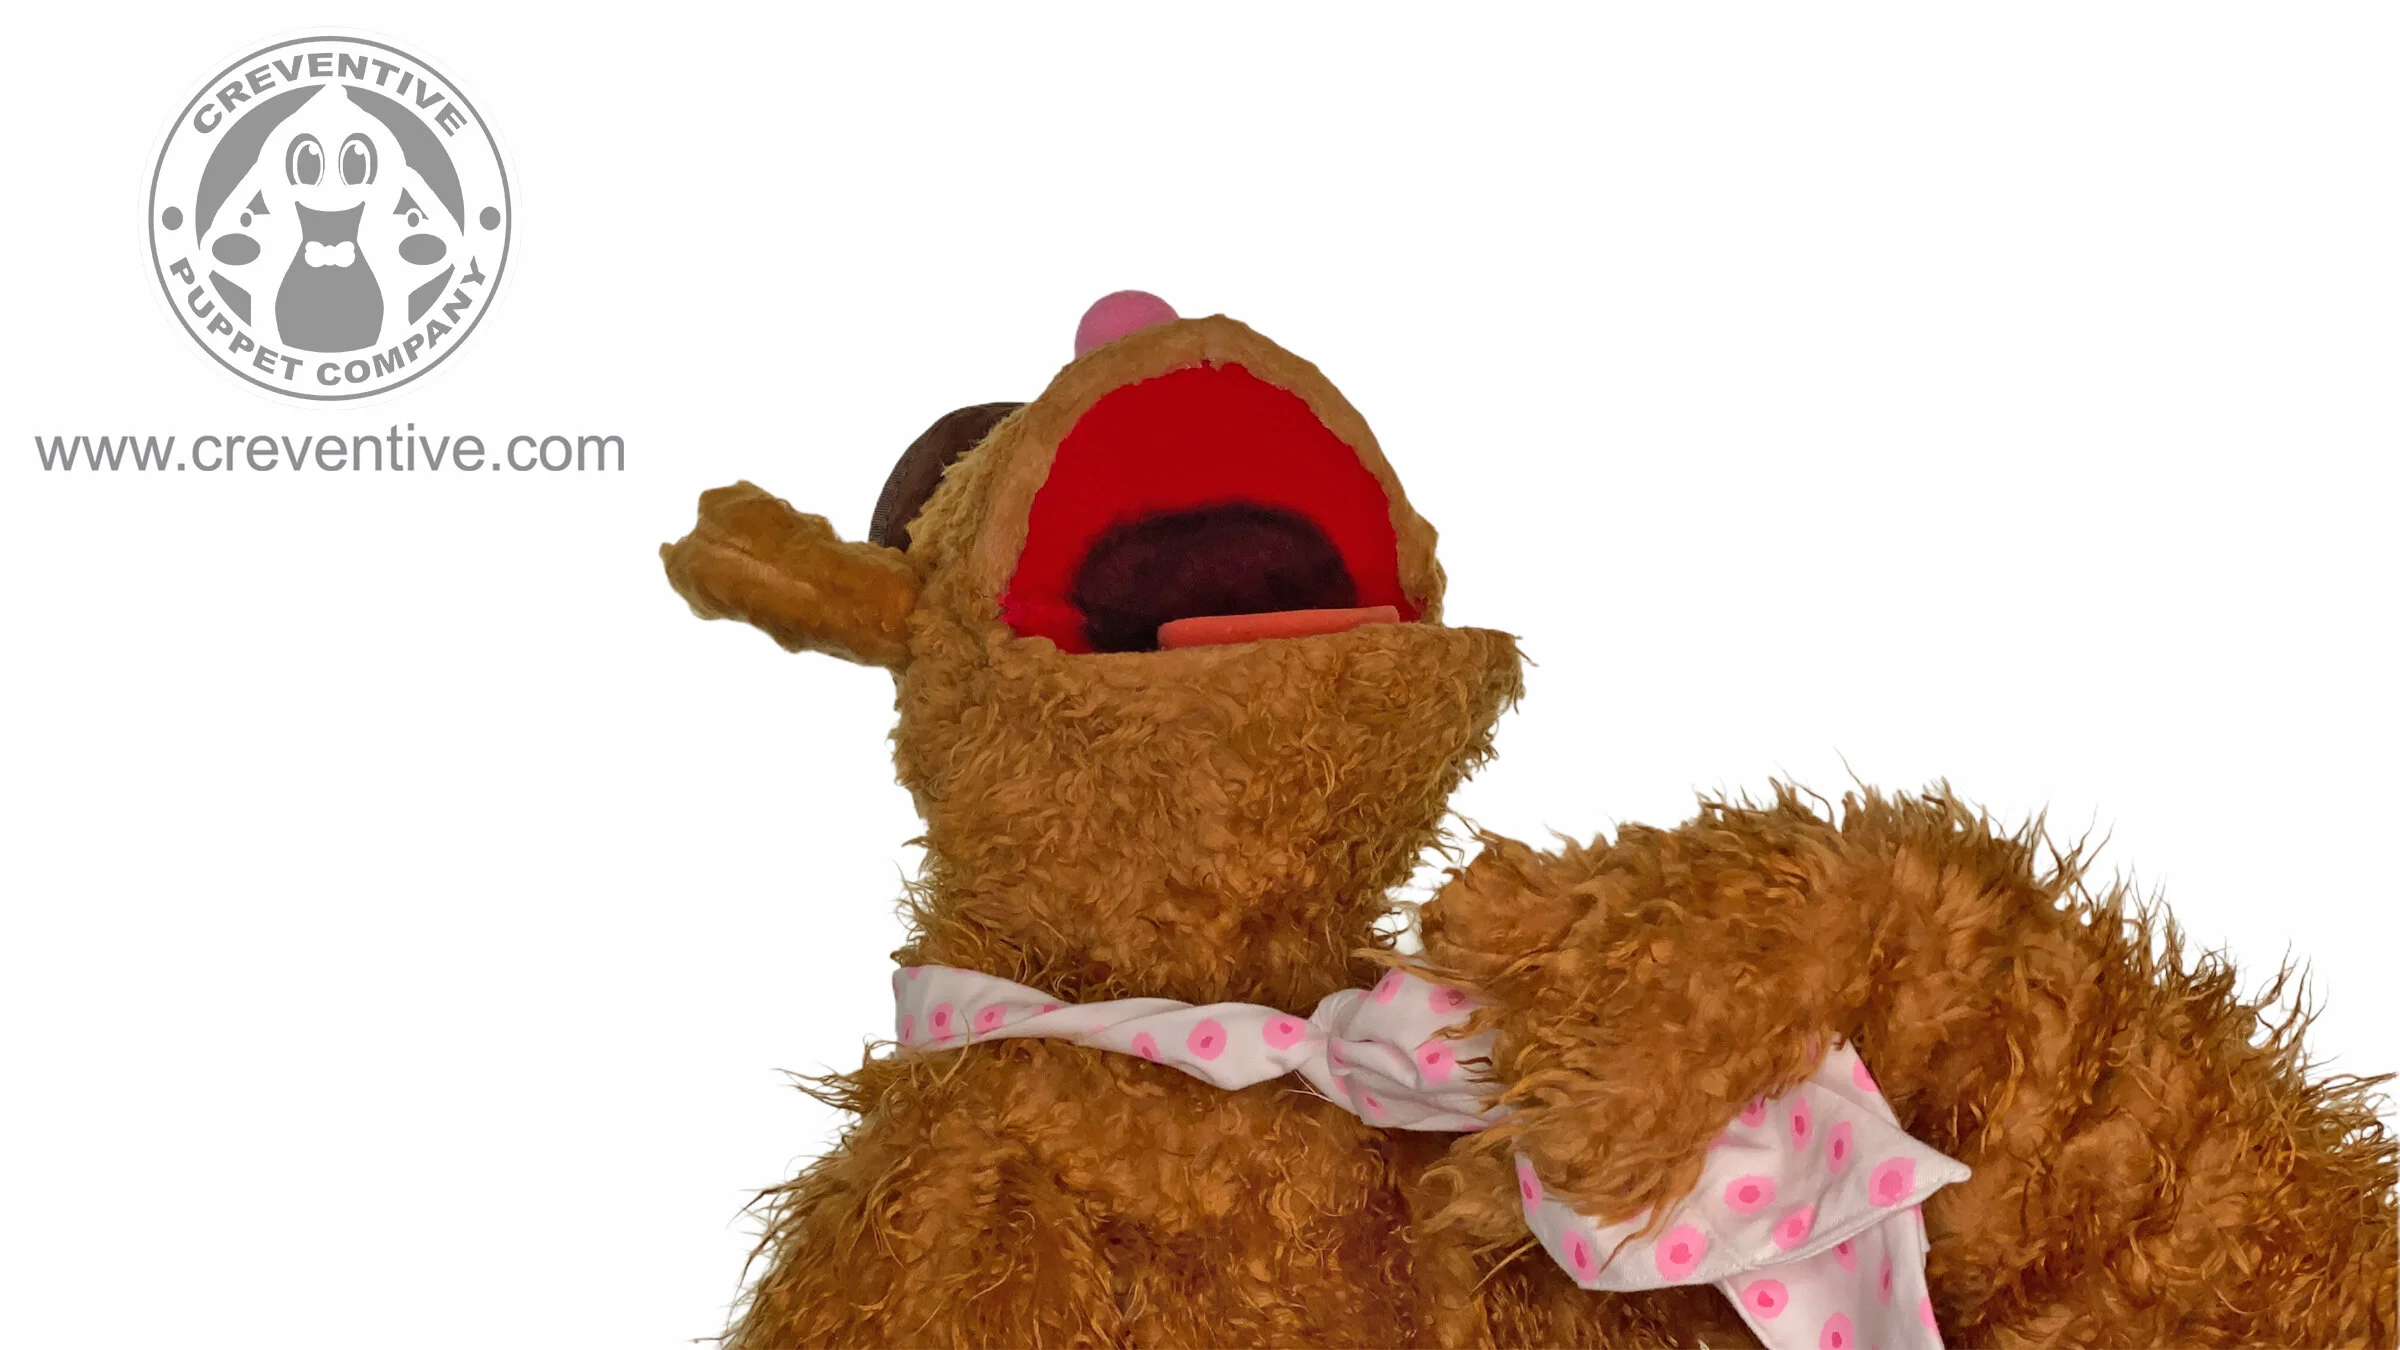
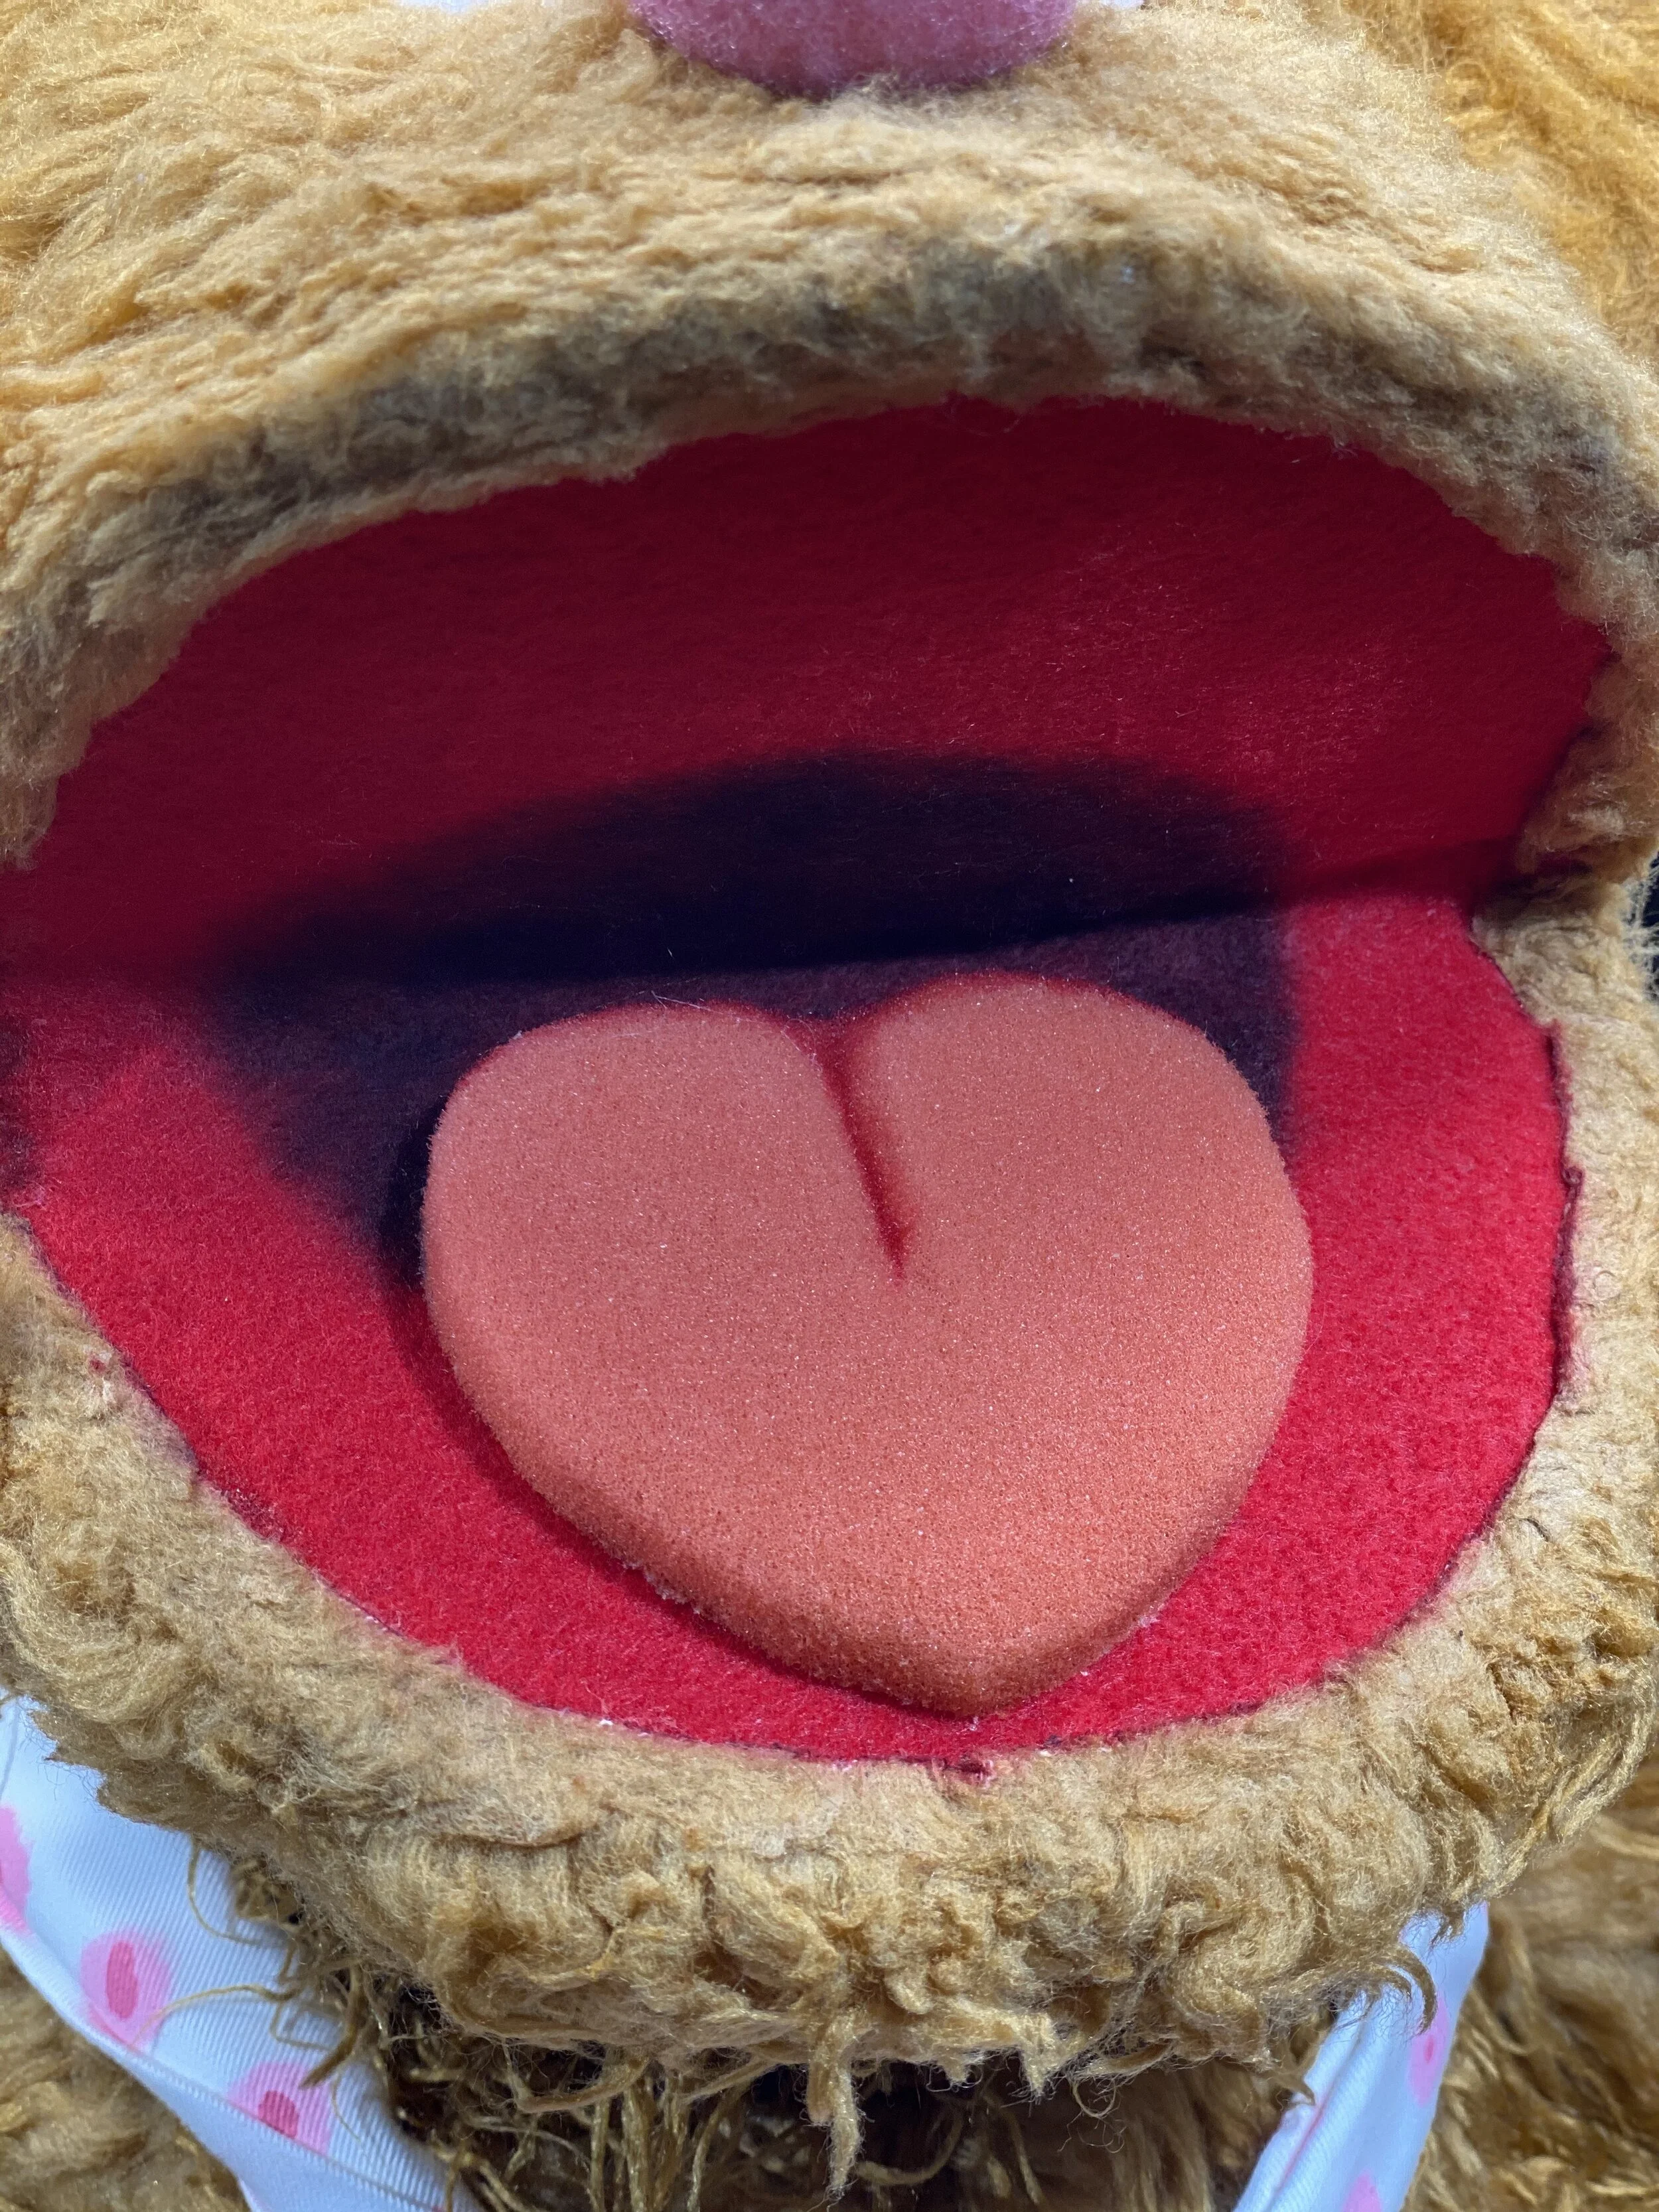
Next, the tongue was foam carved with uvula/throat features airbrushed.
Finally, I placed his pupils using a straight pin to get the focus right.
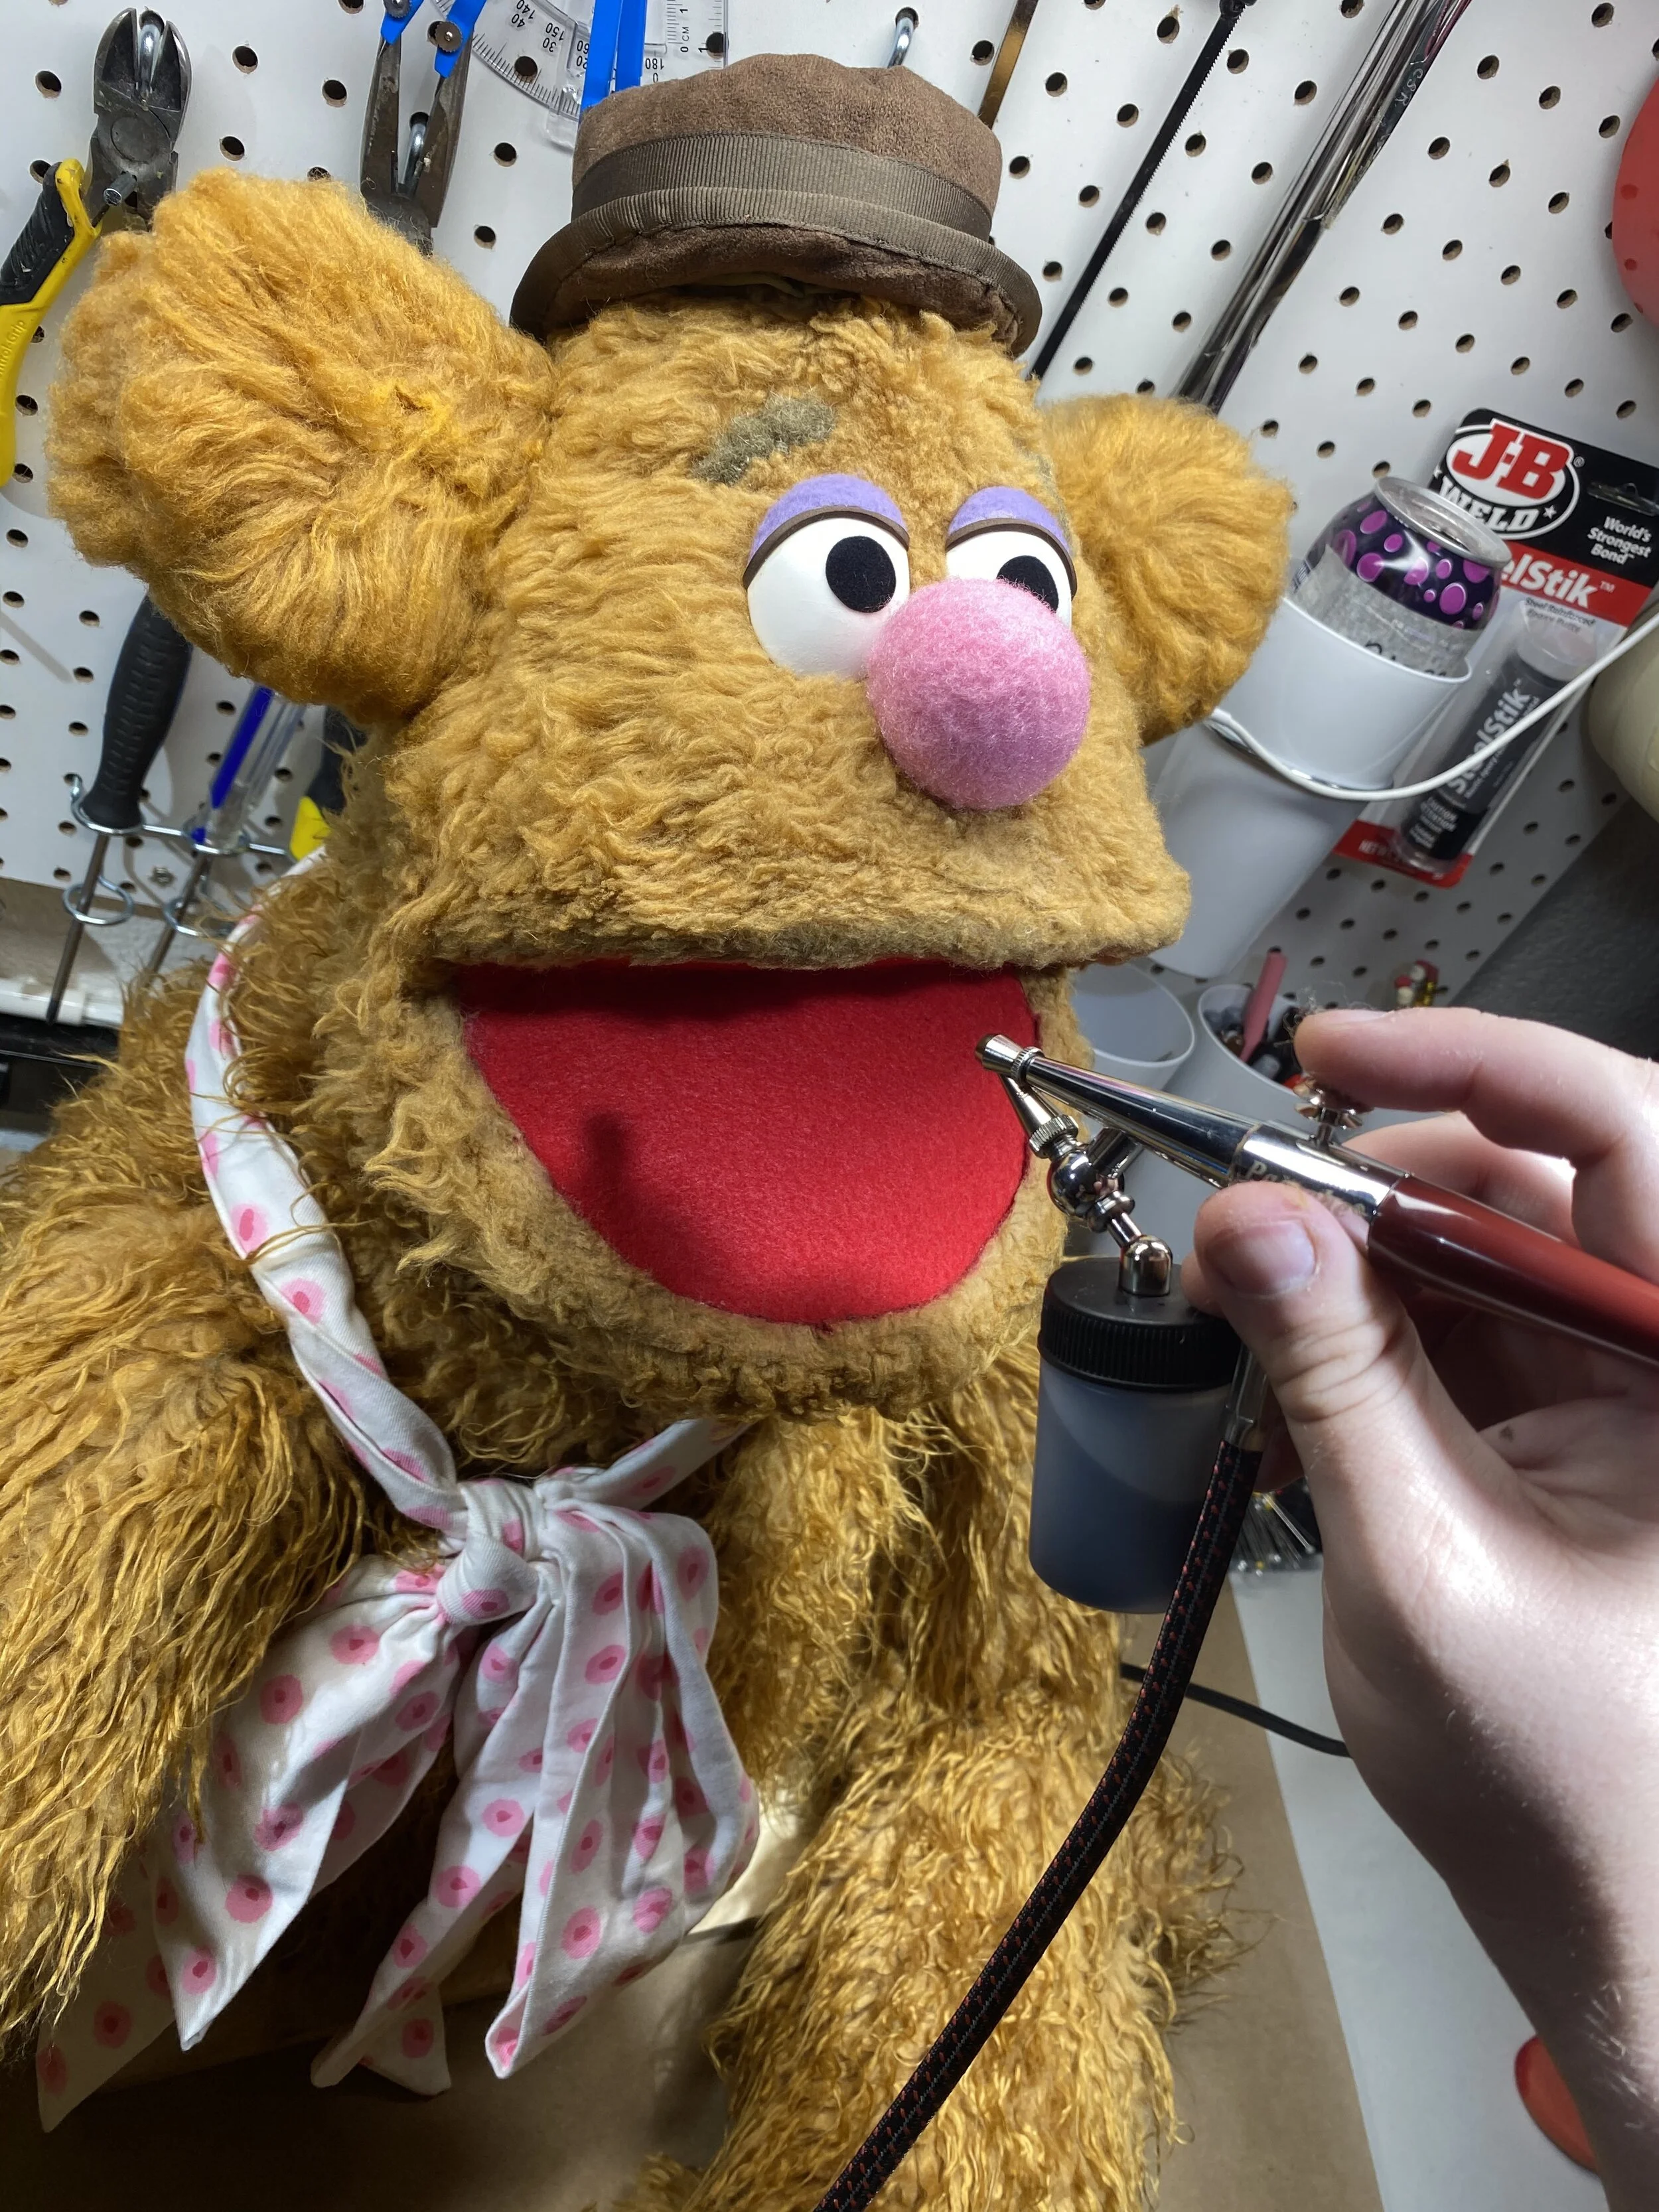
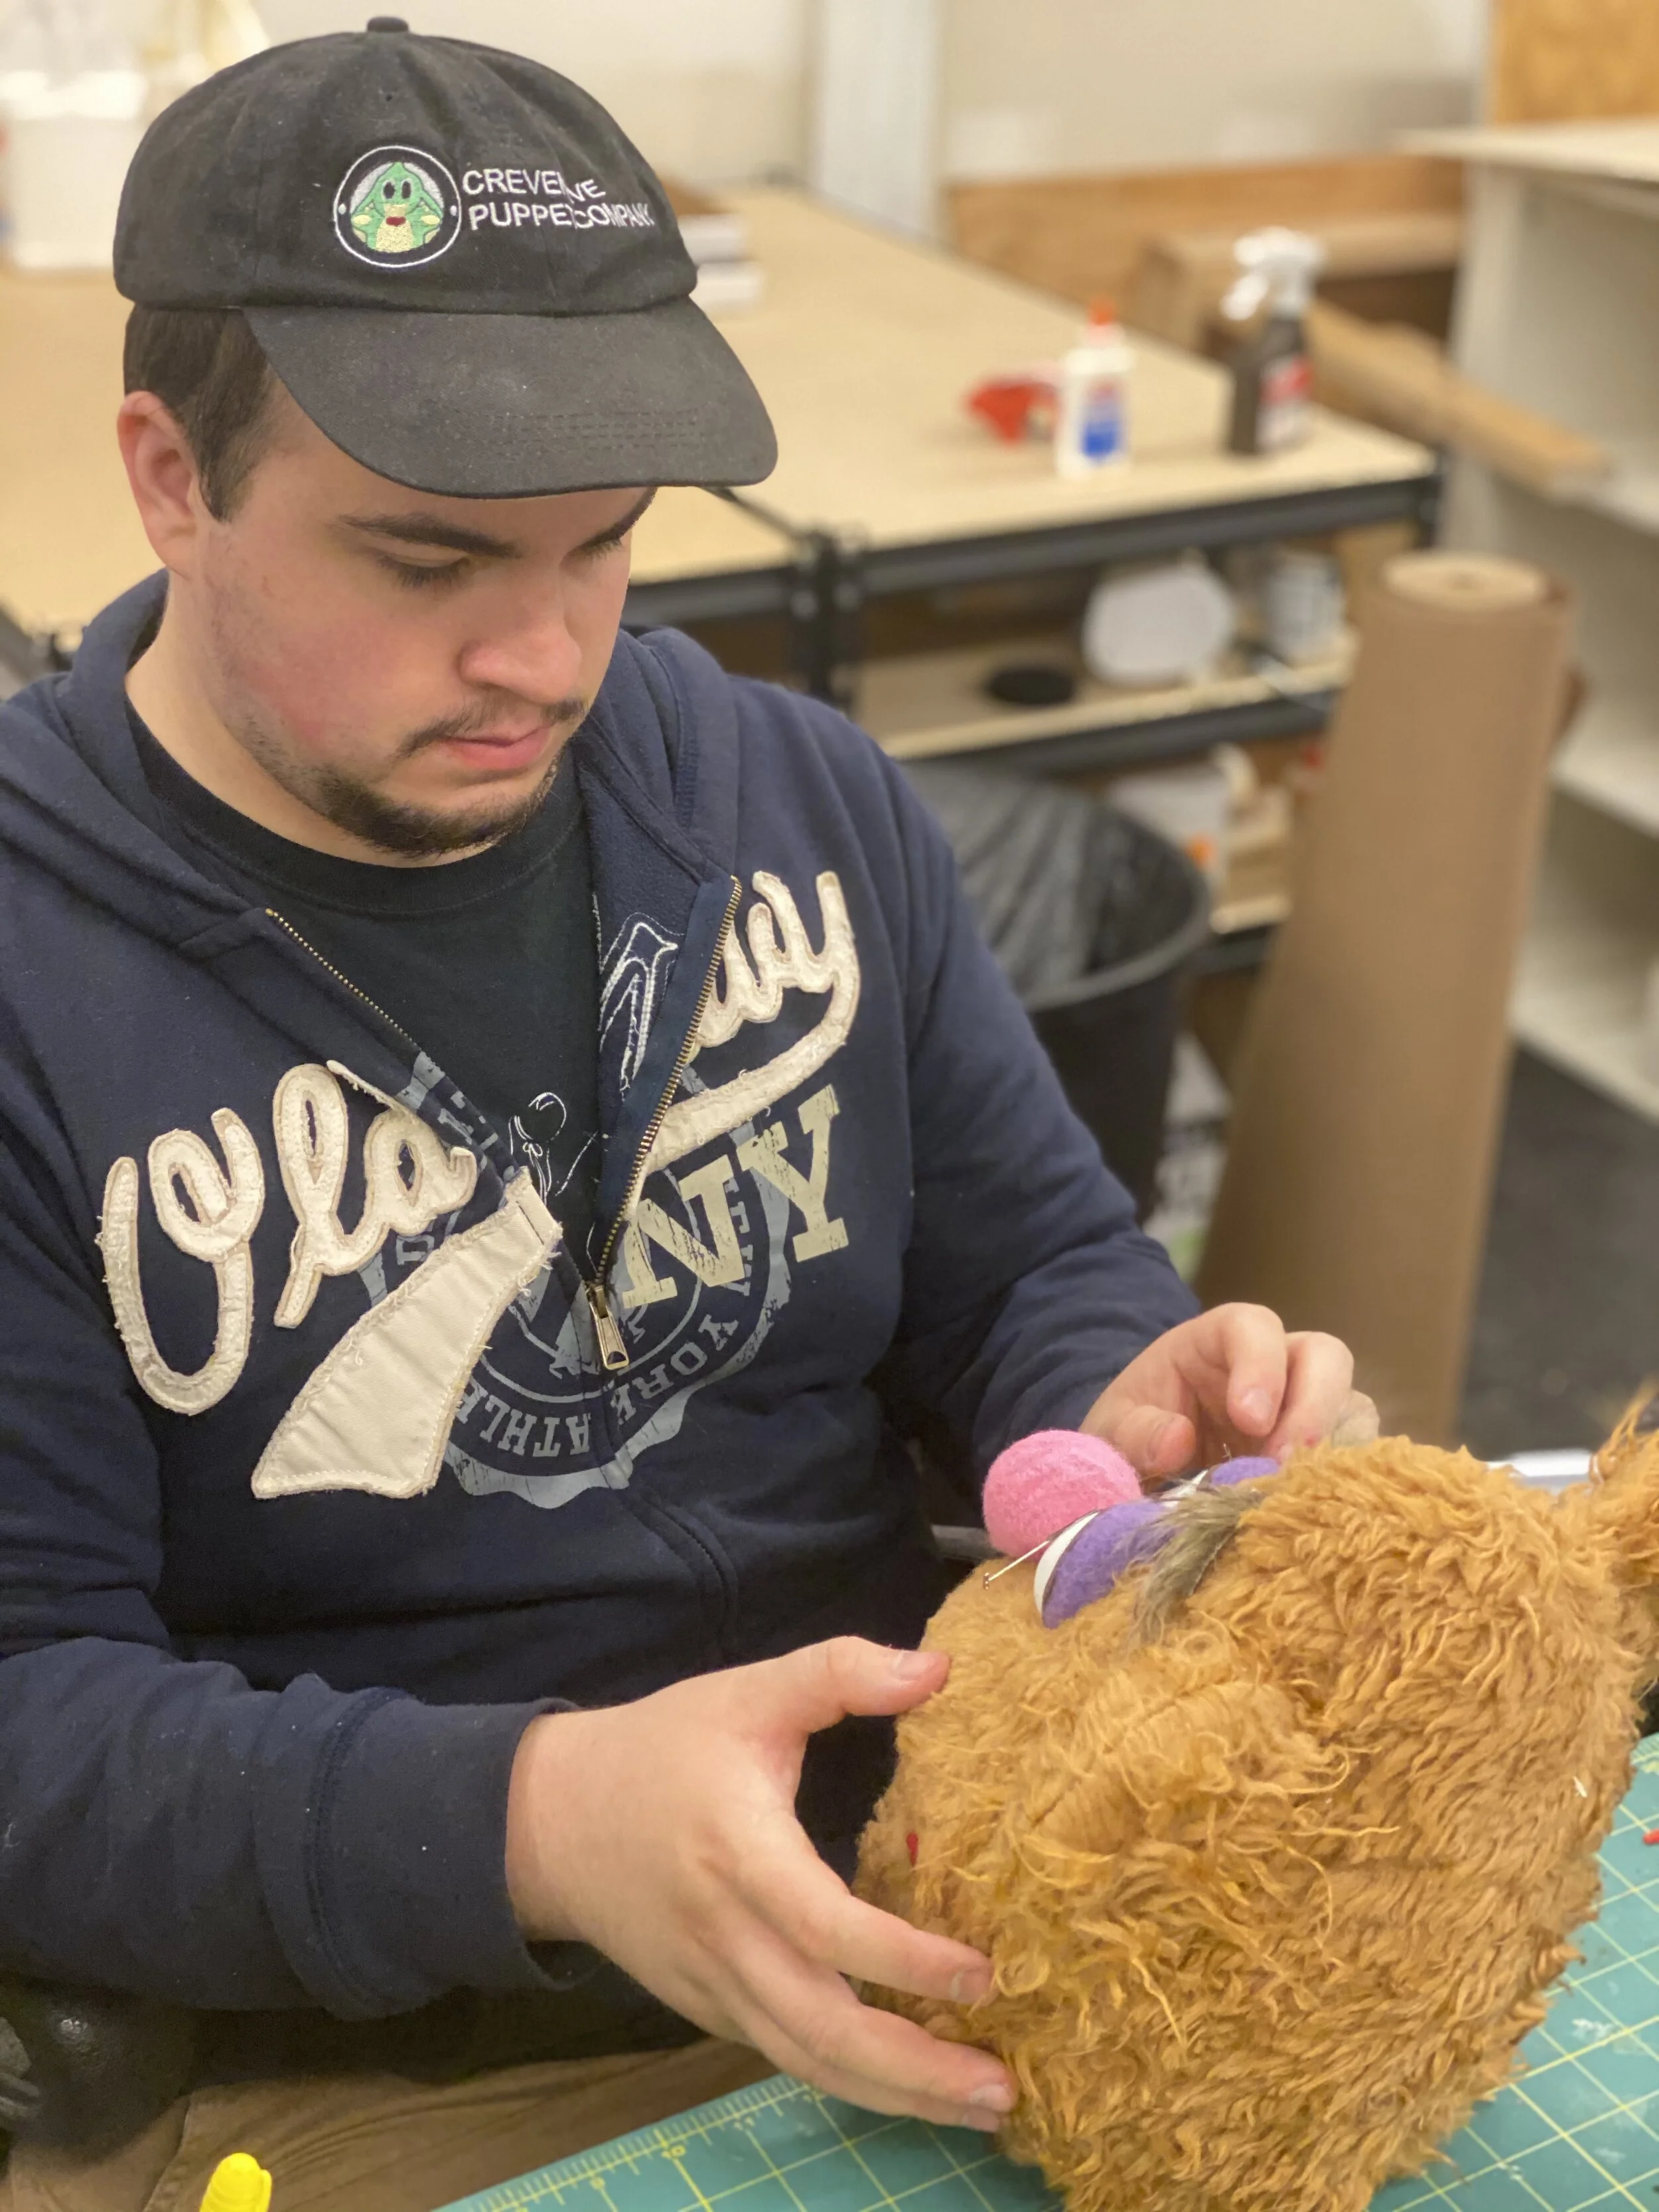
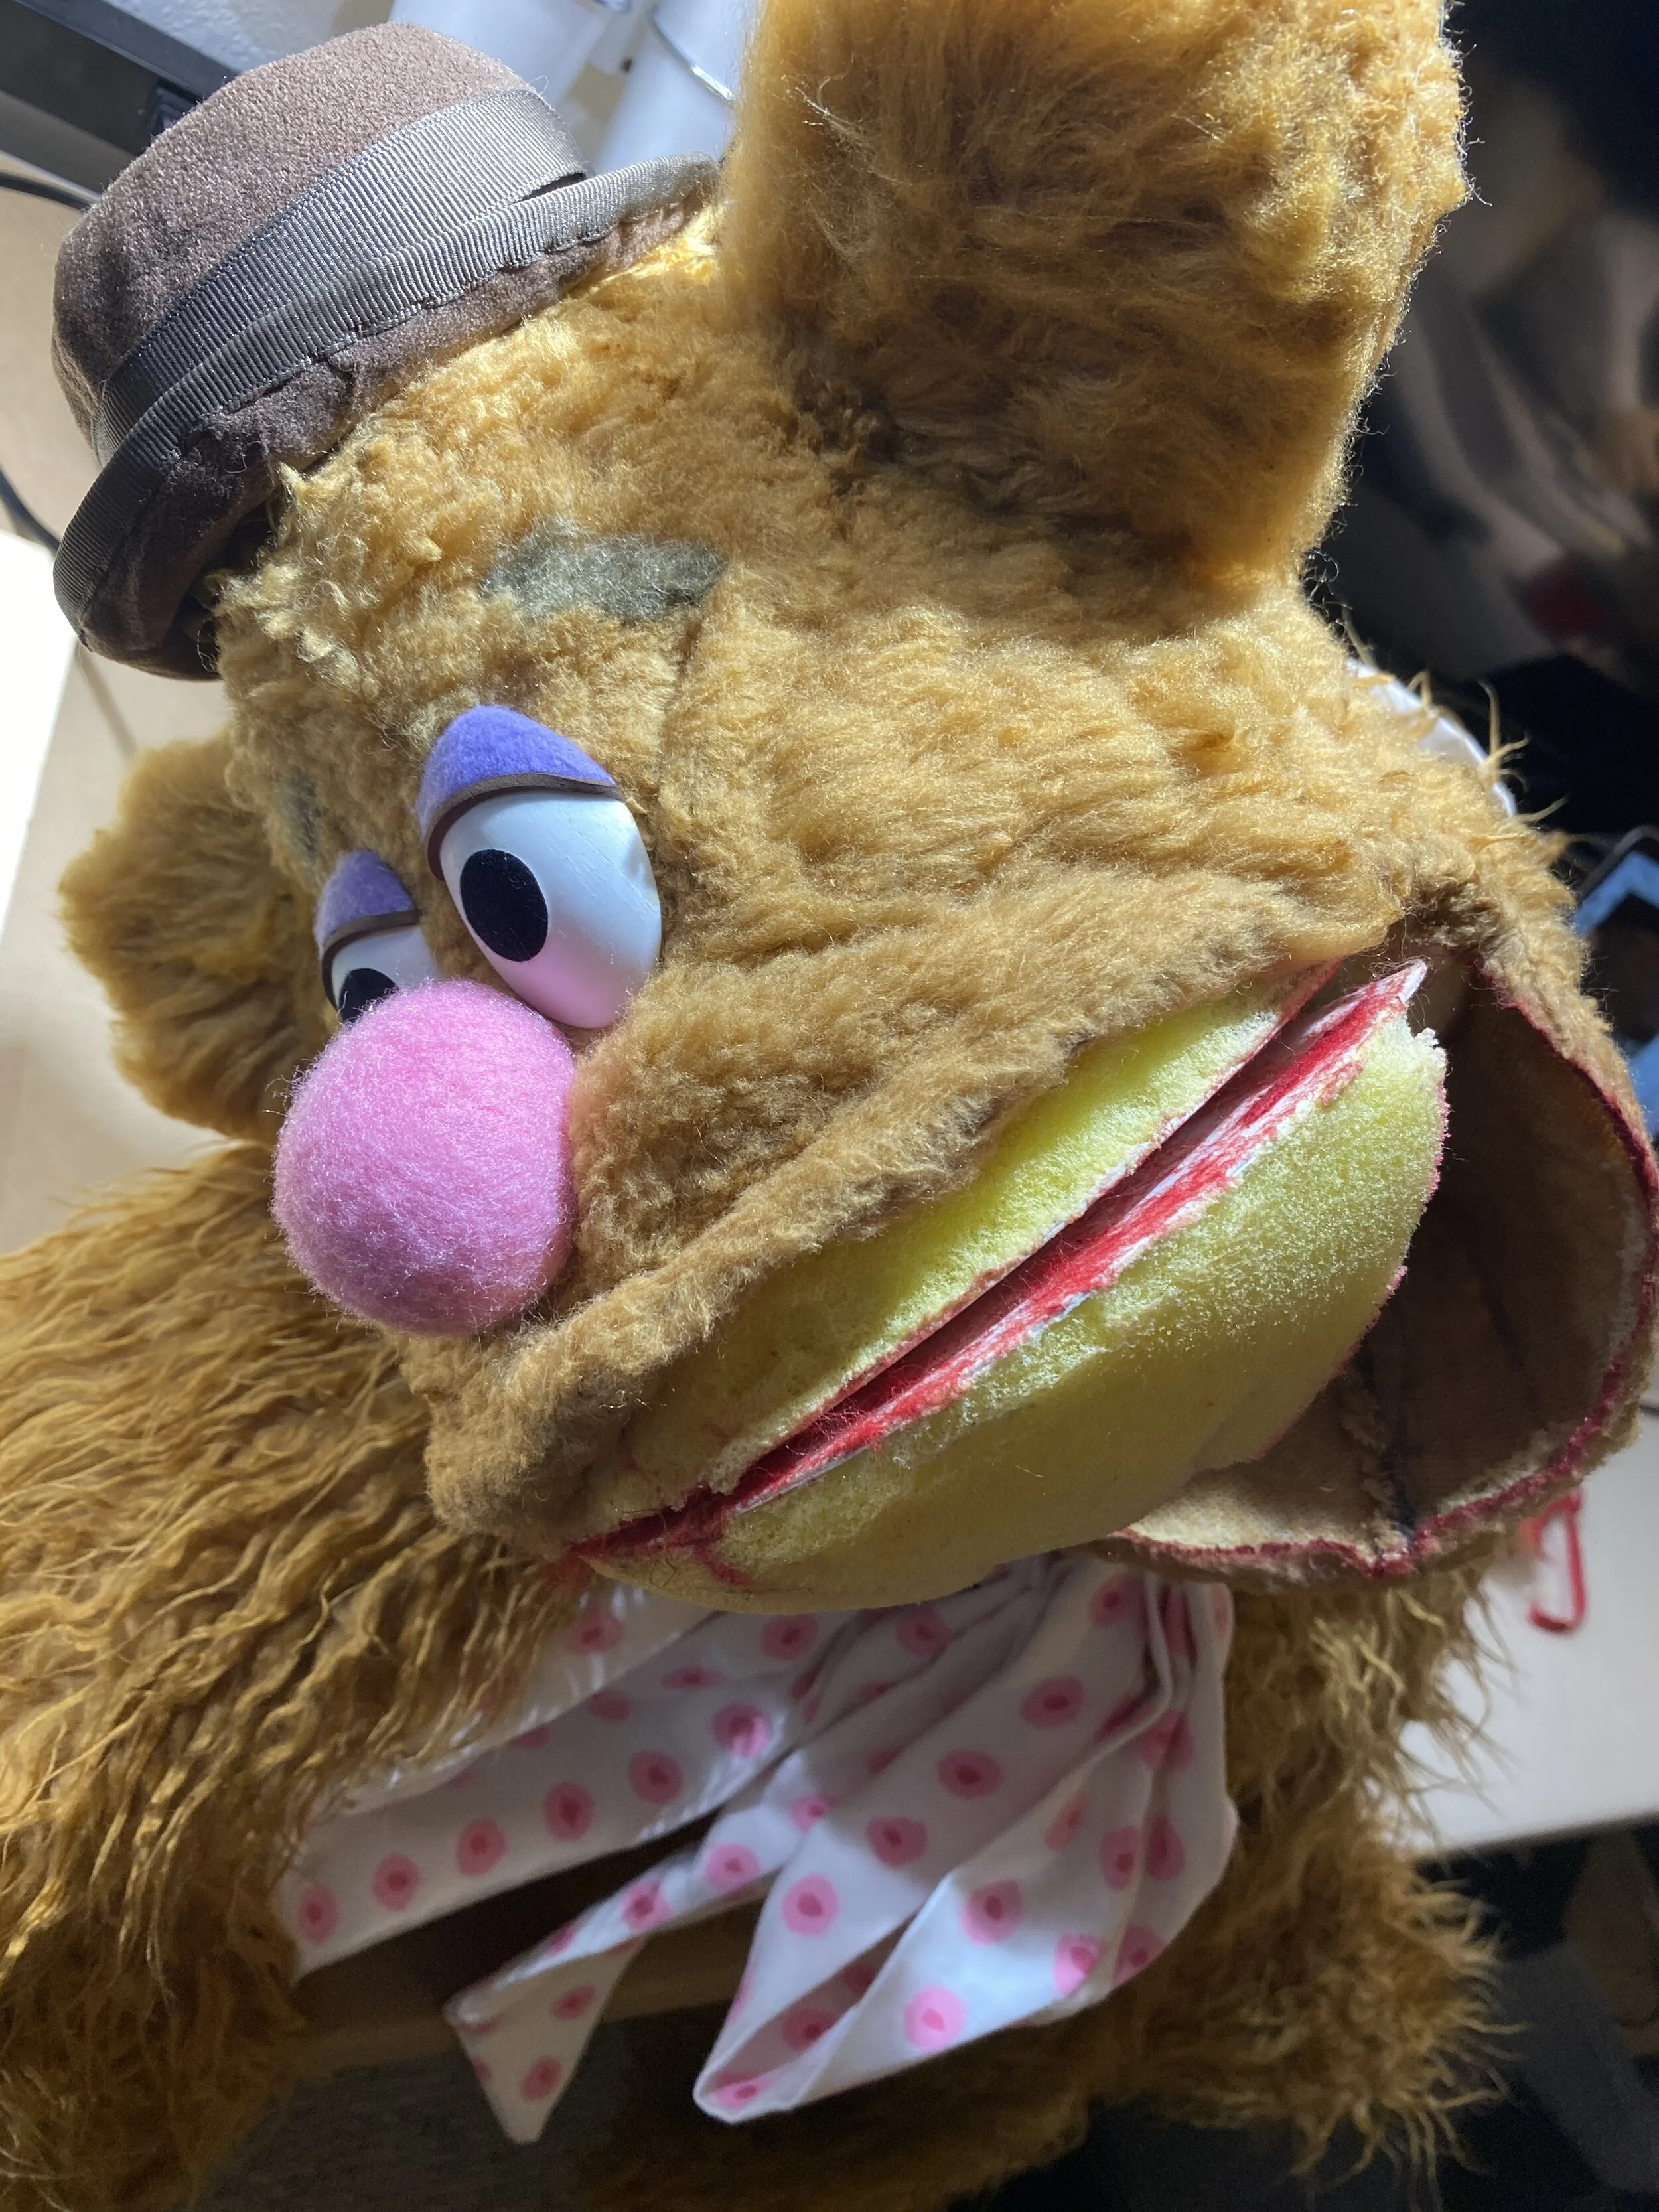
After the puppet was finished, it was time to costume!
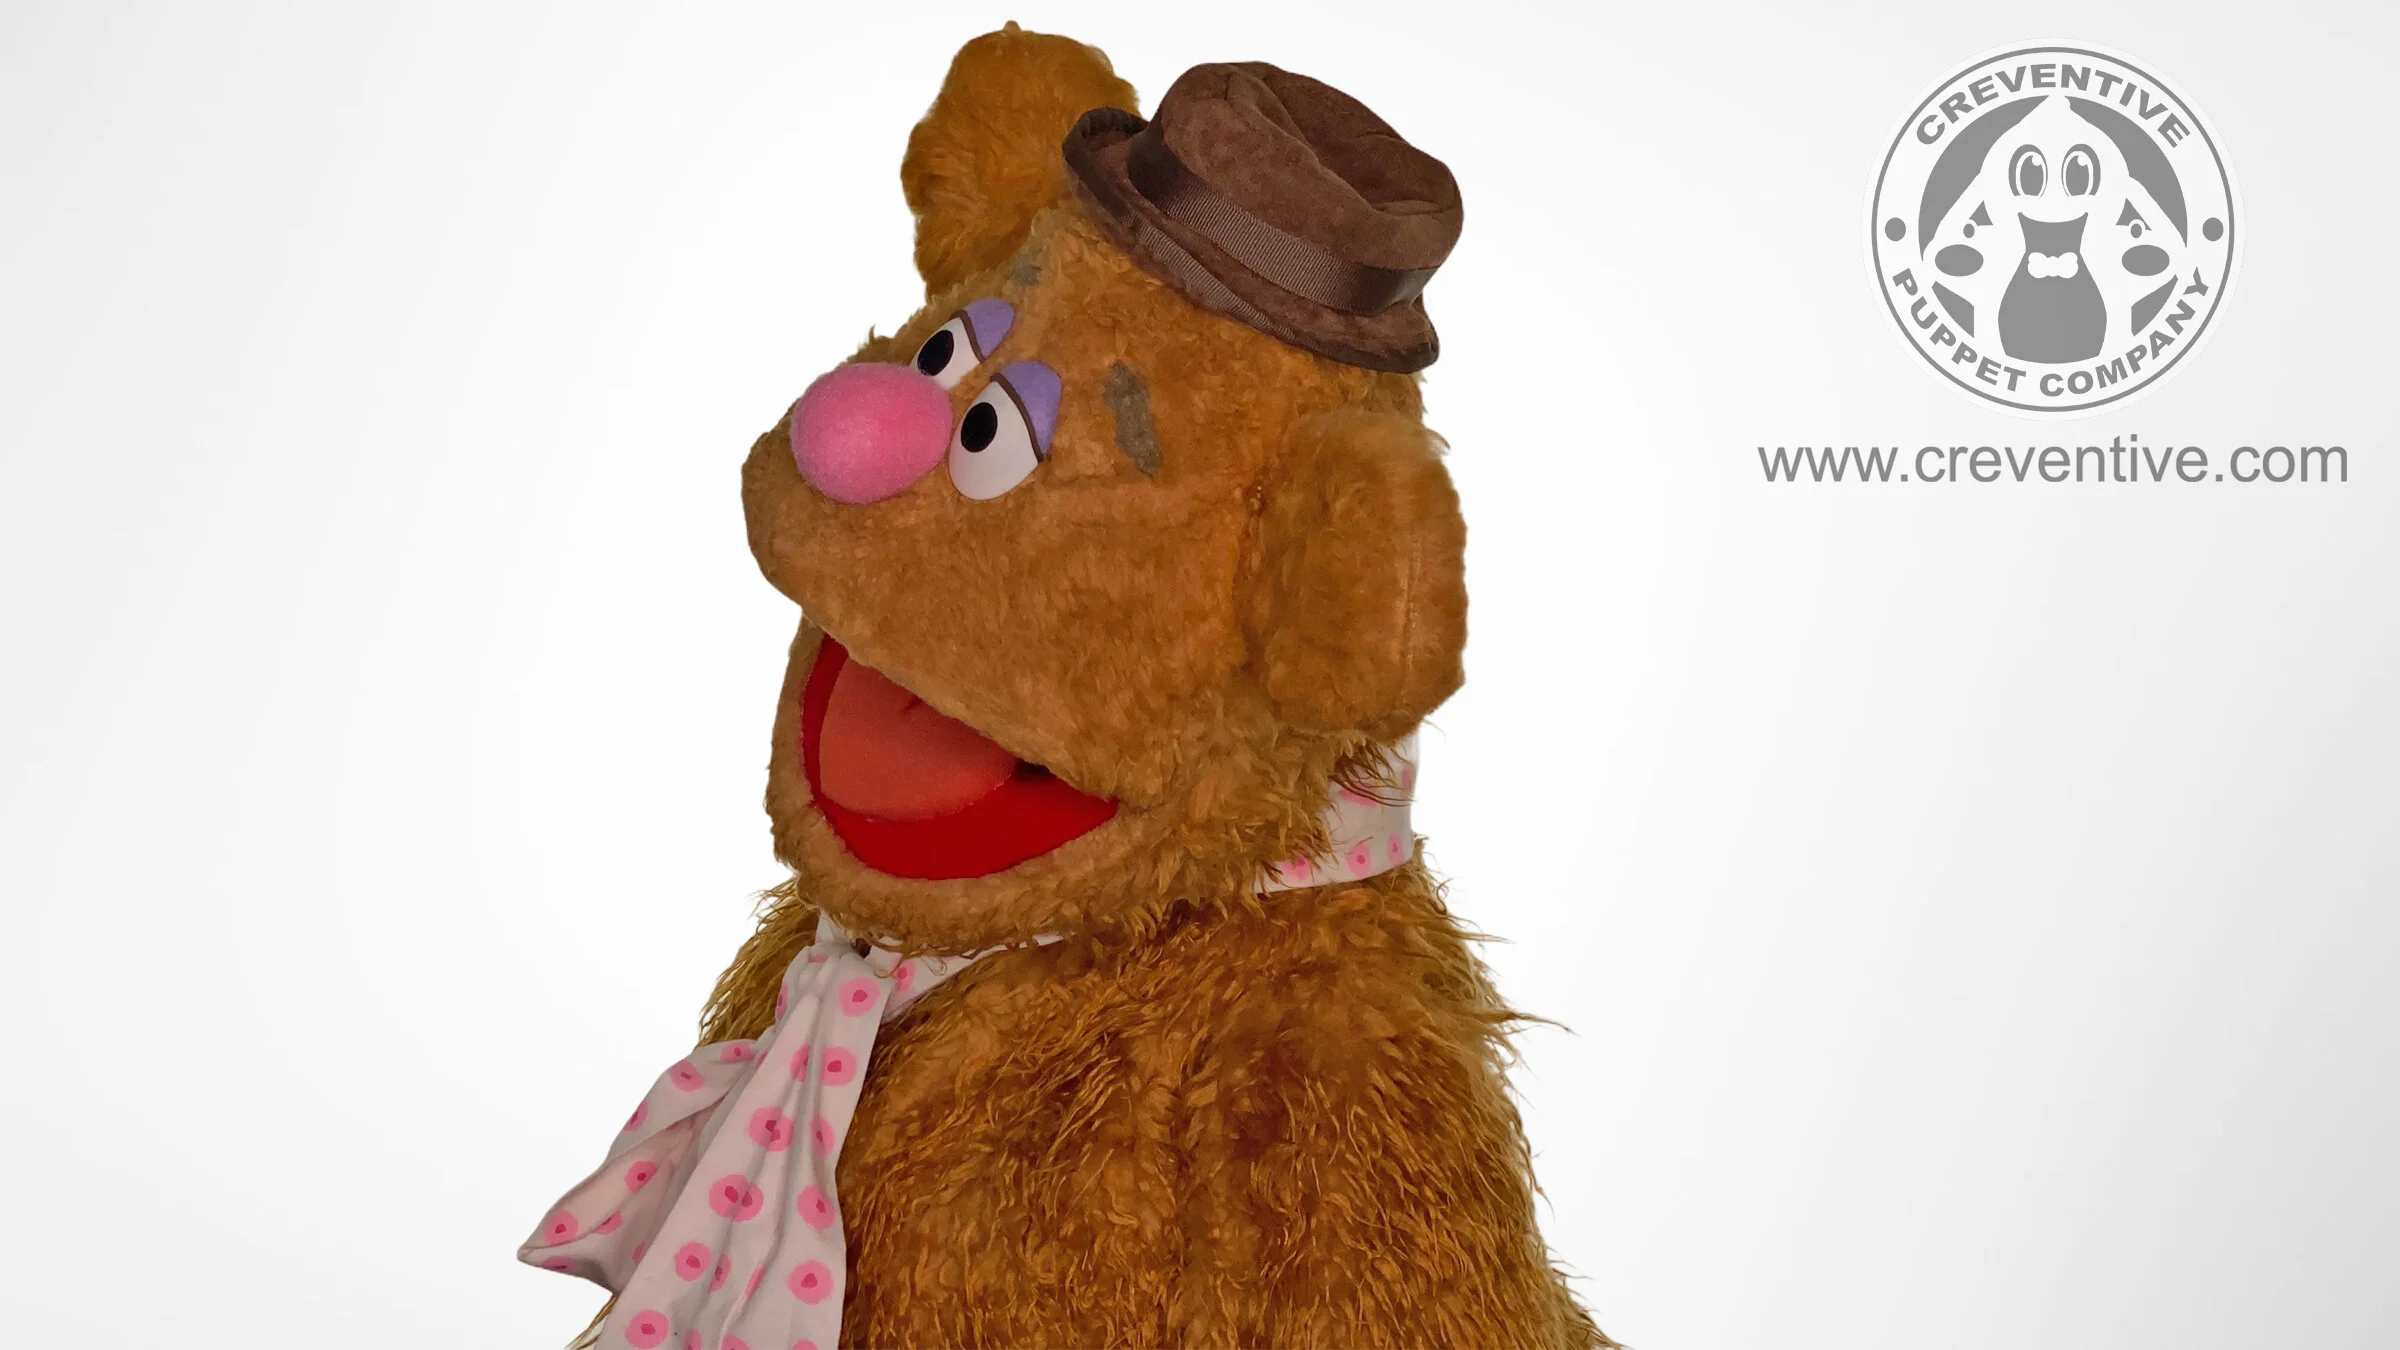
My friend, Mae Risk helped me problem solve the hat and necktie. After they were fabricated, I permanently sewed them to the head.
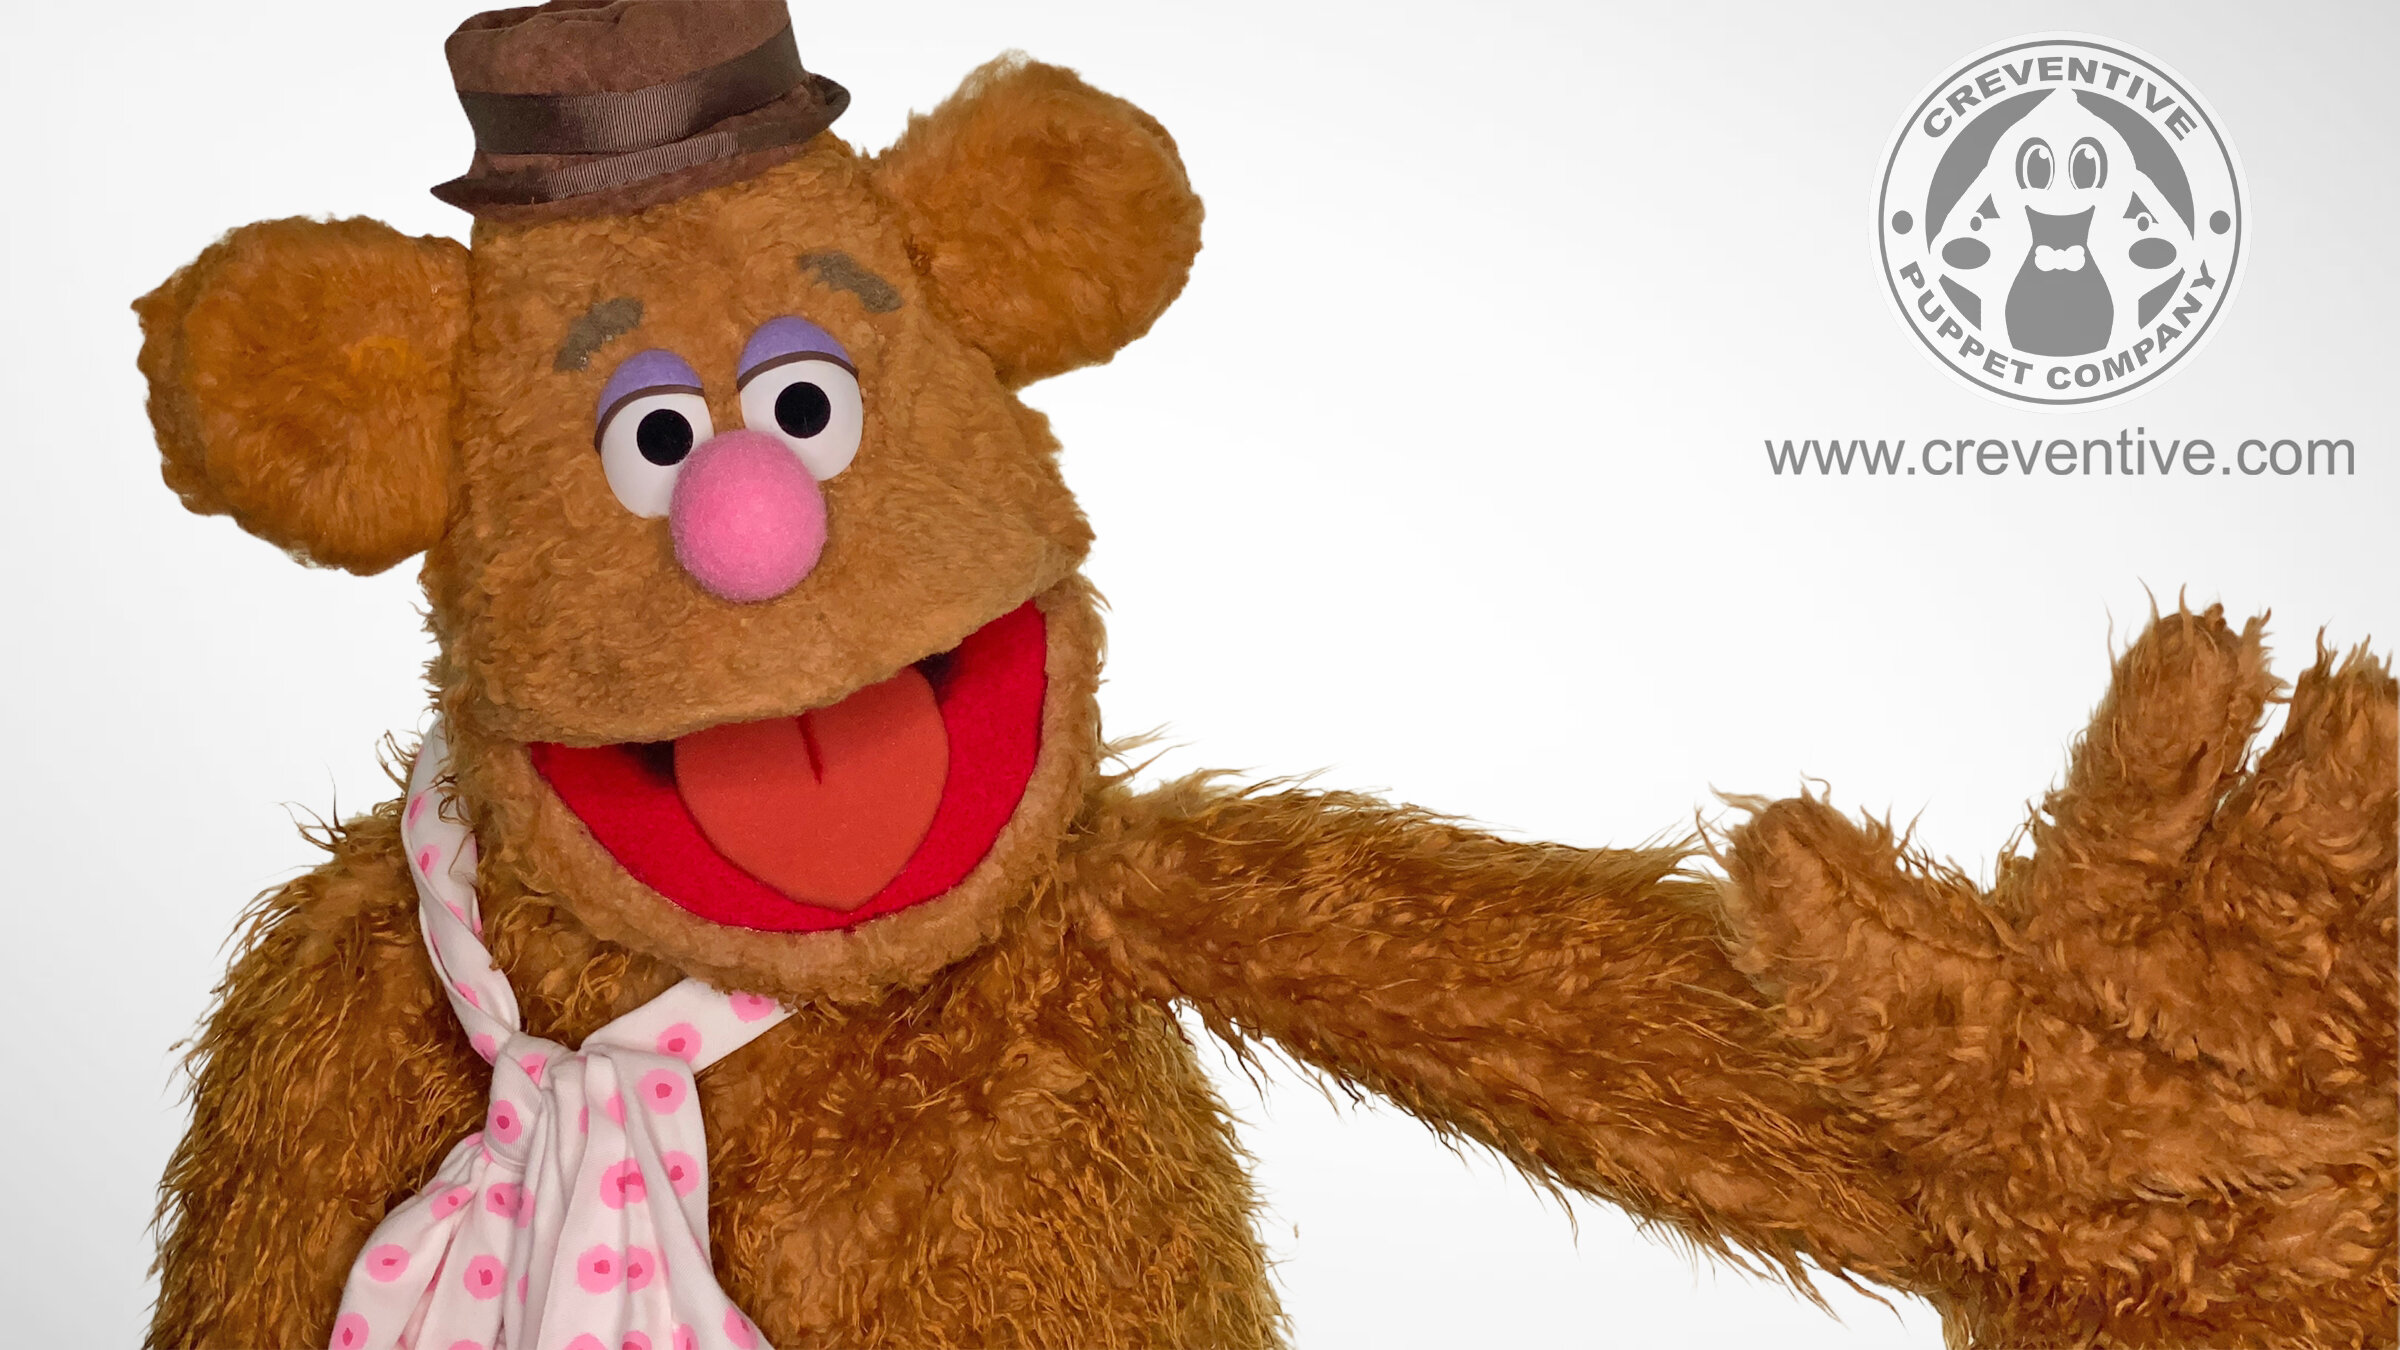
Then after a bit more cleanup work, he was finally completed on 11/16/2020.
Hope this was useful and insightful for some people.
He was a major challenge but I’m pretty satisfied with the end result given the parameters of this project. If I were to start again, I would do some things differently but glad it’s over and ready to start onto new projects.
ONCE AGAIN….NO! I do not accept replica requests/commissions. Don’t ask.