Puppet Builders - Safety Blog

Hey puppet builders, crafters, DIY-ers, and students!
There are a lot of dangerous tools and toxic chemicals that go into creating a professional-quality puppet. We wanted to share some helpful tips and tricks that will help you for years to come whether you’re just getting started or an experienced builder. Since this is a LARGE topic, we’re going to cover the basics with common tools/materials/practices that most professional puppet shops and builders traditionally use.
As always, let us know if you have any thoughts, ideas, or start a discussion that can help strengthen our community in the comments section below. KNOWLEDGE IS POWER.
Before we begin…
REGARDLESS of what material OR tool you are using, PLEASE READ AND FOLLOW THE MANUFACTURER'S RECOMMENDED GUIDELINES AND USAGES FOR EACH PRODUCT. If you are a minor, please ask your parent or guardian for assistance.
Now that that’s out of the way… let’s dive in!
In safety, it’s all about protecting yourself and those around you. There have been many professional puppet builders who have gotten hurt over the years because they’ve skipped a step or weren’t careful. It’s just NOT worth it. Please take your time and be safe so you can enjoy creating high-quality puppets.
3 Steps TO SAFETY:
1.) Proper safety equipment
2.) Proper ventilation
3.) Common sense
Remember those 3-steps moving forward. Now let’s dive into the nitty-gritty of recommended tools and solutions.
FIRST AID KIT
ALWAYS keep these on hand. You never know when you’ll need them and if/when you do, you’ll be glad you have one.
FIRE EXTINGUISHER
You never know when a tool might burn out, a chemical might react a certain way OR a fire breaks out in any capacity. Having this tool around your shop is NECESSARY.
GLOVES
Protect your hands at all times. Chemicals WILL get into your skin. Long-term exposure to resins to the skin is not good as one can become sensitized to them, at which point you’re likely not even get near them without having an allergic reaction.
Some of the most common tools we will need gloves for is as follows: Contact Cement, Epoxy, Resins, Sprays, Butane Fuel, Etc.


GOGGLES/EYE SAFETY
When sanding/grinding, etc. You don’t want anything to get in your eyes.


SINK
If possible, have a slop sink around you. (Most professional shops will have these) Not only for washing your hands BUT also in case if you do get something in your eye - you have a place to go.
RESPIRATOR
We also highly recommend investing in a respirator (that’s fitted to your face and has the proper cartridges) - always use these while working. Protect your lungs and organs - they’re important!
(We’ve attached two below recommended for most puppet building applications including contact cement)


VENTILATION:
ALWAYS WORK IN A WELL VENTILATED AREA when working with contact cement, spray paint, and any resins/chemicals regardless of type.
Solutions for ventilation:
1.) When possible, we always recommend working outdoors.
2.) If your shop or garage has good airflow, this works well. When using this option, we of course recommend a respirator and use of a fan. Setting up a fan will allow you to blow the chemicals away from you and work to push the fumes out of your space.
3.) Invest in a ventilation table - these are GREAT if you’re working in a small space and don’t have a lot of ventilation. You can work inside of it freely while the inside fan pushes out all of the toxic fumes out of a drier duct and outside.
Additional resources for ventilation: westsystem.com - EXPOY SAFETY


Keeping your work area clean:
It’s important to keep your work area clean whether you’re working from home, garage or in a shop - not only will it keep you more organized, but it will also prevent cross-contamination of products (Plus your employer would appreciate it)
That’s all for now. We hope you found this blog helpful.
Please let us know if you have any thoughts or ideas in the comments section below OR on social media. Be sure to subscribe & follow for more and please be sure to share this with other community members!
Thanks so much, we’ll see you in the next blog!
Jane Lynch - Directing Puppets
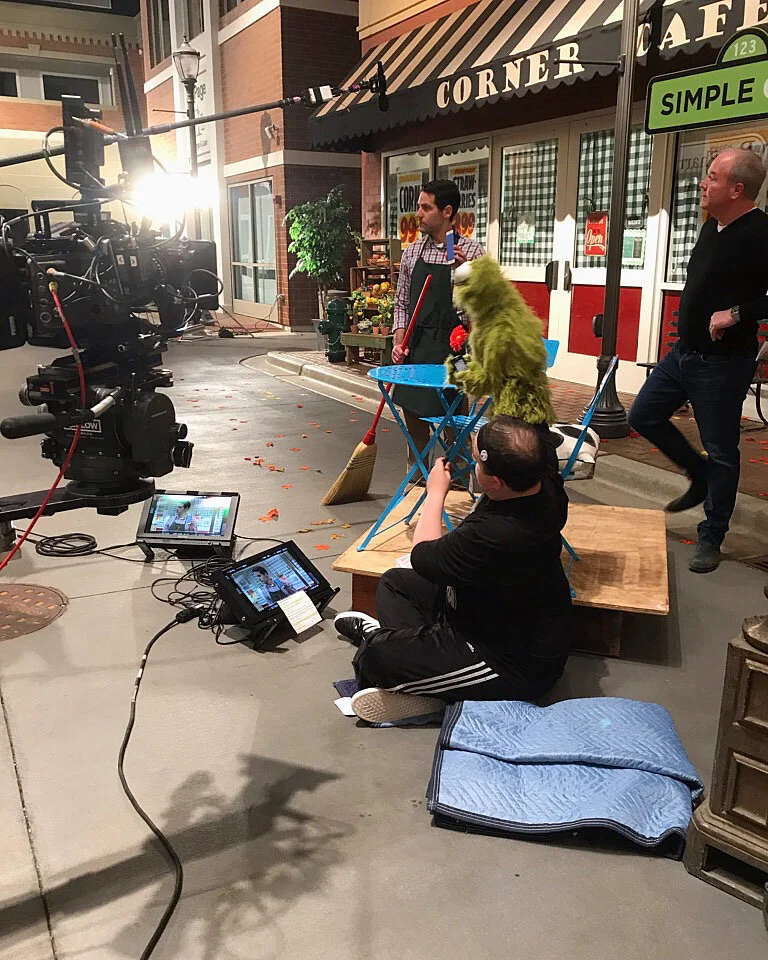
JANE LYNCH - SIMPLE CITY CAMPAIGN
Puppeteers: Connor Asher, Steven Widerman
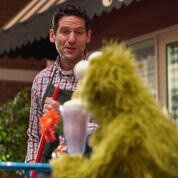

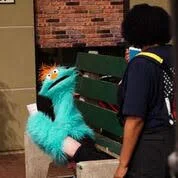
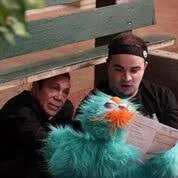
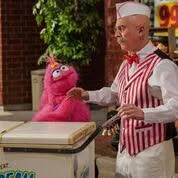
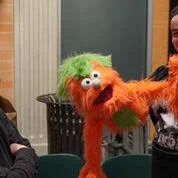
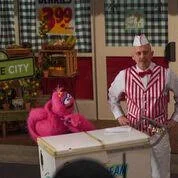
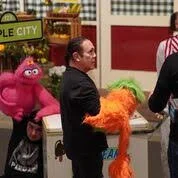
We are honored to have worked with Emmy and Golden Globe award-winning actress Jane Lynch and STORY on a series of spots for Jane’s directing reel.
Creventive Puppet Company was hired to design, build and perform the puppets for STORY’s Simple City Campaign commercials for Simple Mobile directed by Jane Lynch.
The Creventive puppets worked on set alongside human actors, beautifully brought to life by SAG-AFTRA puppeteers: Connor Asher and Steven Widerman.
WATCH THE SPOTS NOW:
COMING SOON
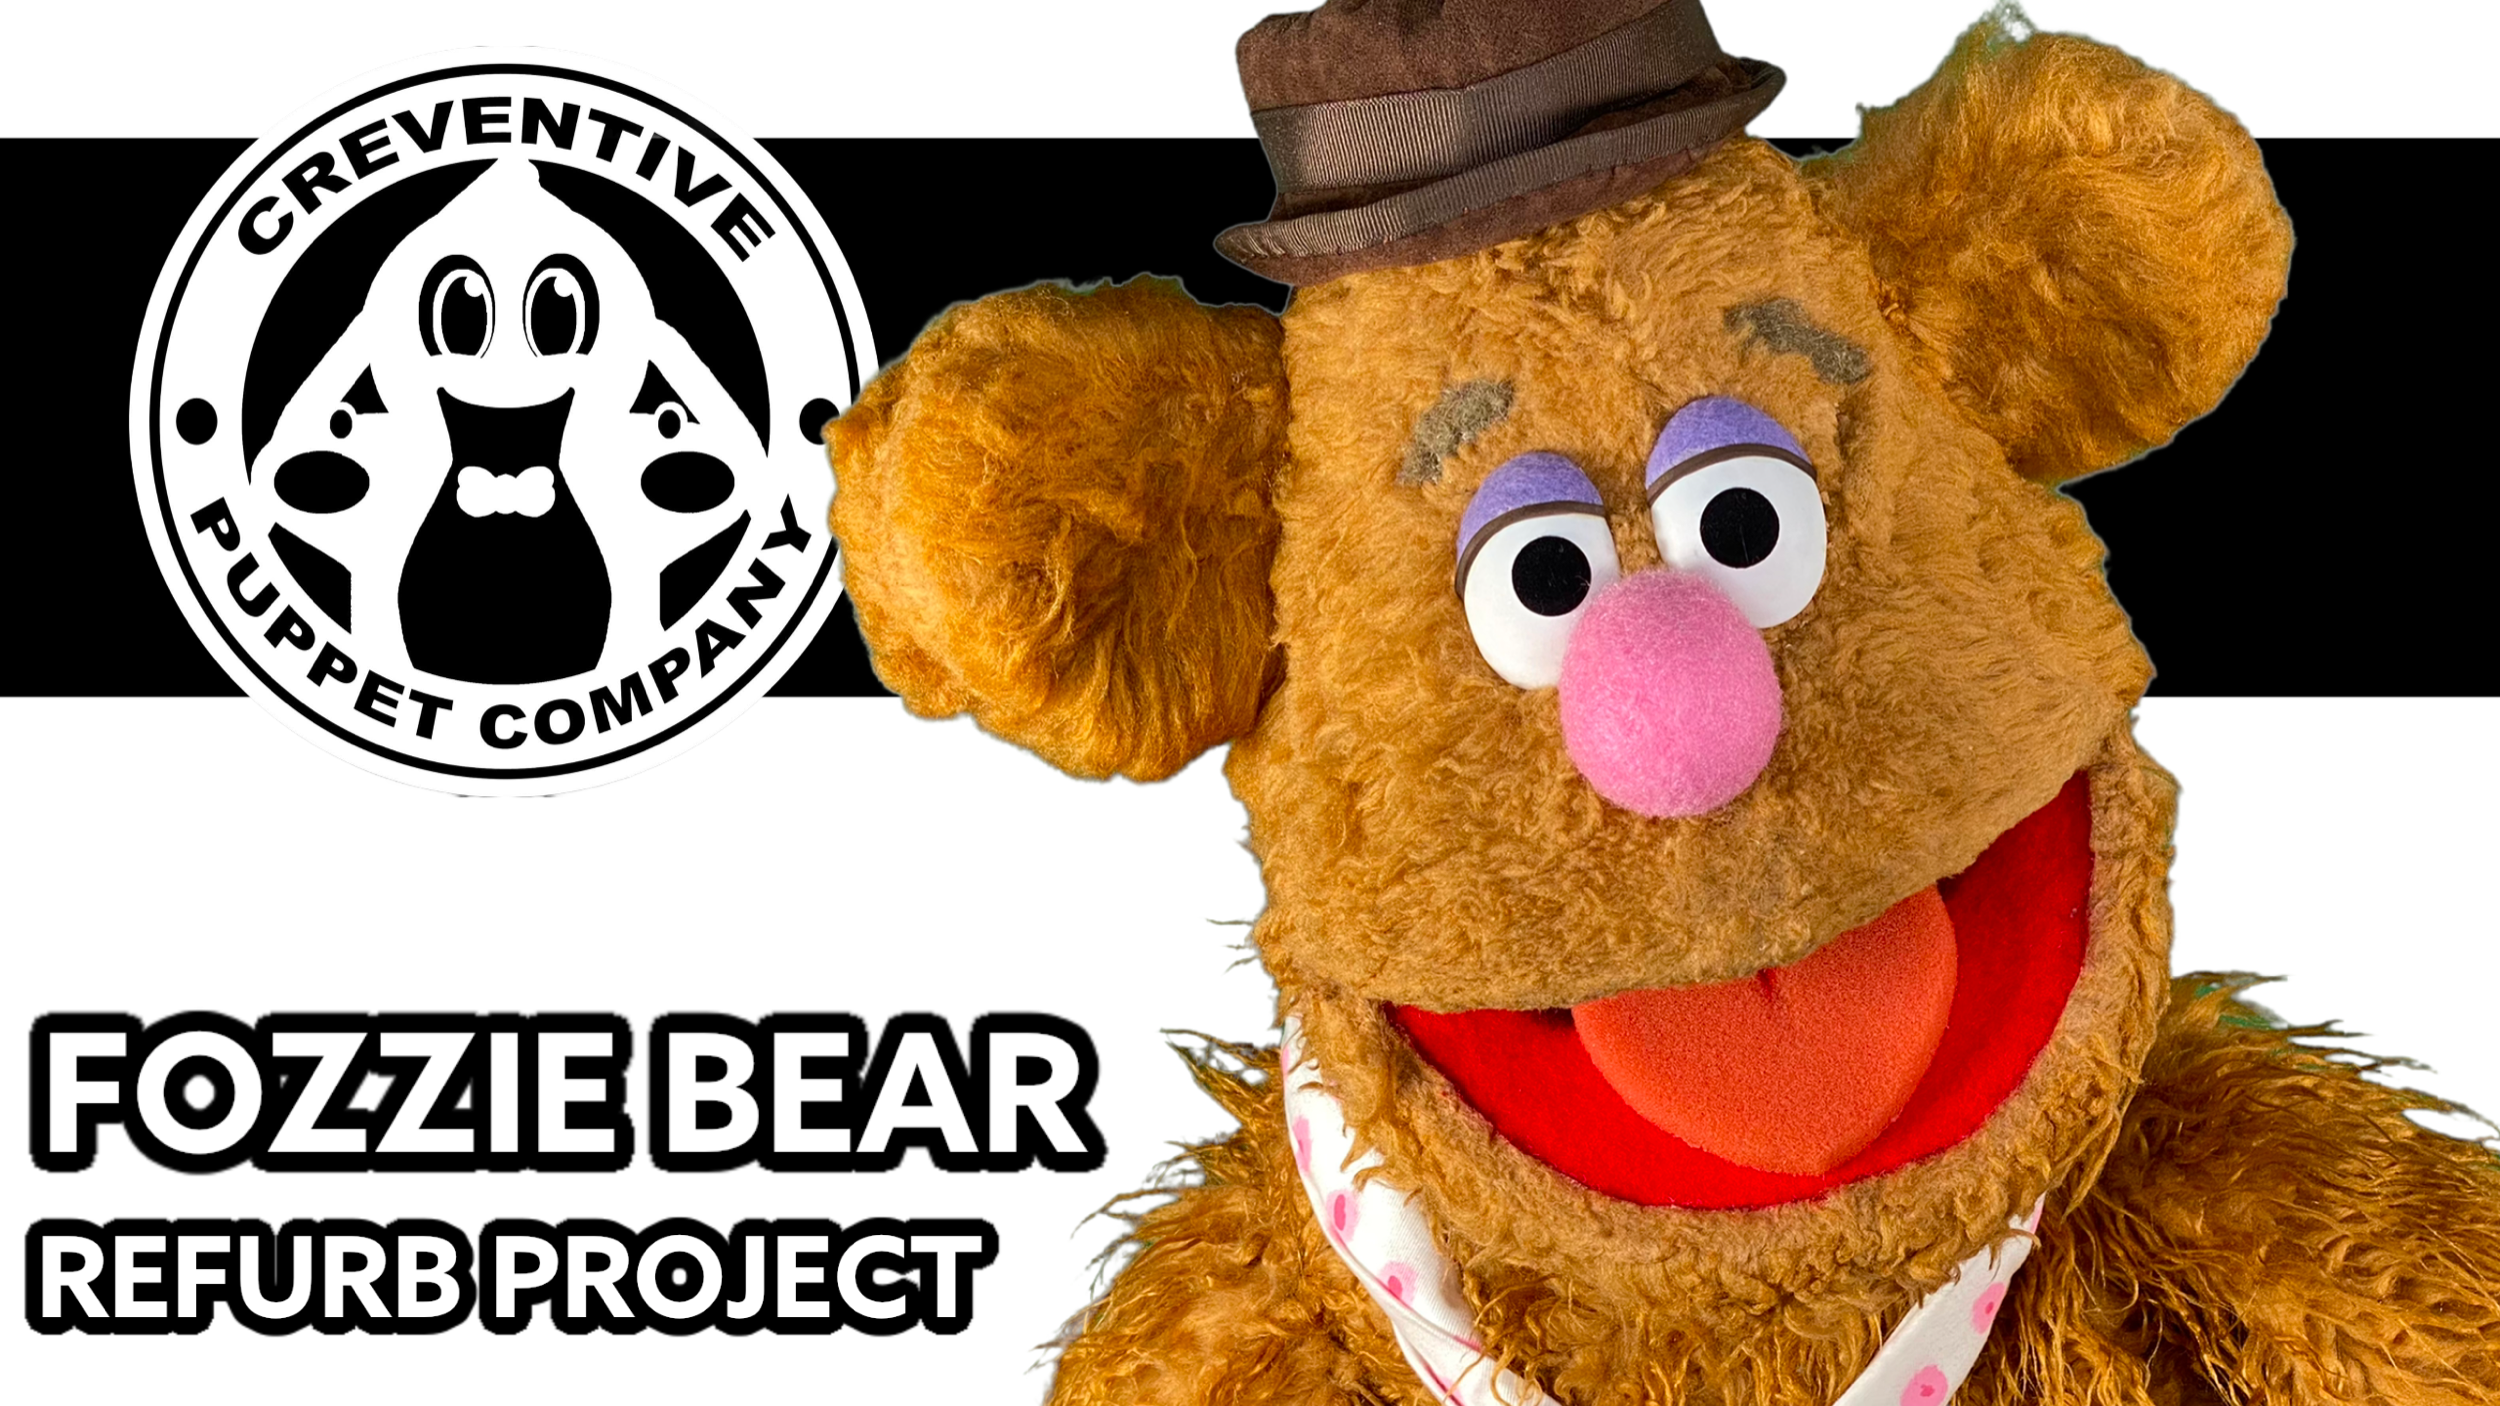
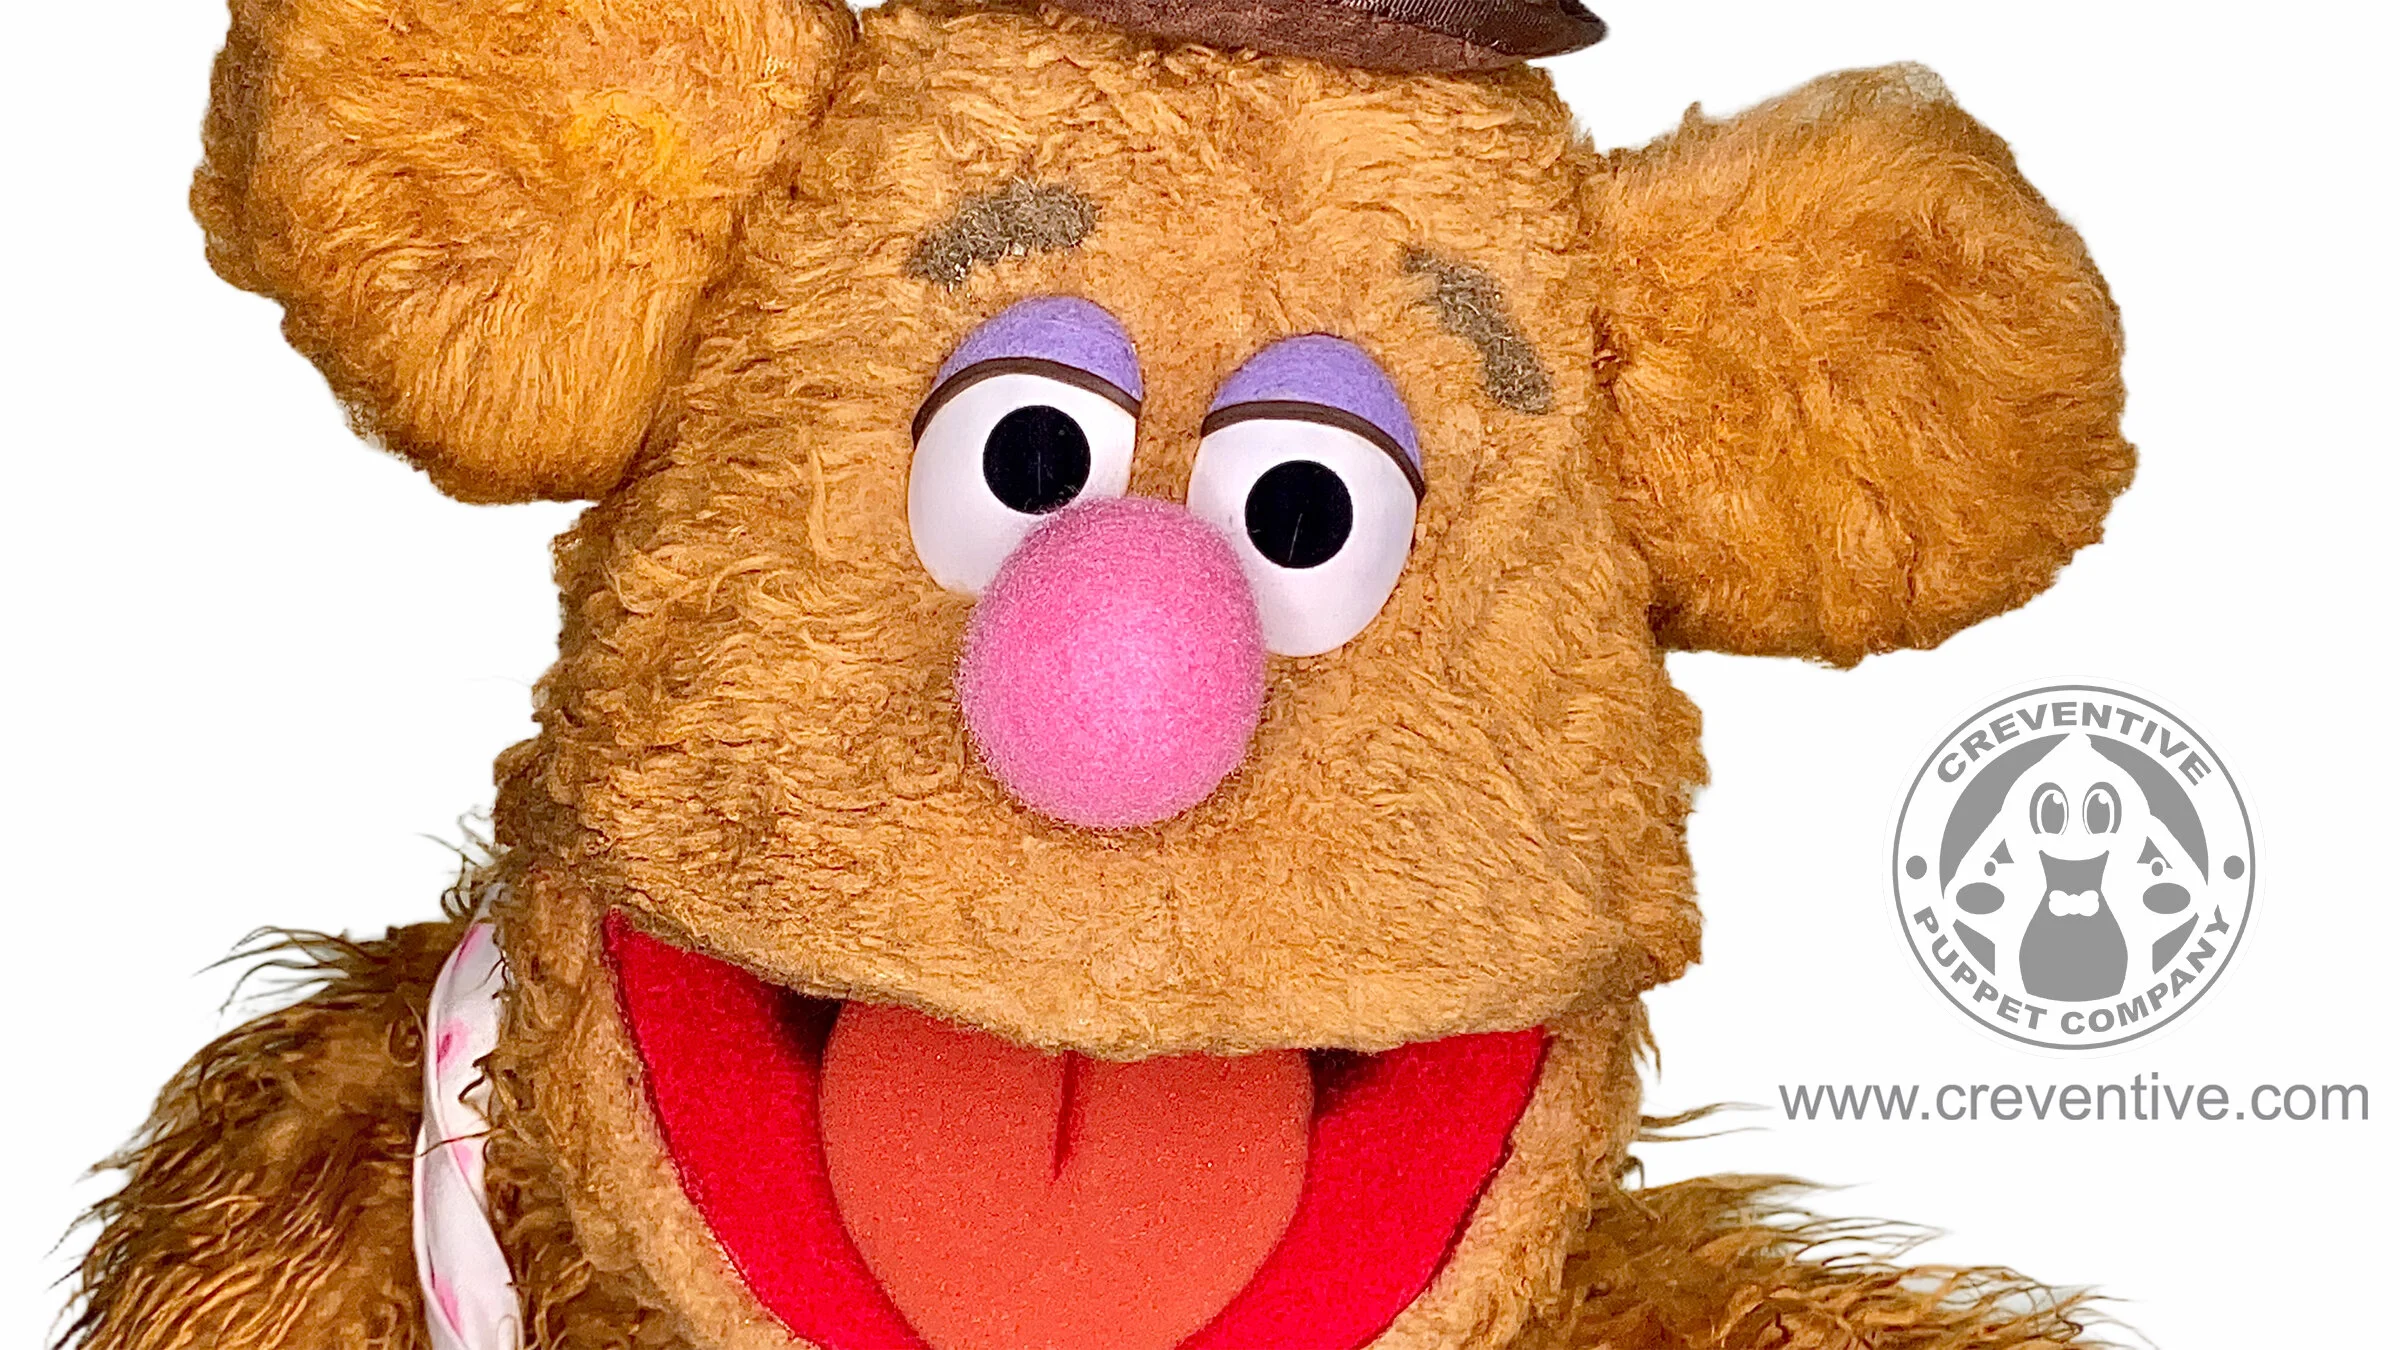
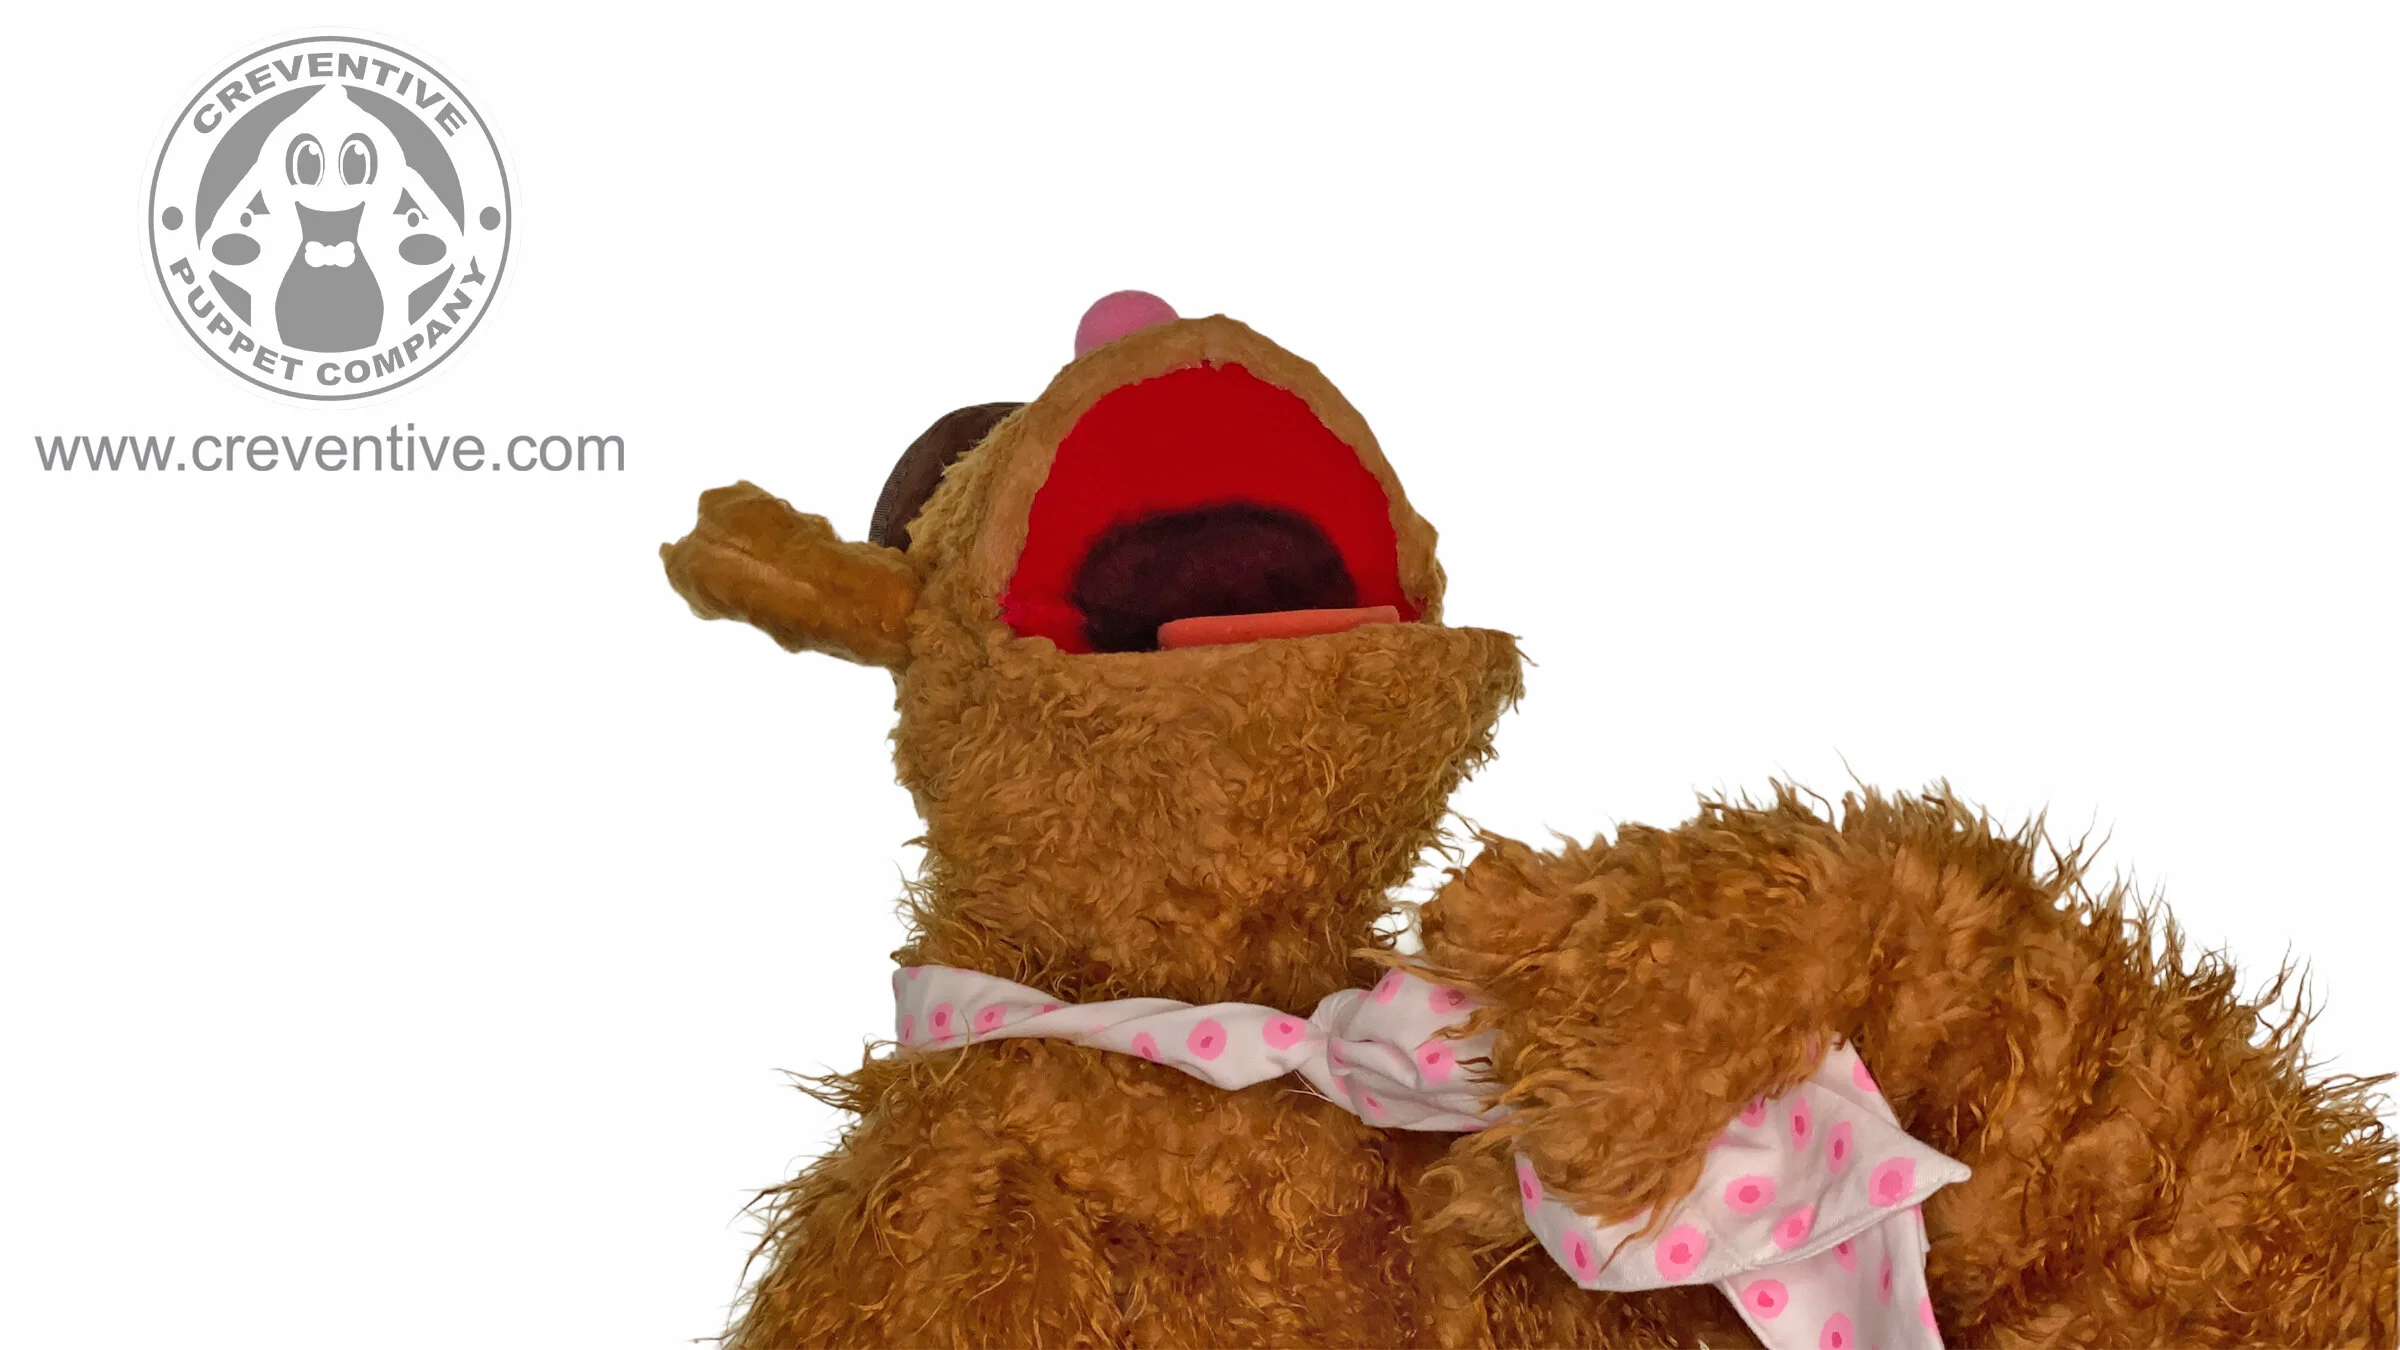
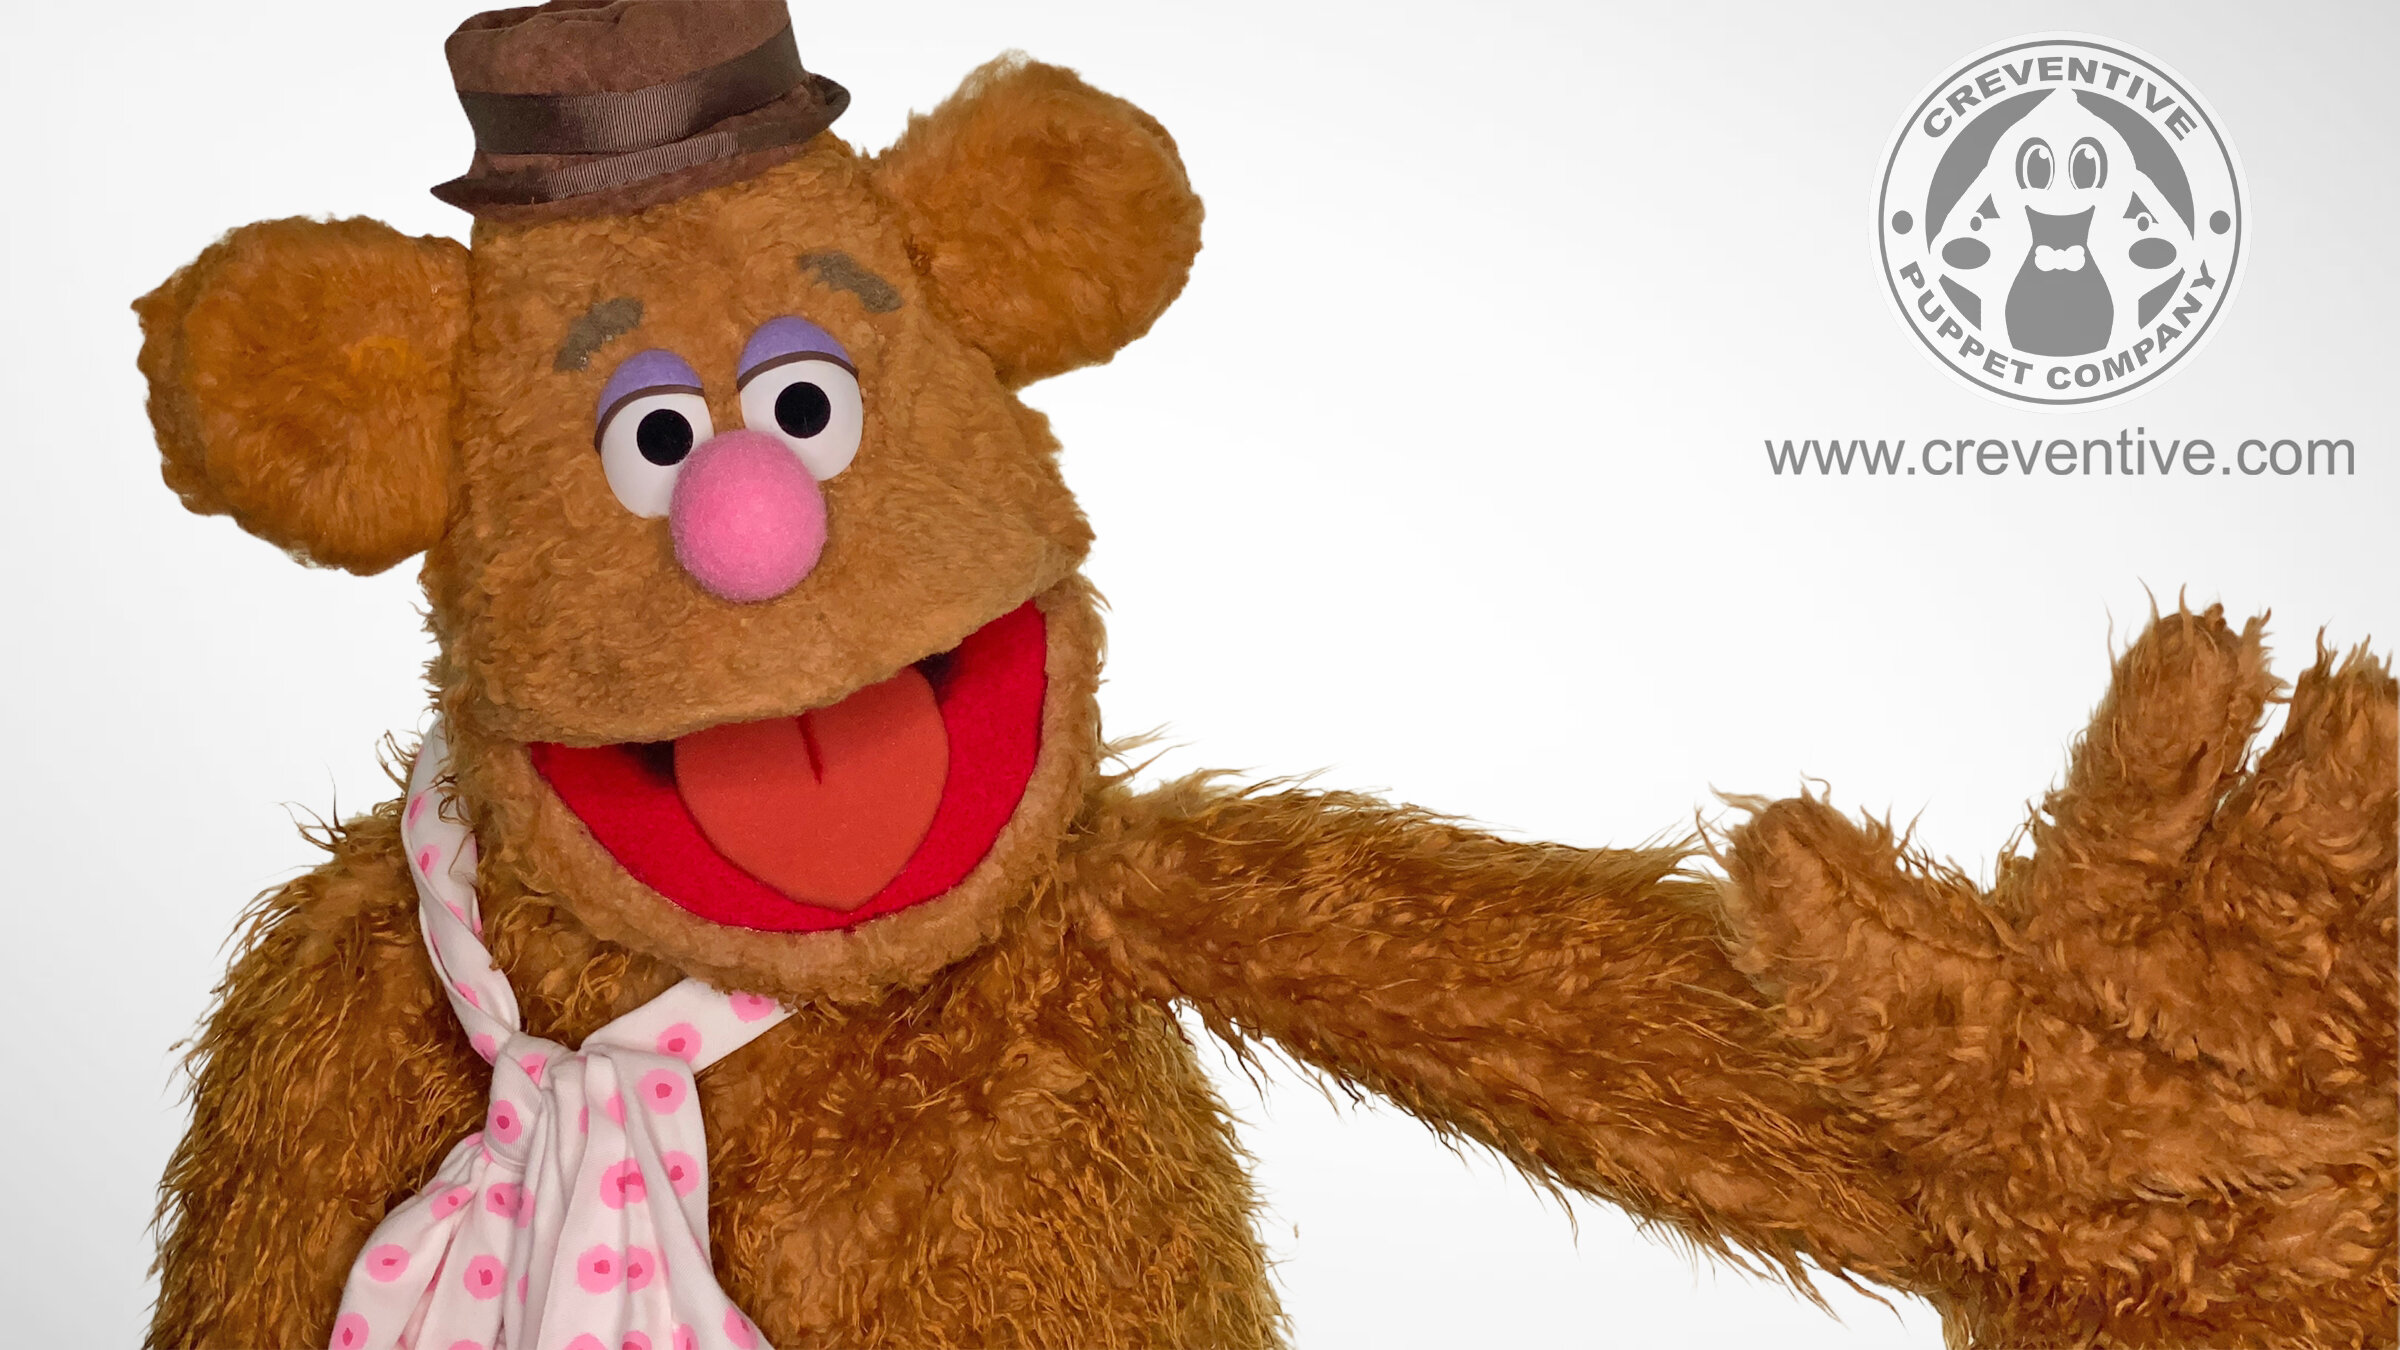
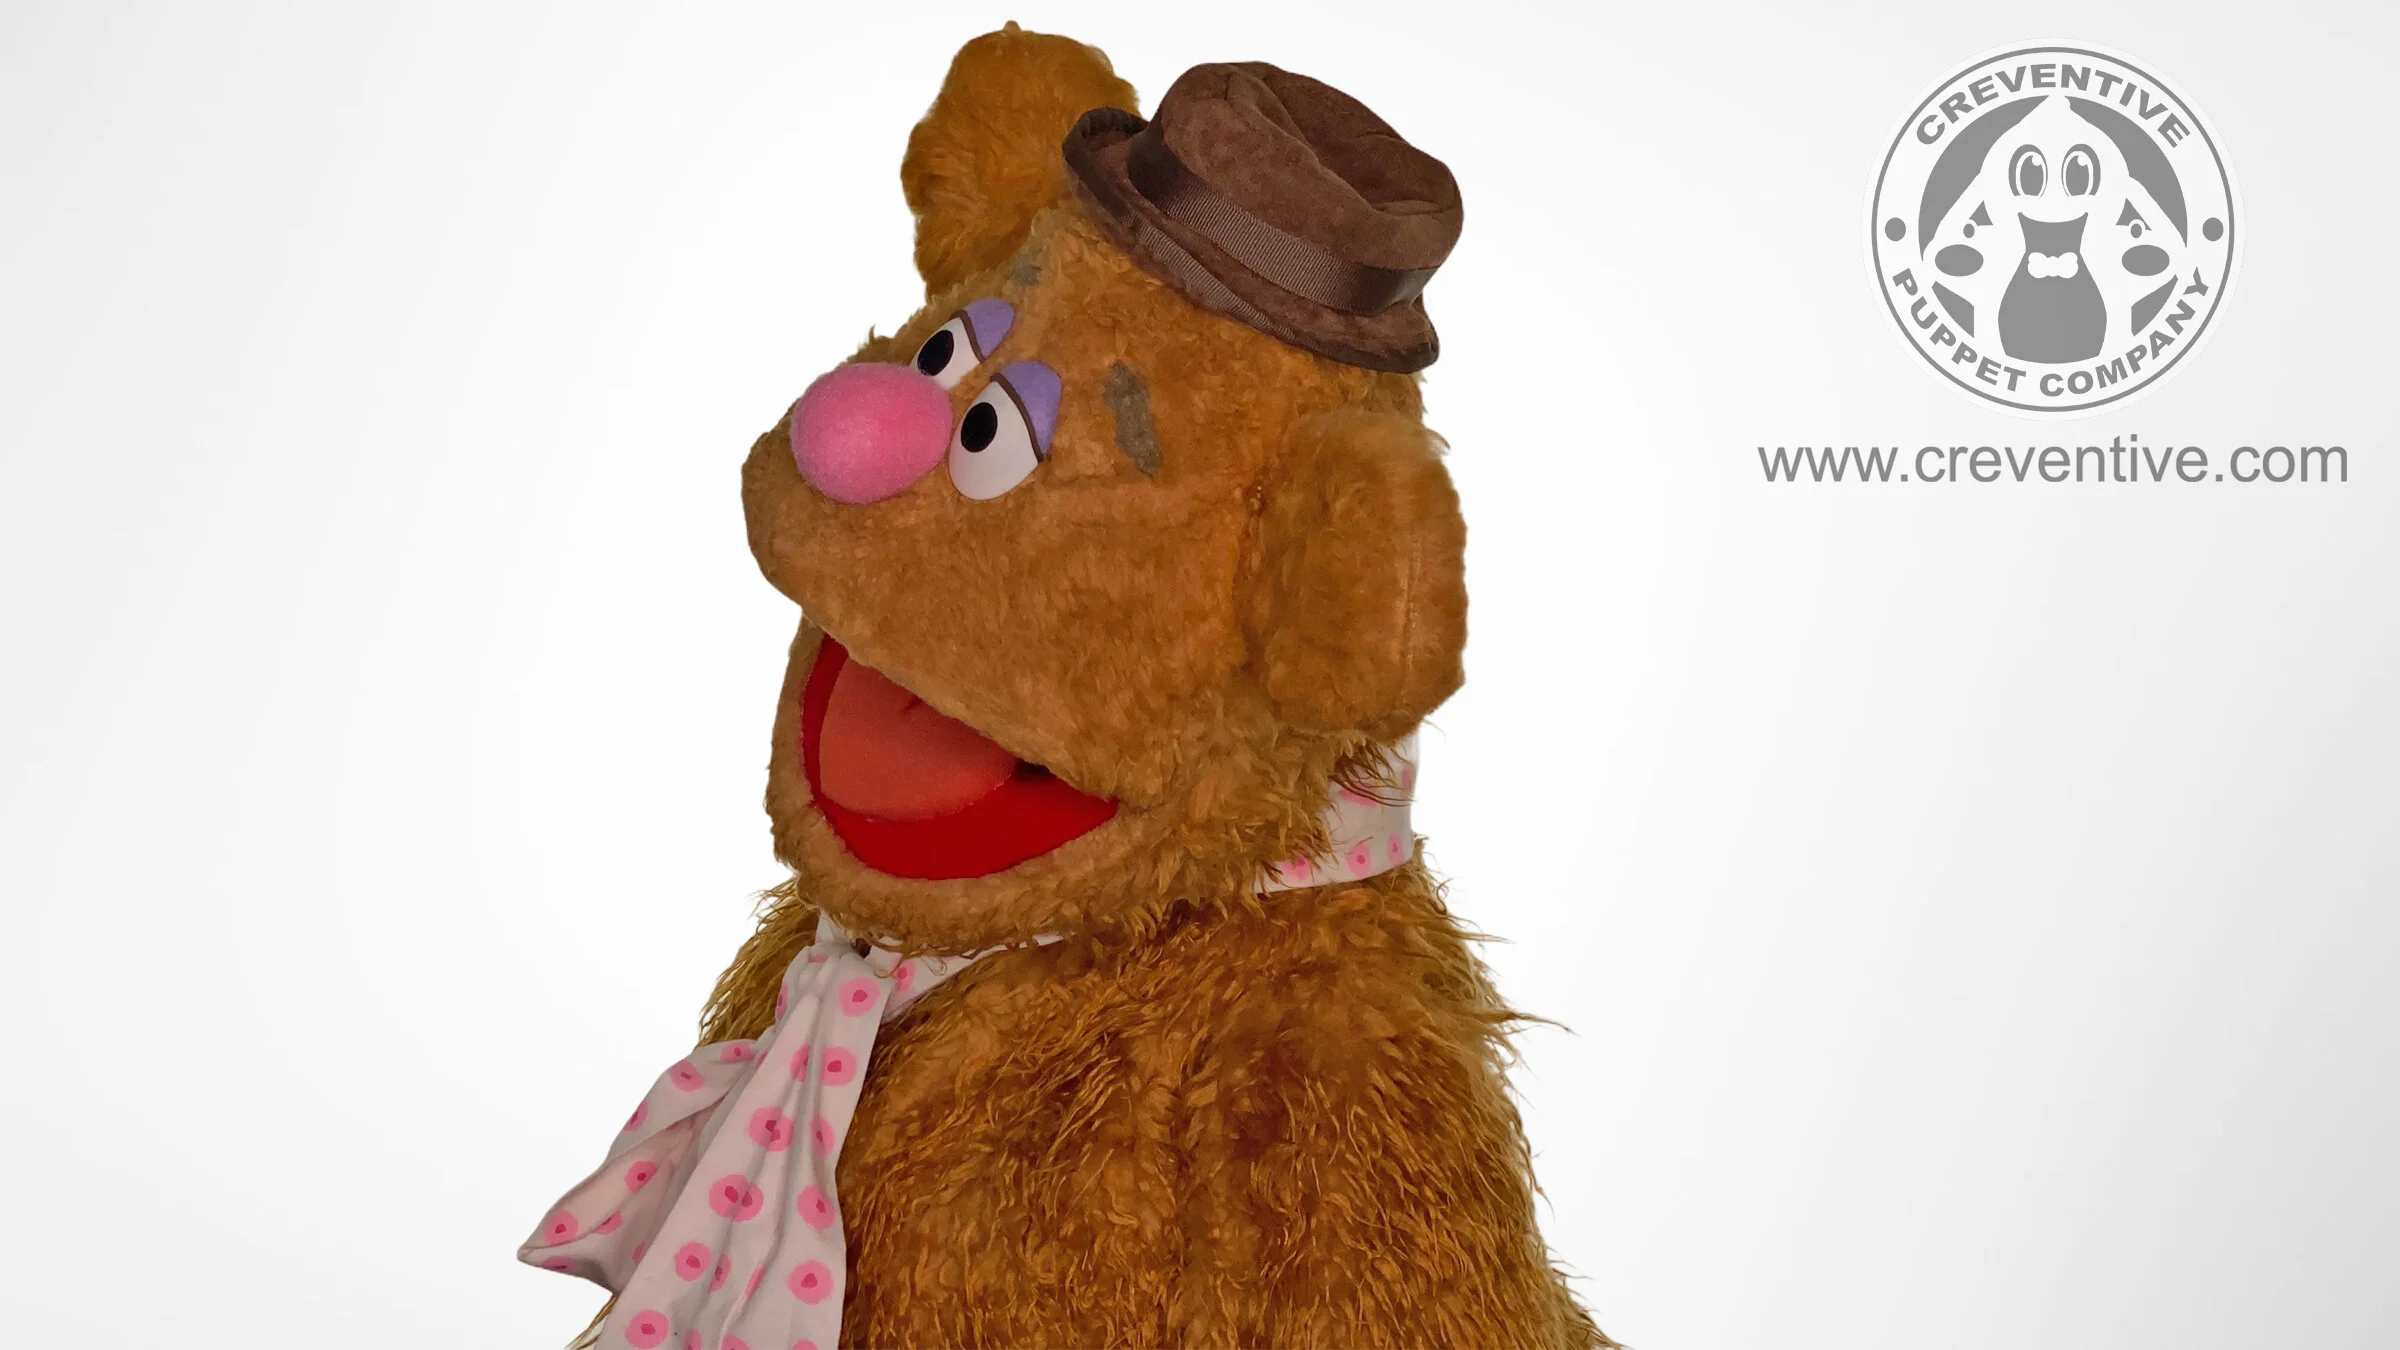
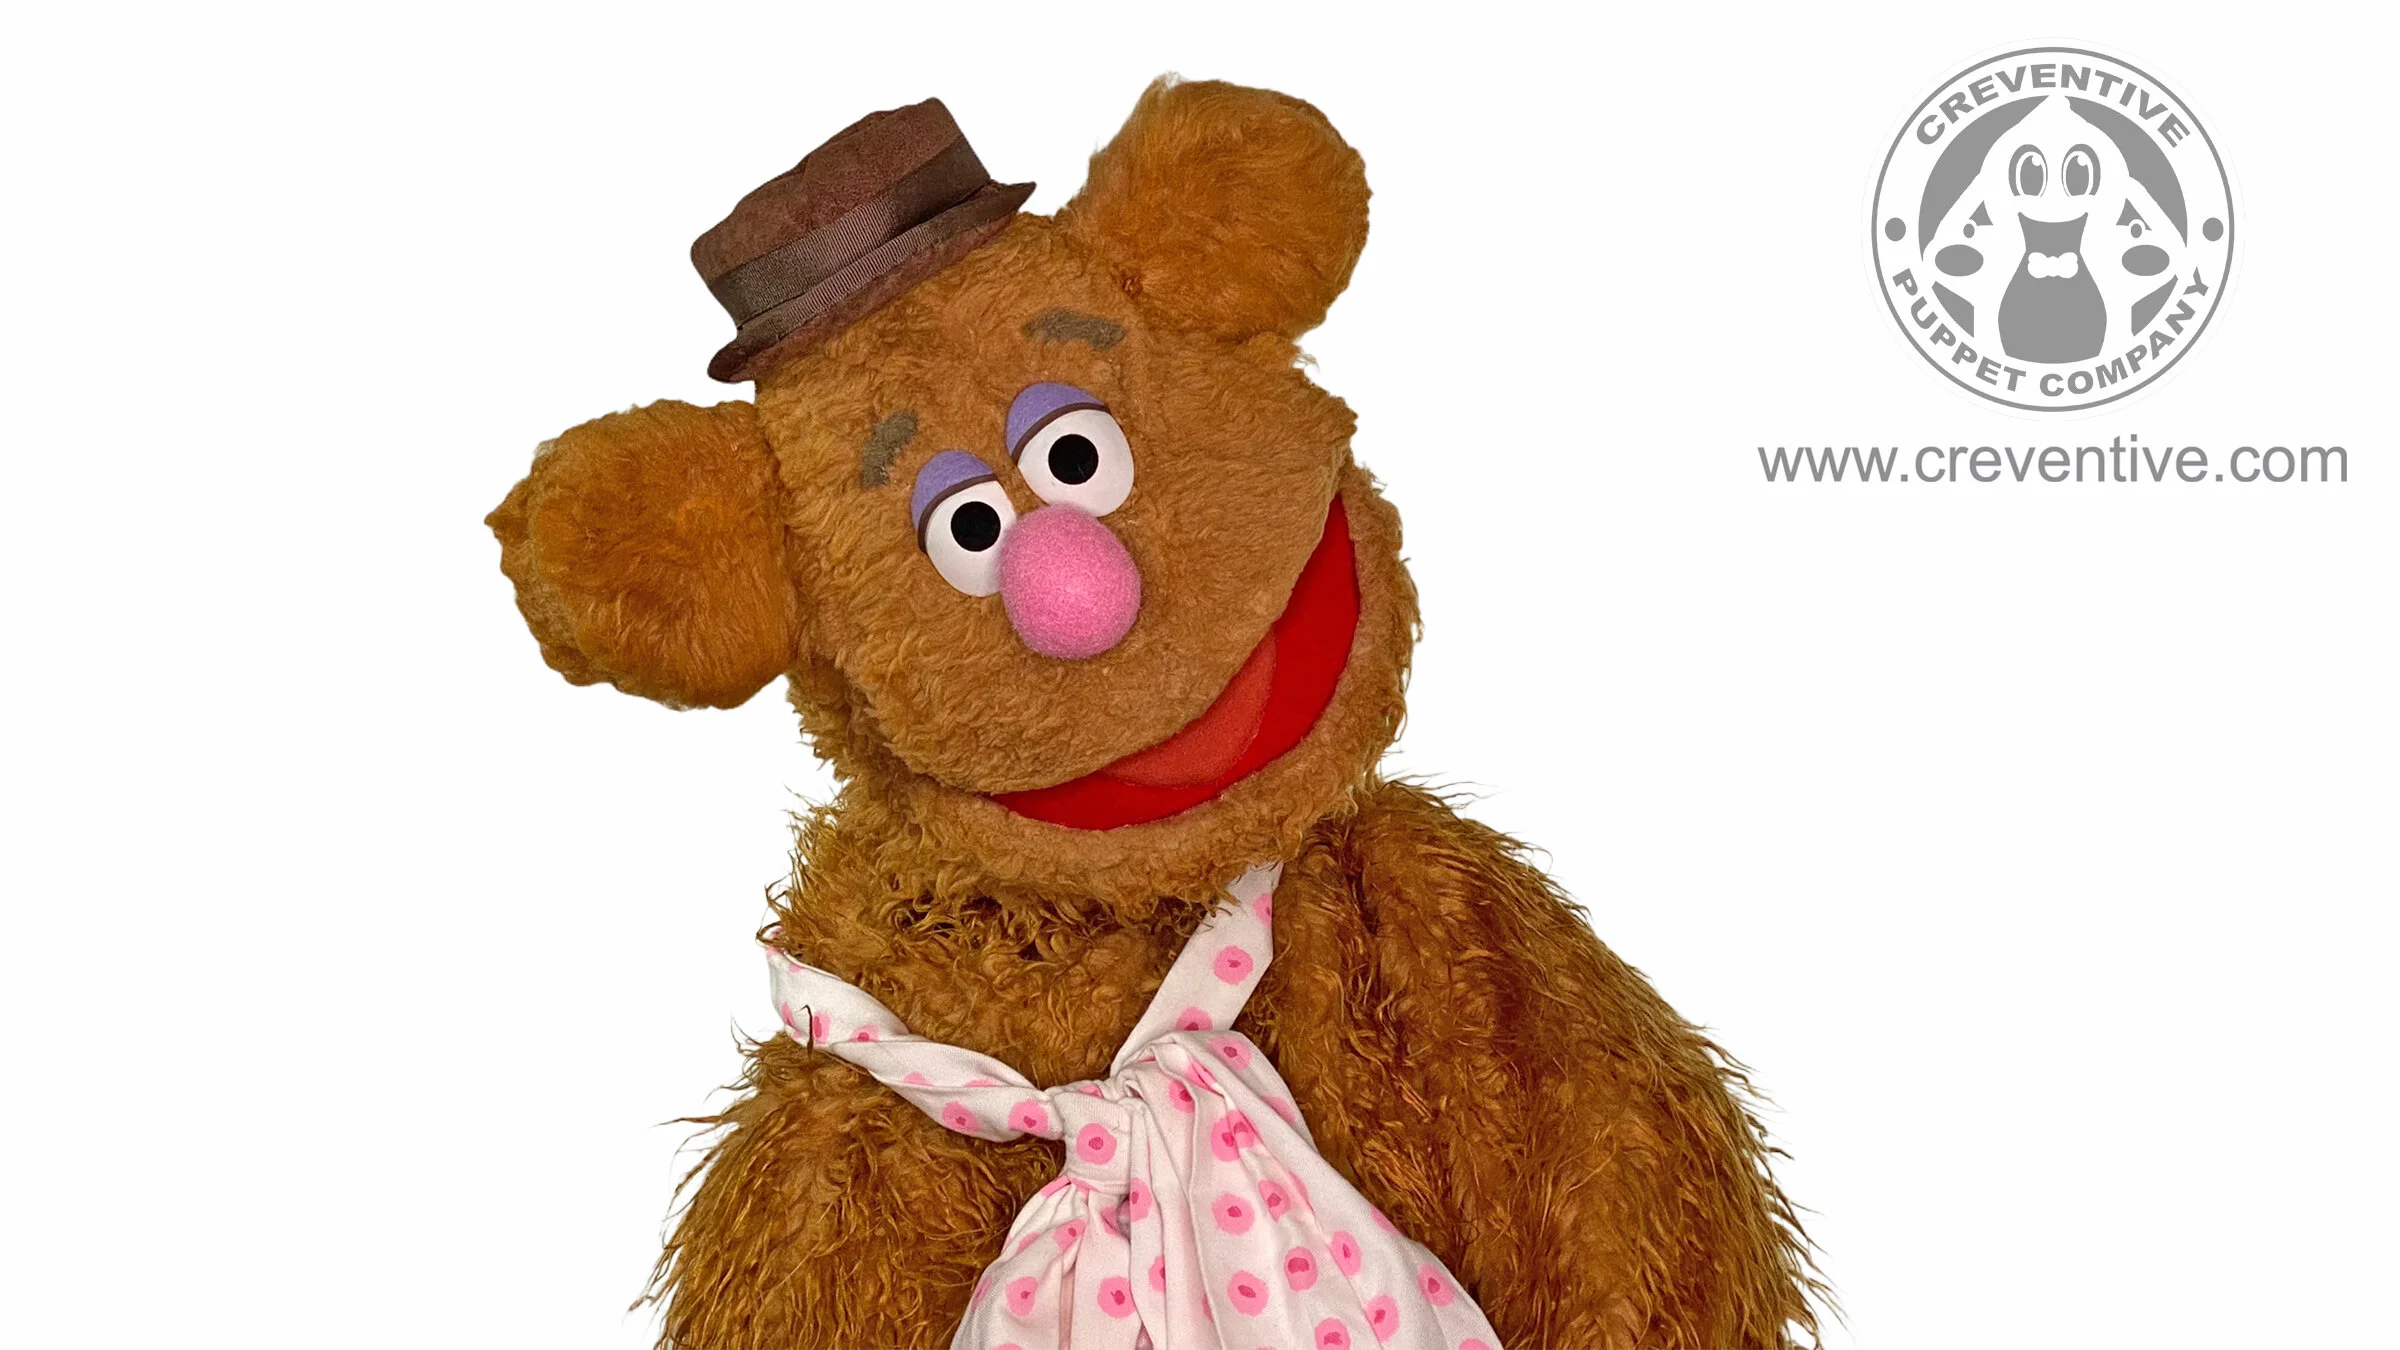
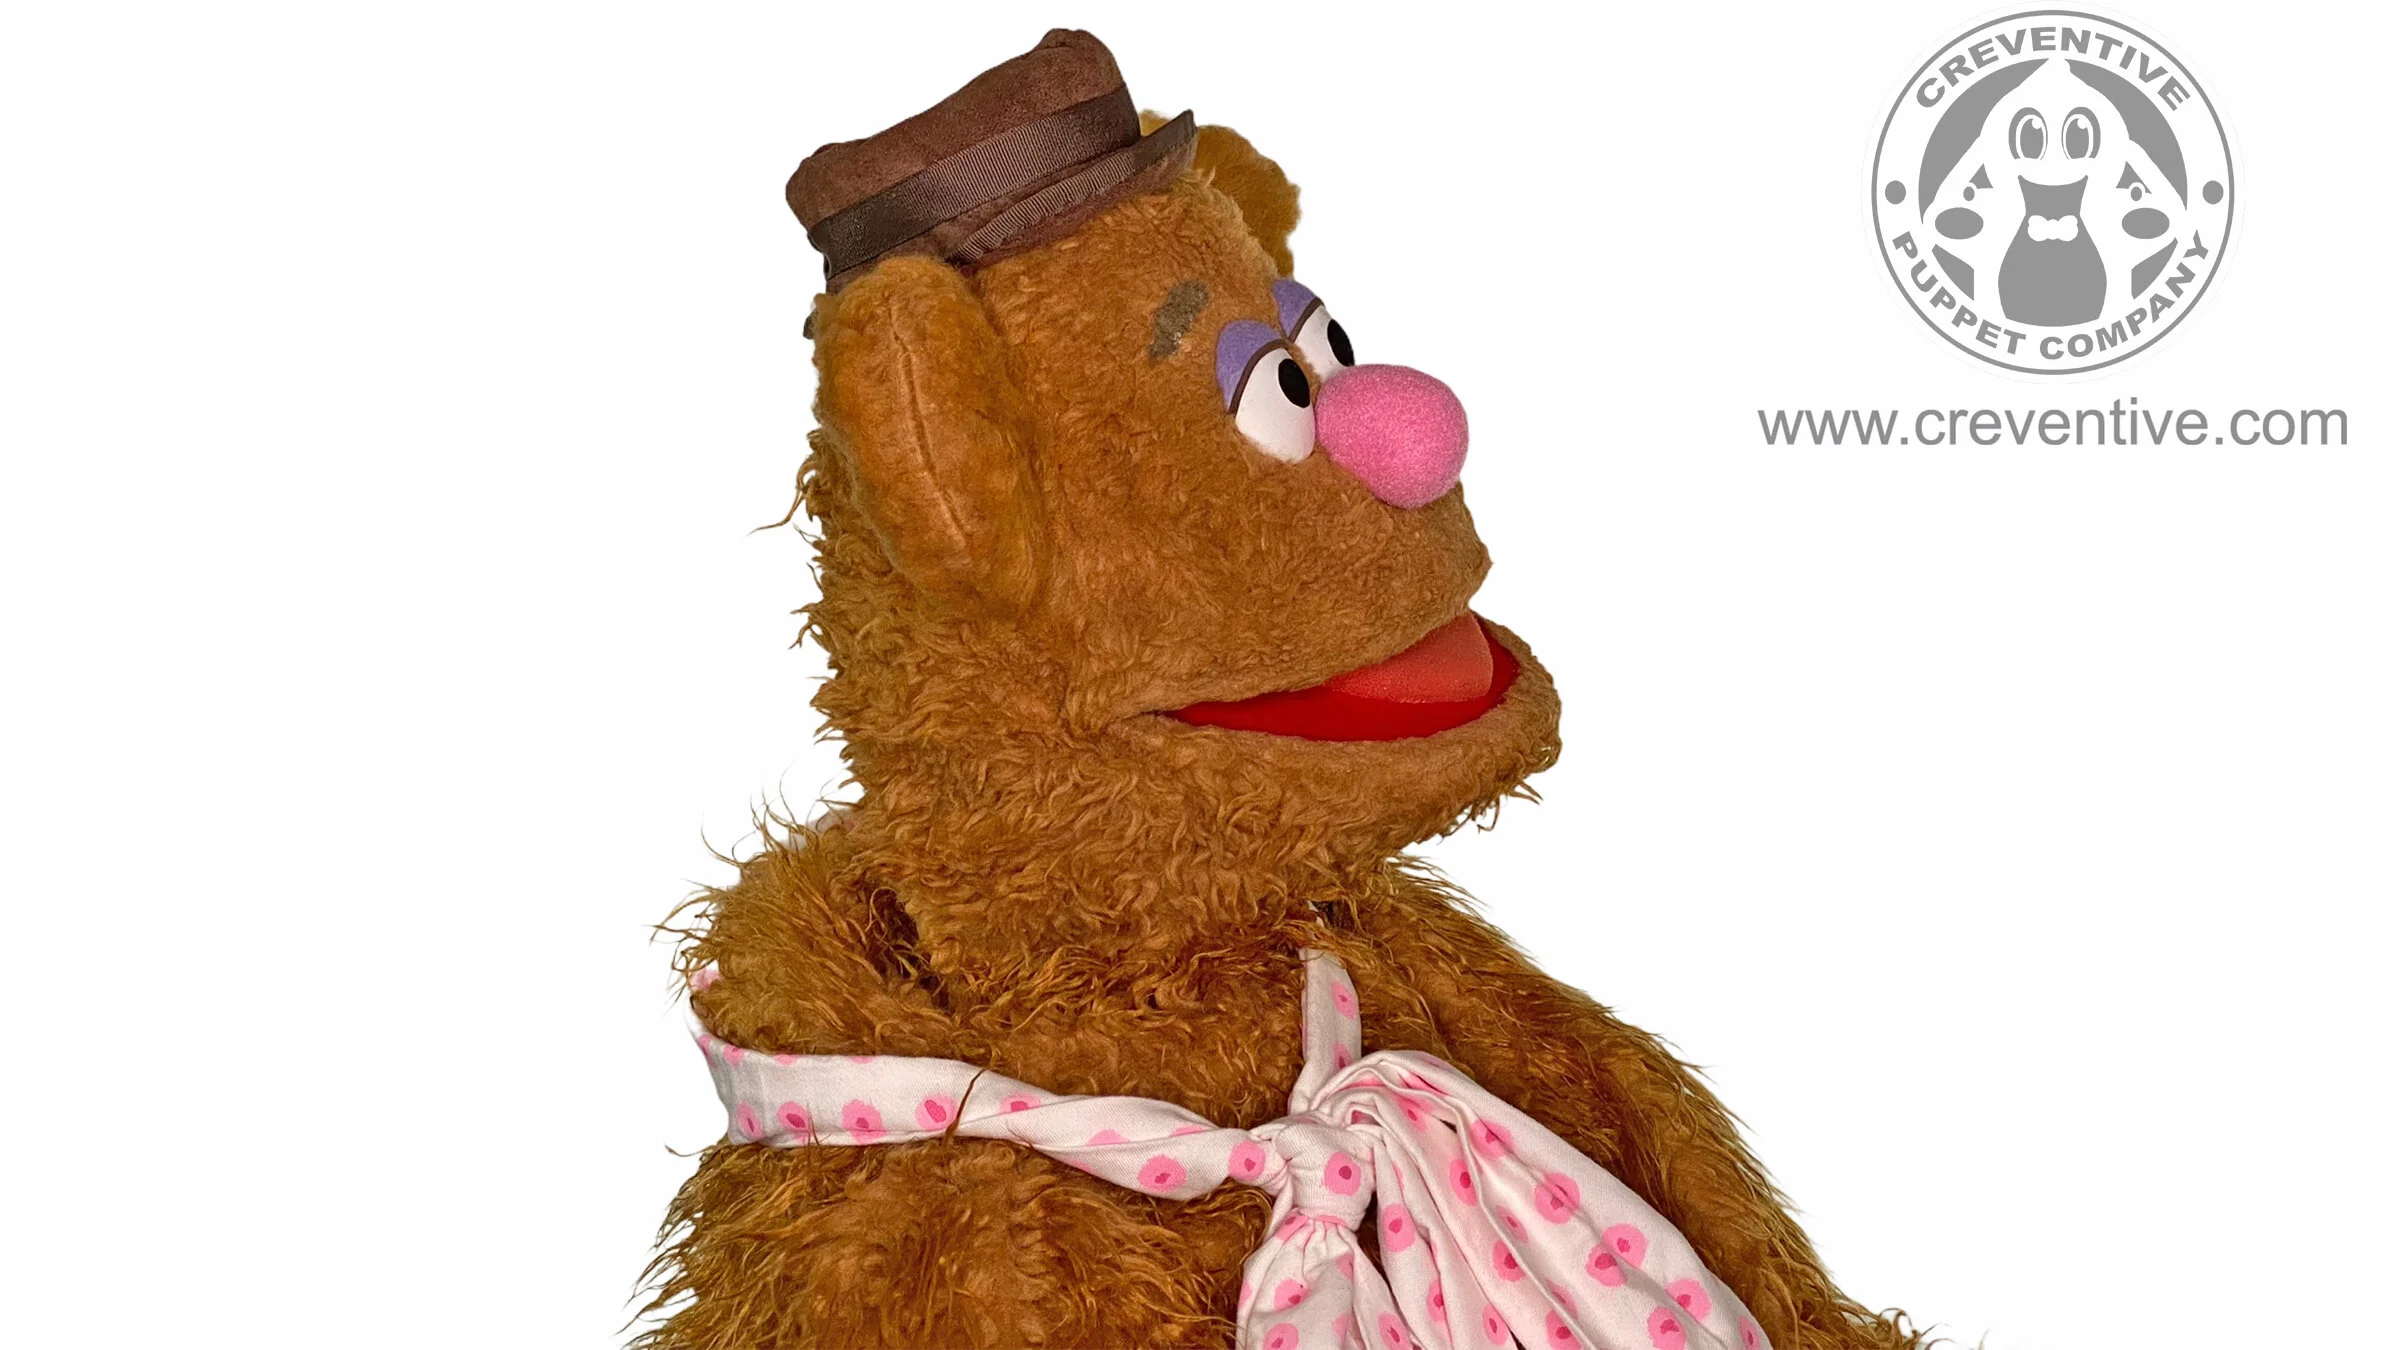
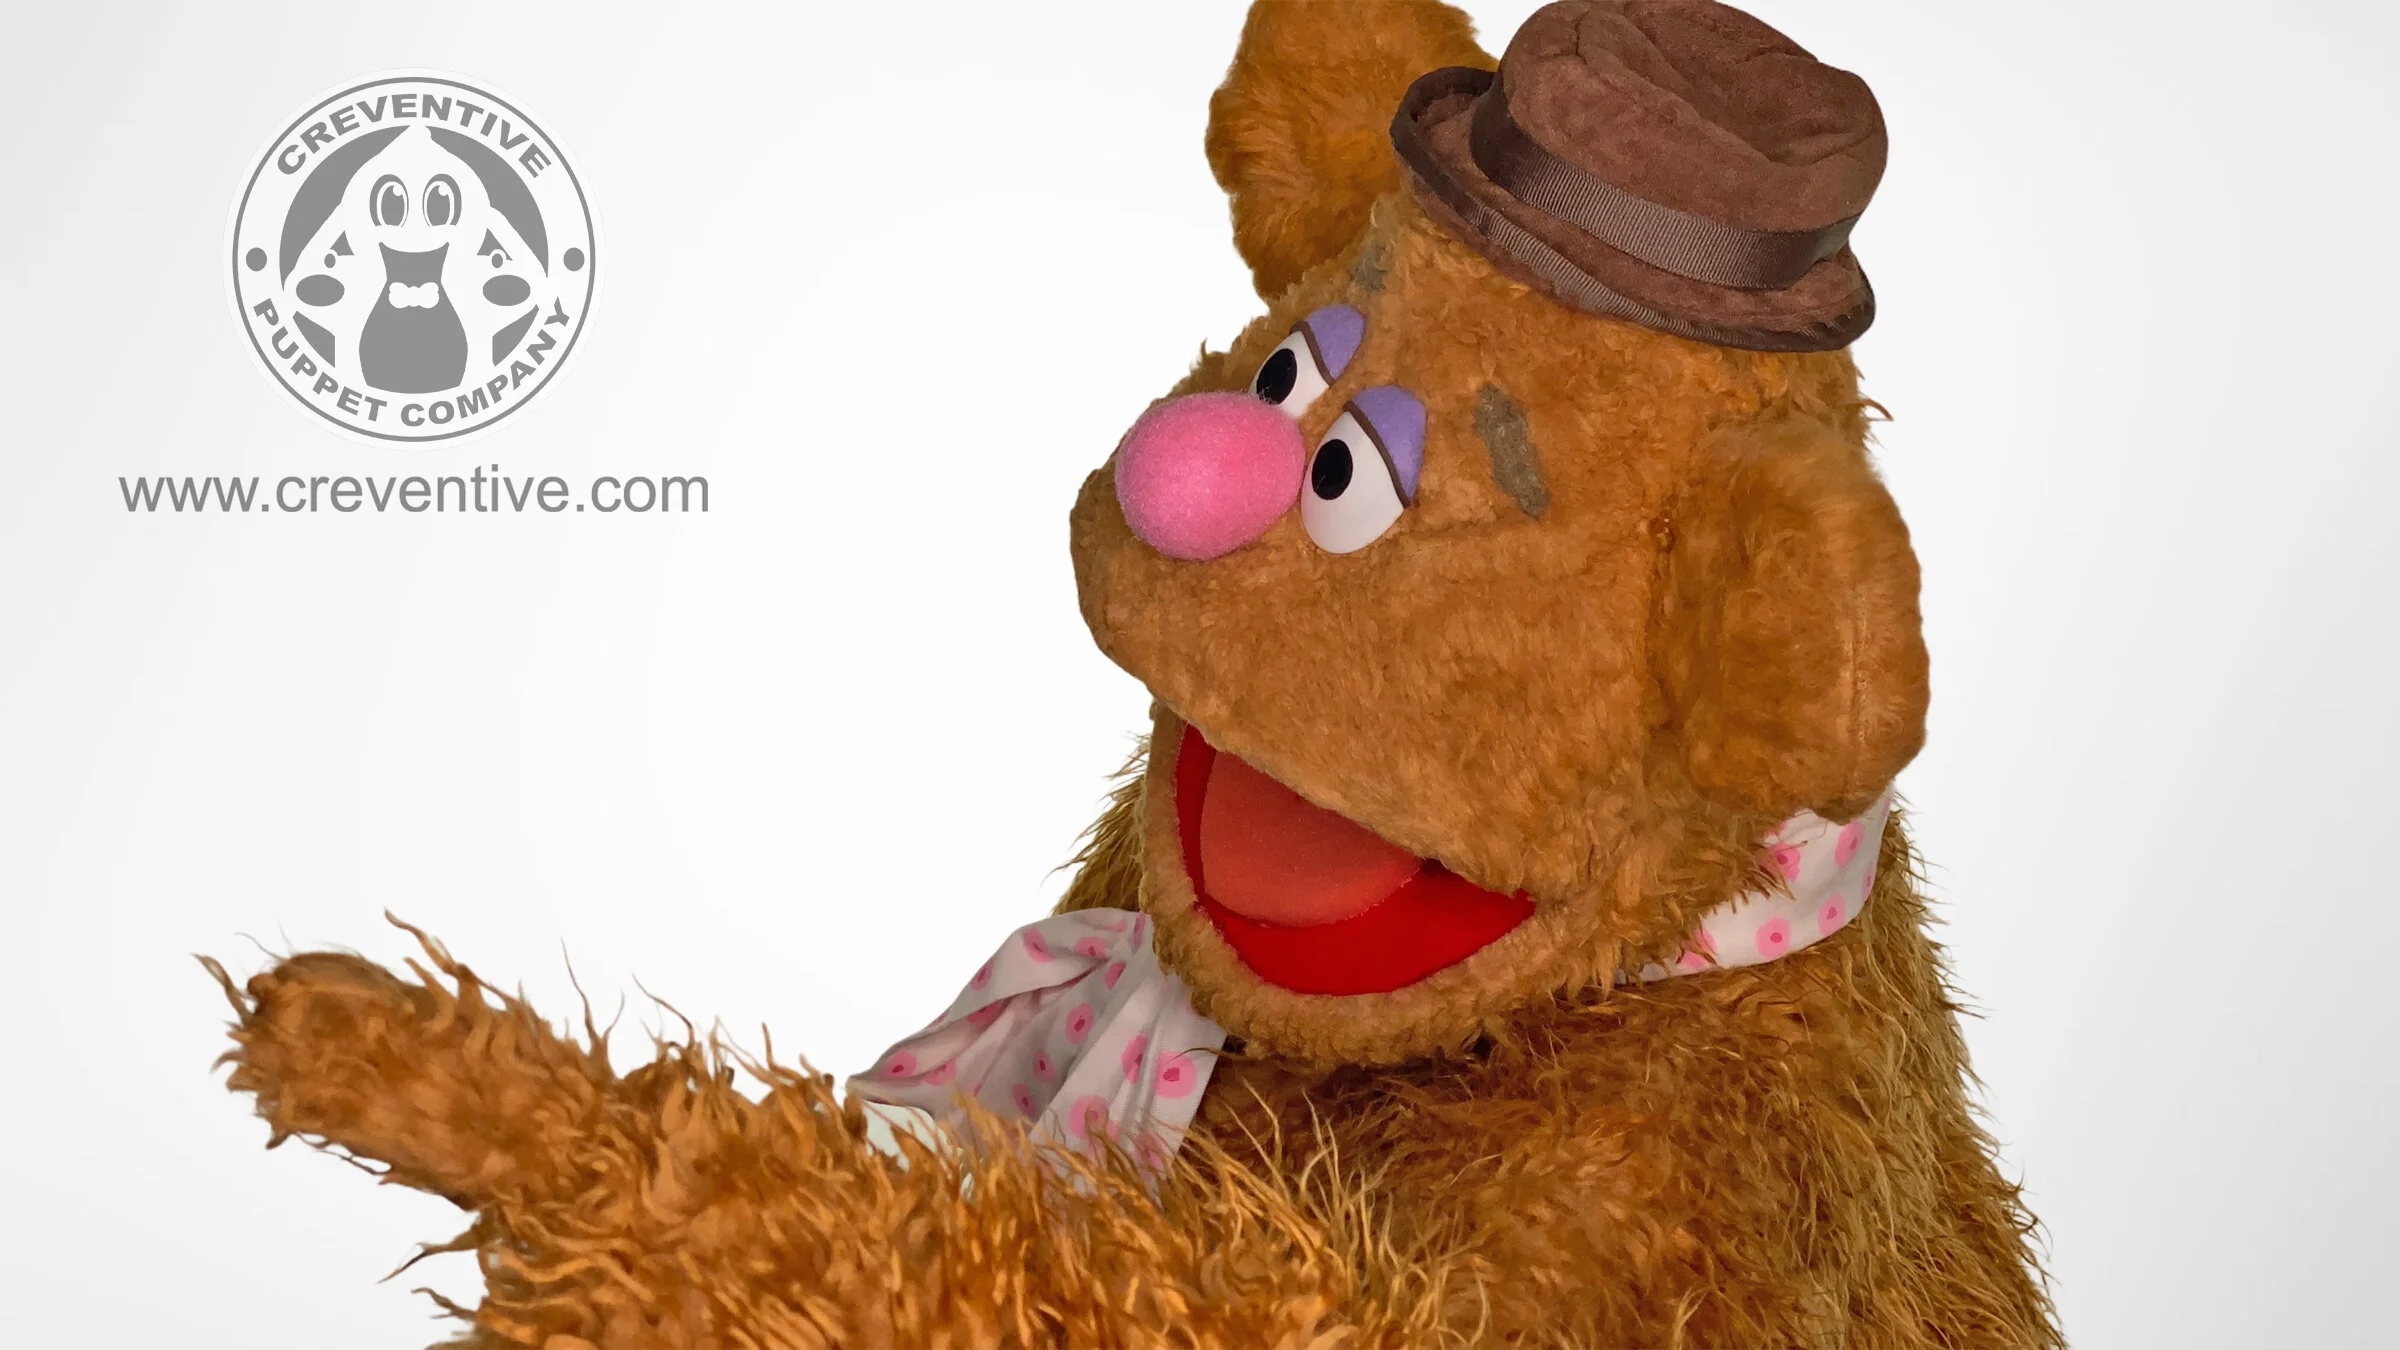
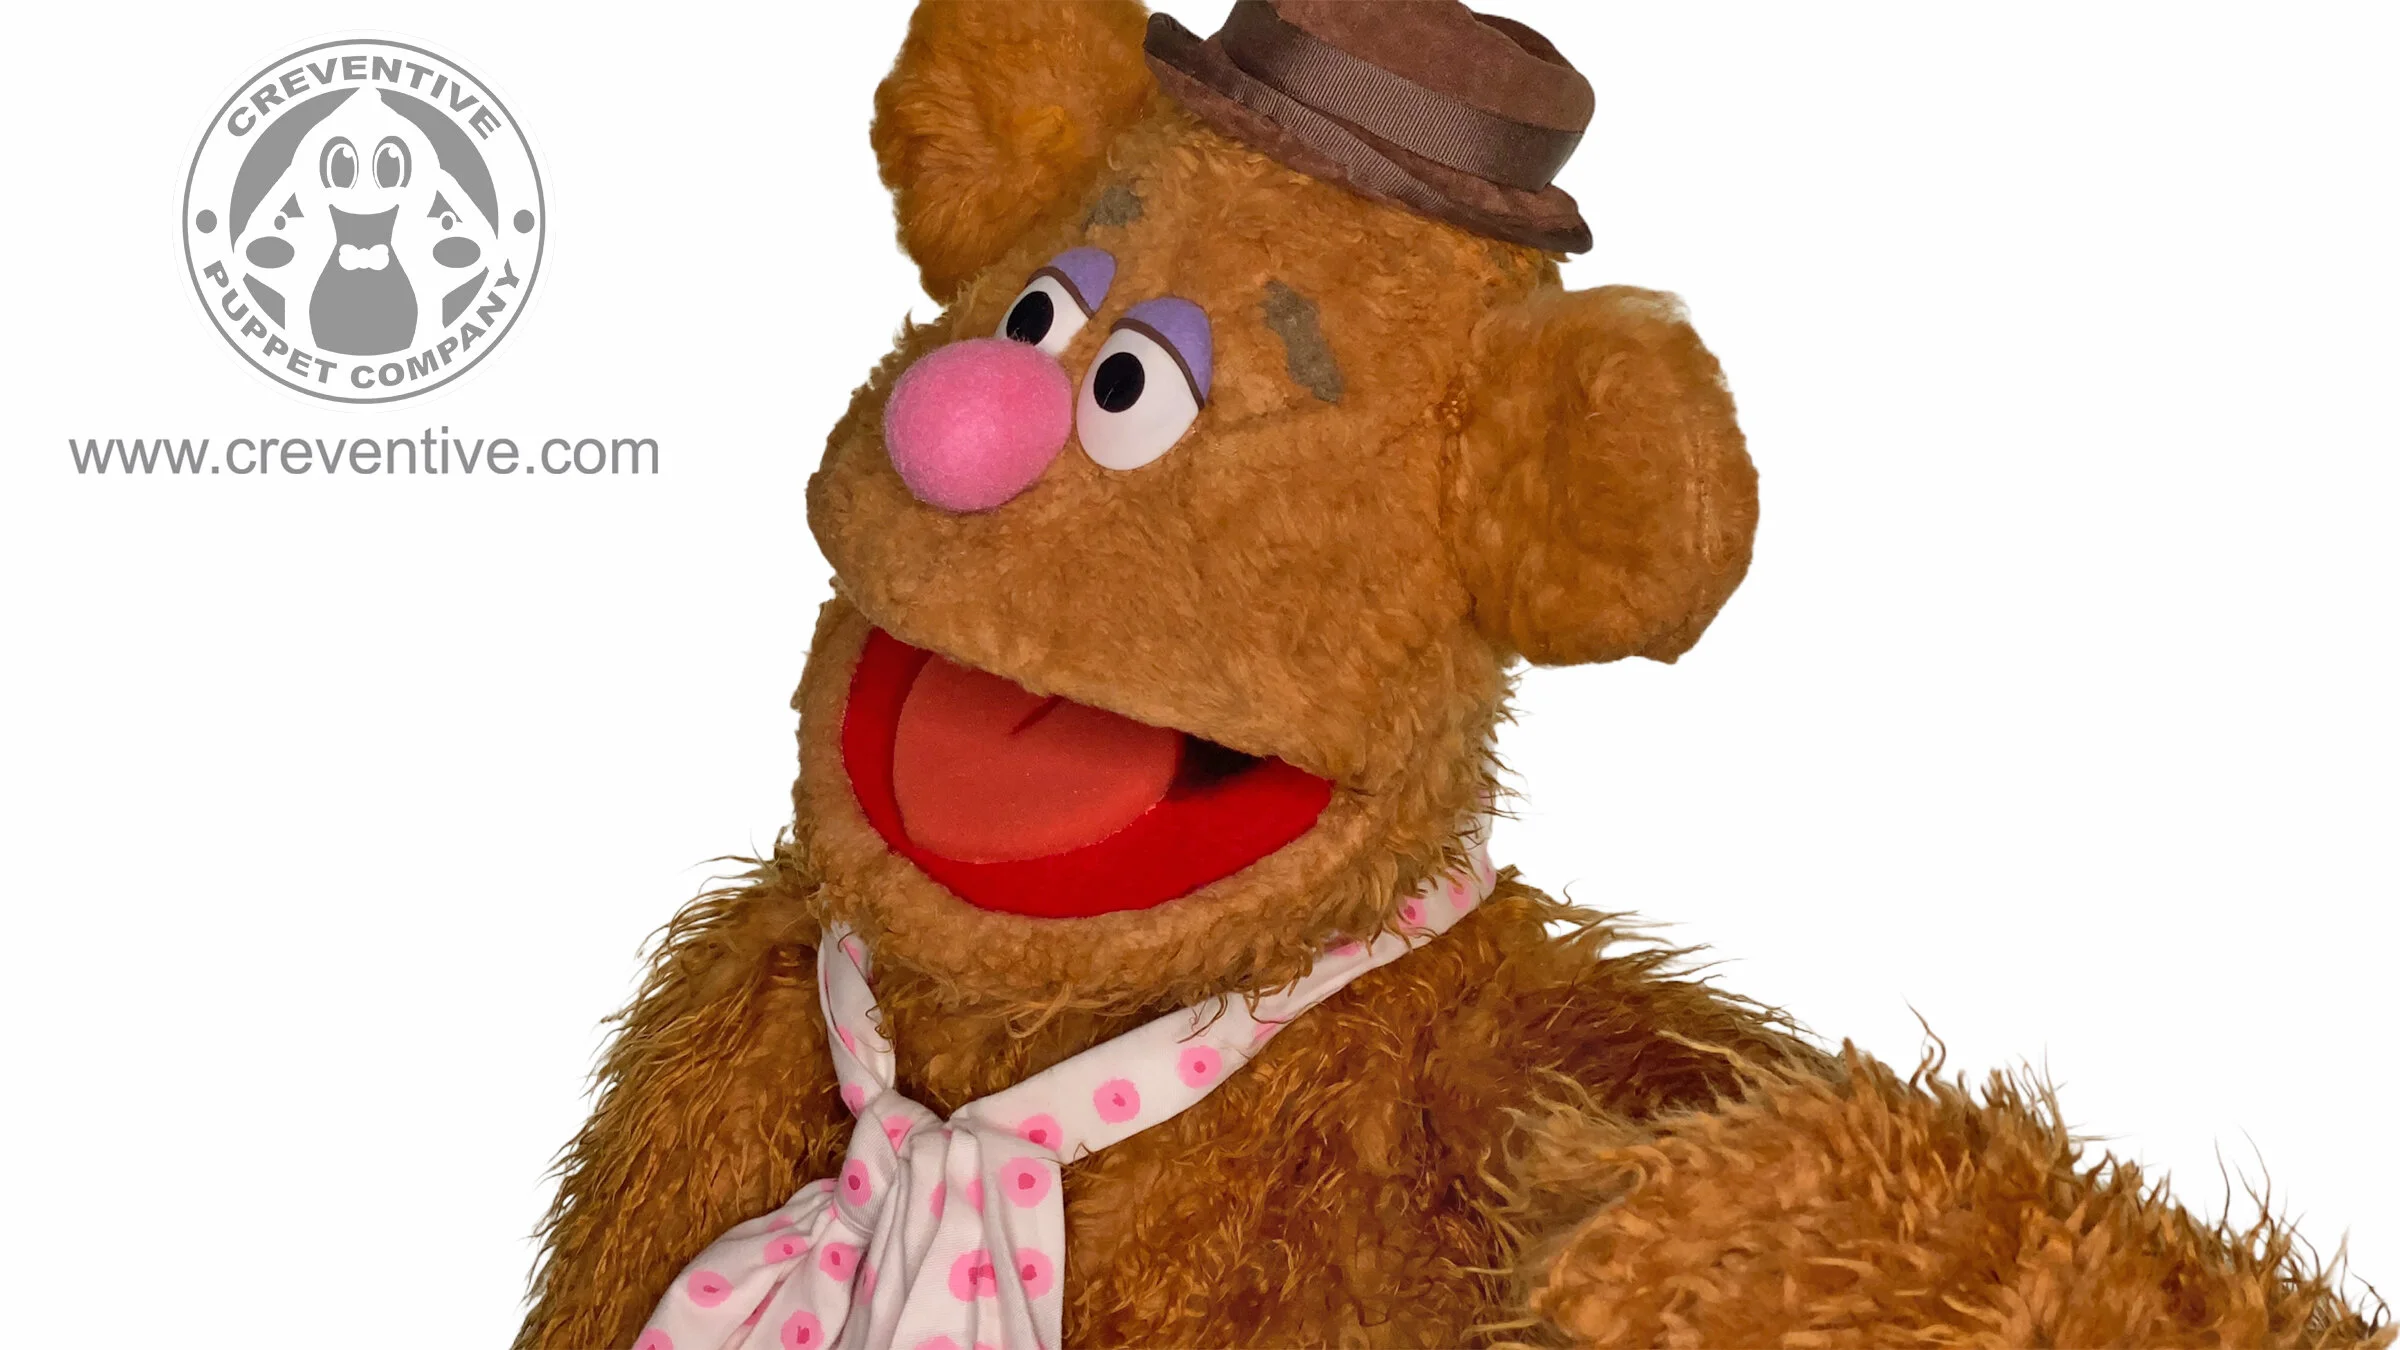
Fozzie Bear Puppet Refurb Project
Before I begin,
NO! I do not accept replica requests/commissions. Don’t ask.
A close friend of mine reached out asked if it were possible to refurbish a puppet from their personal collection for private use.
Normally I would NEVER do this since it’s a copyrighted character however the idea of a refurbishment project intrigued me as both a puppet builder and Muppet fan especially since I wasn’t building it from scratch nor was charging for it.
I decided to take the project on as a favor for my friend and challenge to myself to tackle between projects. (Once again, I did not get paid for this project)
It was a major challenge but I learned a lot of great techniques and would like to share some of the lessons I learned during this build.
So let’s dive in!
The Process

I received the puppet in a pretty beat up condition. The first step was looking at the puppet from both an internal and external perspective to see the amount of work that needed to be accomplished.
My friend wanted me to try to keep as much of the original’s materials as possible since it was an unpaid project.
I then began dissecting the puppet into pieces to see what the internal structure was made out of.
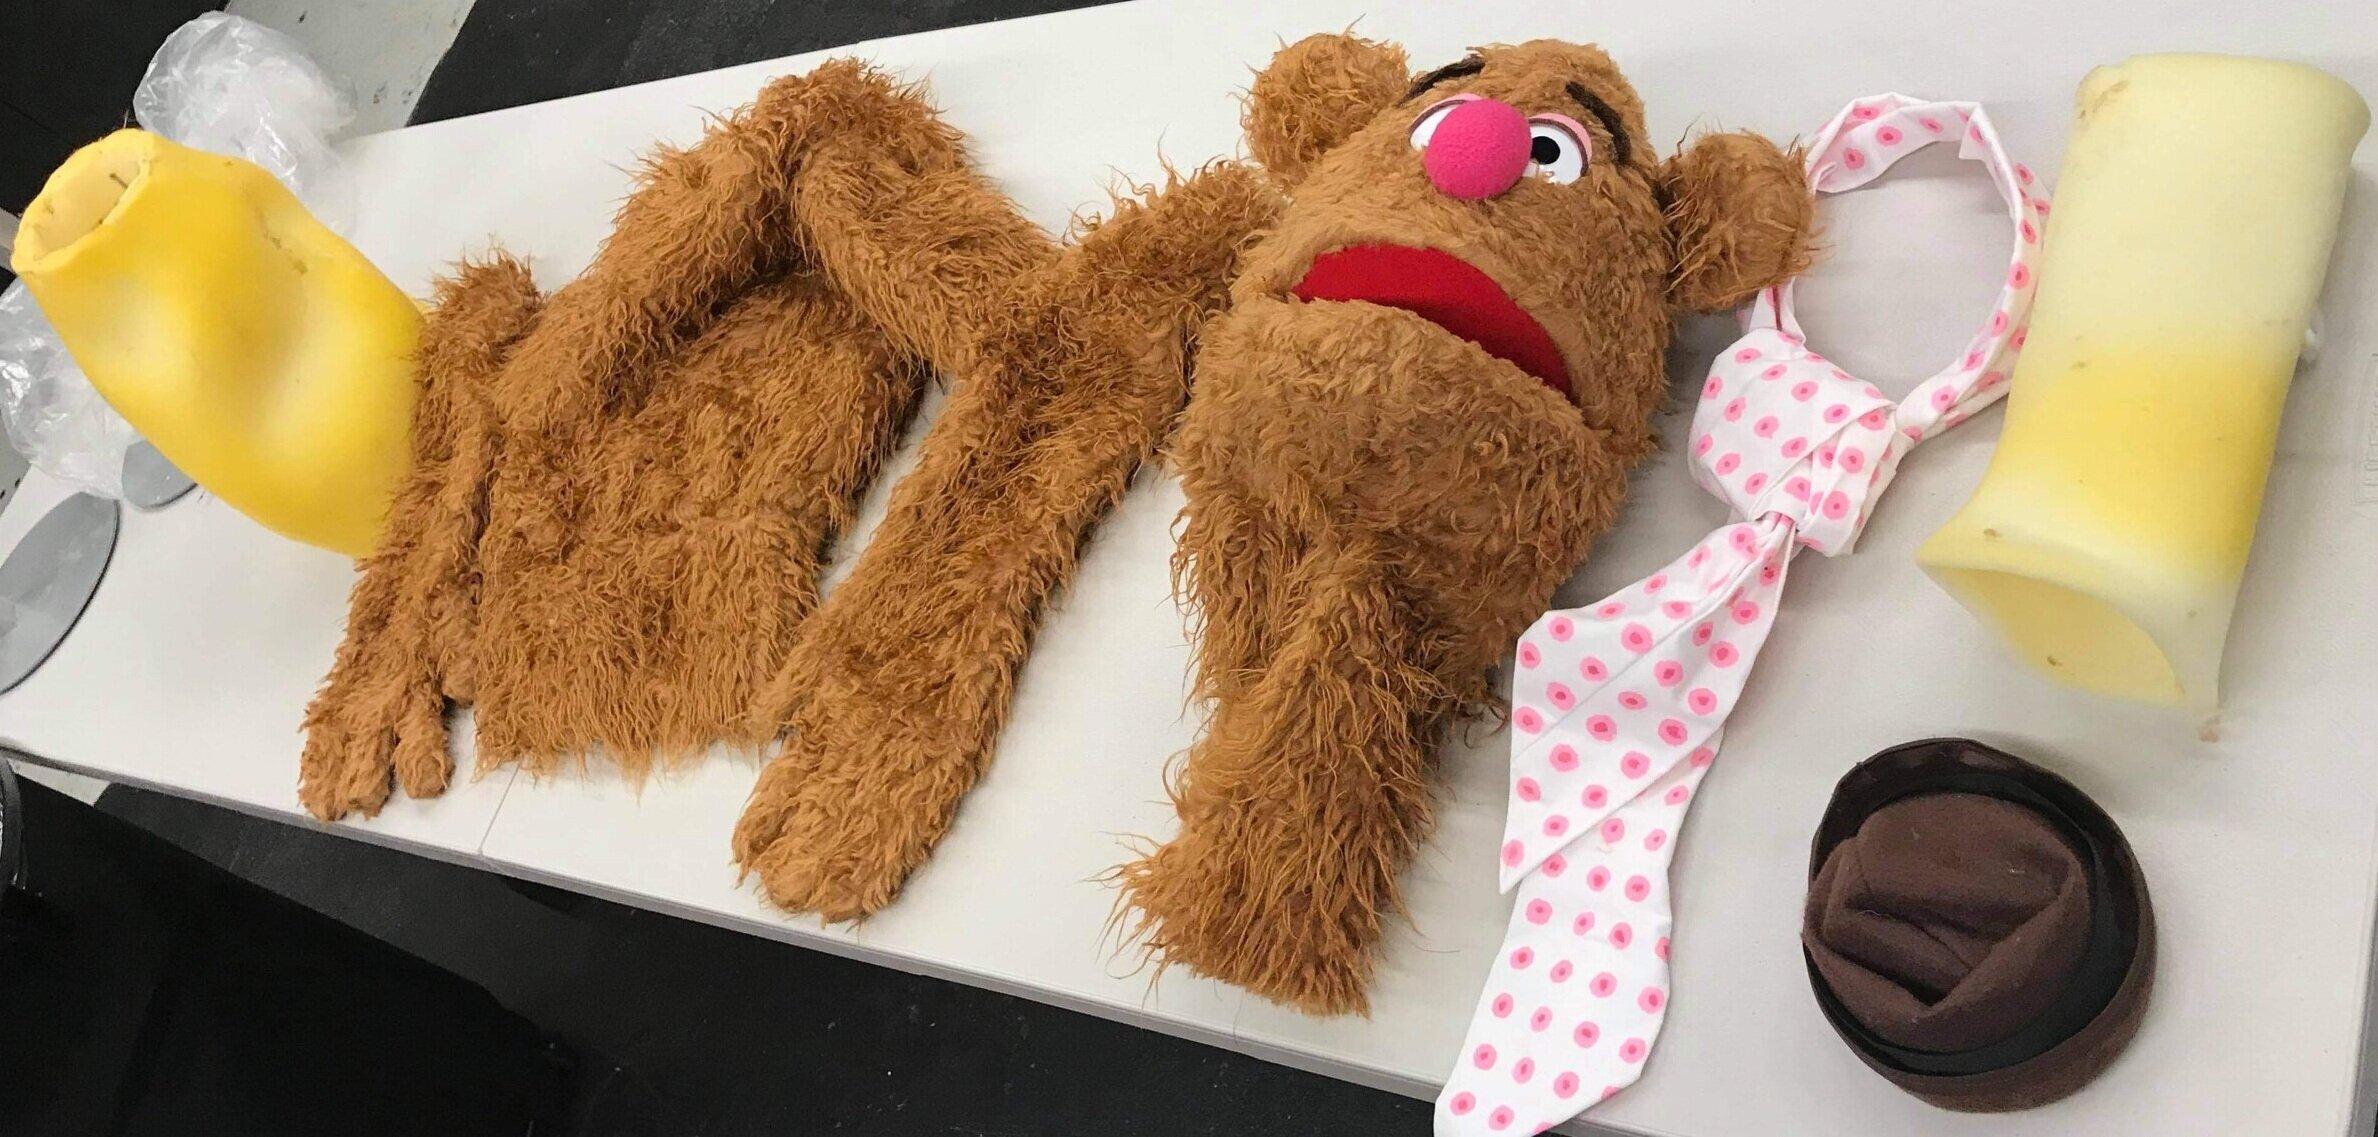
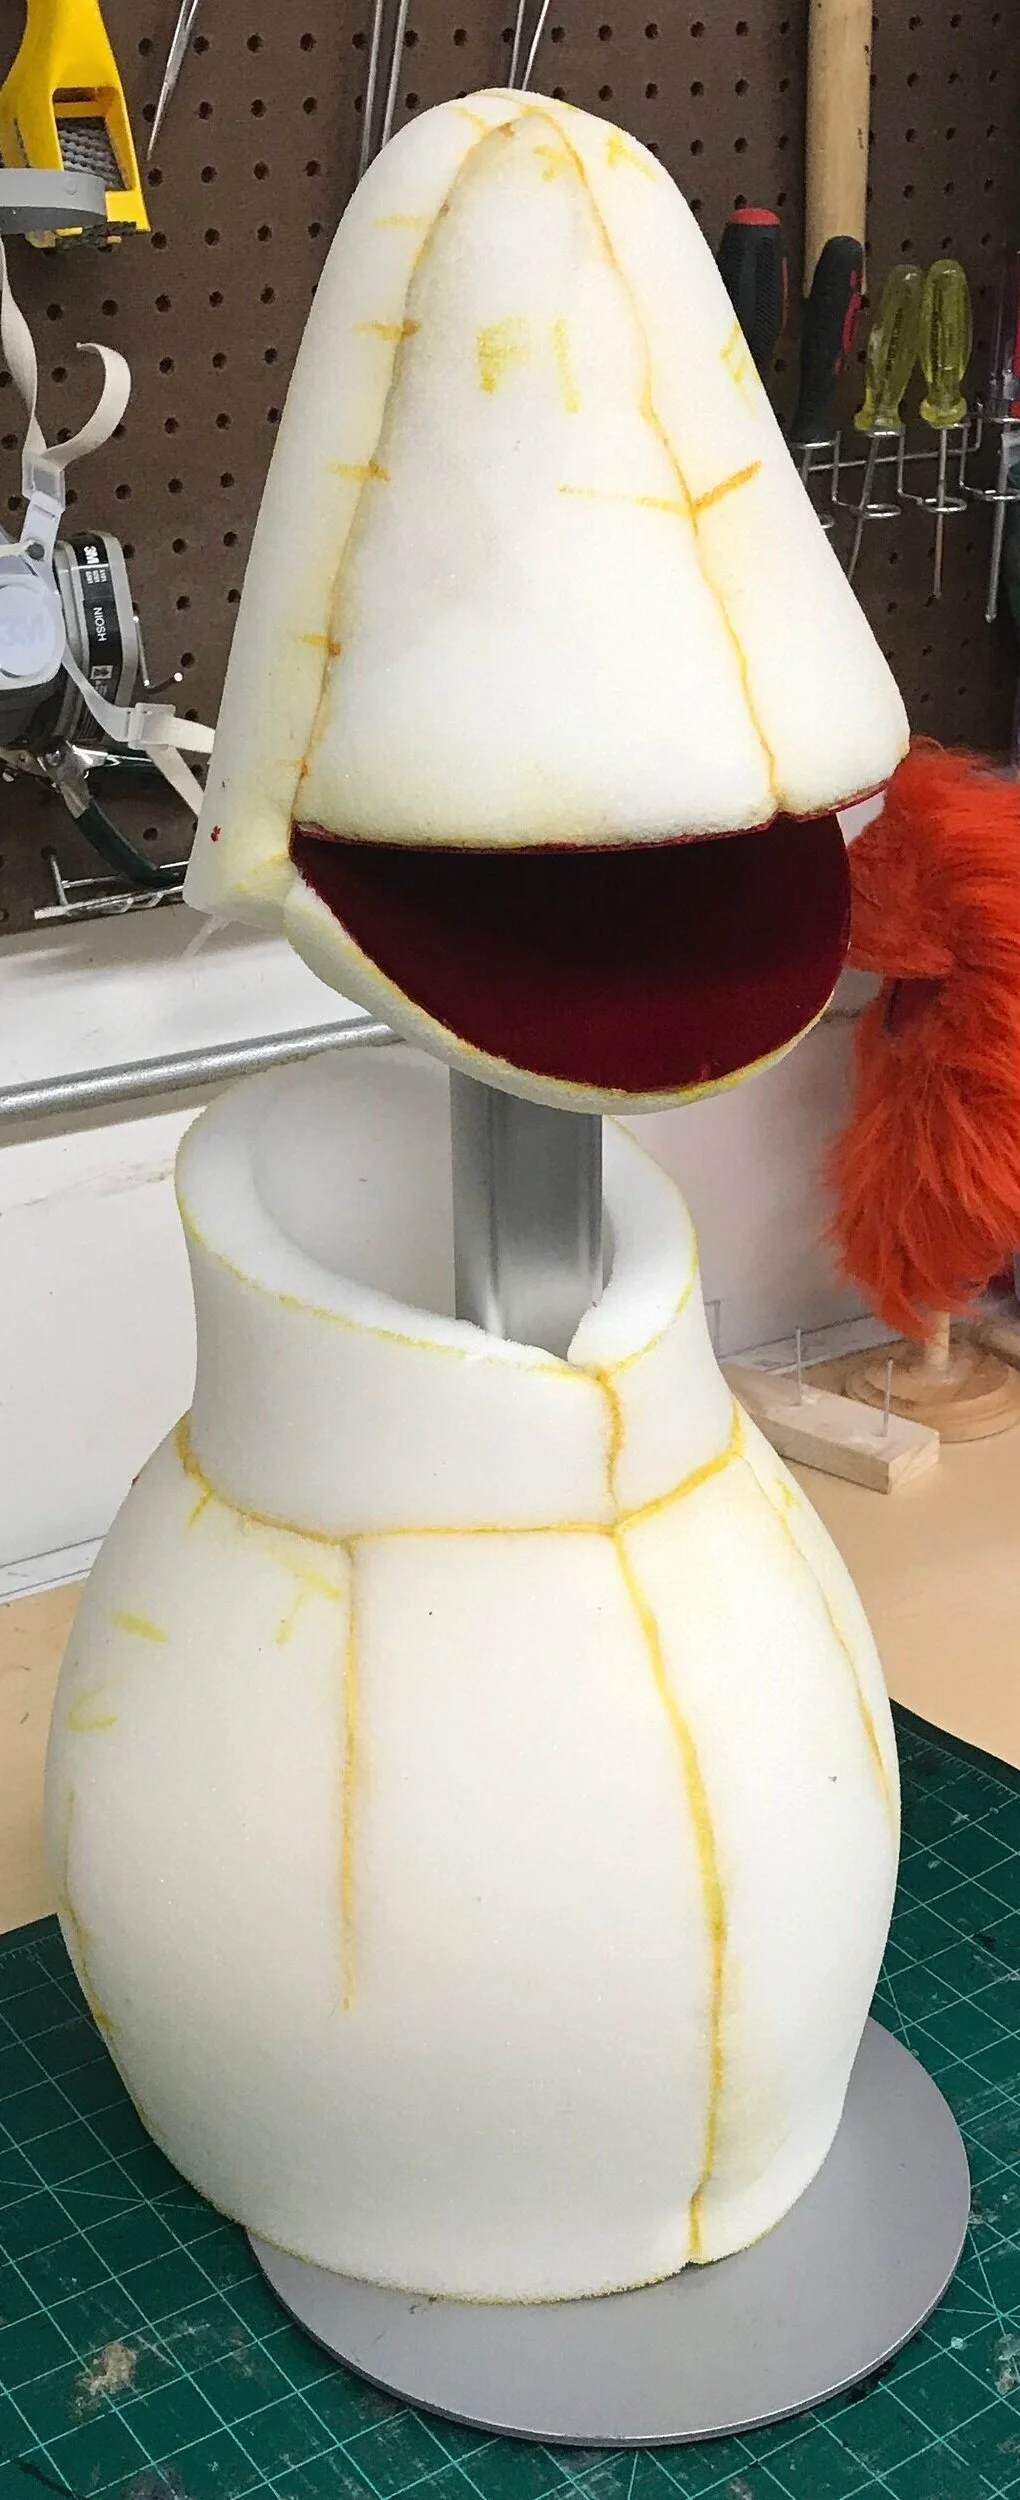
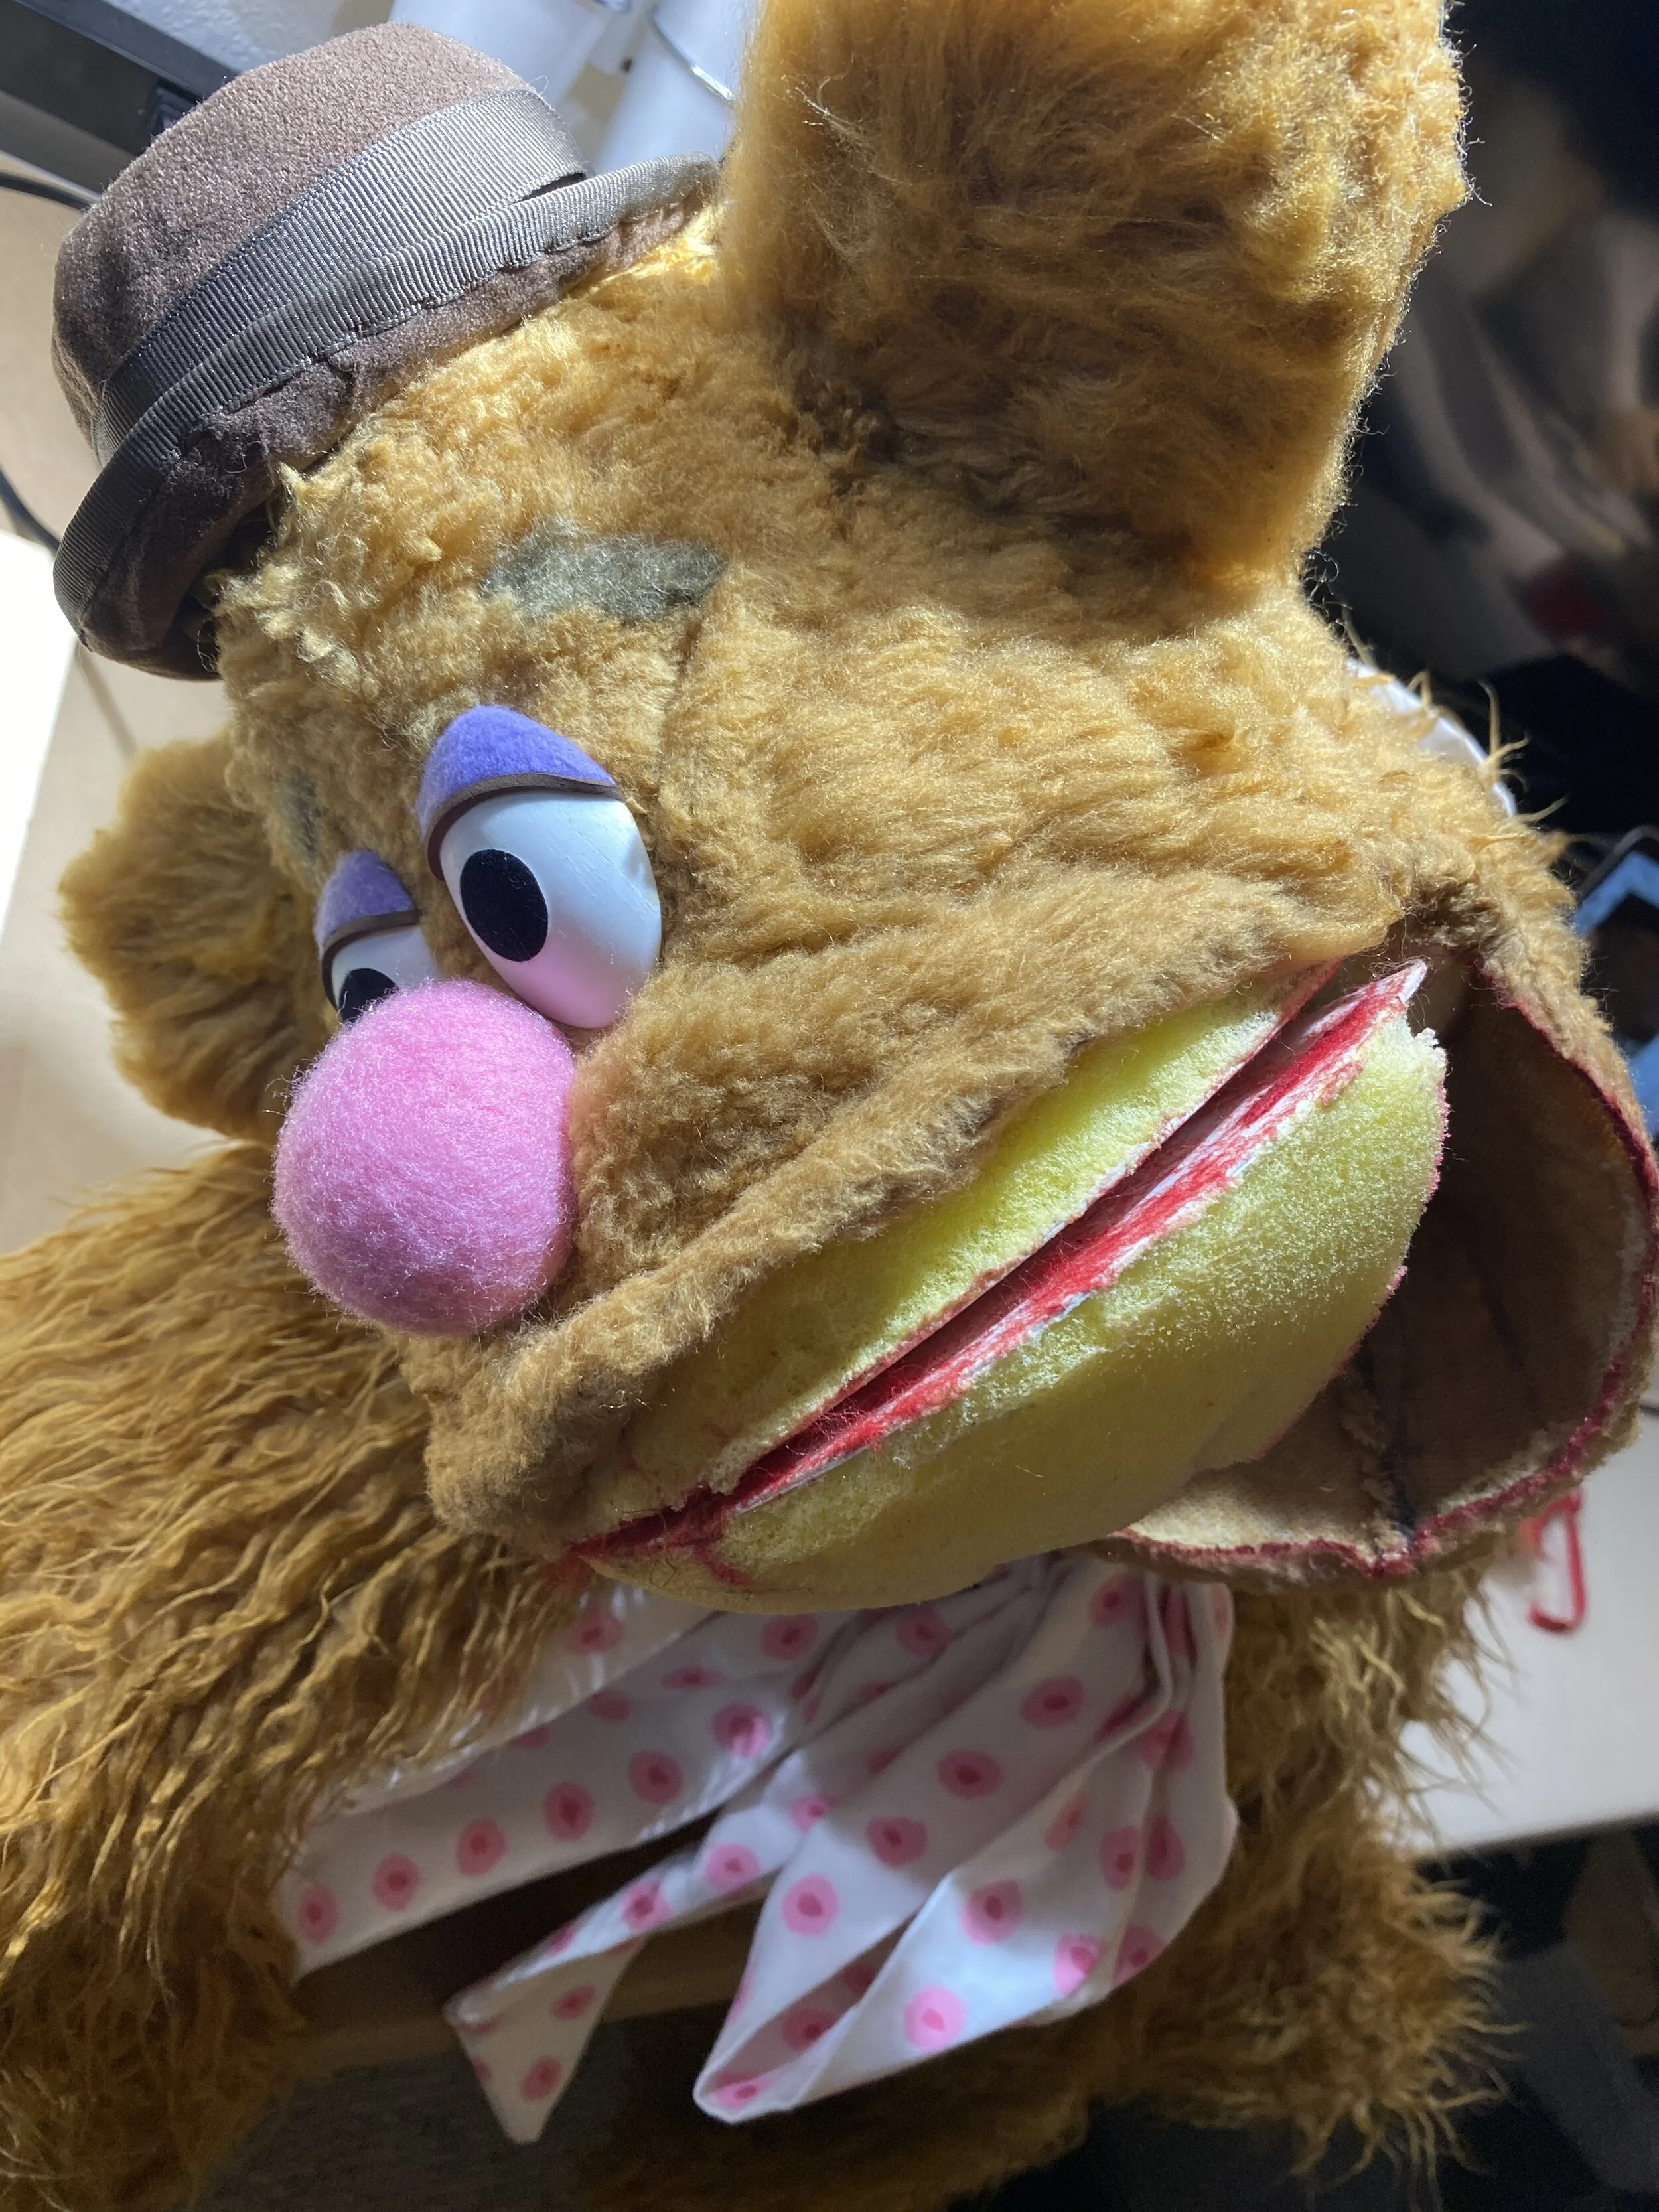
All of the foam was disintegrating/toasting, mouth plate was built out of card board, nose was built with styrofoam. One of the major issues with some of those materials is that they’re inferior, don’t last long and don’t handle performing well.
After, I began recreating the patterns using some of the original’s along with creating new patterns to make the shapes more accurate to the actual puppet.
One of the most challenging parts of this build was reference images. The actual character changed so much over the years, I decided to try my best to be as true to the character as possible.
Capturing subtle details can be a very difficult and time consuming process on certain characters but I’m always up for a challenge.
After putting together all the new foam, mouth plate and neck sleeve, I began draping the head, neck and body to get new covering patterns.
I then traced those patterns onto remnants of the original faux fur that I got from dissecting the original puppet. (Which was a challenge within itself - so if I needed extra fur, I didn’t have it) and luckily had just enough to cover the head, body and neck. I decided to reuse the original’s ears, arms and necktie to save time and costs.
After everything was sewn together, I treated the fur with heat to give it more texture.
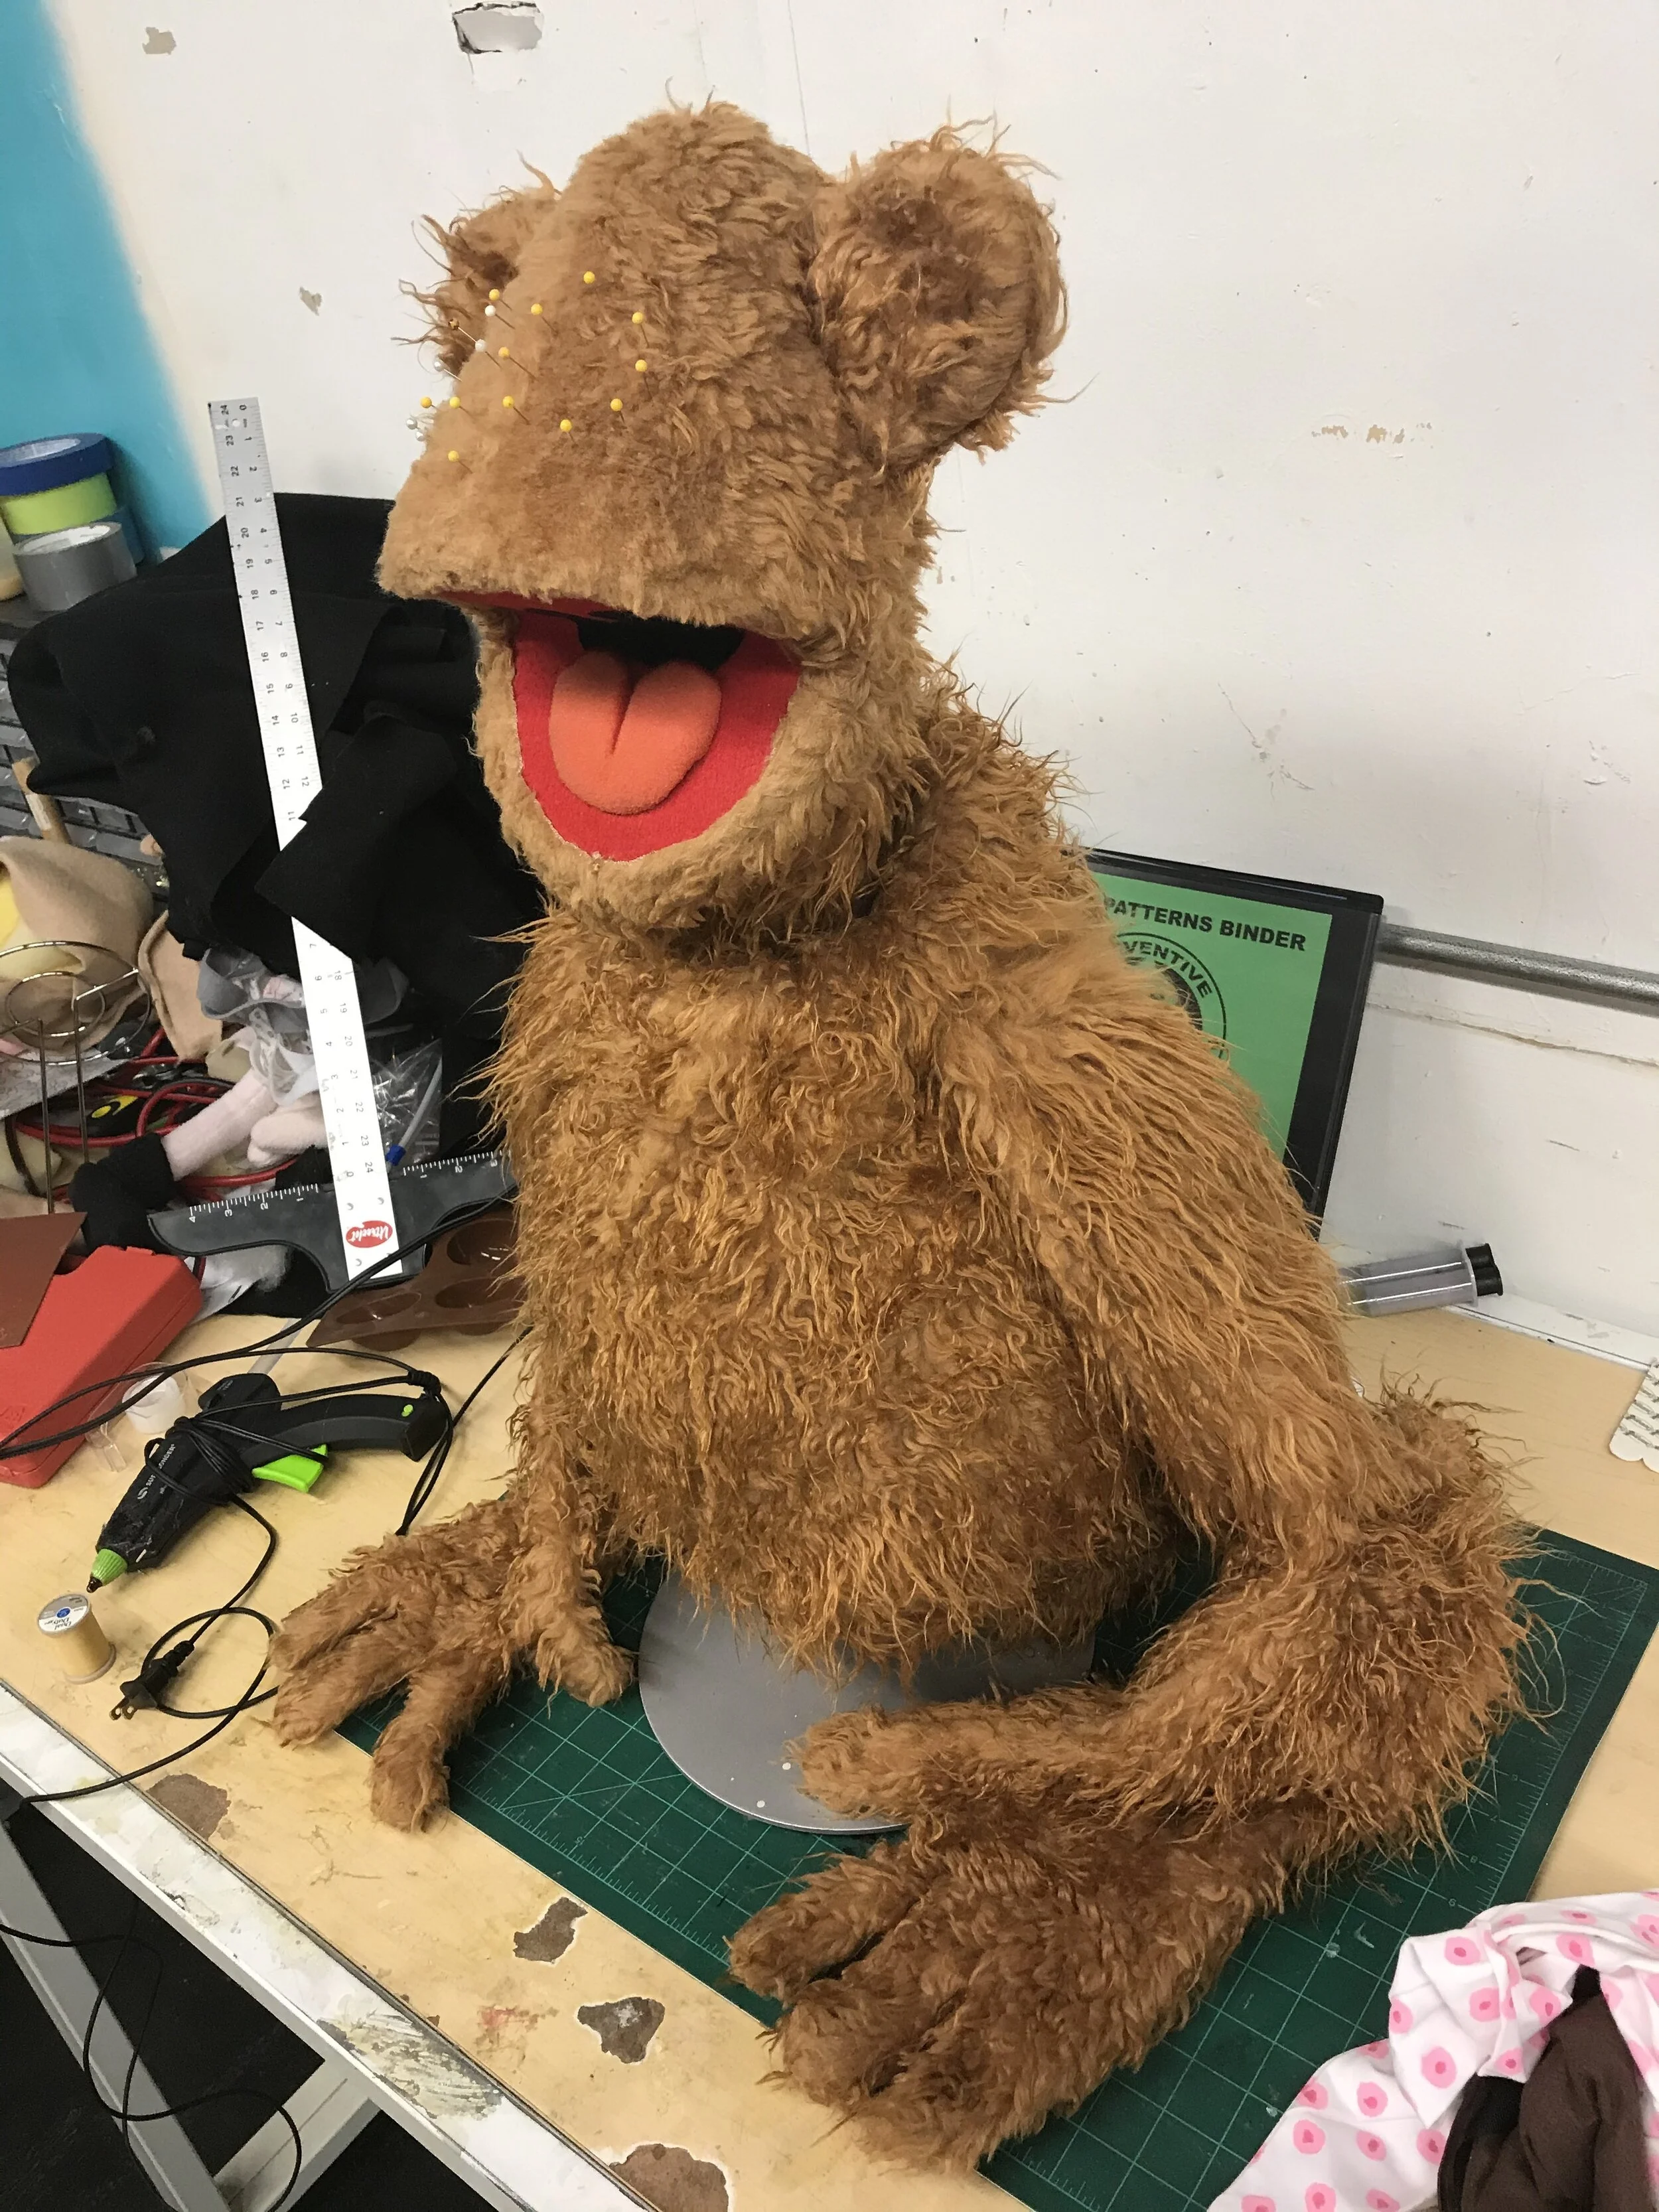
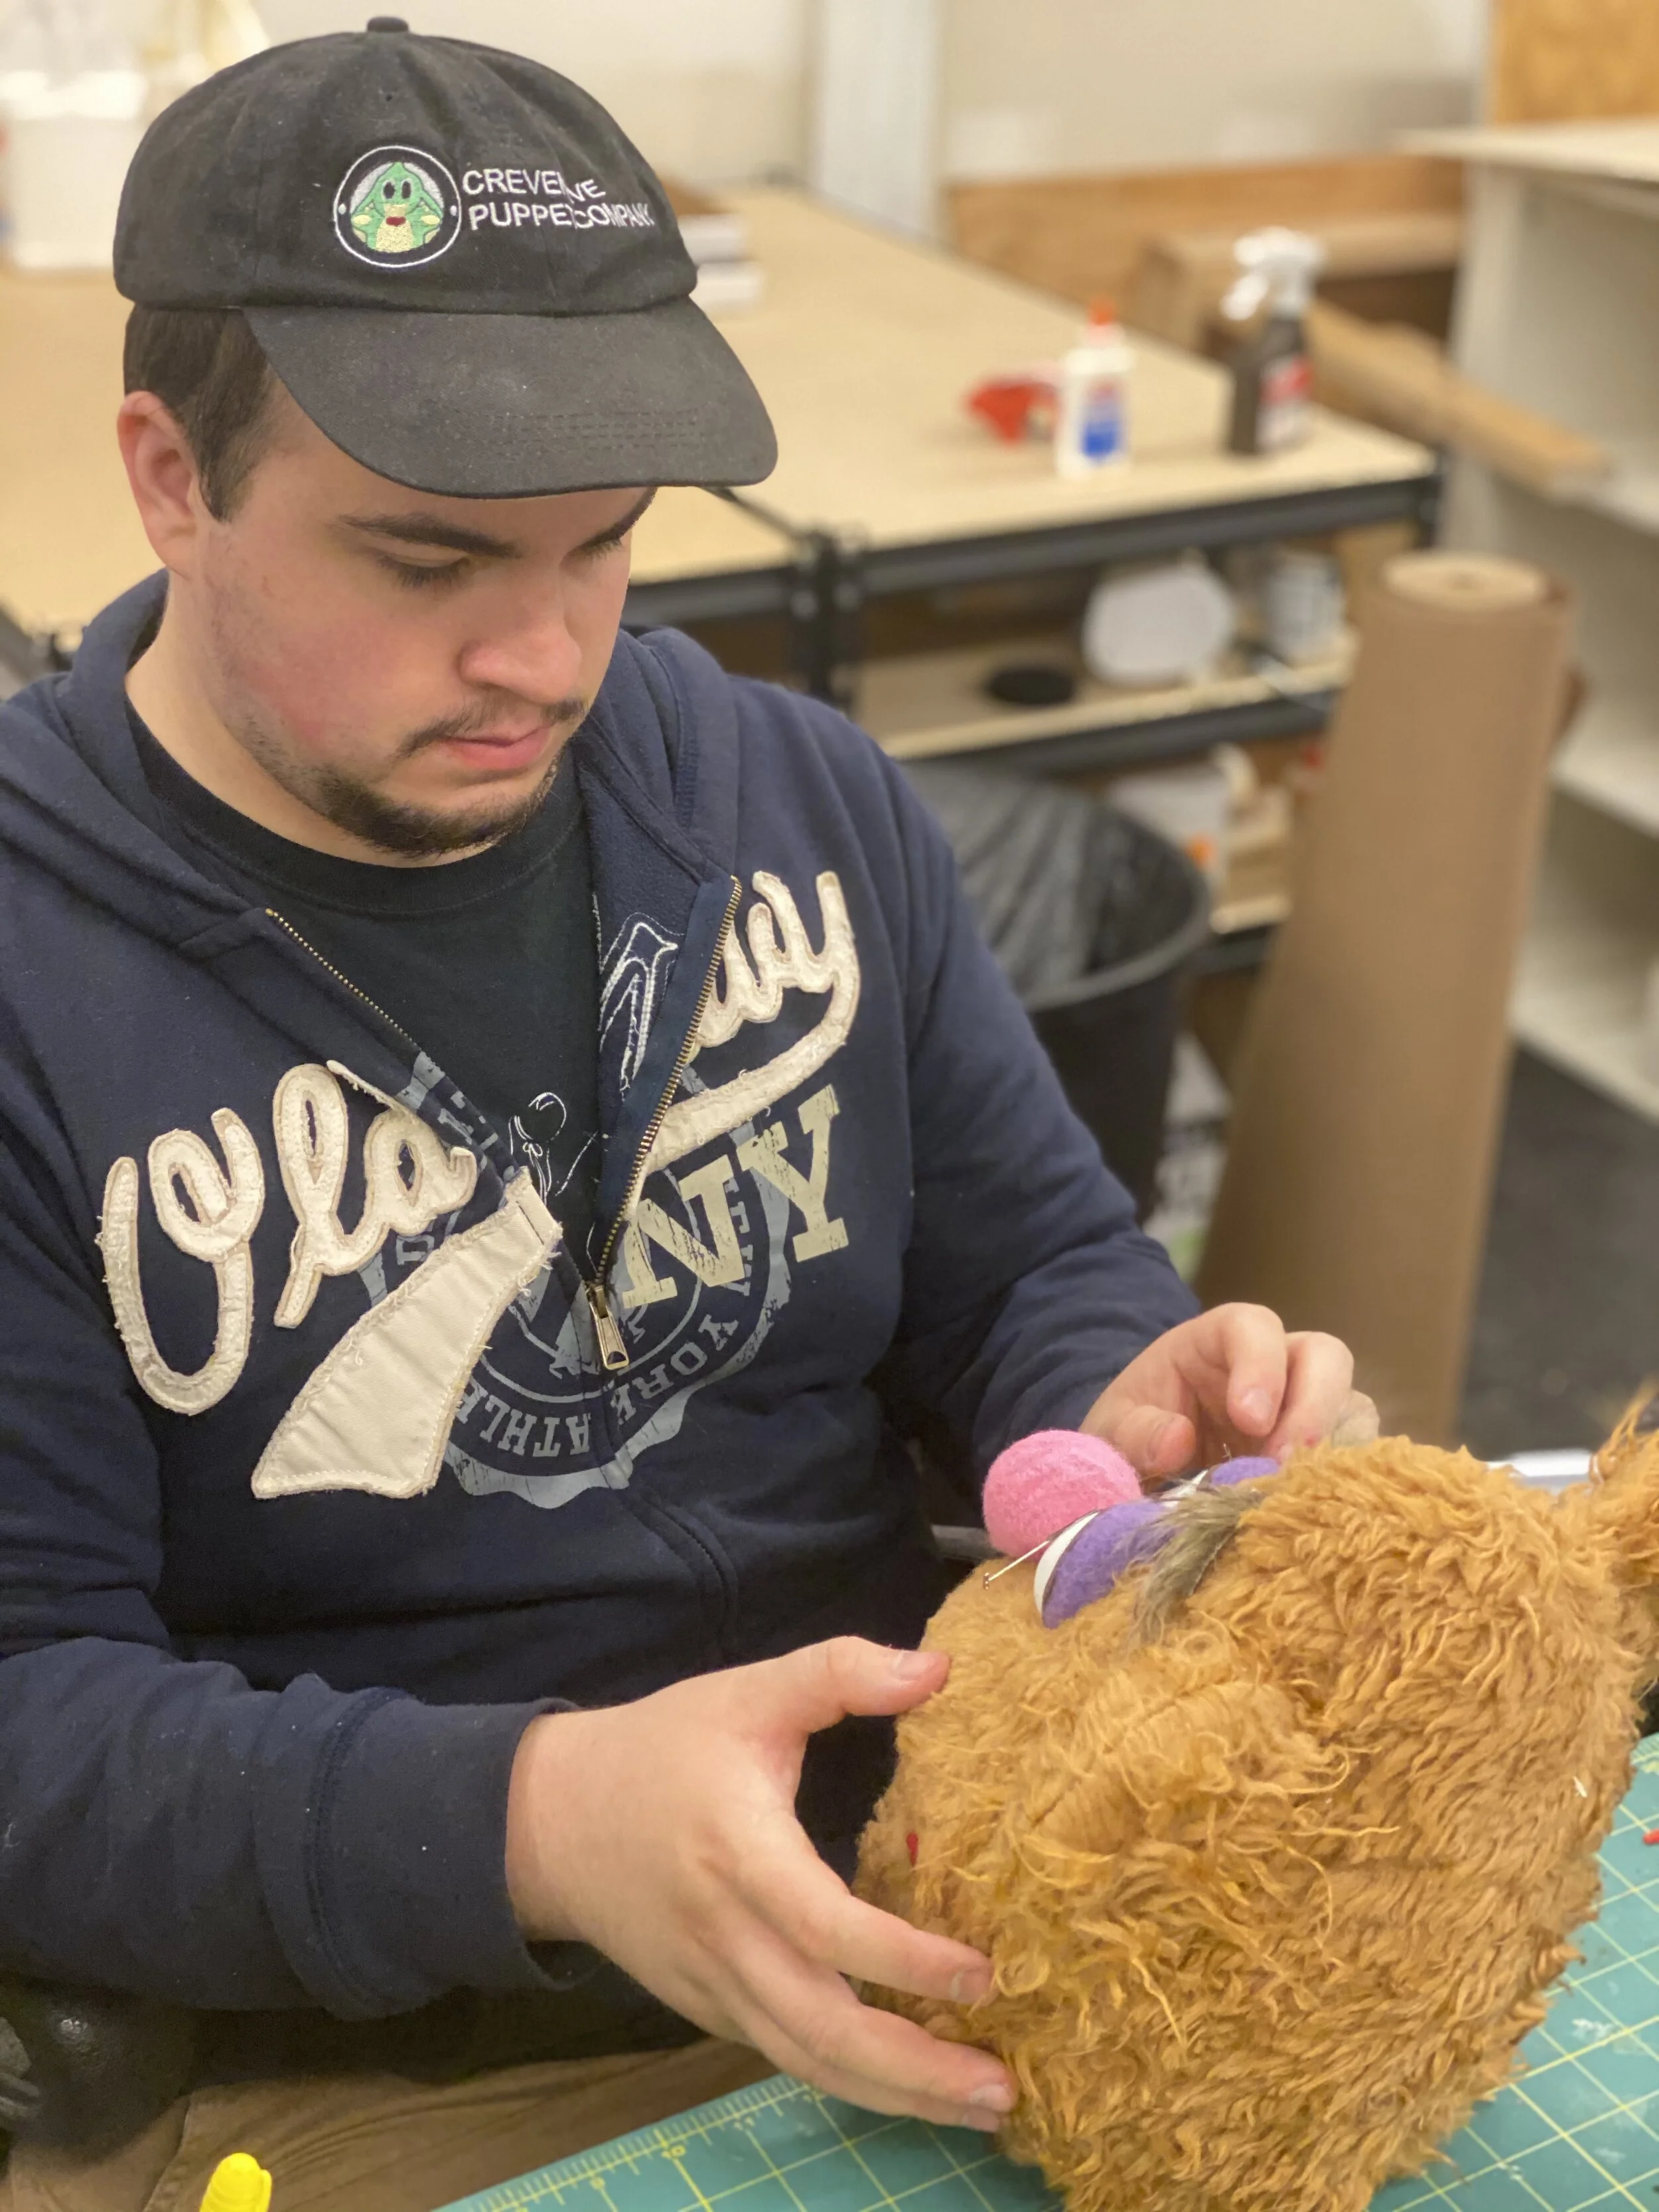
After this, it was time to problem solve the features. Figuring out the eyes, nose and ear placement took quite a bit of time.
In the end, I ended up designing and creating about 9 prototype noses to get the size and shape correct. Some of the noses were foam patterned and fleeced and some I designed in 3D, printed them and covered in Nylon Fleece. The end result was 3D printed and covered.
Similar situation with the eyes. The eyes took about 12 pairs to get just right to where I was satisfied with them.
The end result were made from soup spoons that were sanded, had a screw and bolt epoxied to the back of each eye then inset inside of the head.
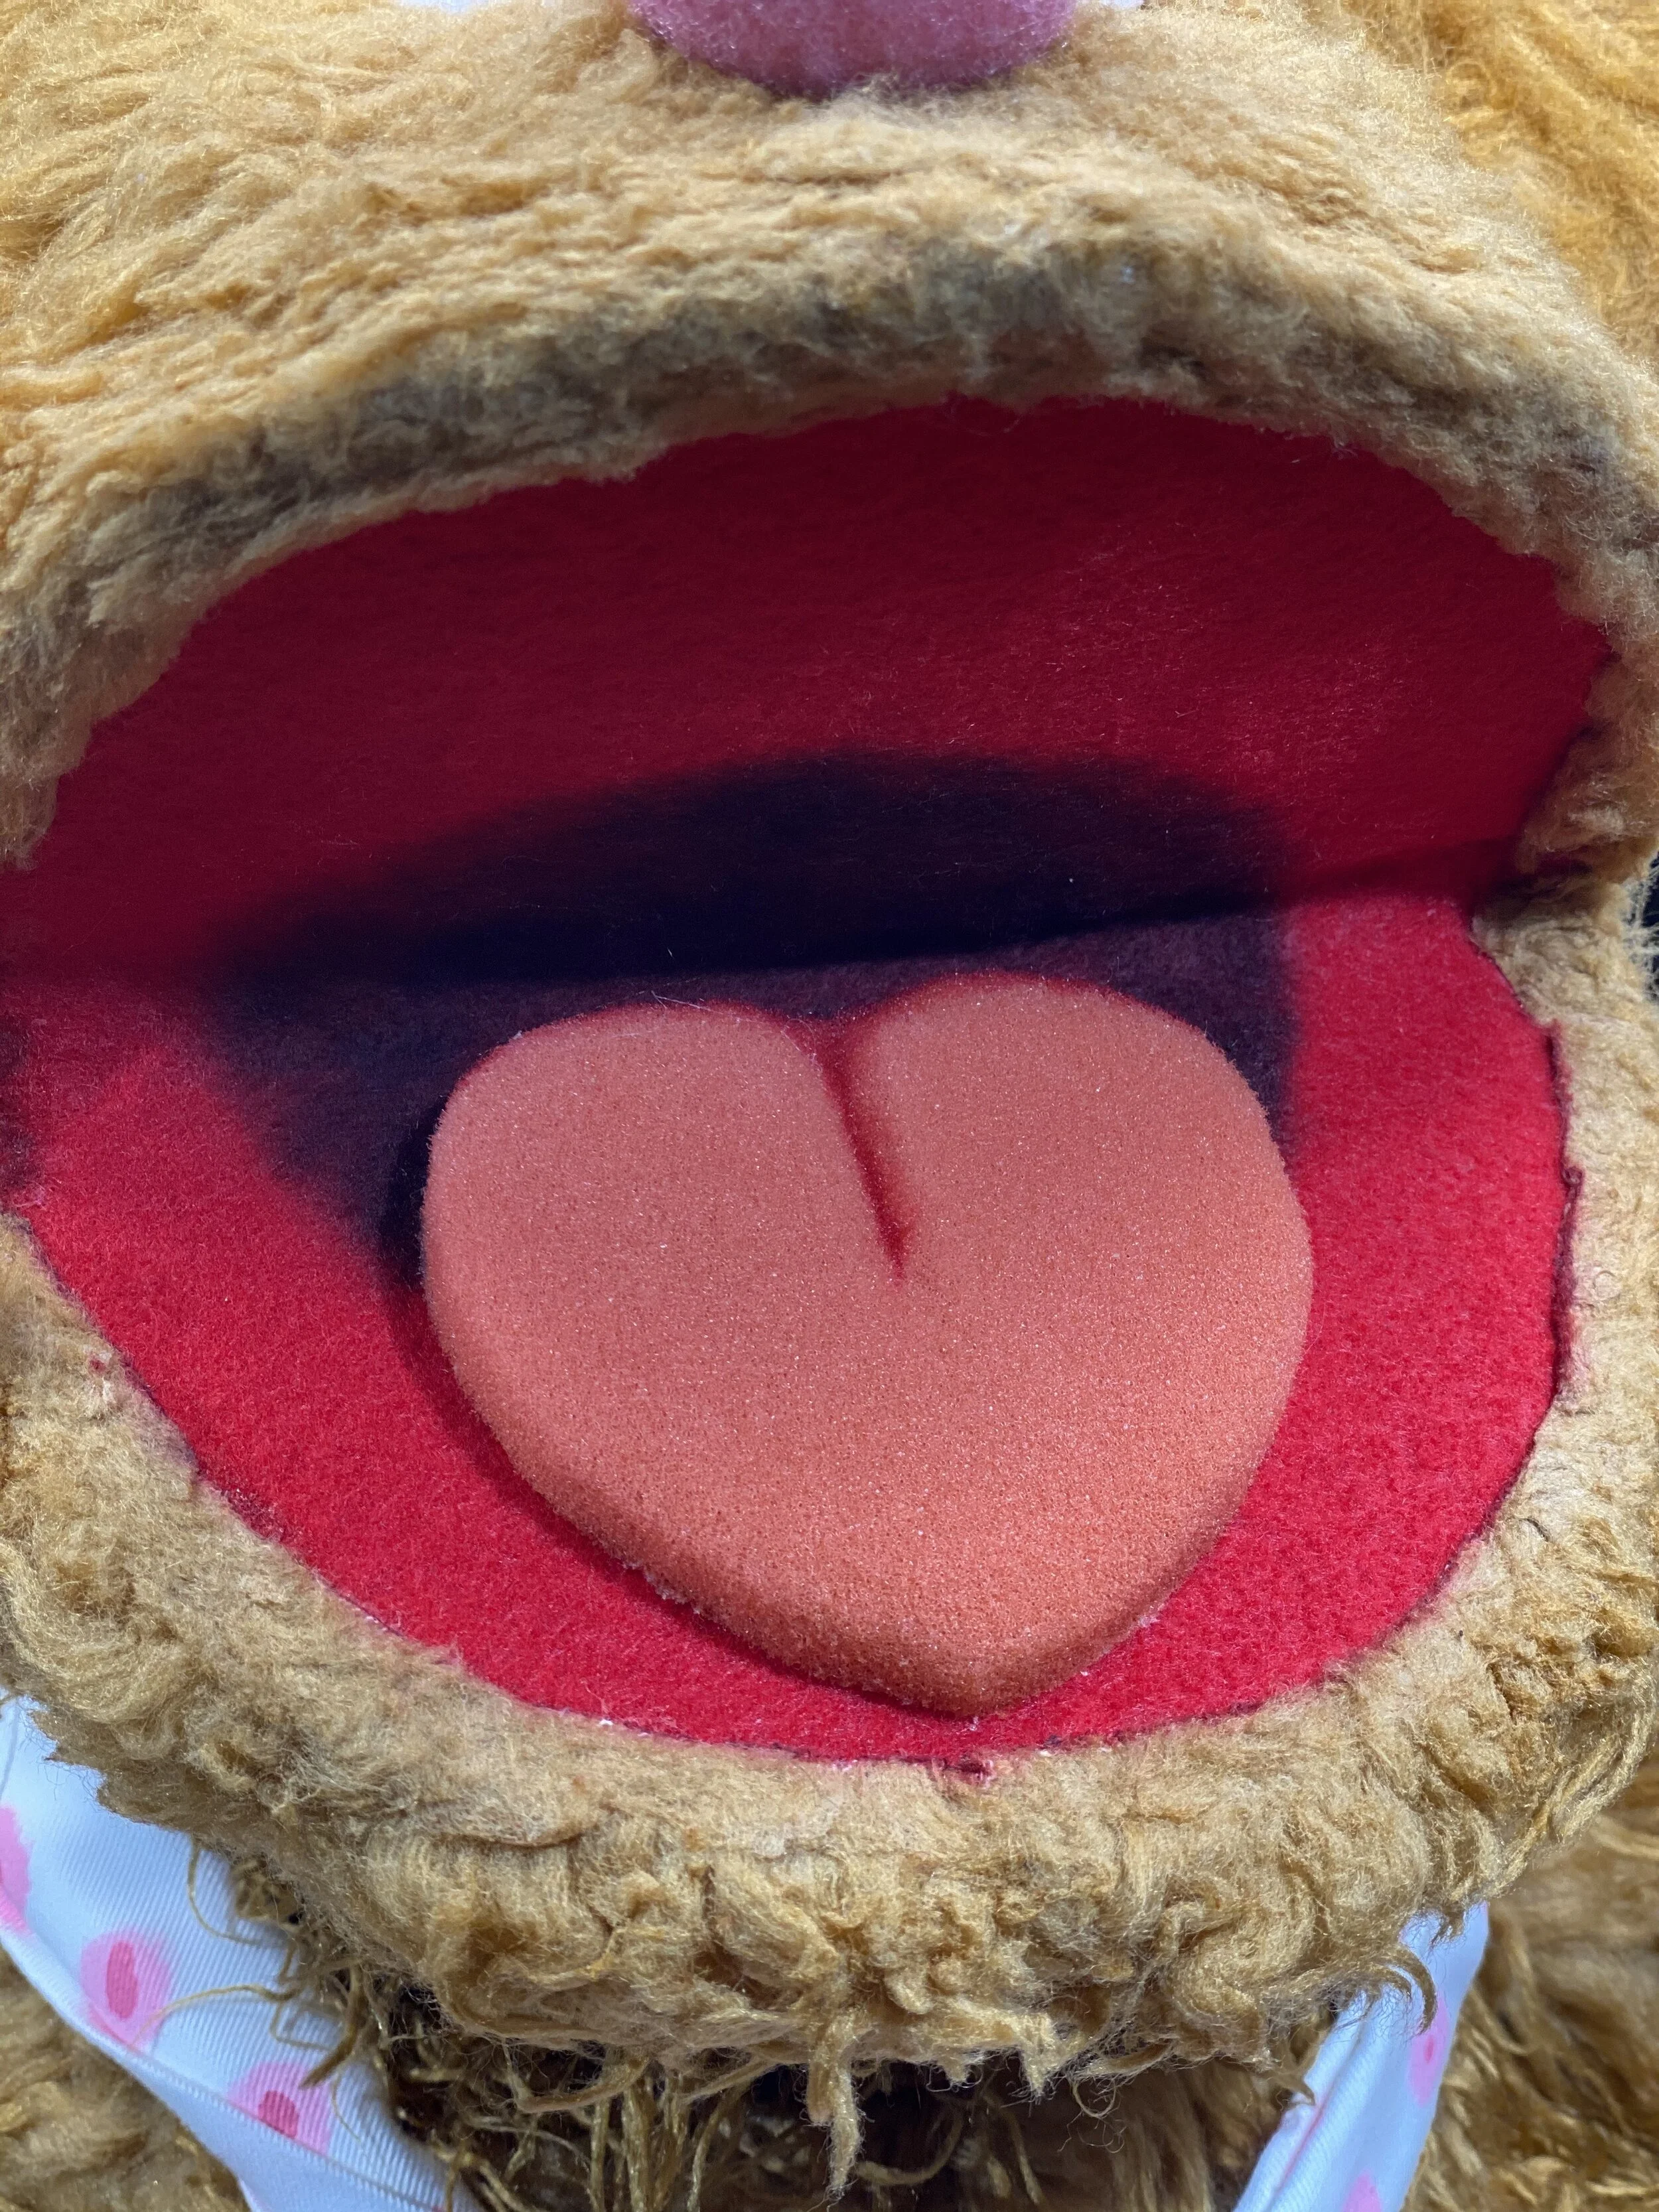
Next, the tongue was foam carved with uvula/throat features airbrushed.
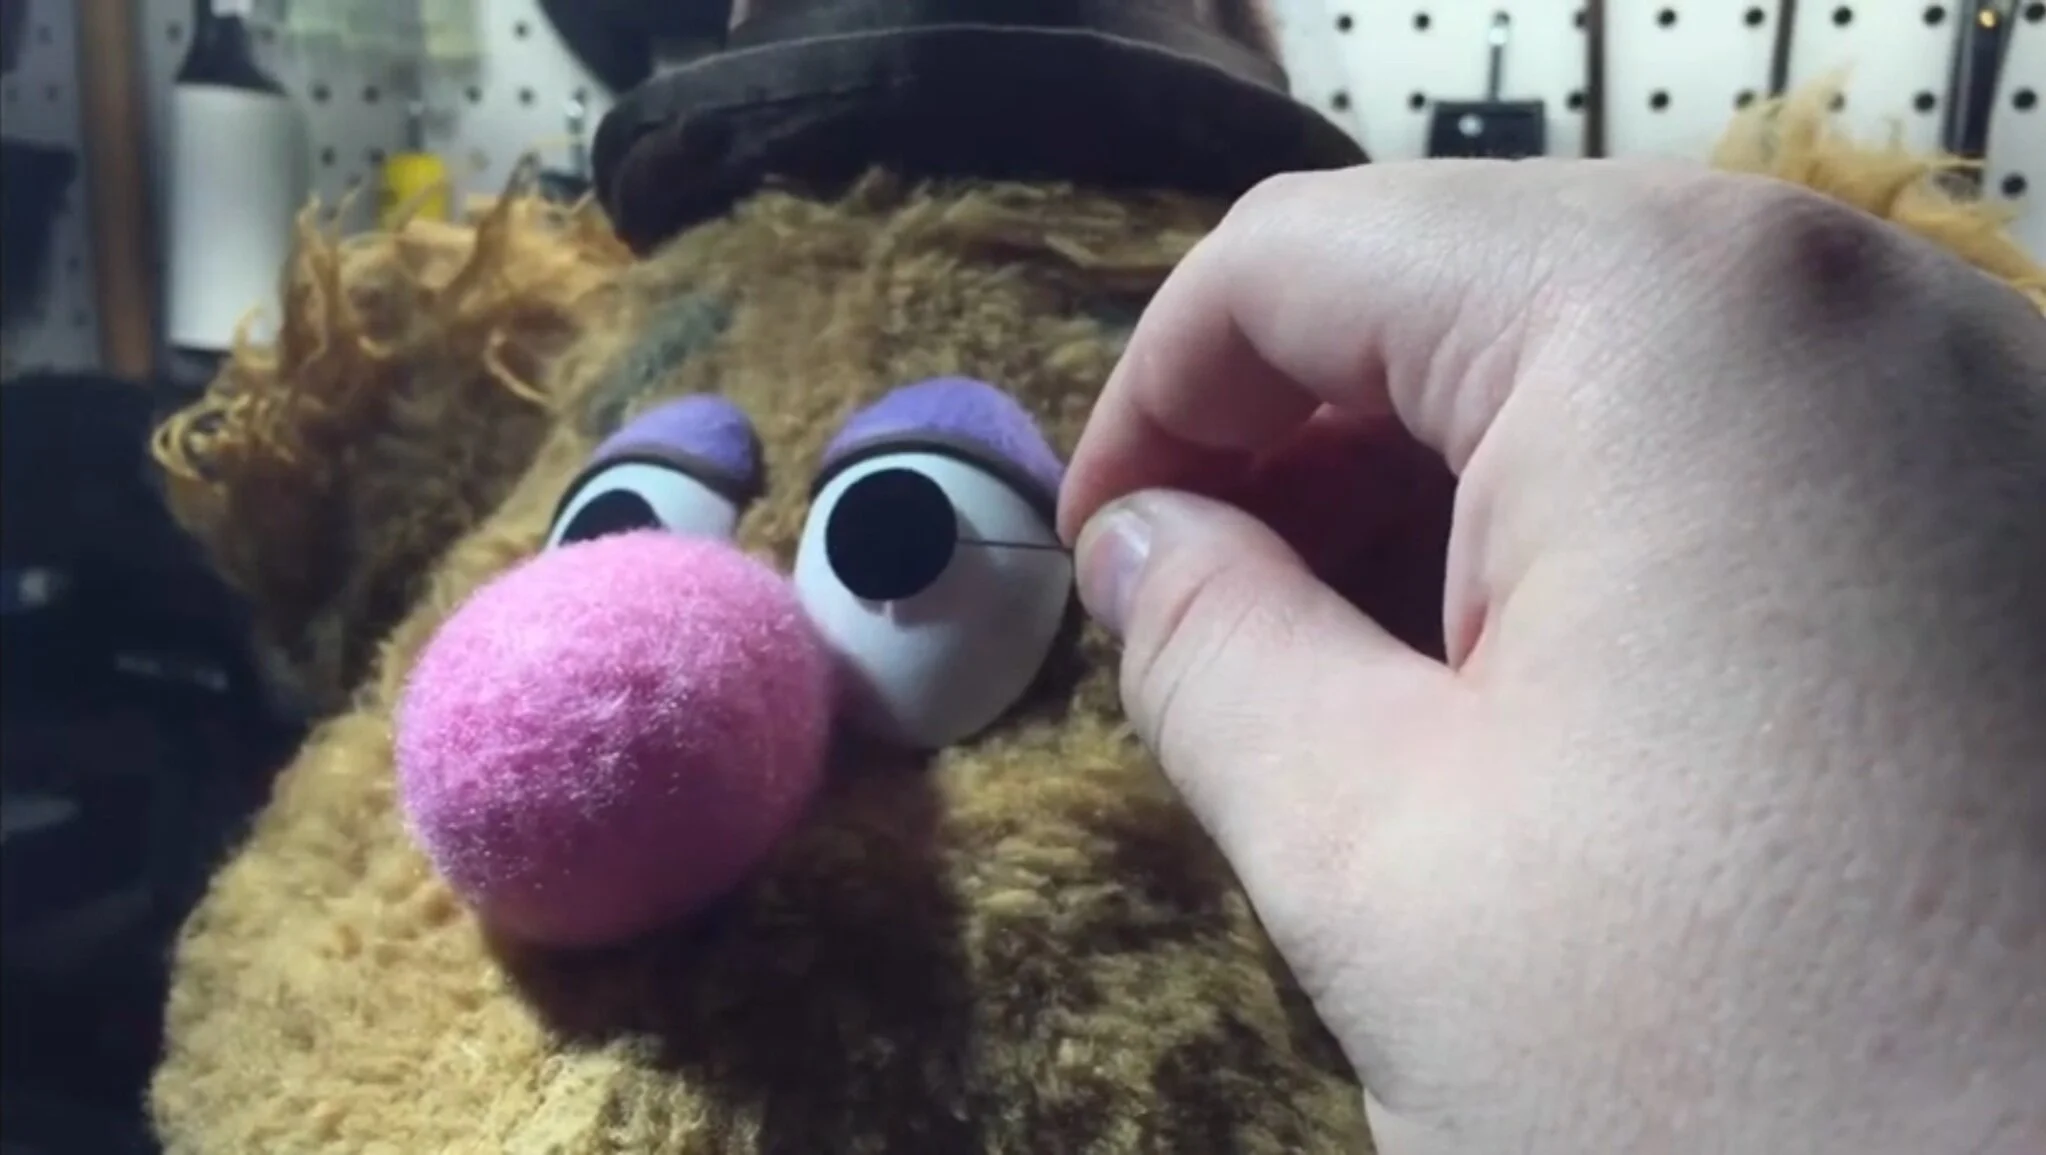
Finally, I placed his pupils using a straight pin to get the focus right.
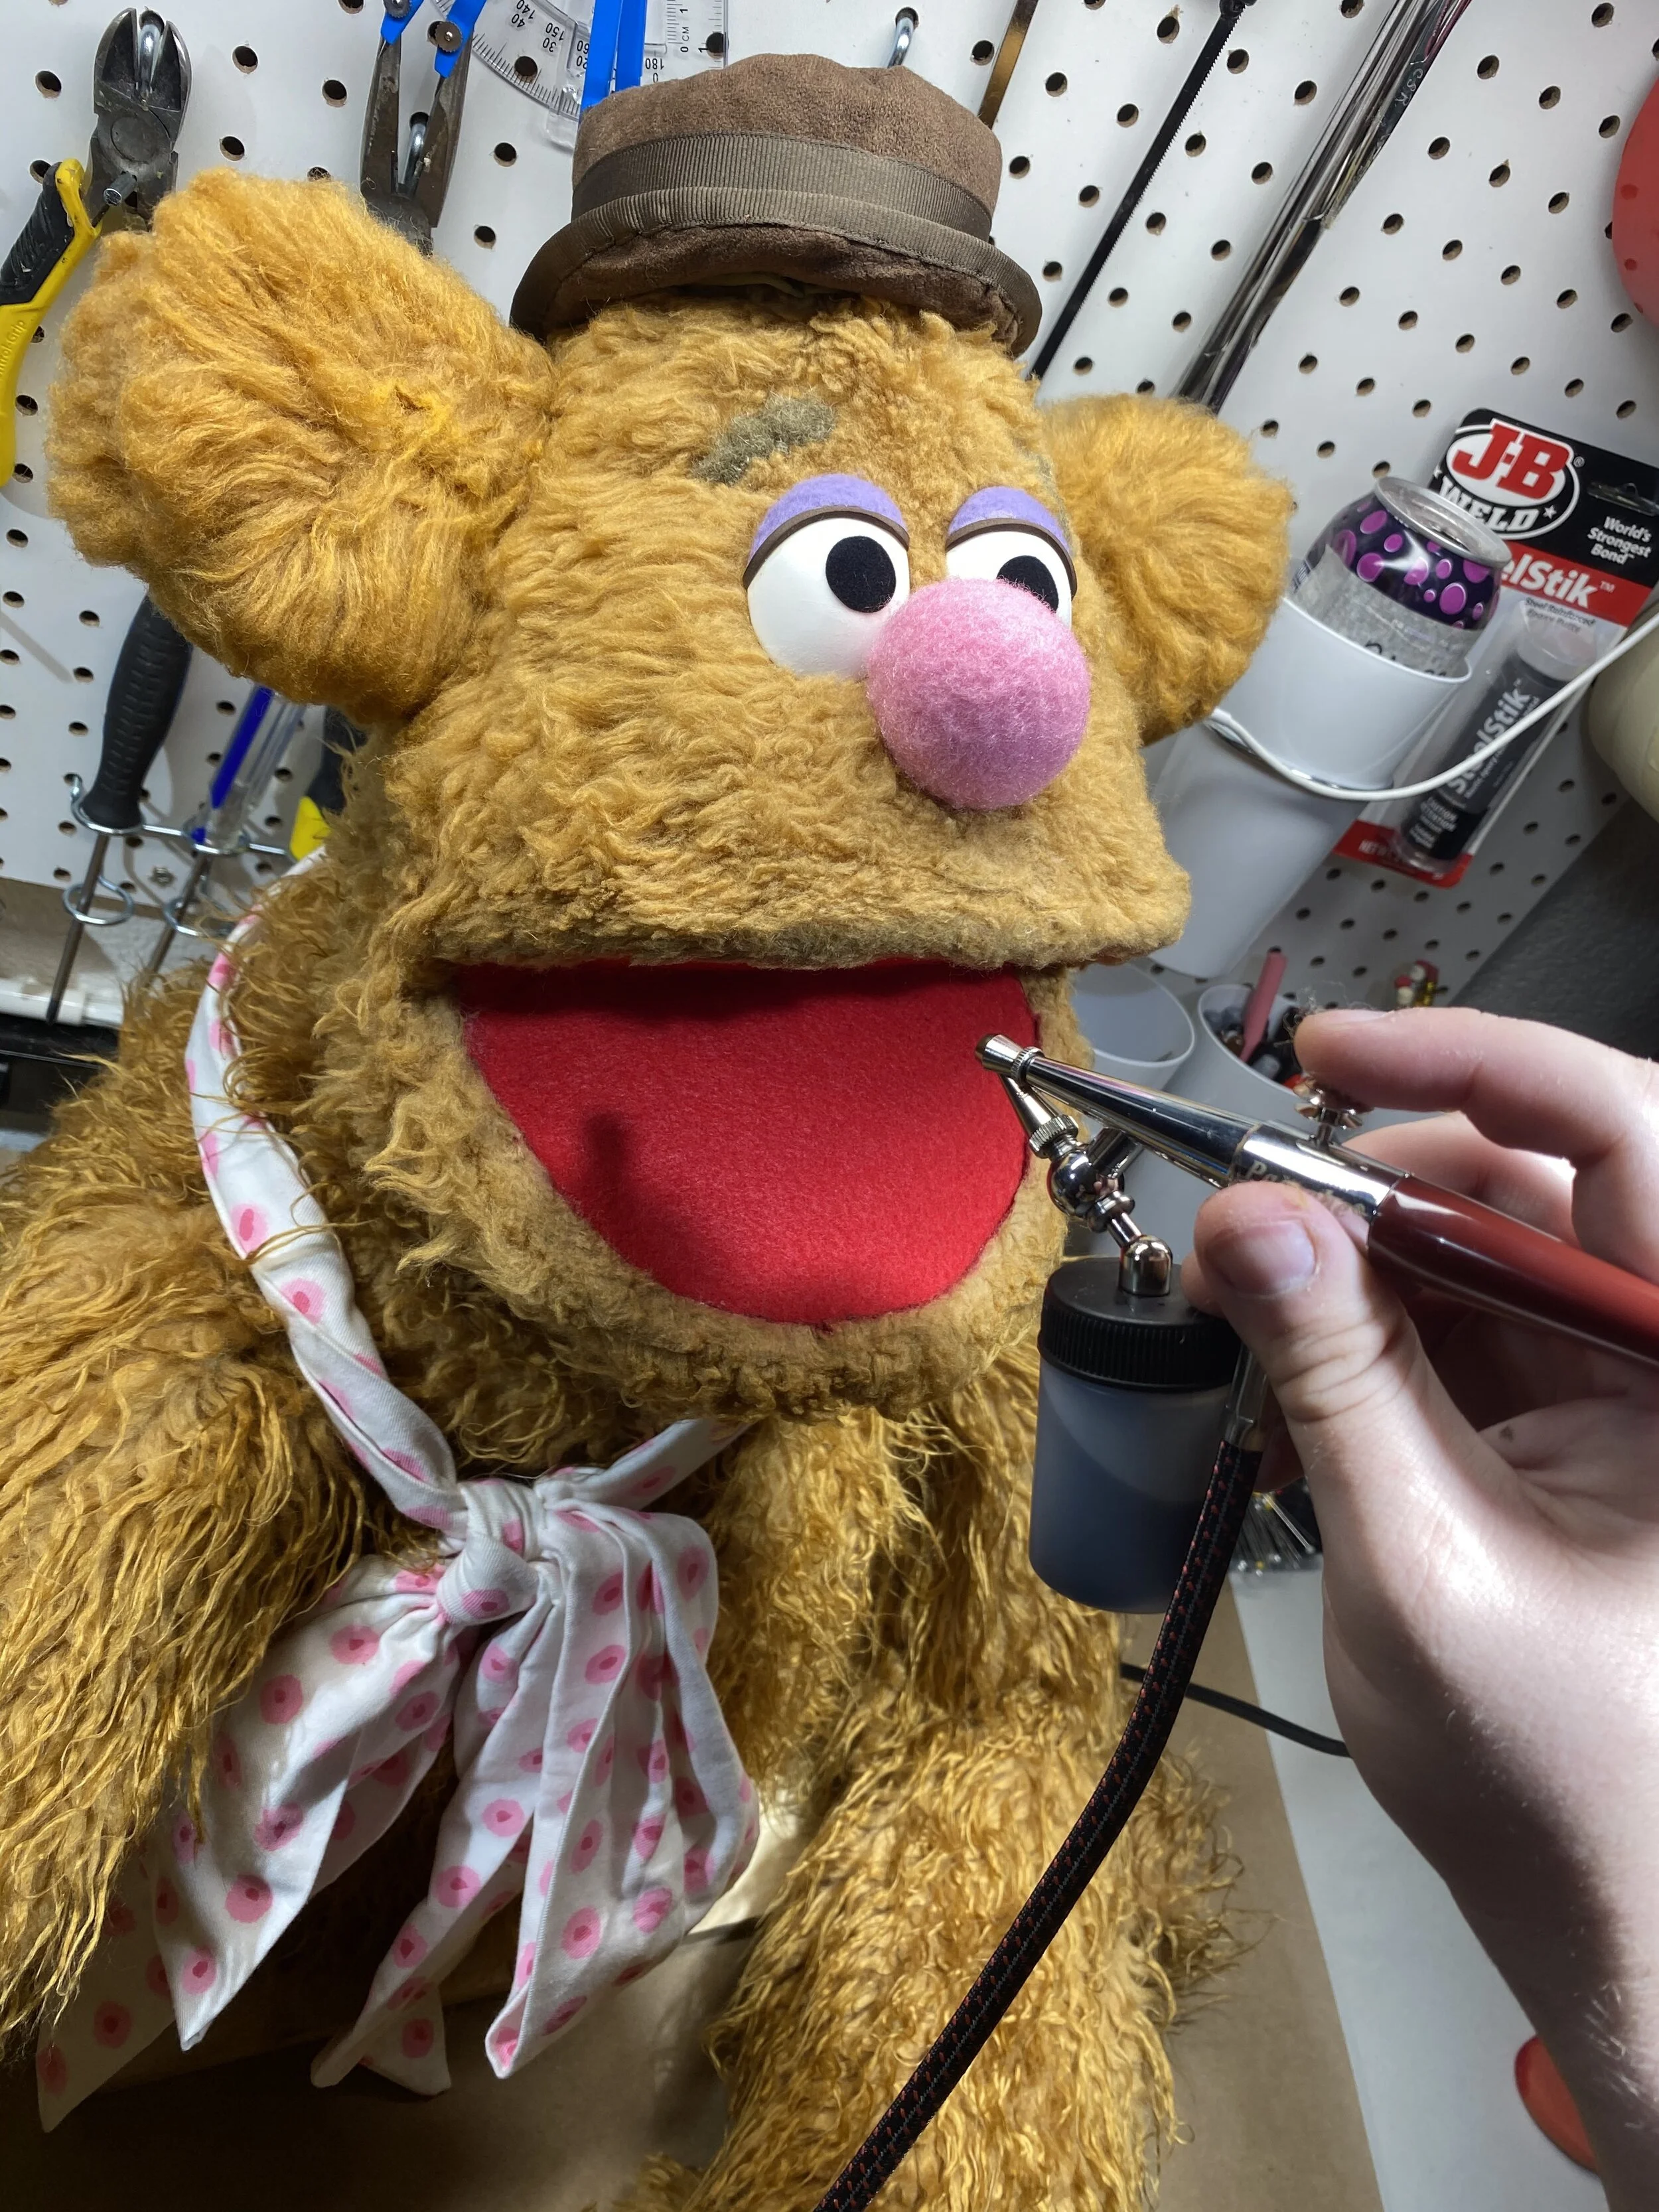
After the puppet was finished, it was time to costume!
My friend, Mae Risk helped me problem solve the hat and necktie. After they were fabricated, I permanently sewed them to the head.
Then after a bit more cleanup work, he was finally completed on 11/16/2020.
Hope this was useful and insightful for some people.
He was a major challenge but I’m pretty satisfied with the end result given the parameters of this project. If I were to start again, I would do some things differently but glad it’s over and ready to start onto new projects.
ONCE AGAIN….NO! I do not accept replica requests/commissions. Don’t ask.
Kiedis the Troll - Custom Puppet Build

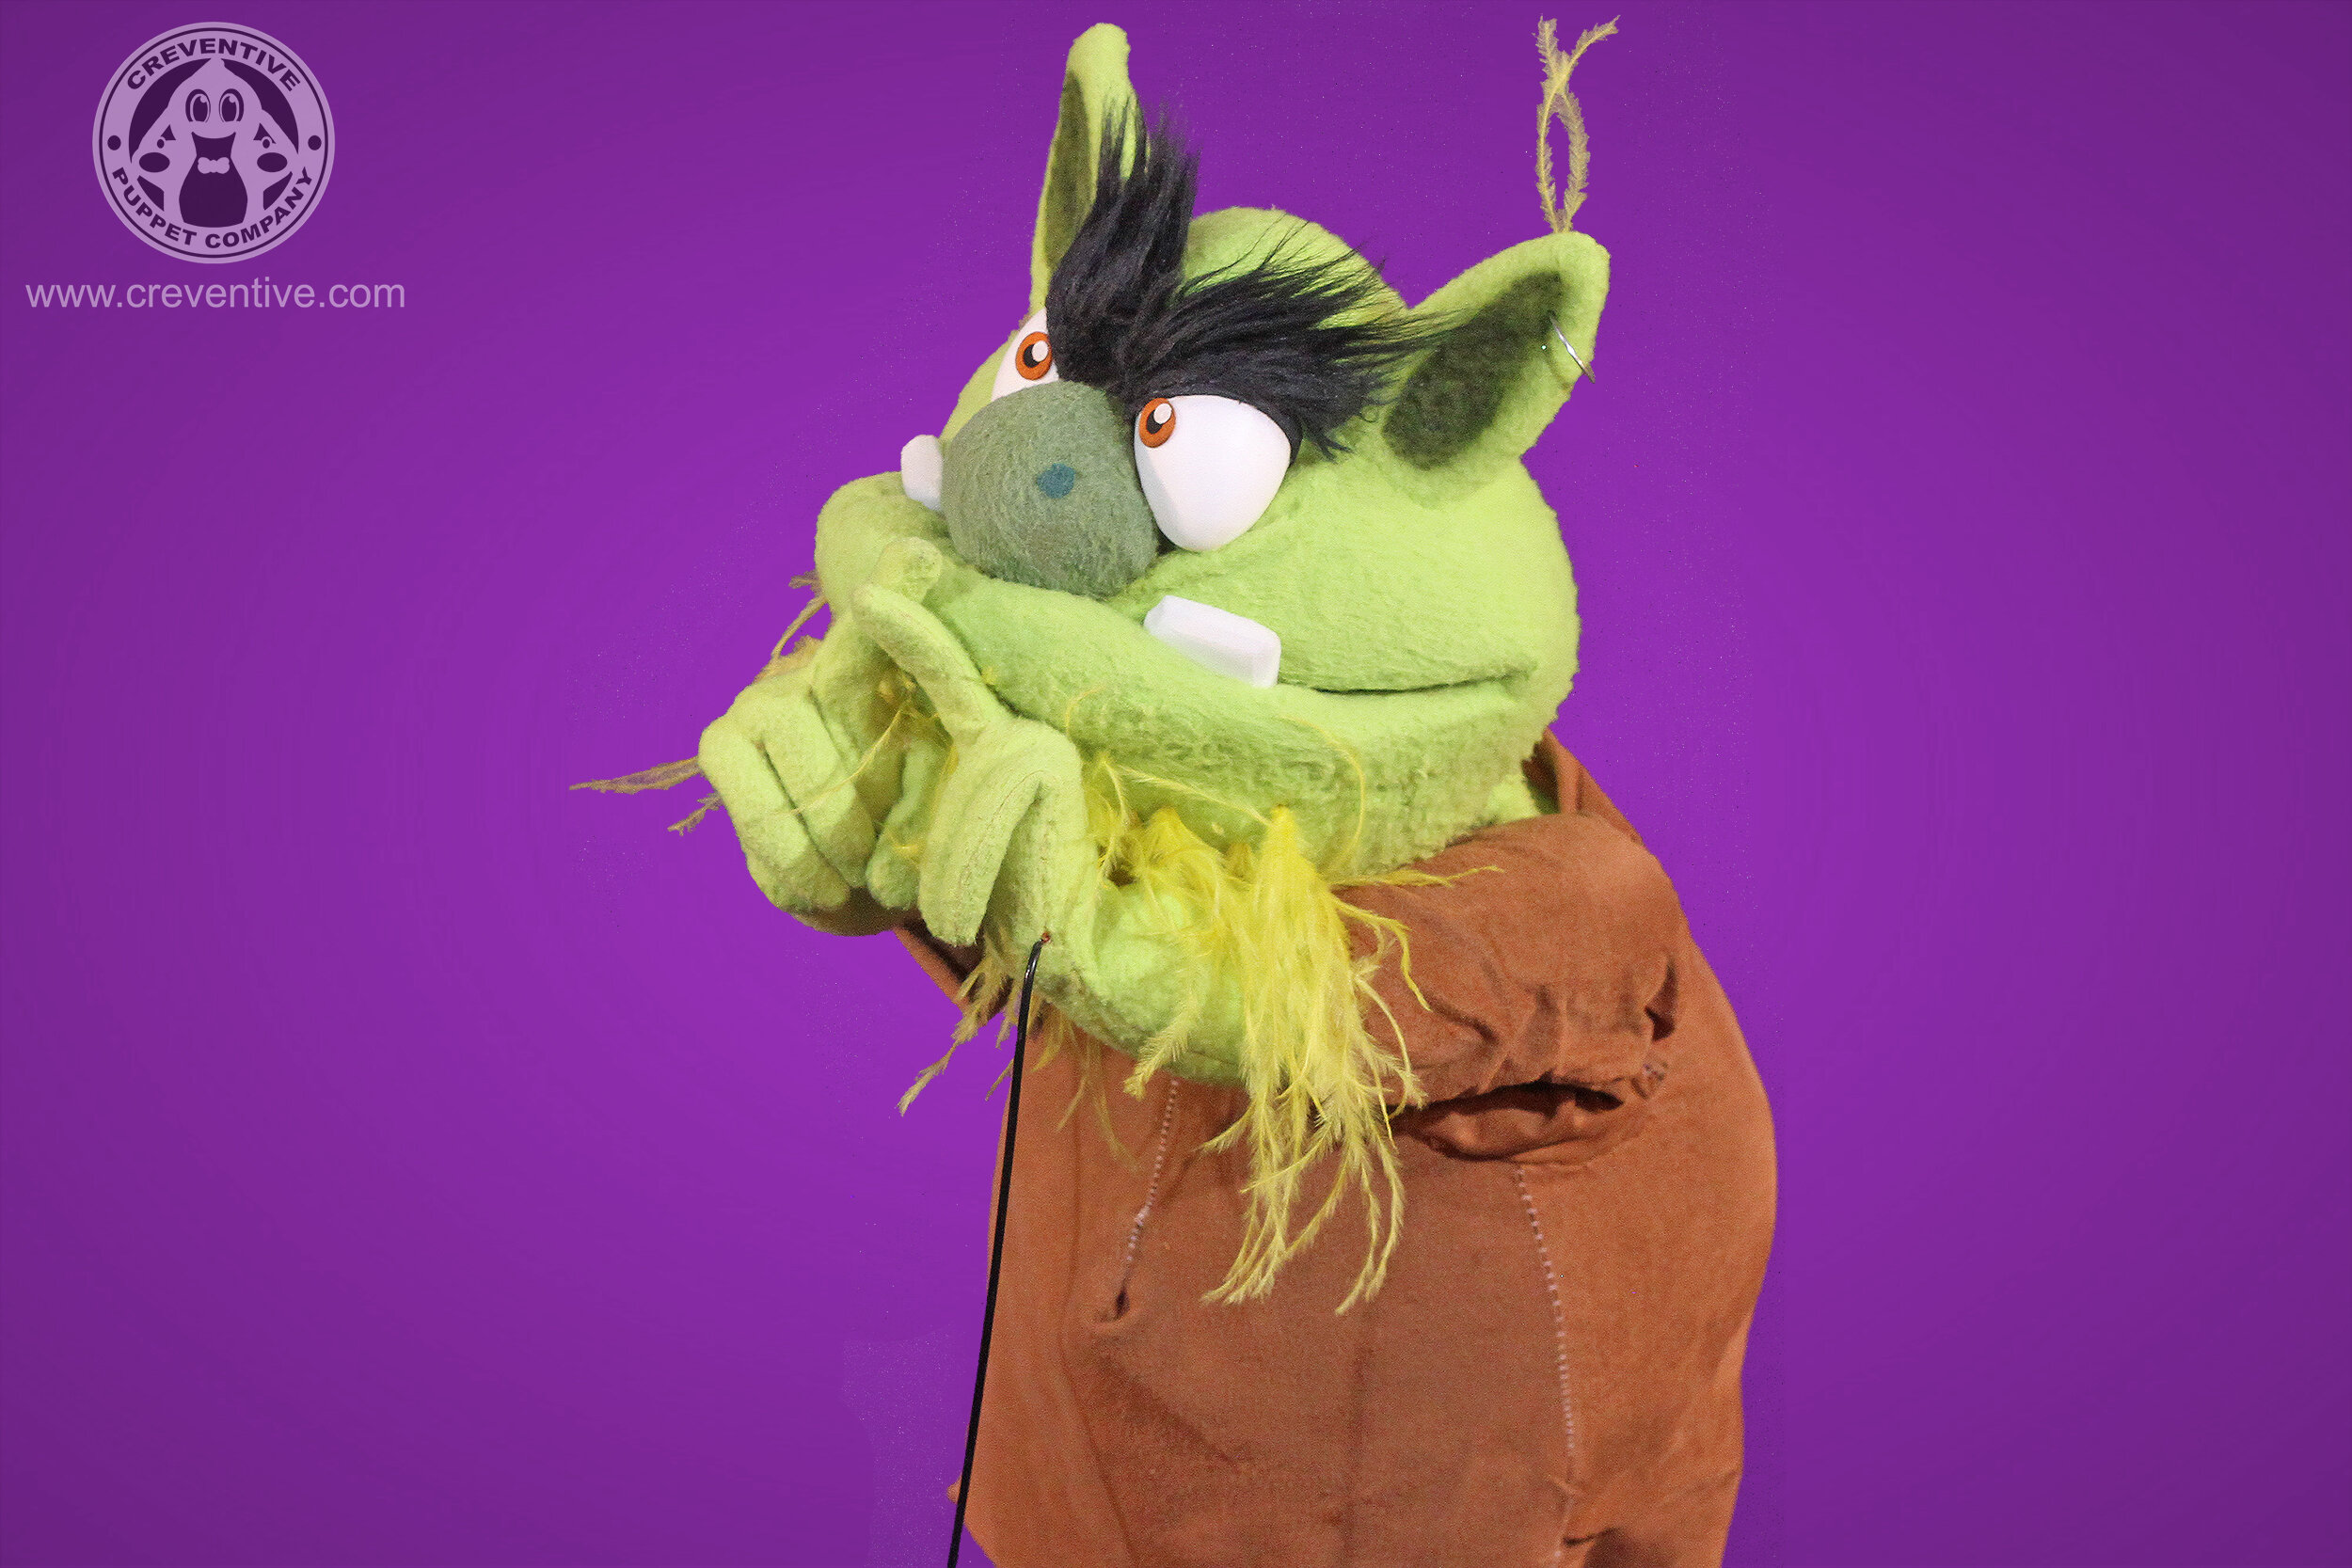

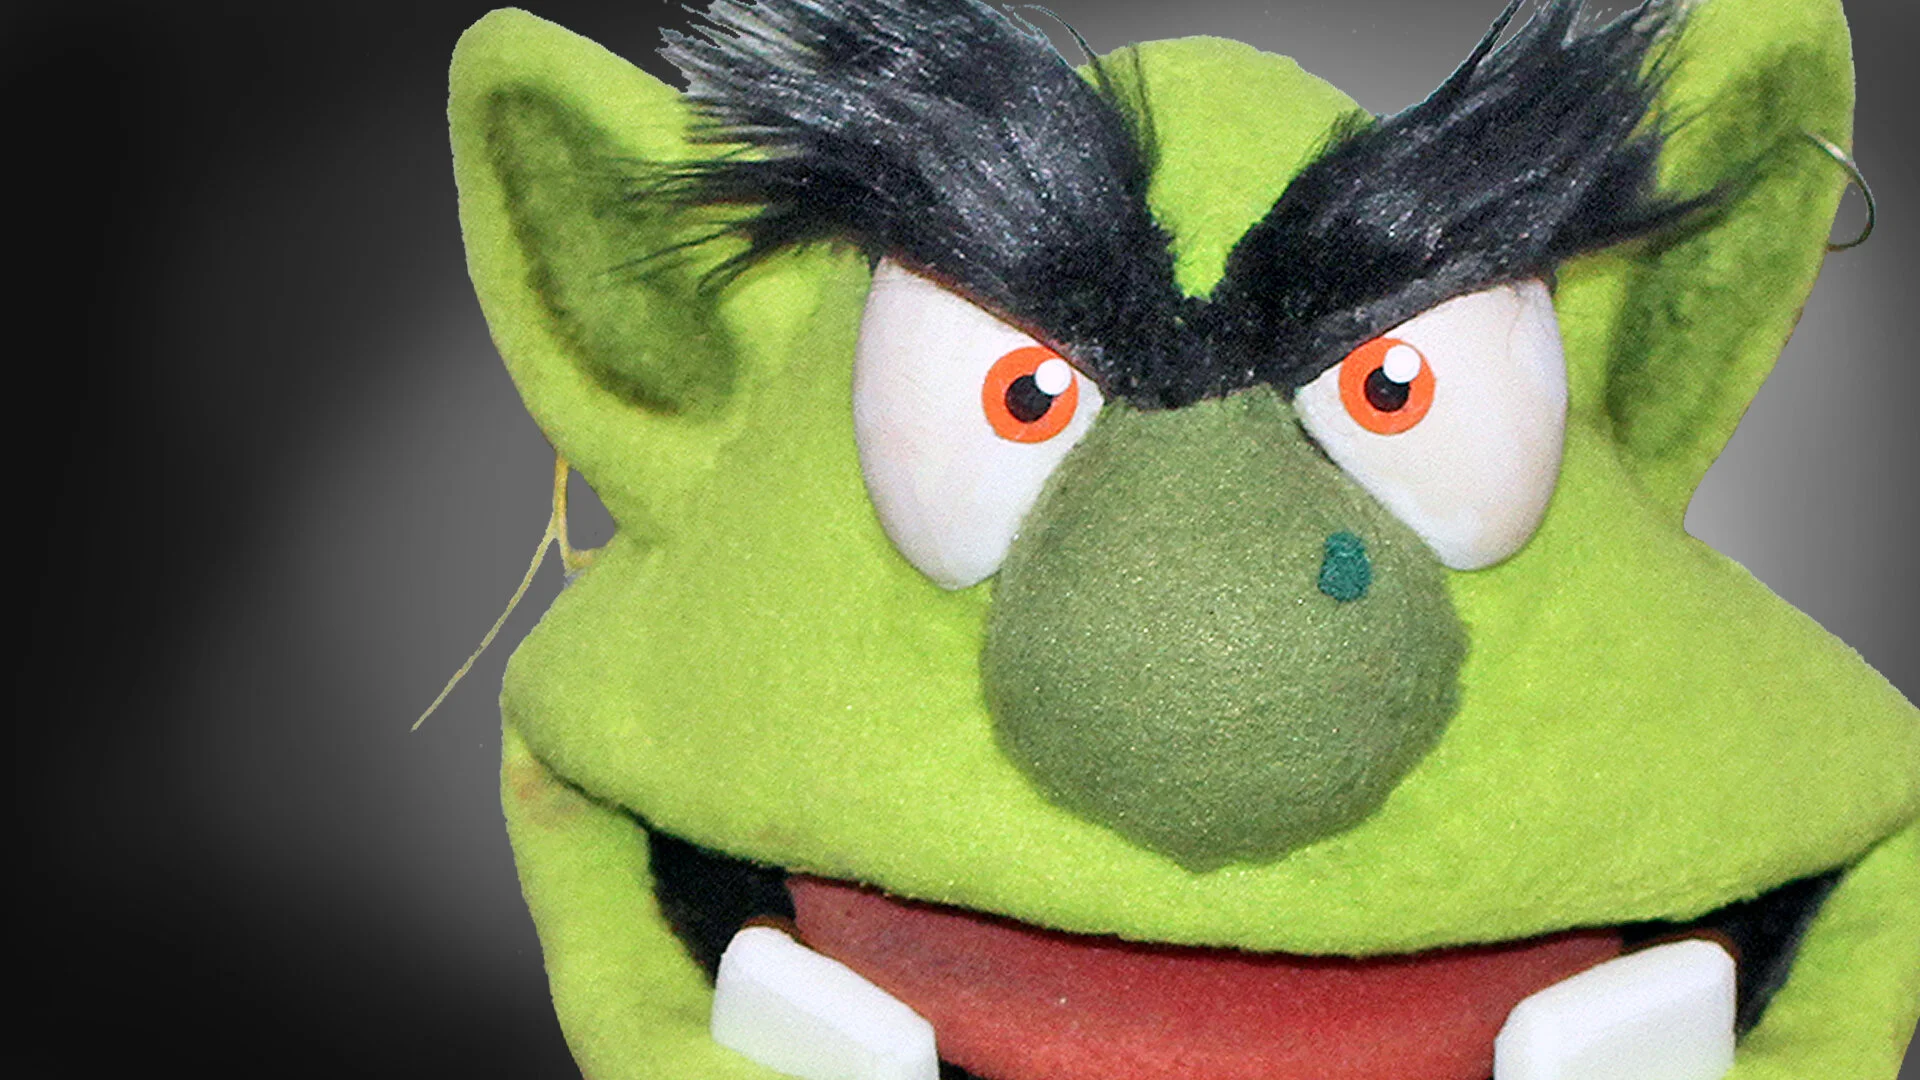
Today we’re featuring Kiedis the Troll, custom puppet built and designed by Connor Asher completed on February 24th 2018 for our live touring theatrical production “Three Billy Goats Gruff”.
Kiedis the Troll is now being used in collaboration with the Insurance King and preparing for his own upcoming web show.
More soon.
To request your own custom puppet, visit our custom puppets page and fill out a form: https://www.creventive.com/#/custom-puppets/
Thats all for now. See you soon.
SEE HIM IN ACTION NOW:
Dexter Blue Monster Sack Puppet - Rental for Commercial/film/tv/stage


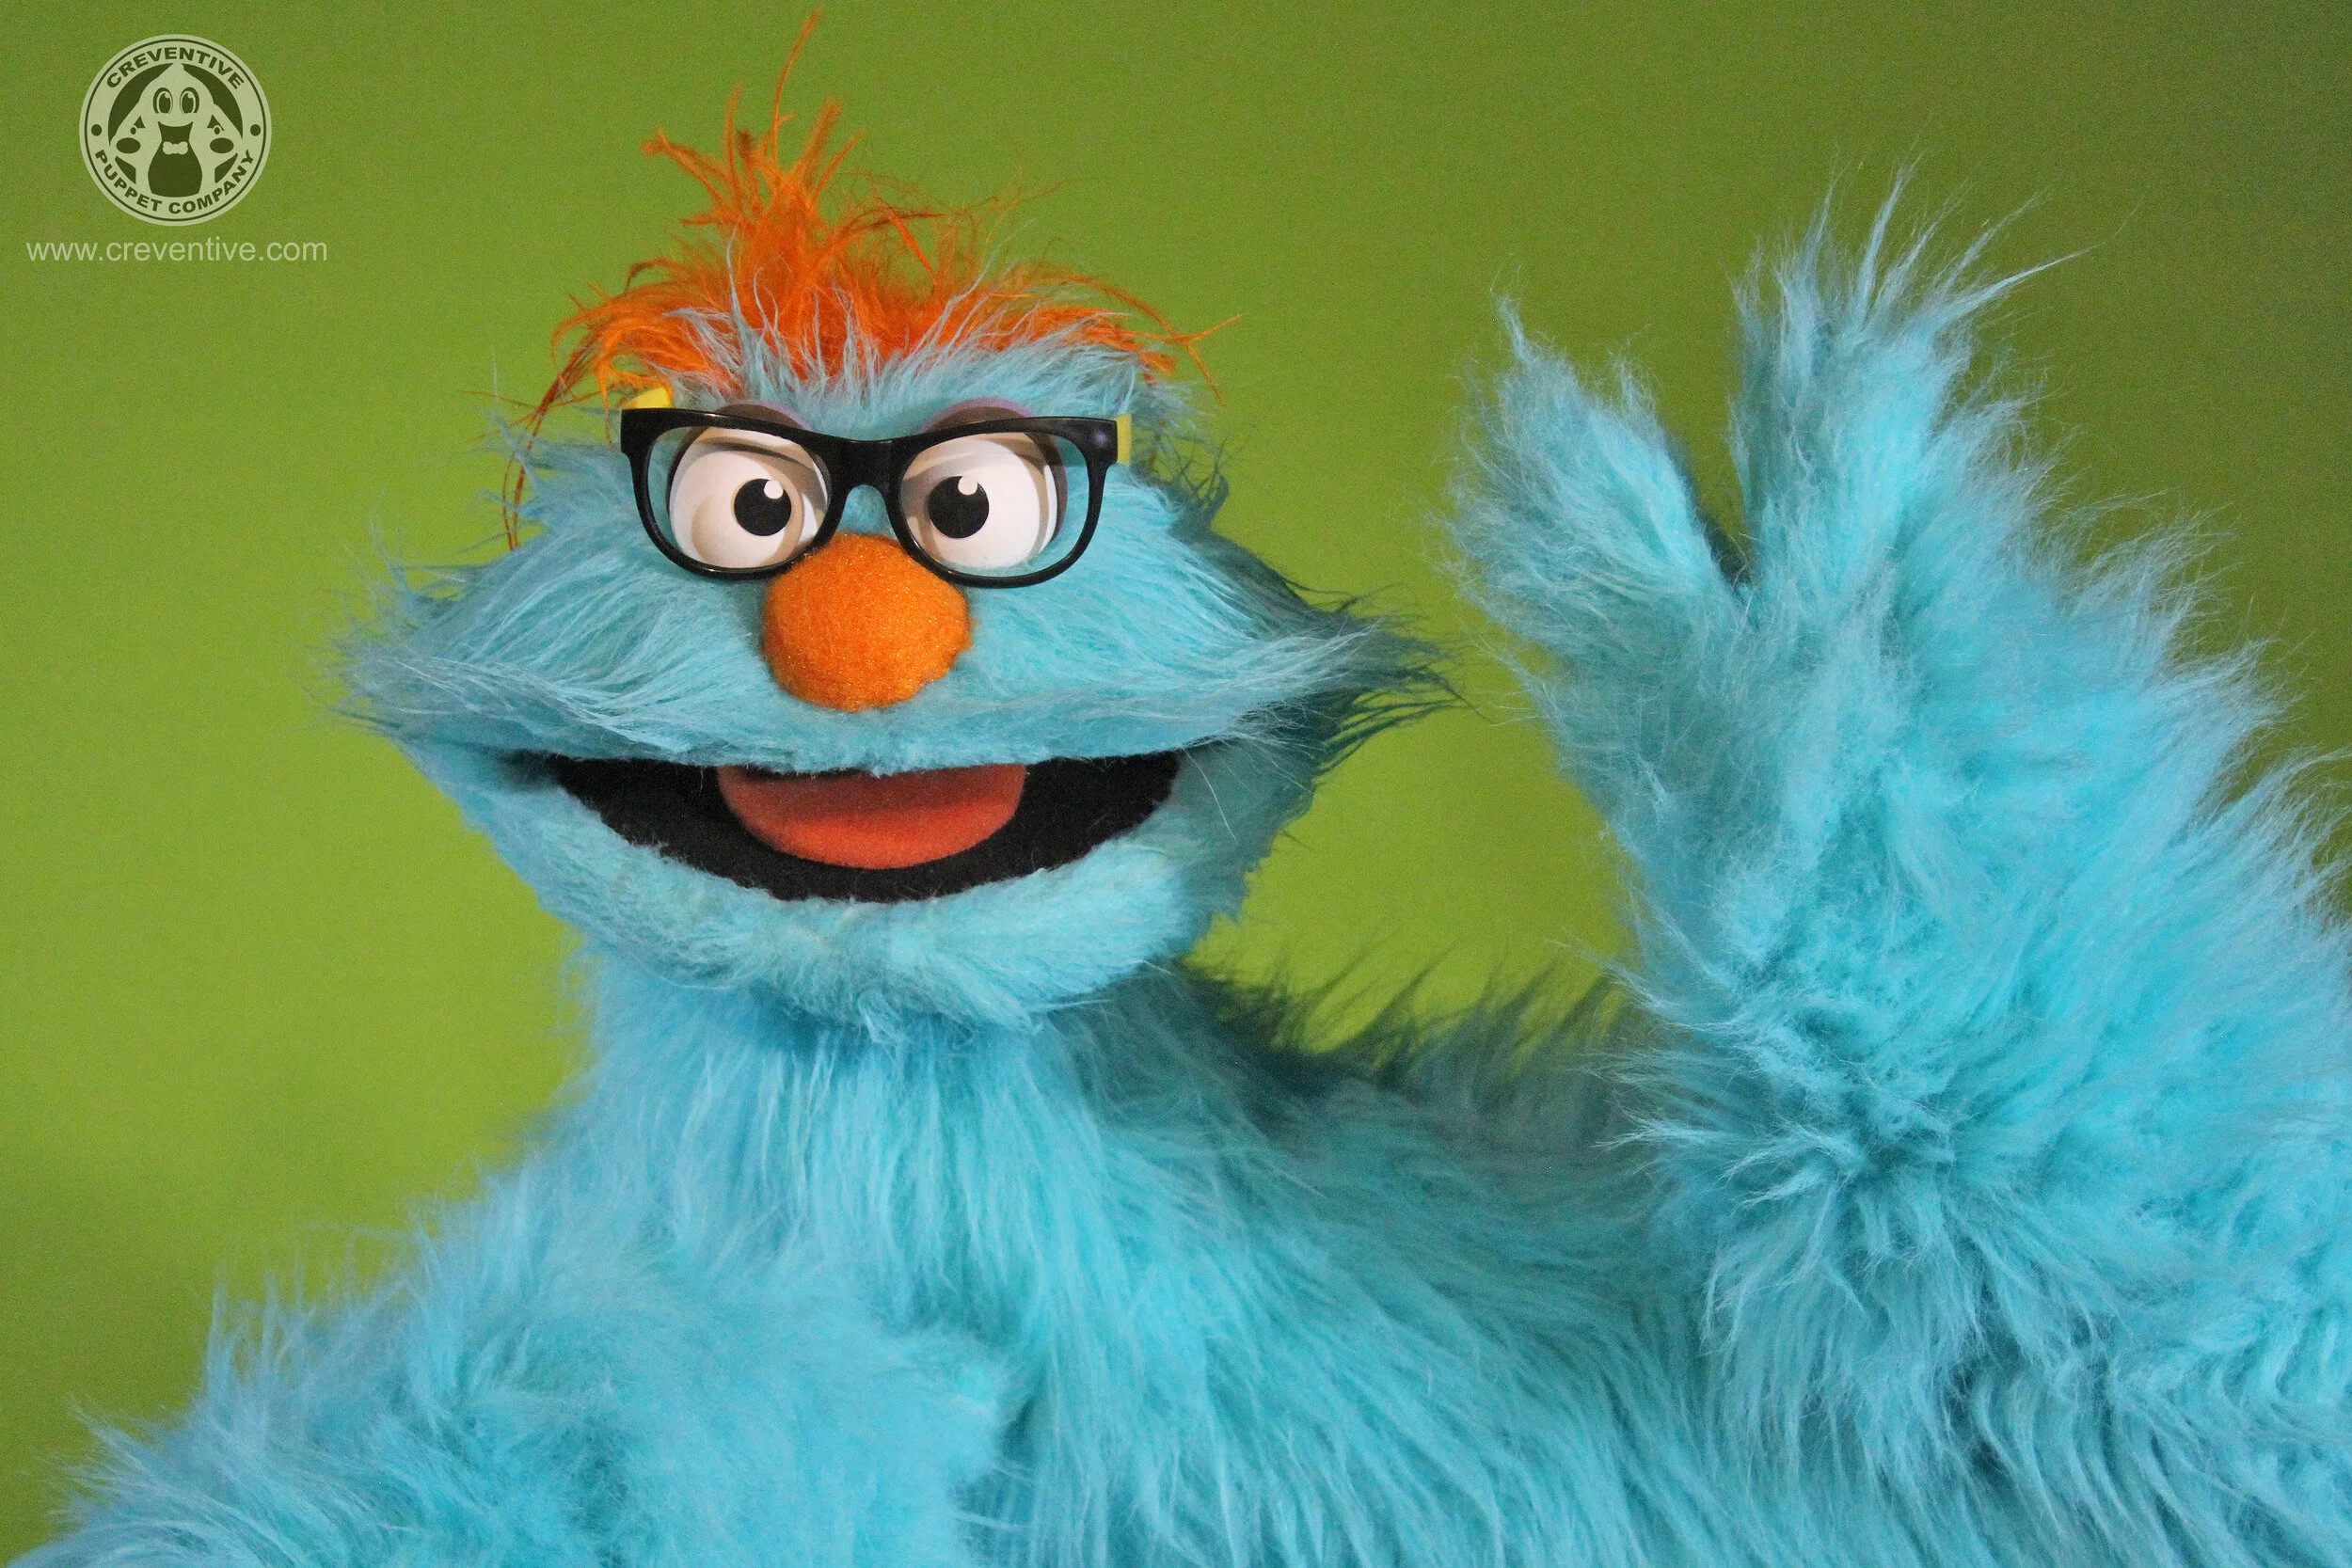

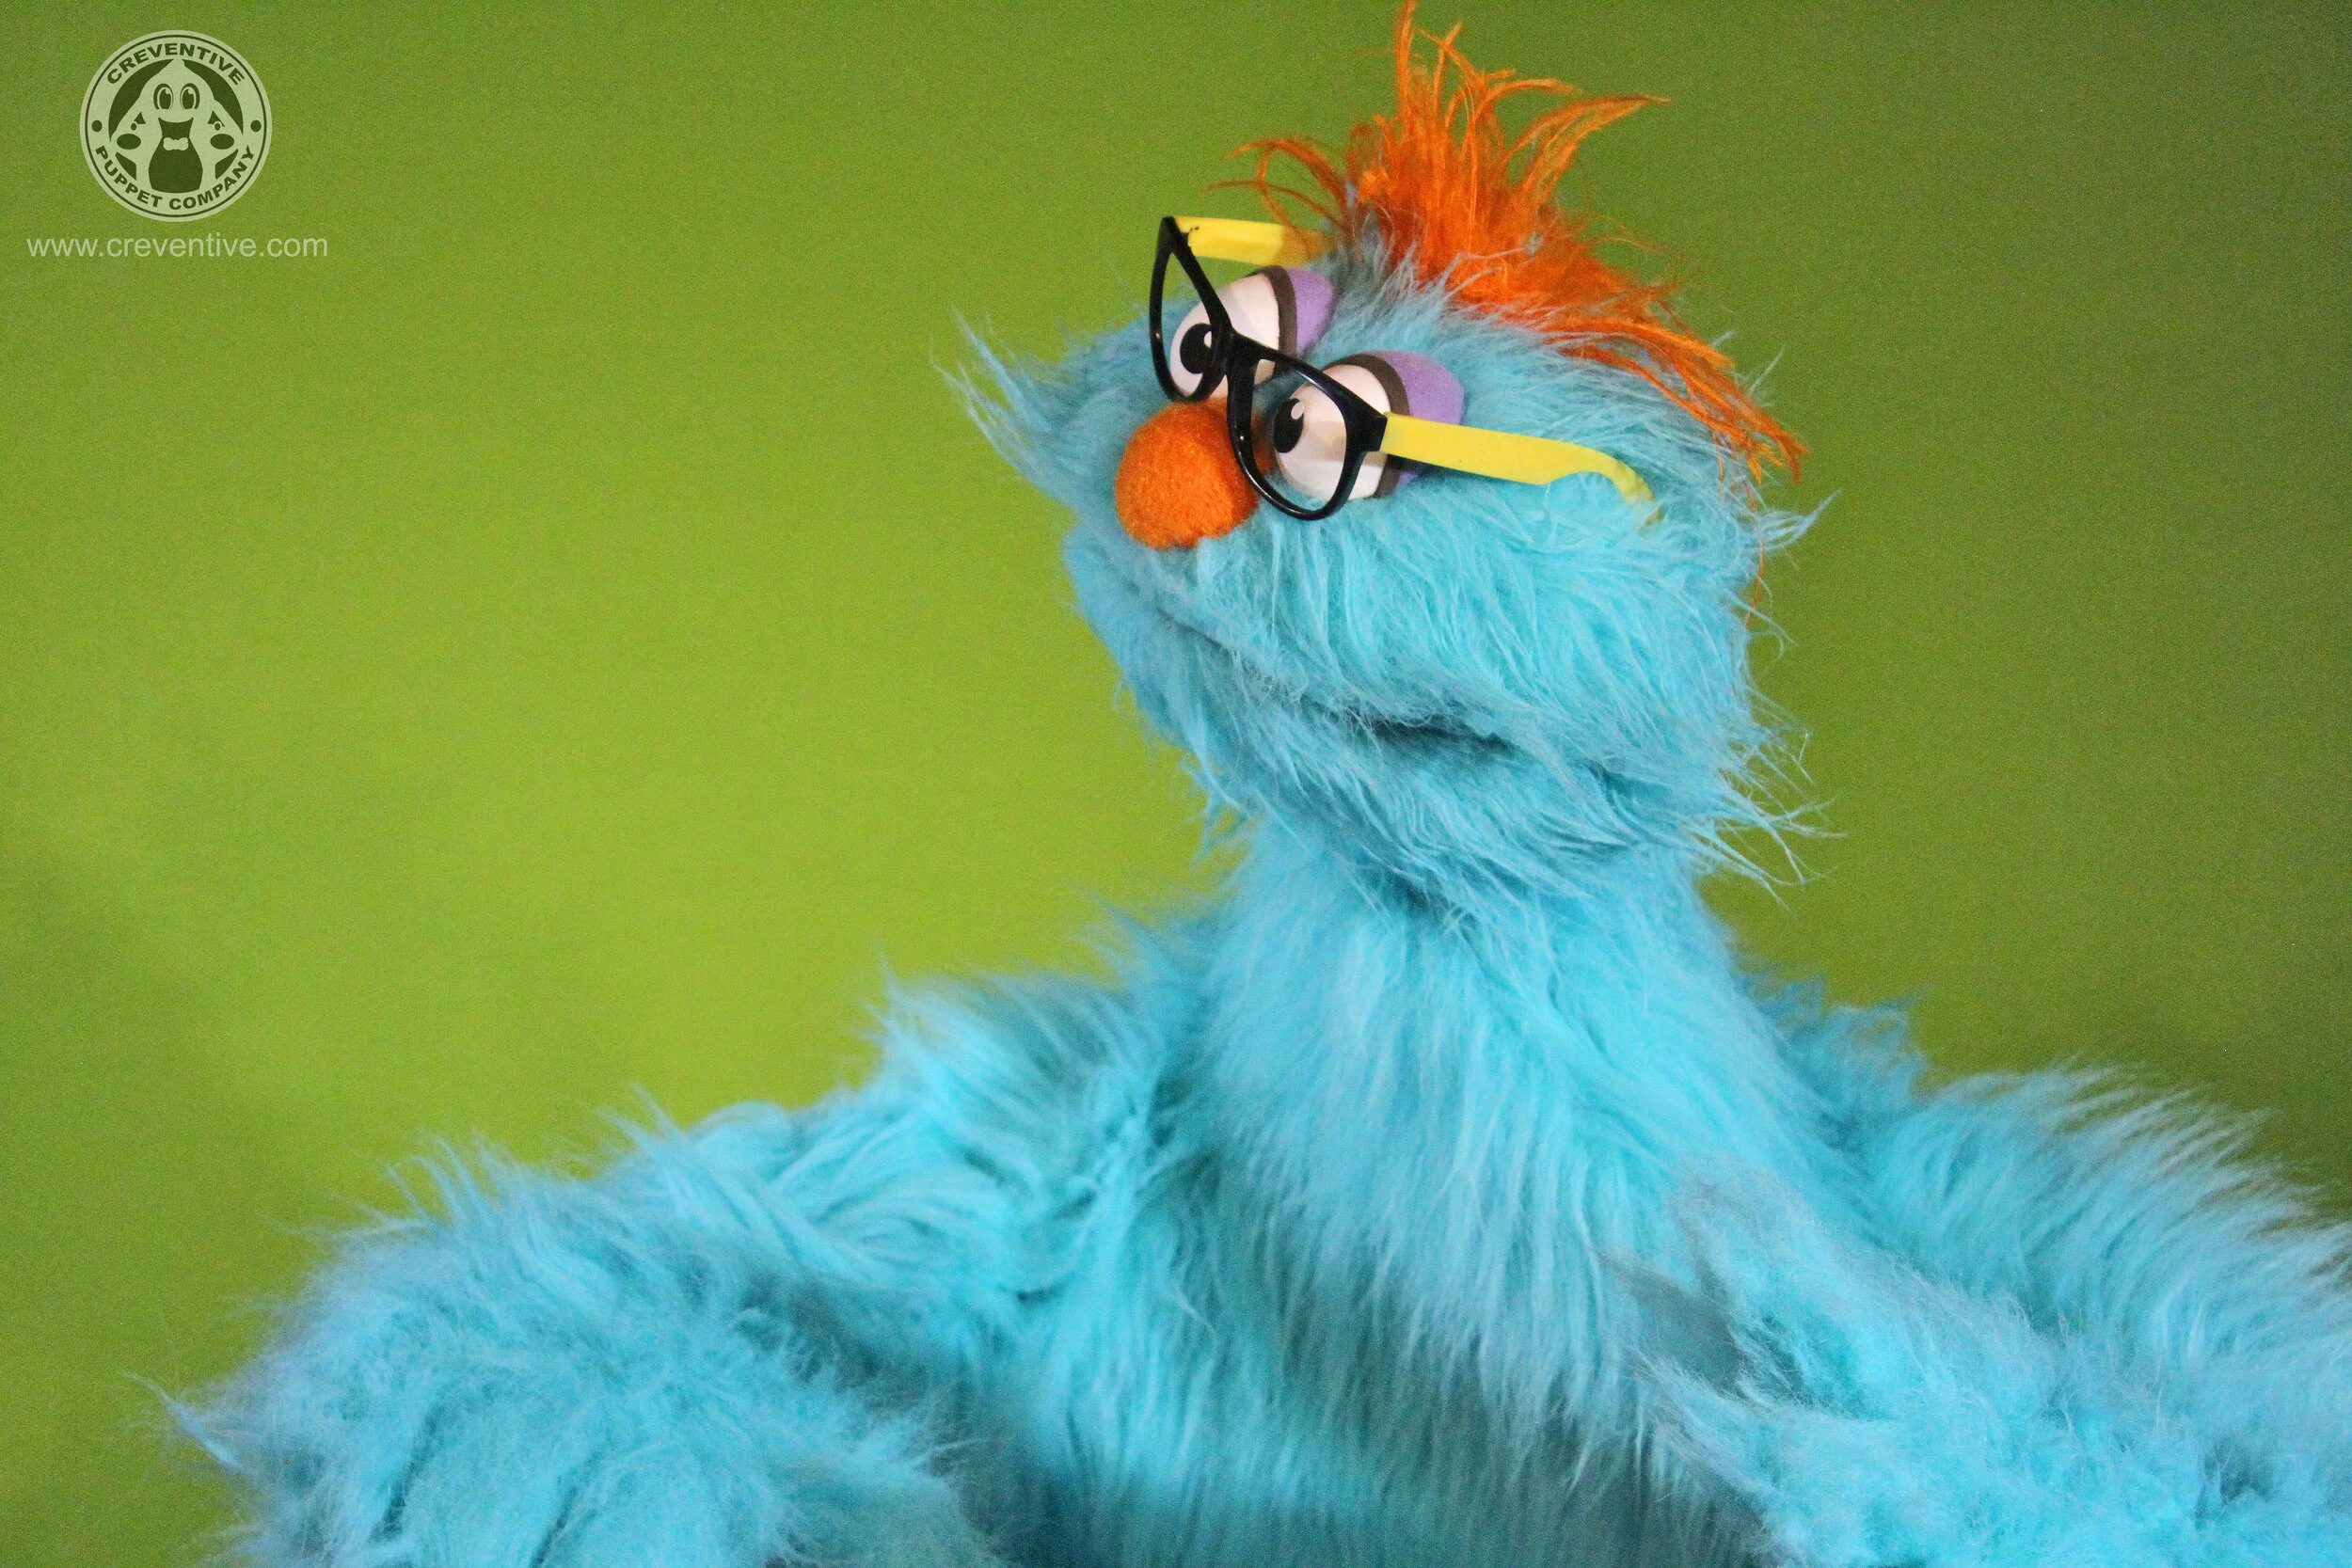
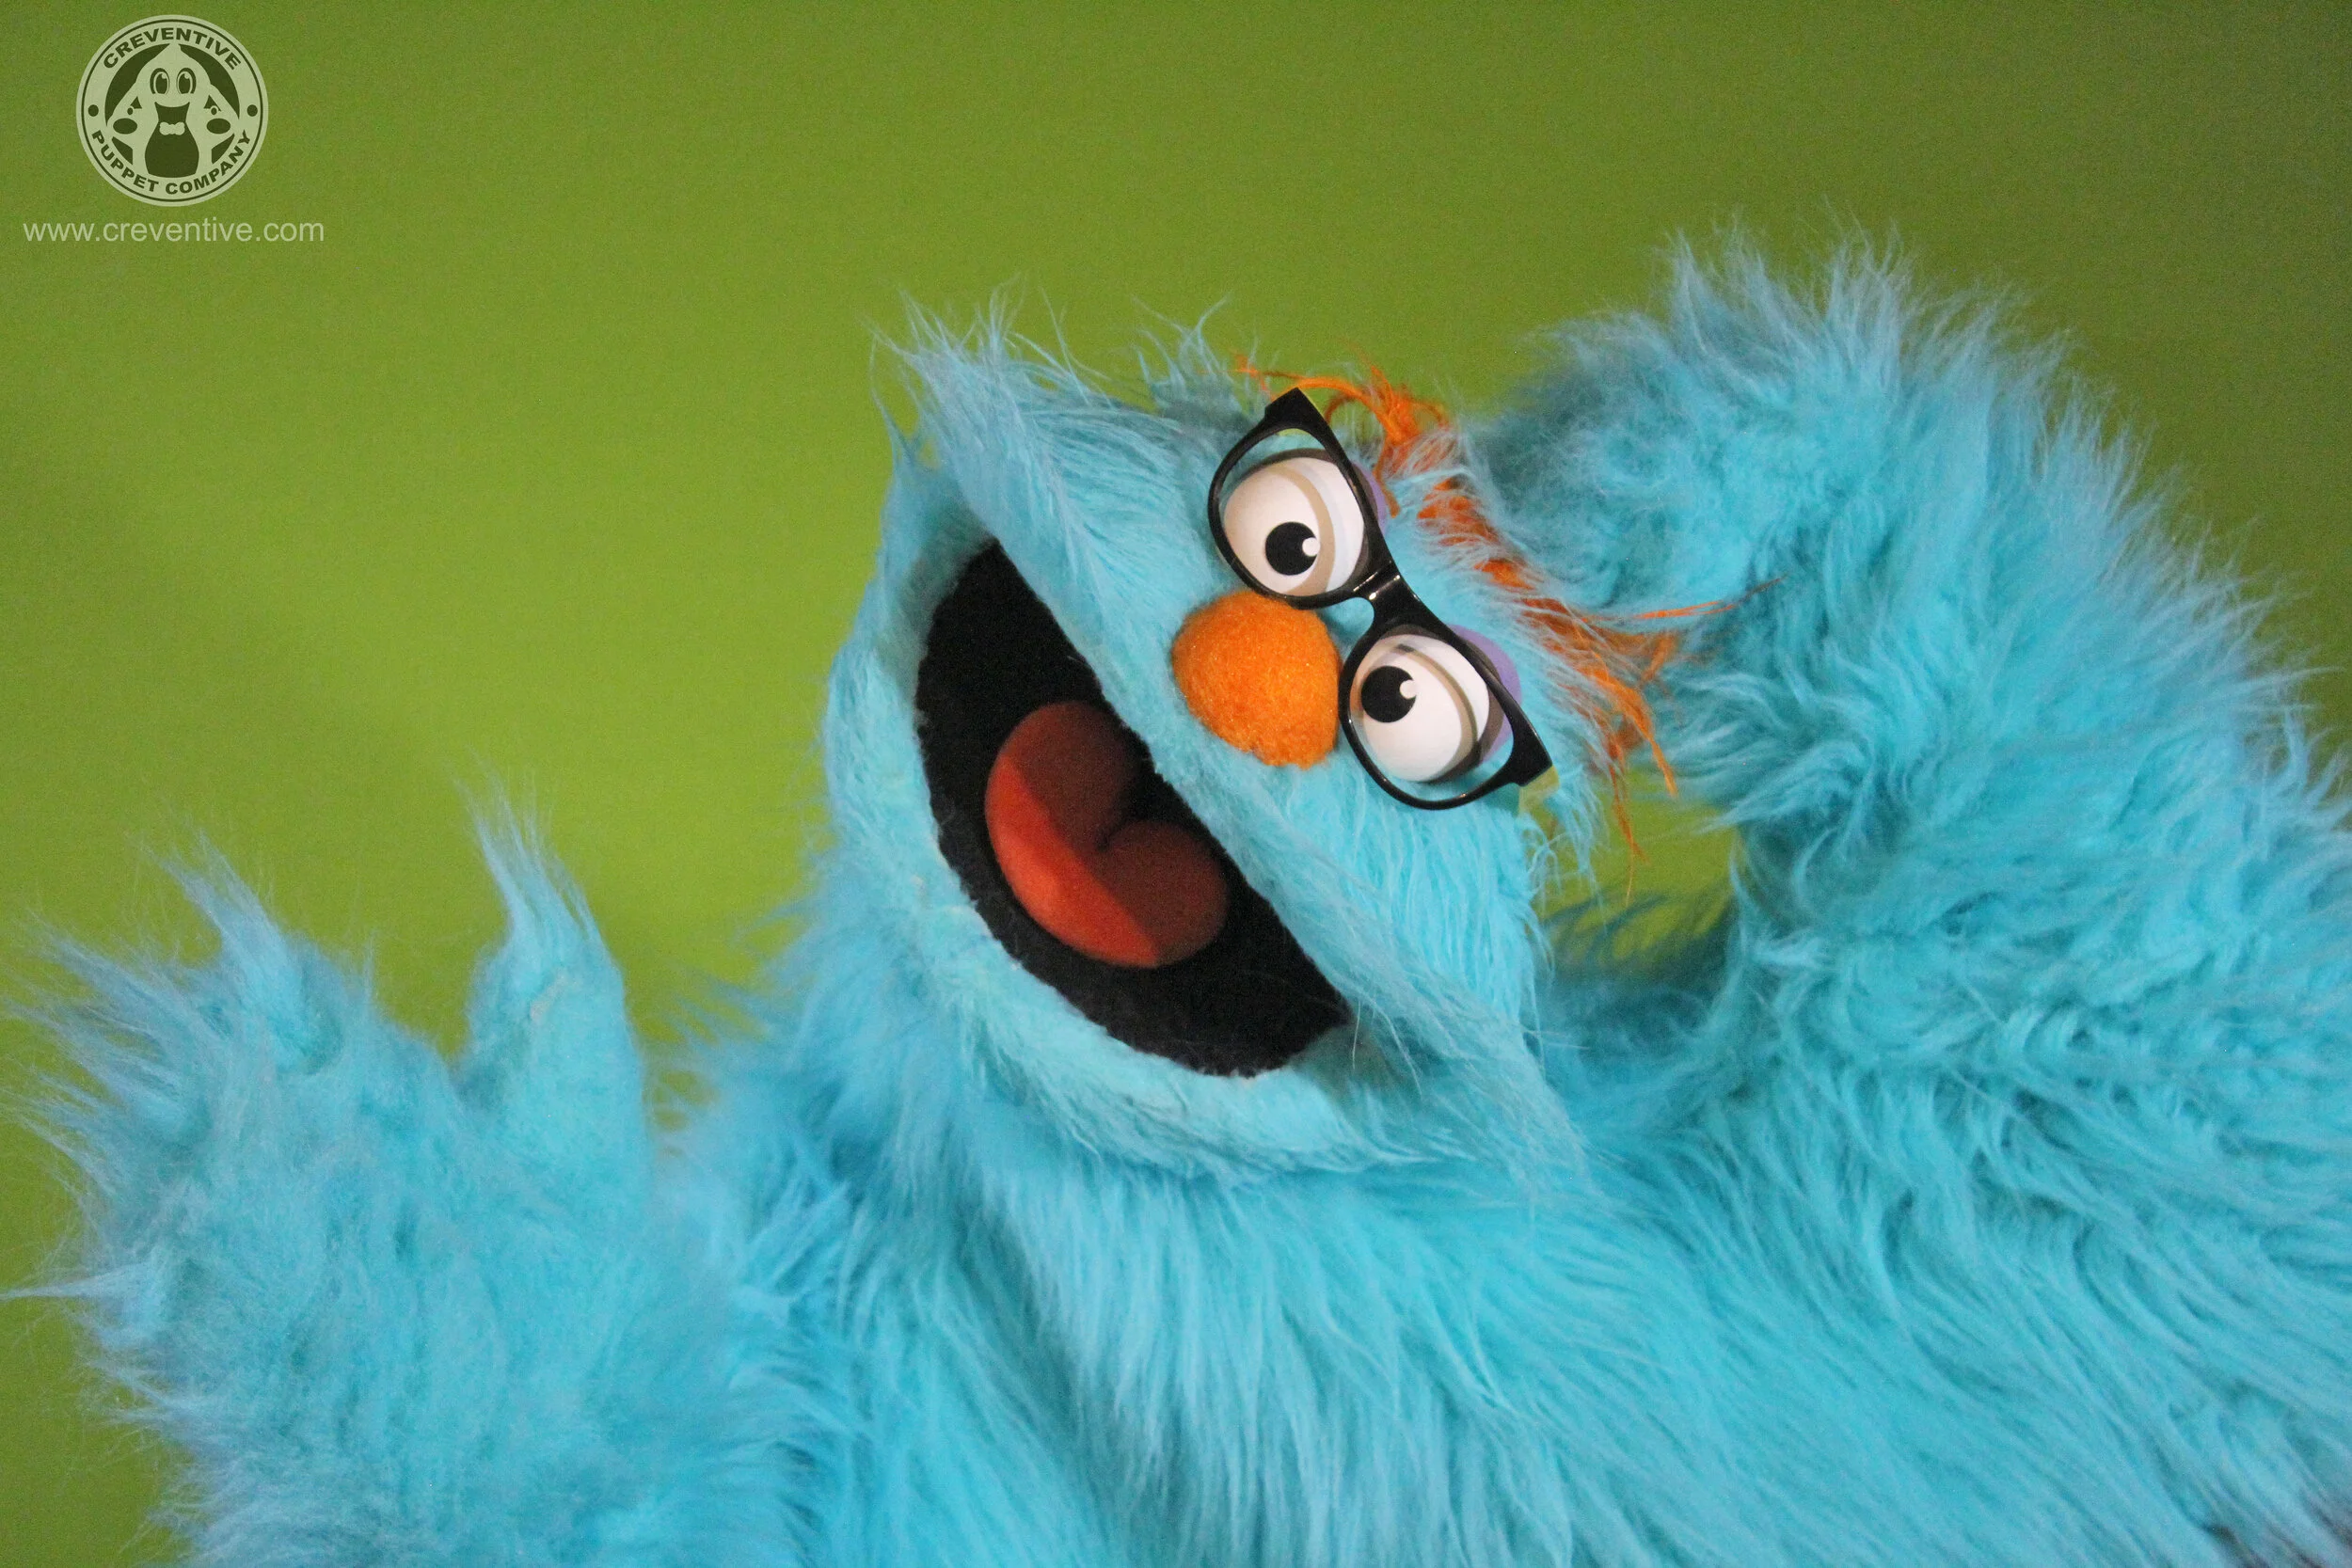
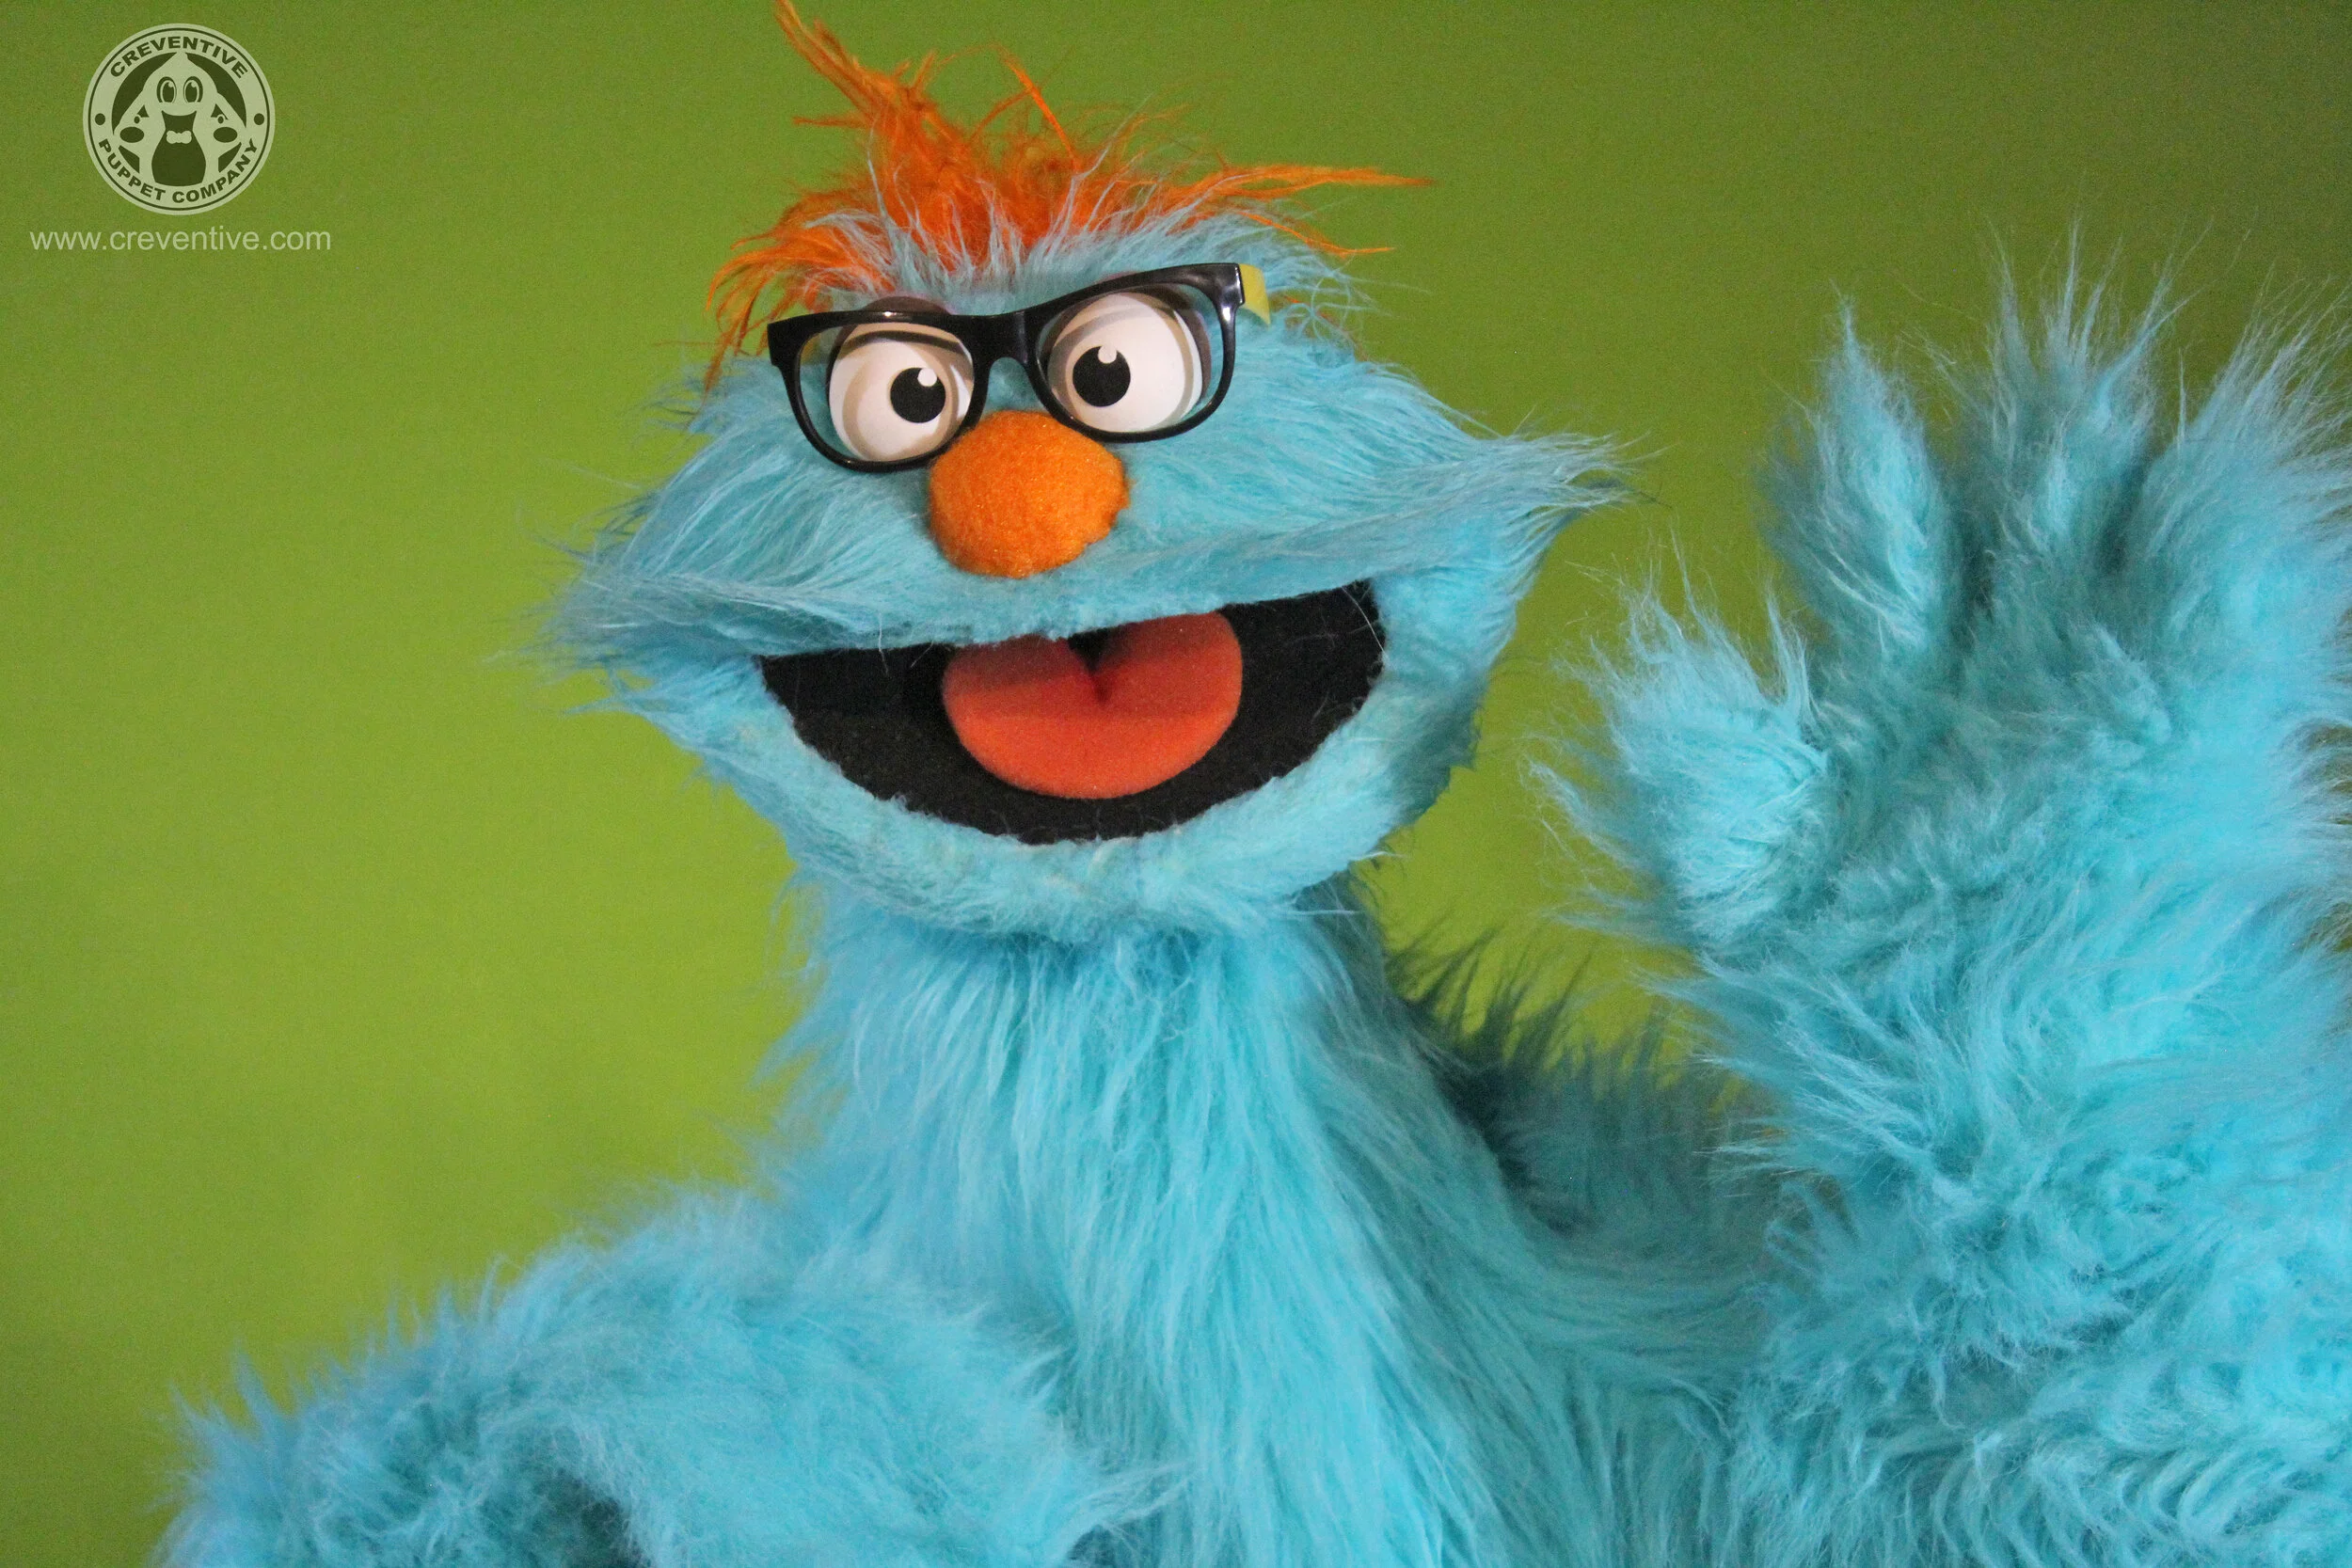
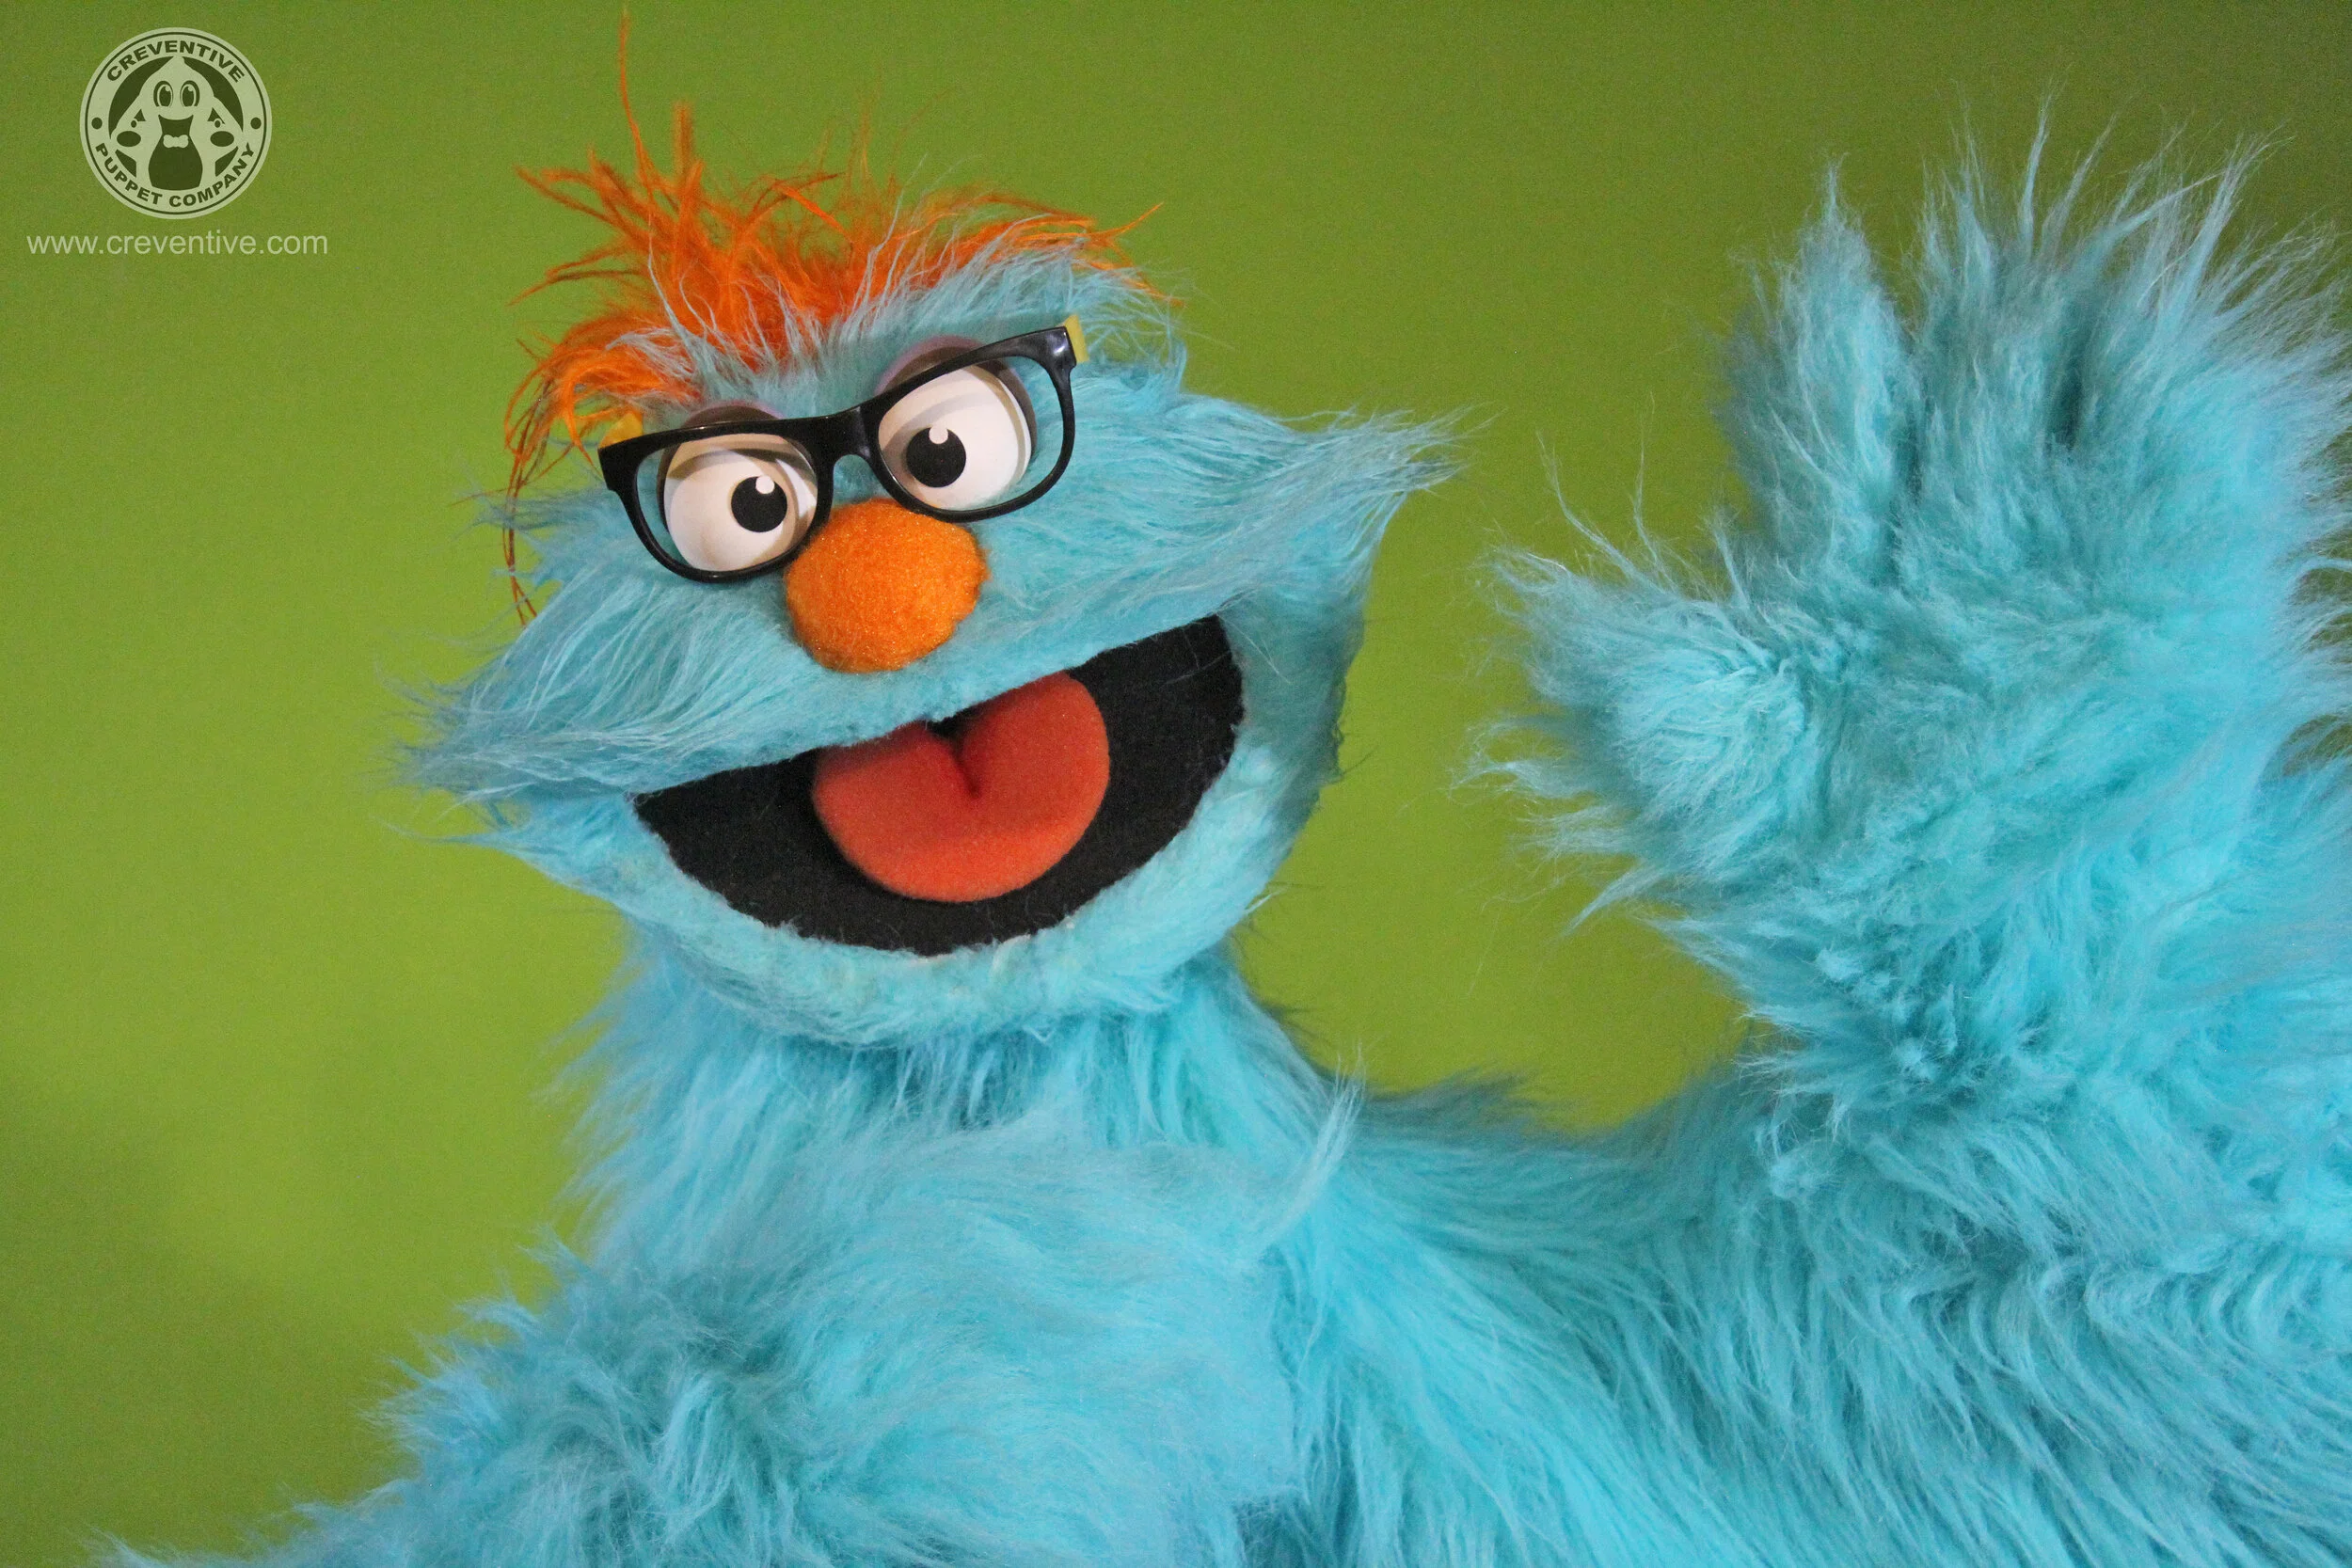
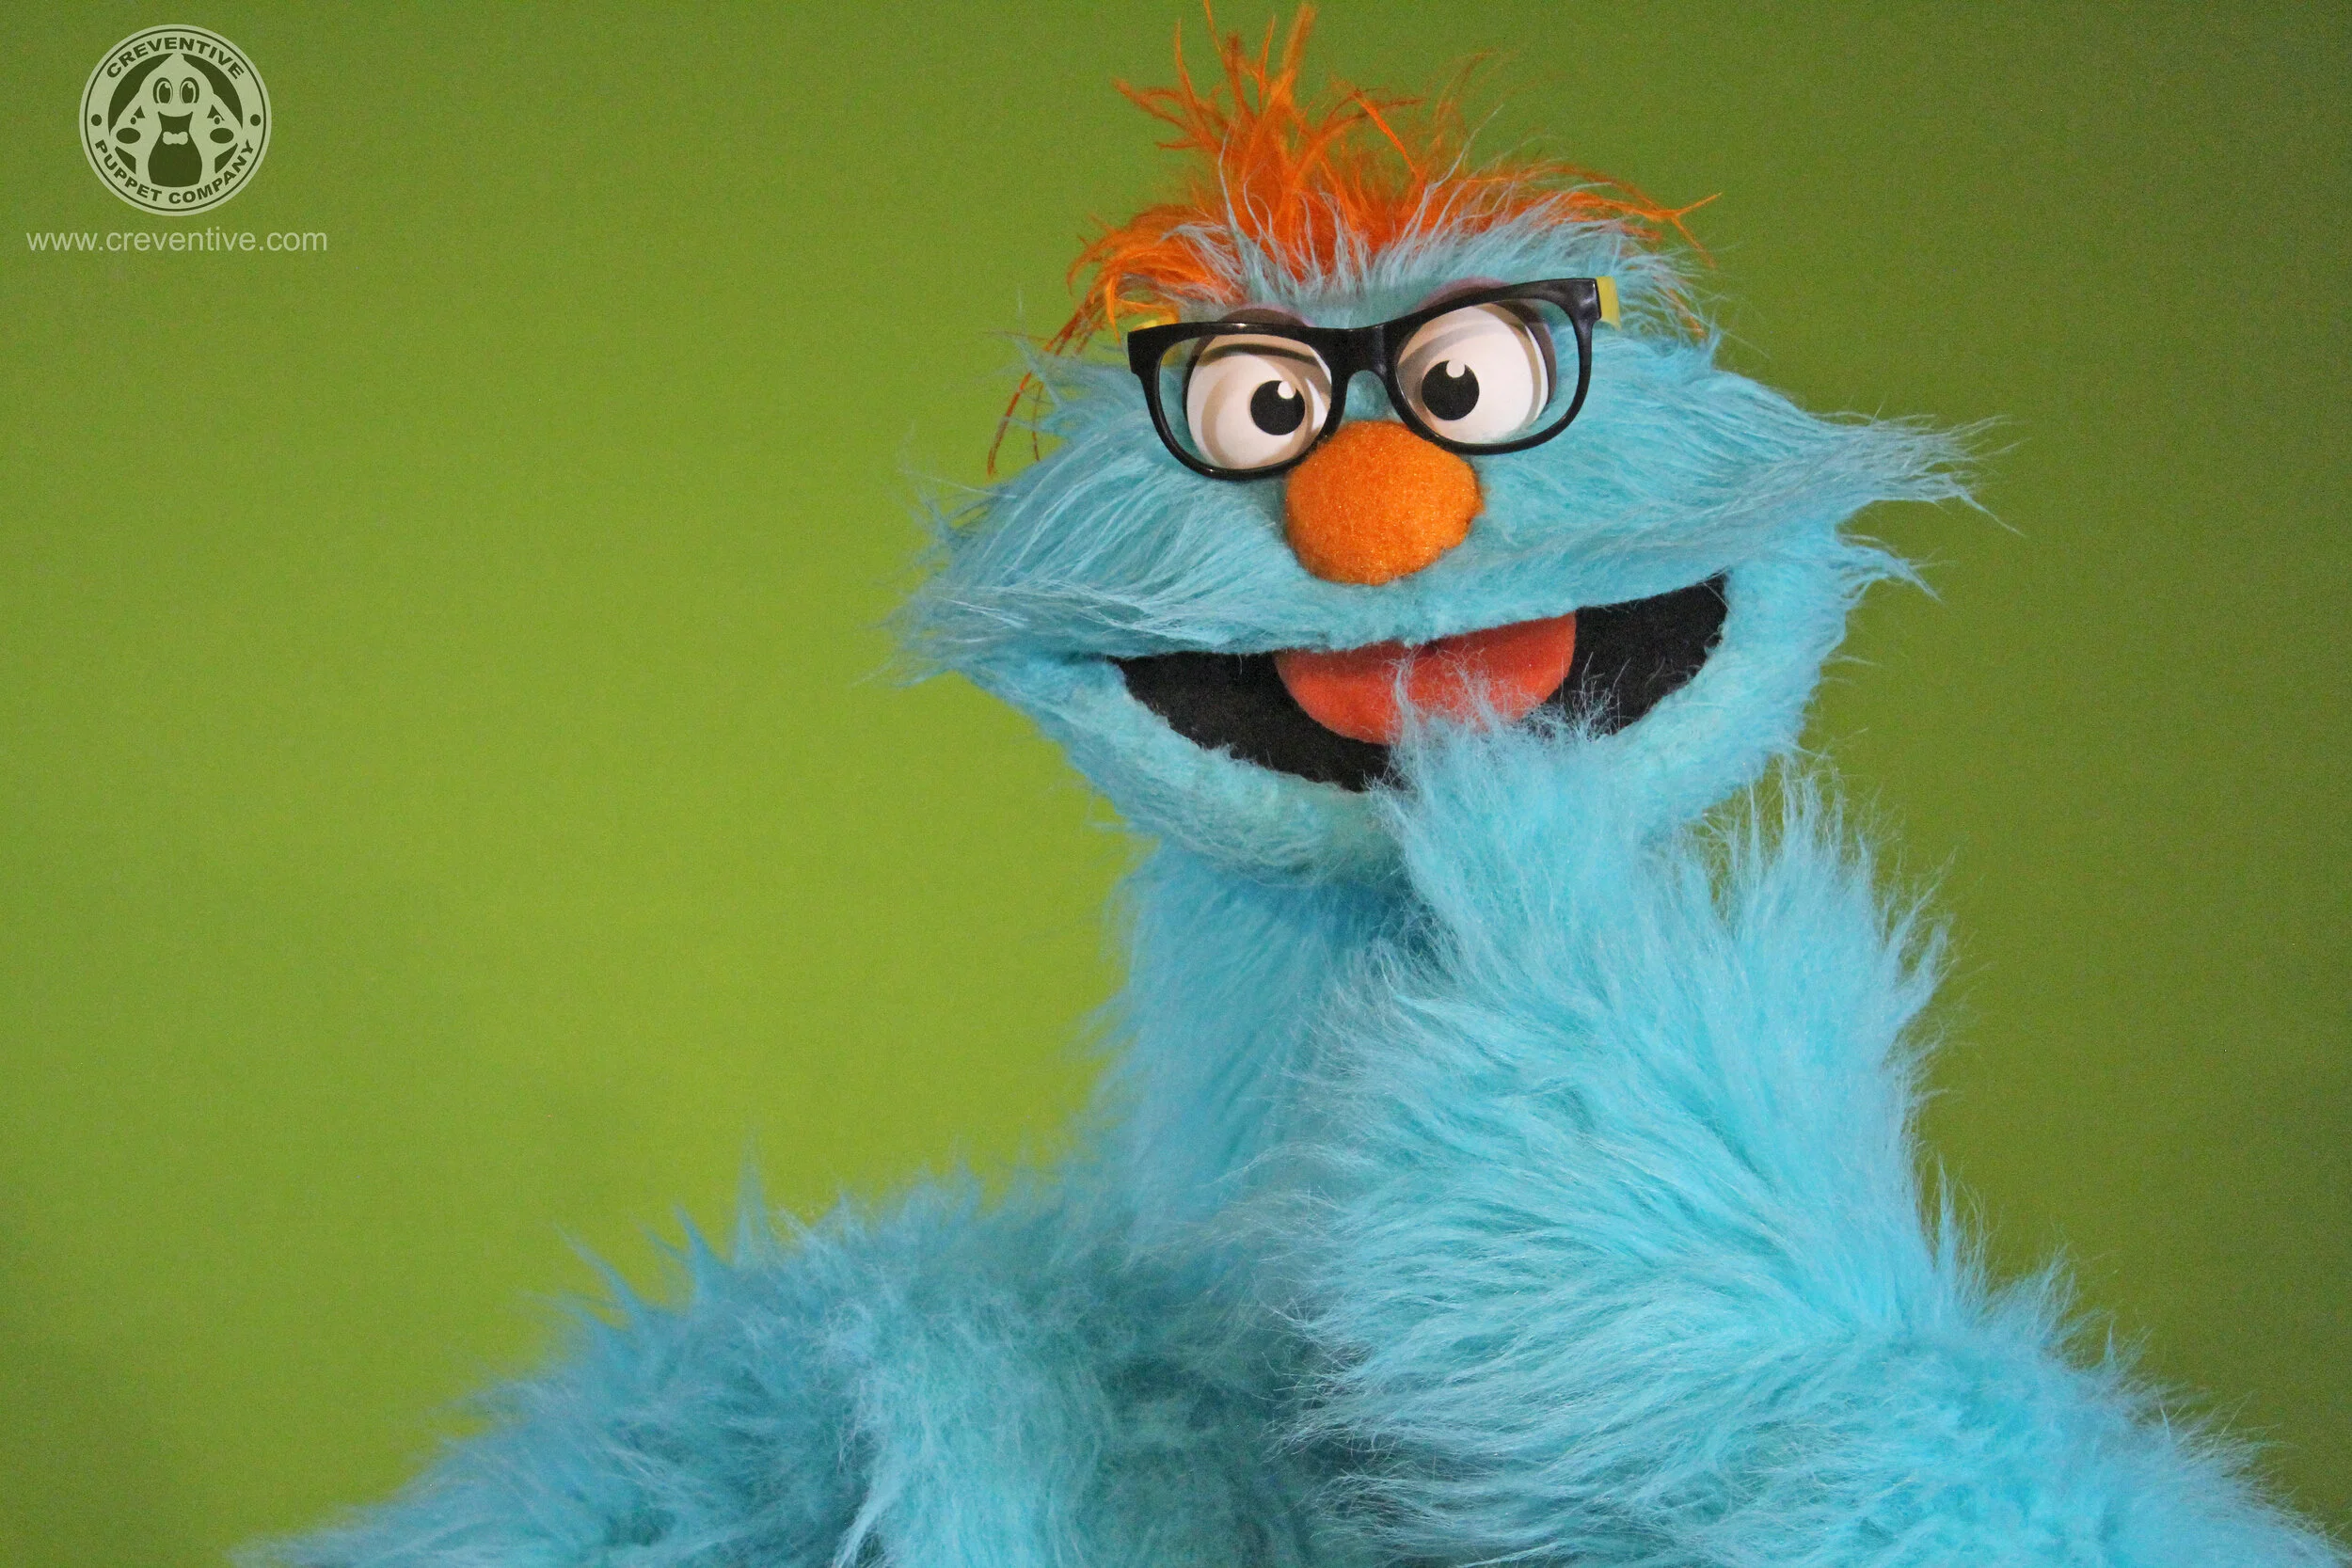
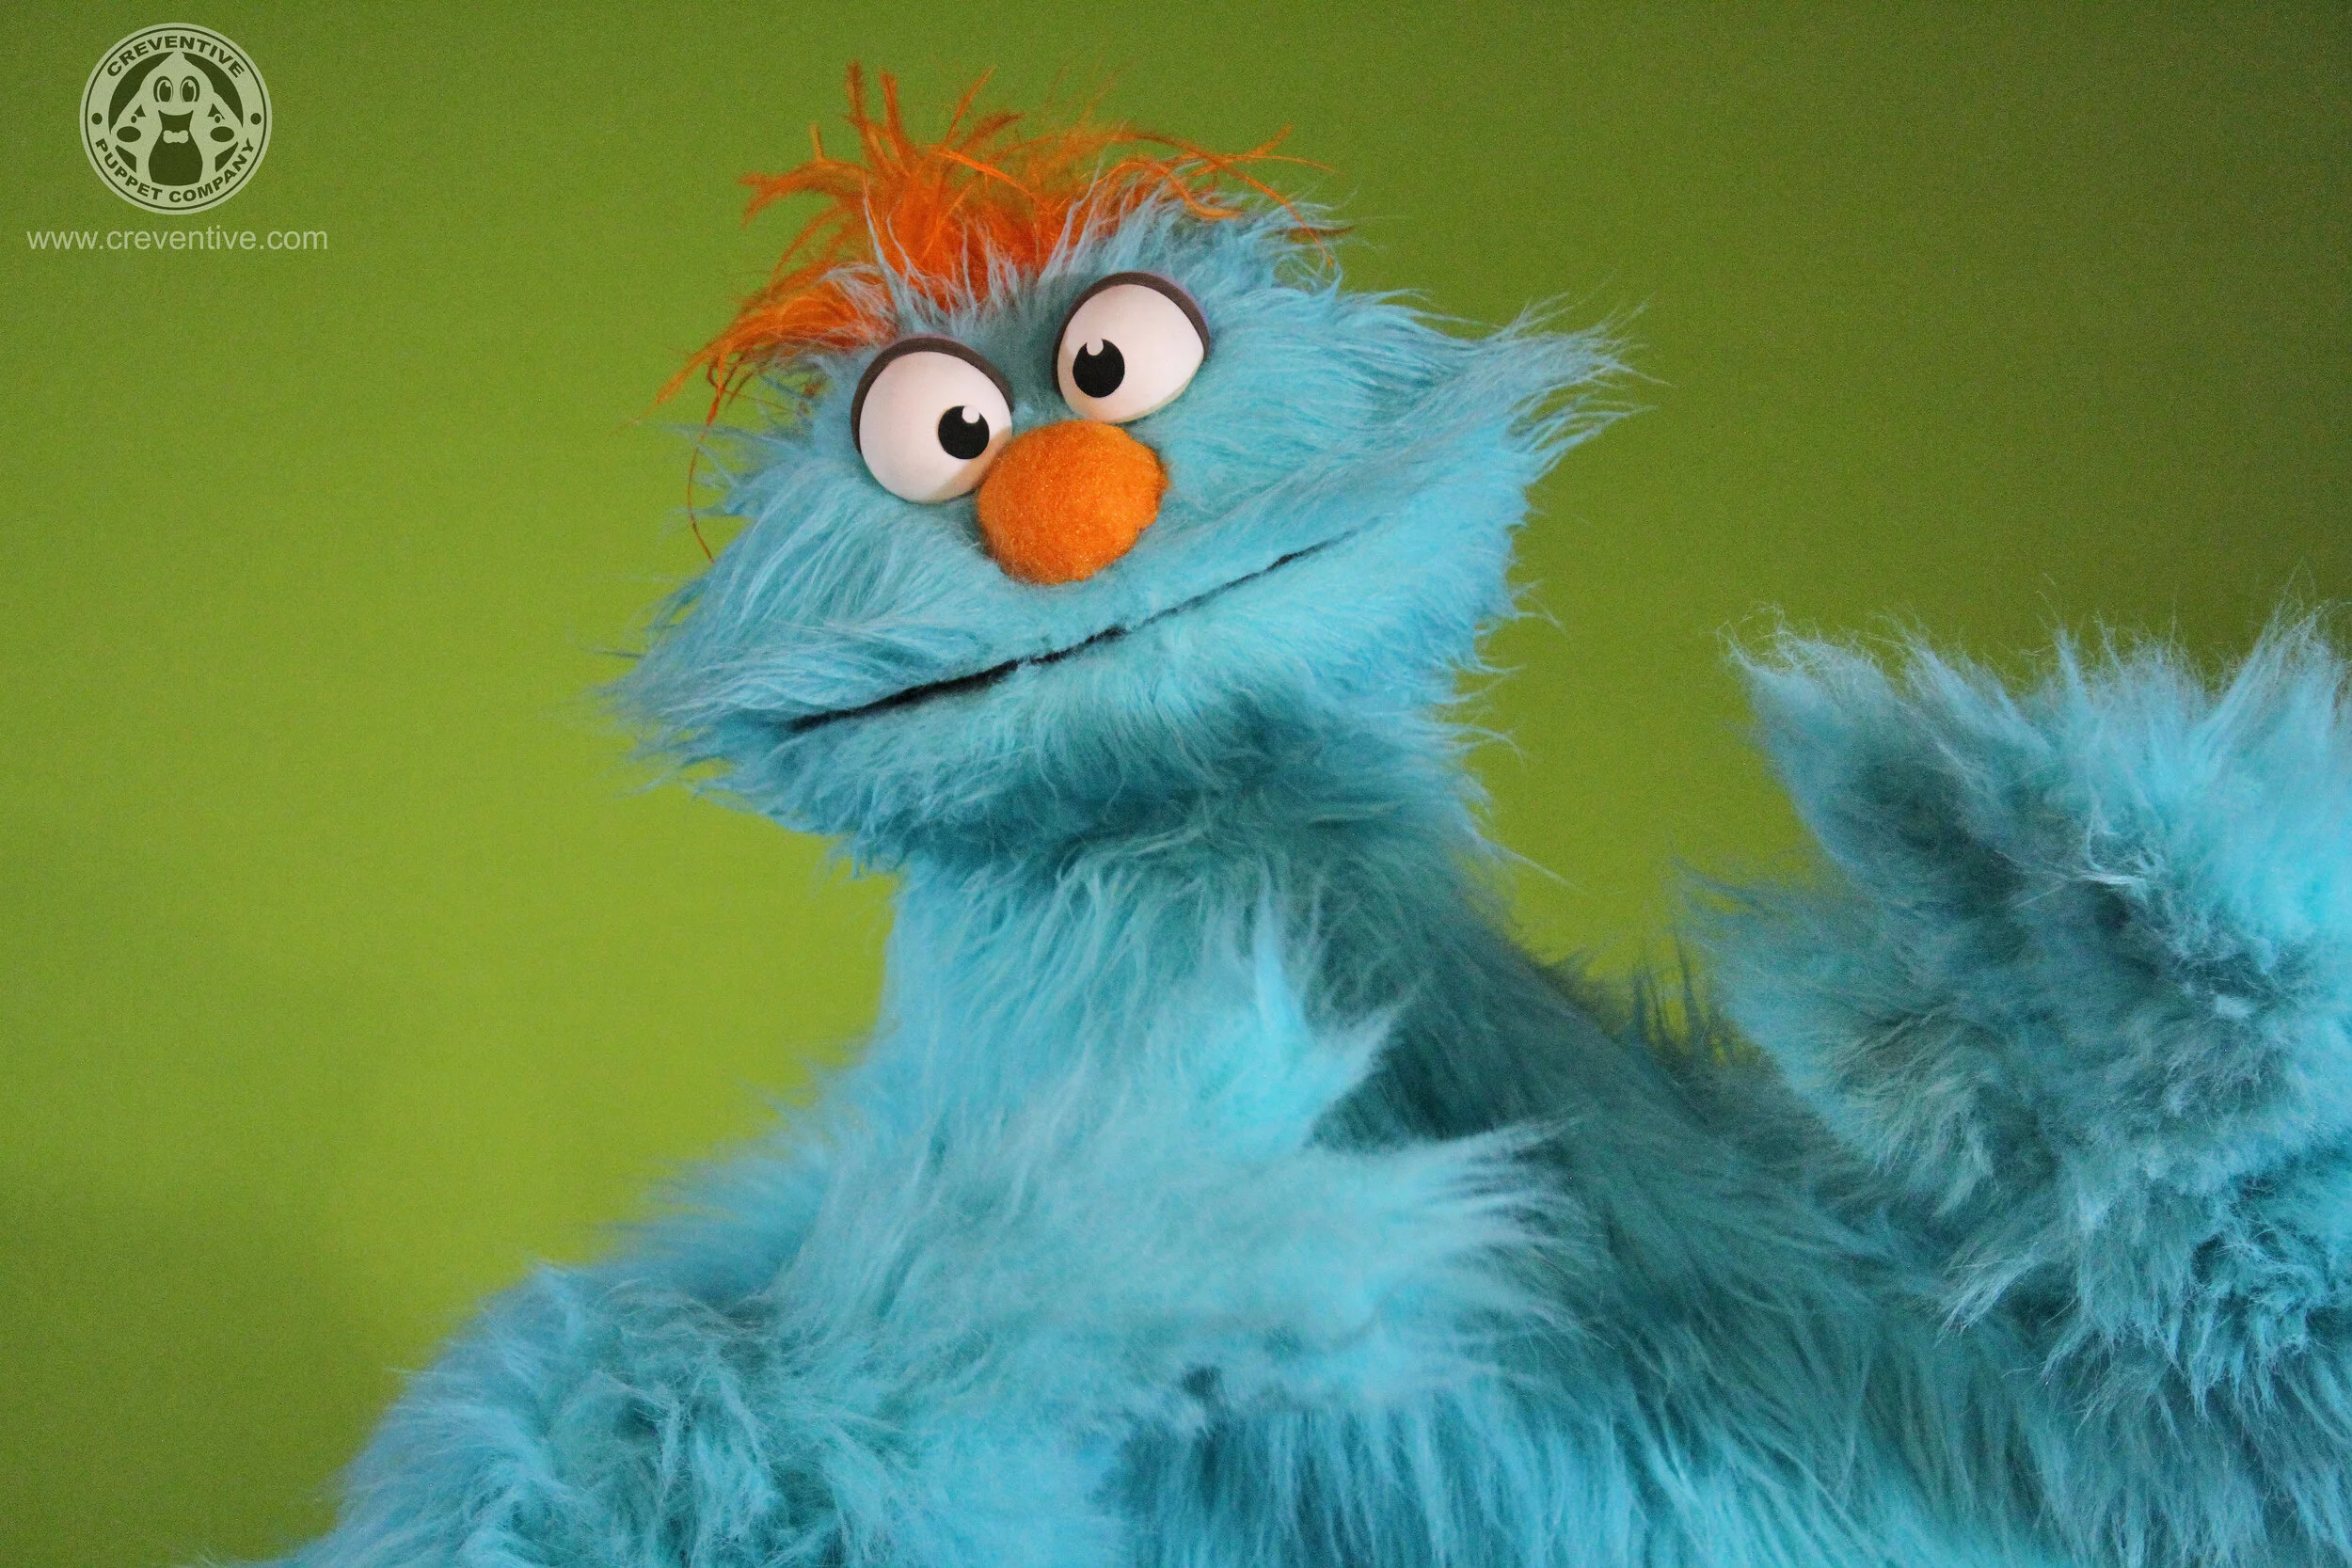
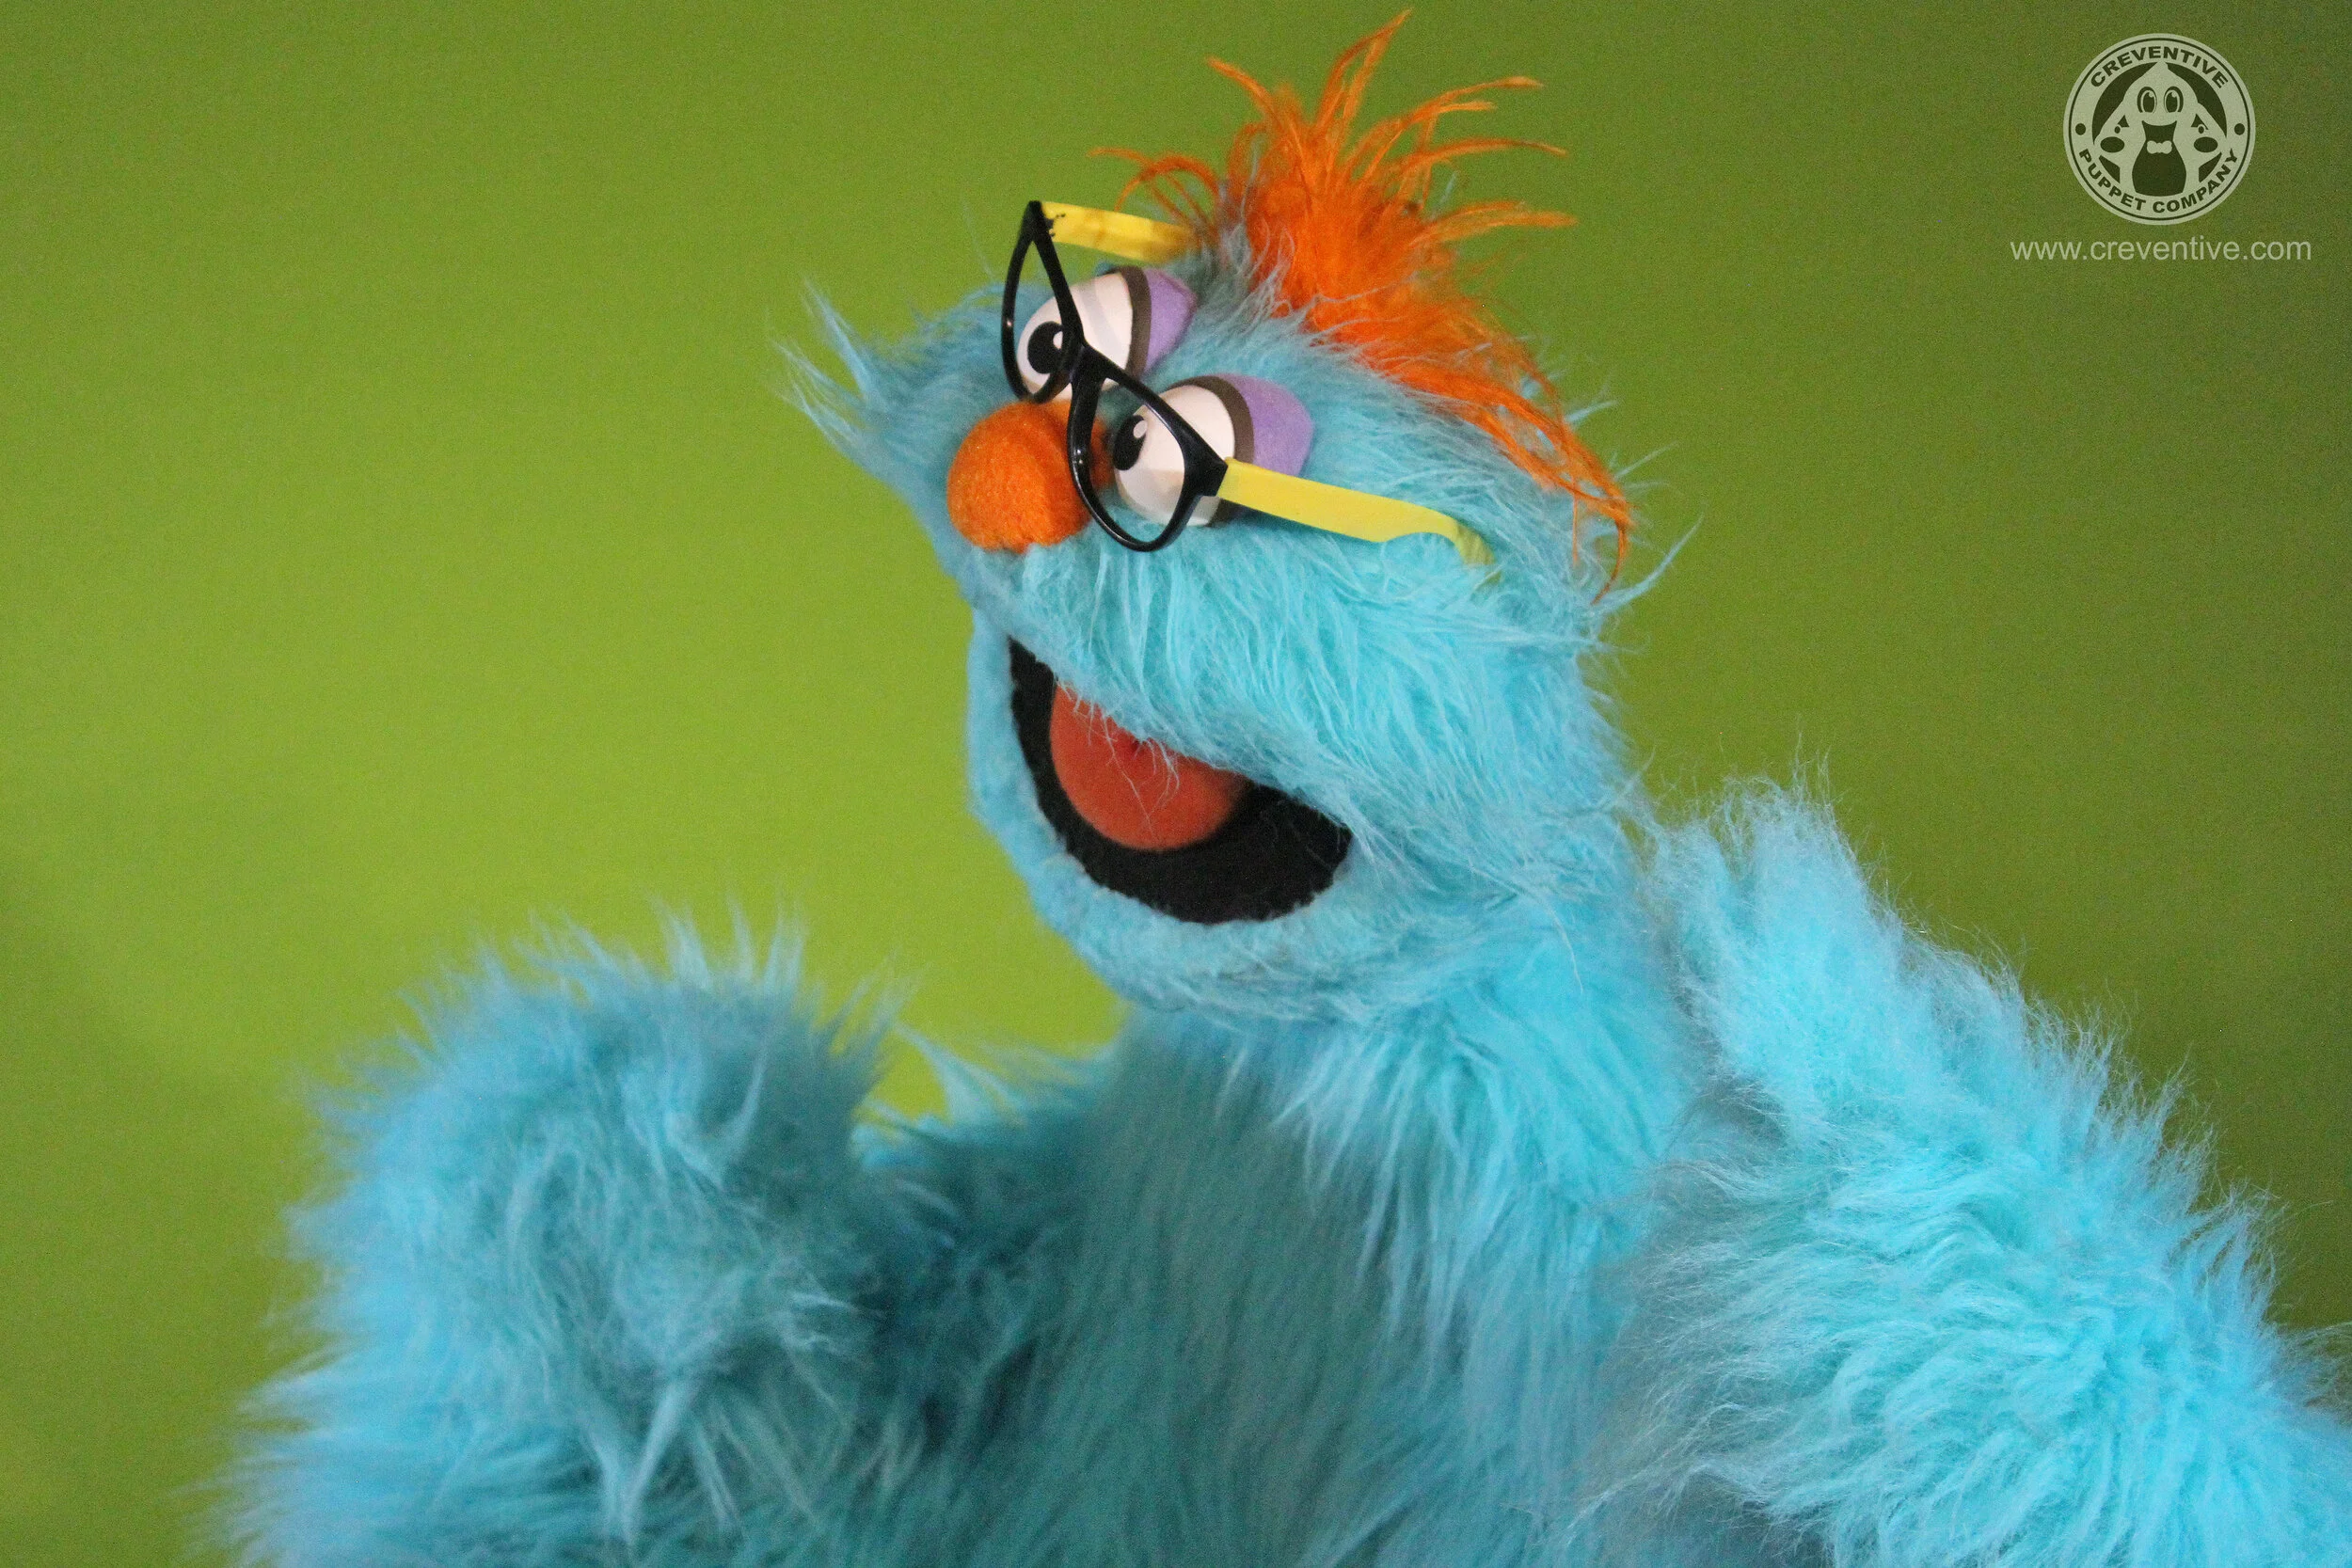
Welcome back to the blog.
Today we’re featuring our latest rental puppet: Dexter. A sack puppet designed and built by Connor Asher.
What’s a rental puppet?
If you don't have the time or budget to have a custom puppet built, you can rent one from our stock for a reasonable daily rate.
Our rental puppets can be customized to fit the needs of your project. Whether its an individual character or a full cast, any and all existing customizations are possible to be built from our own minds directly to your own hands.
As always, contact us here to discuss a quote for your own custom projects!
See him in action now:
Shmoop Hand/Rod Puppet - Rental for Commercial/film/tv/stage



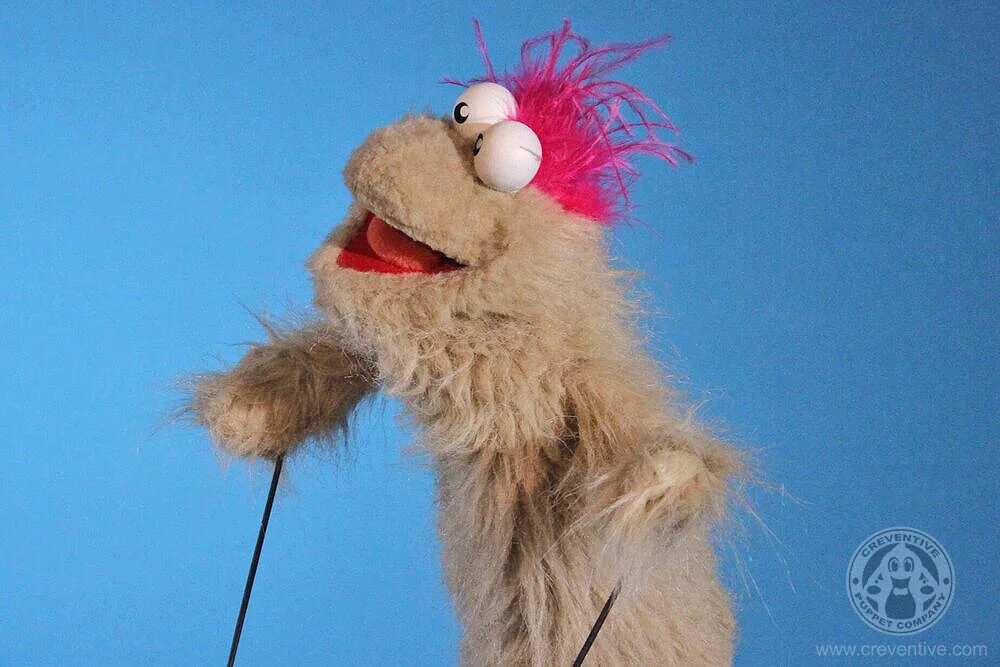
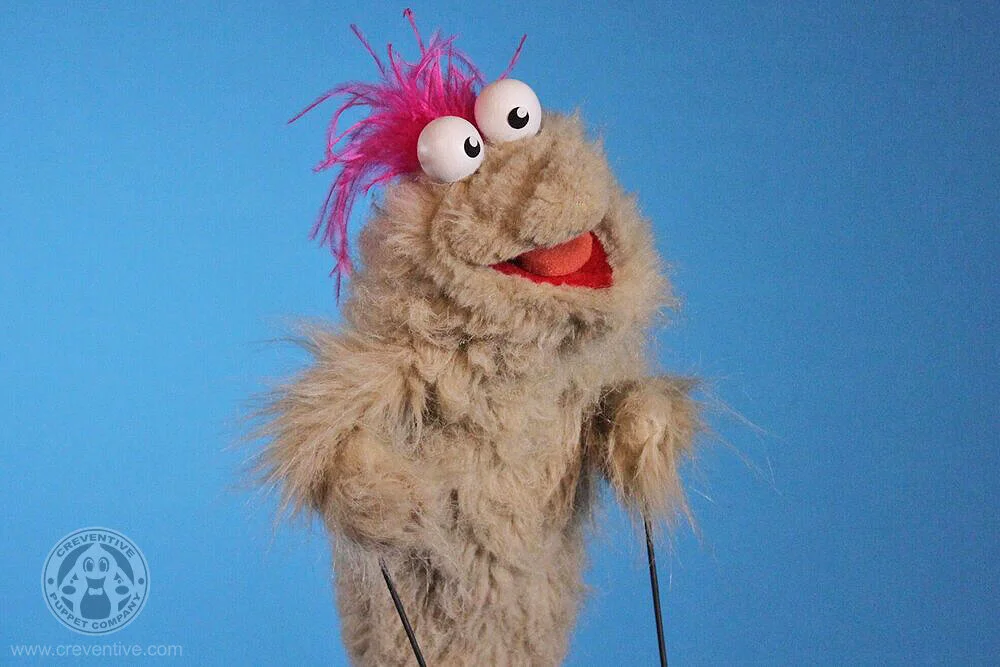


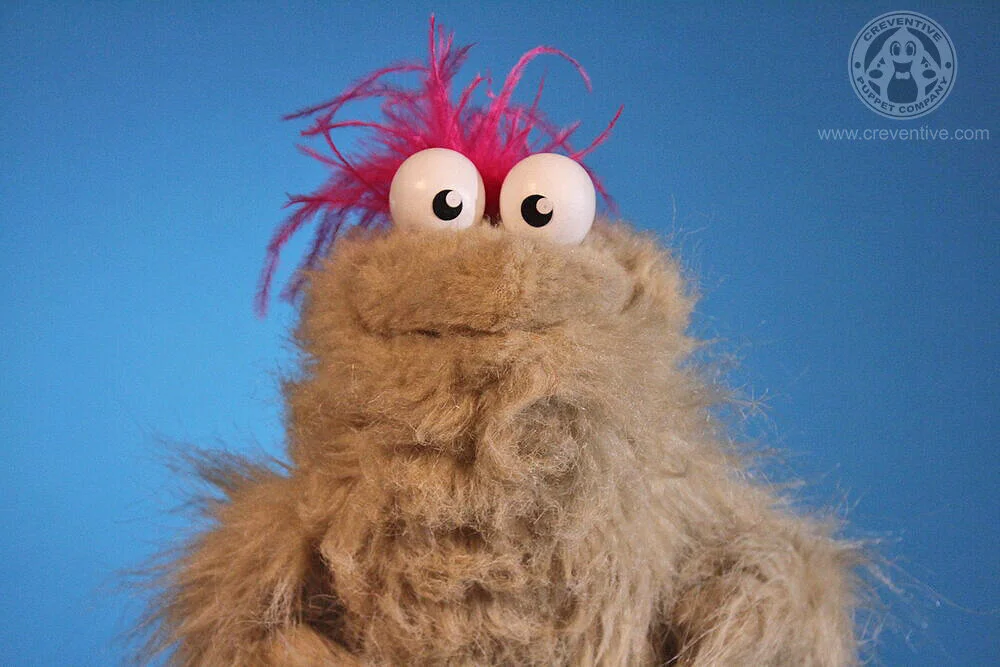
Welcome back to the blog.
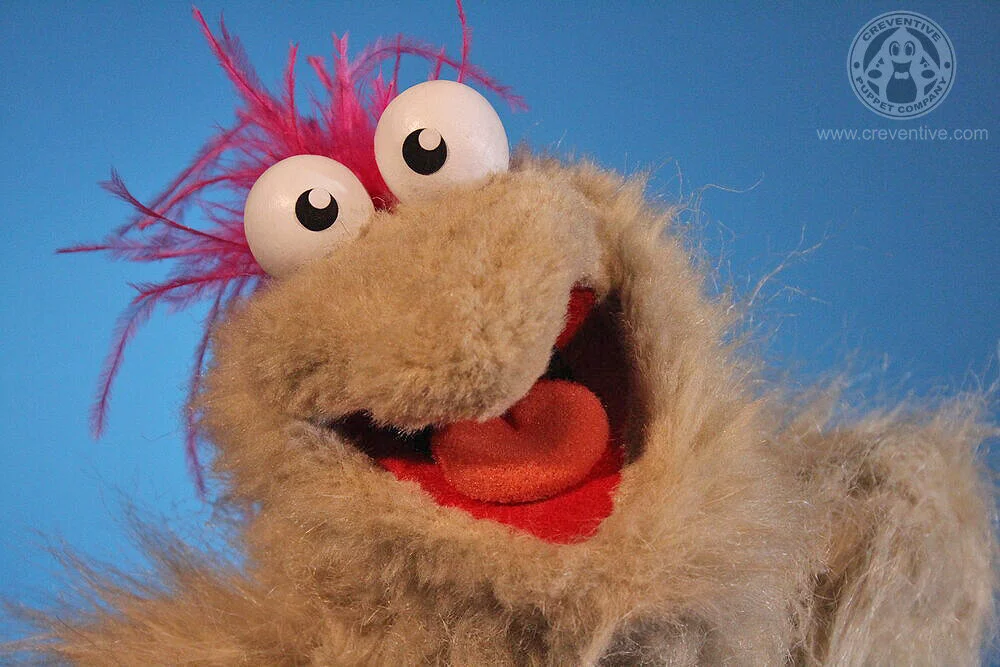
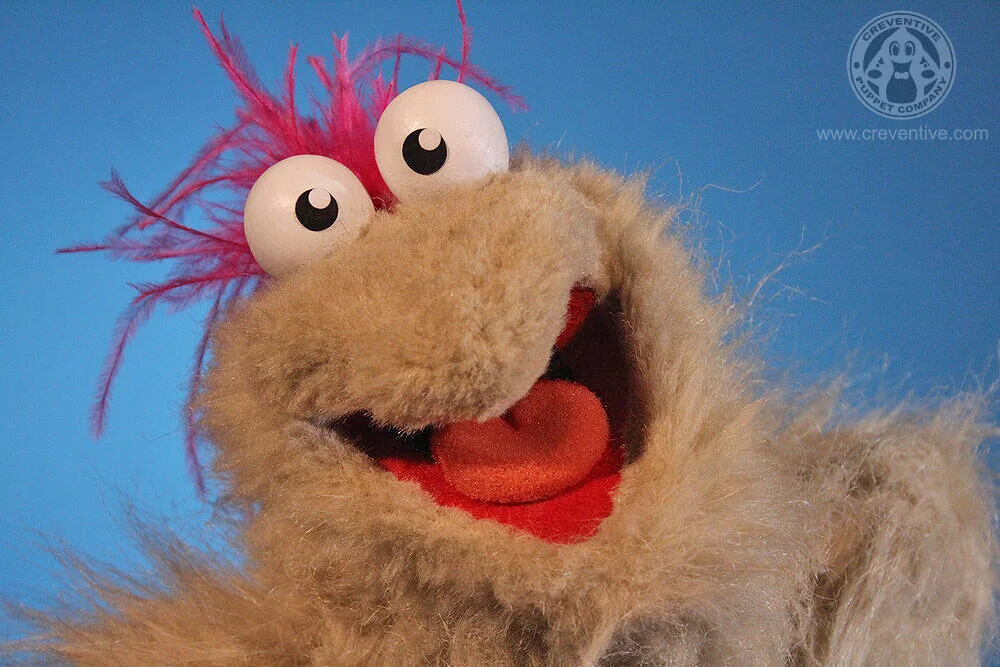
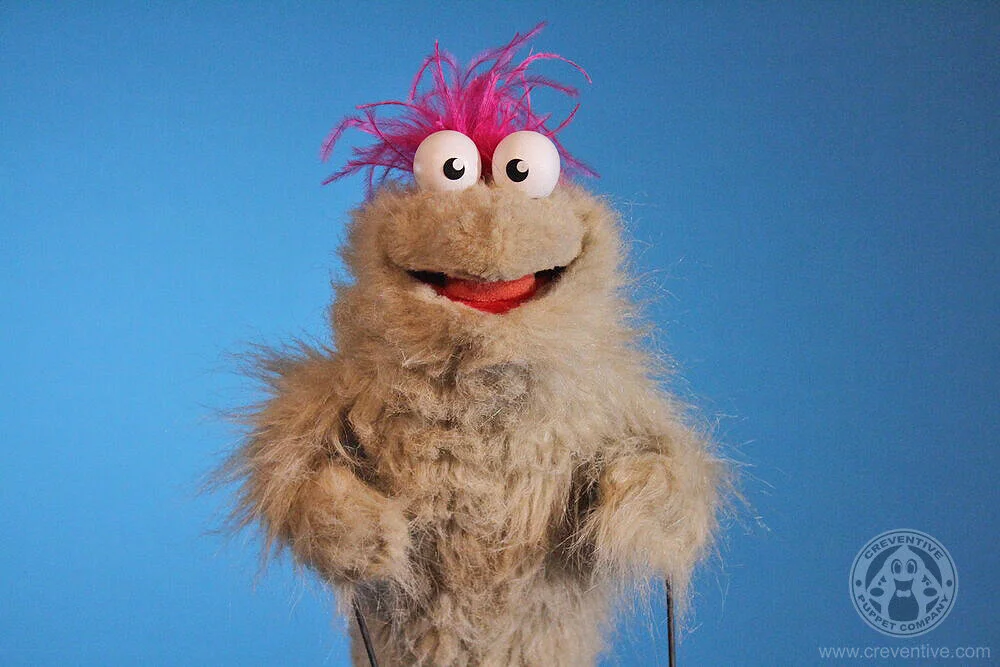
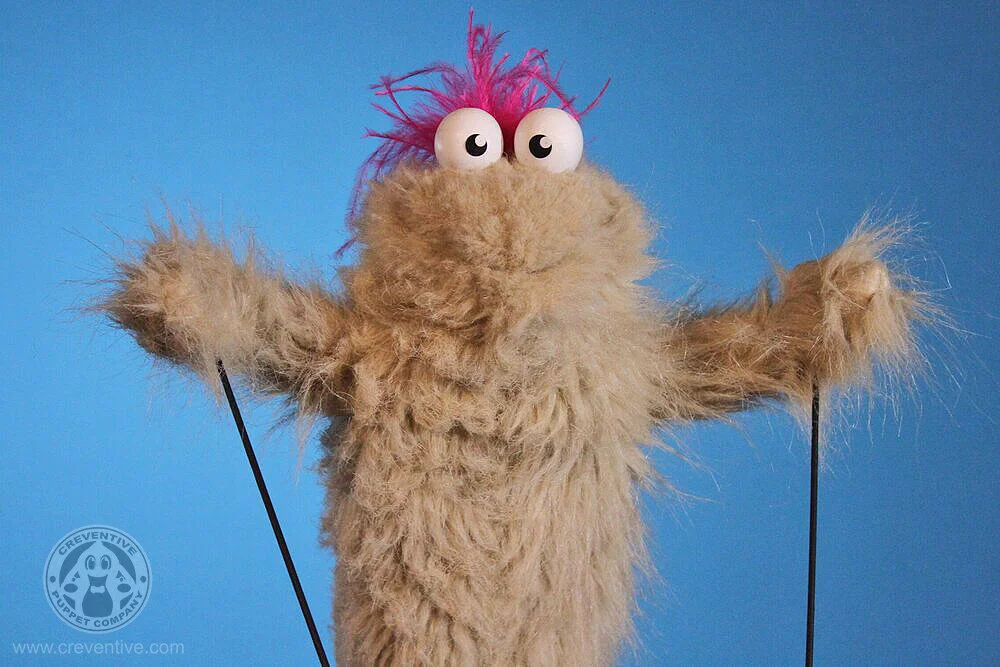
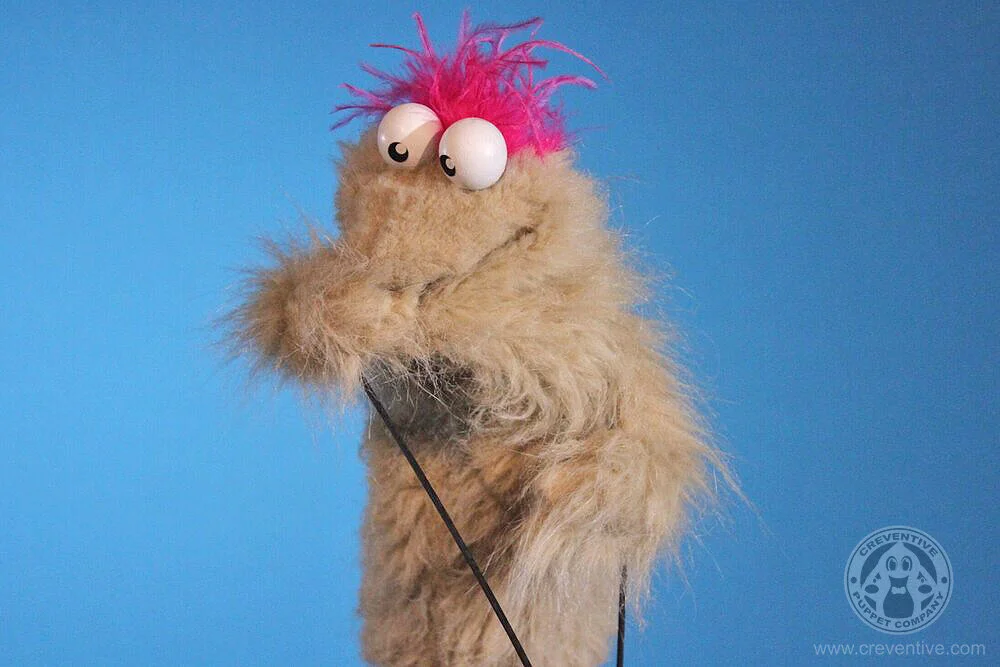
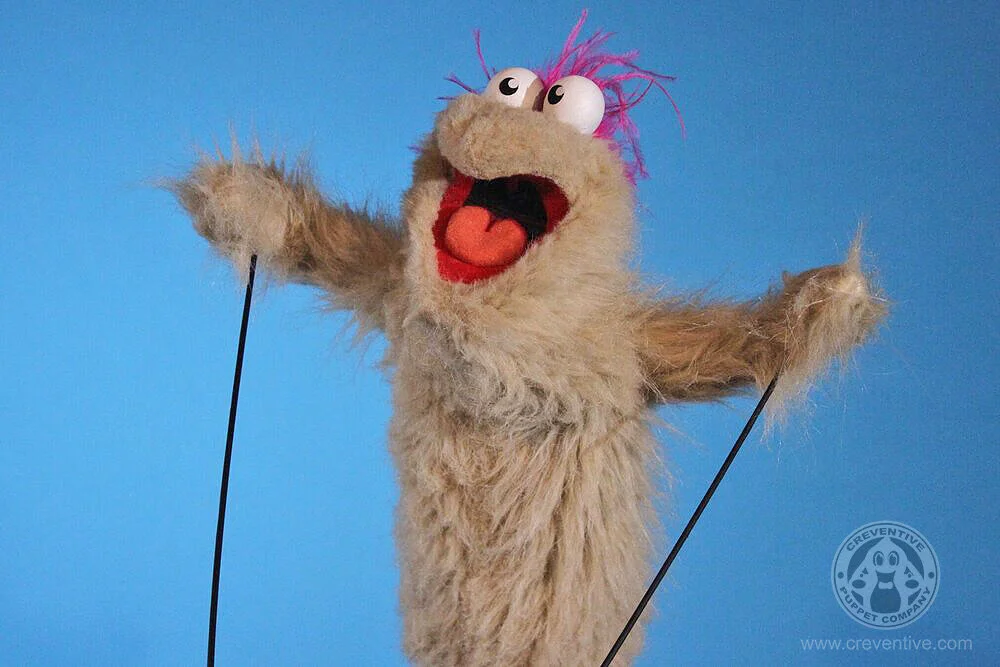
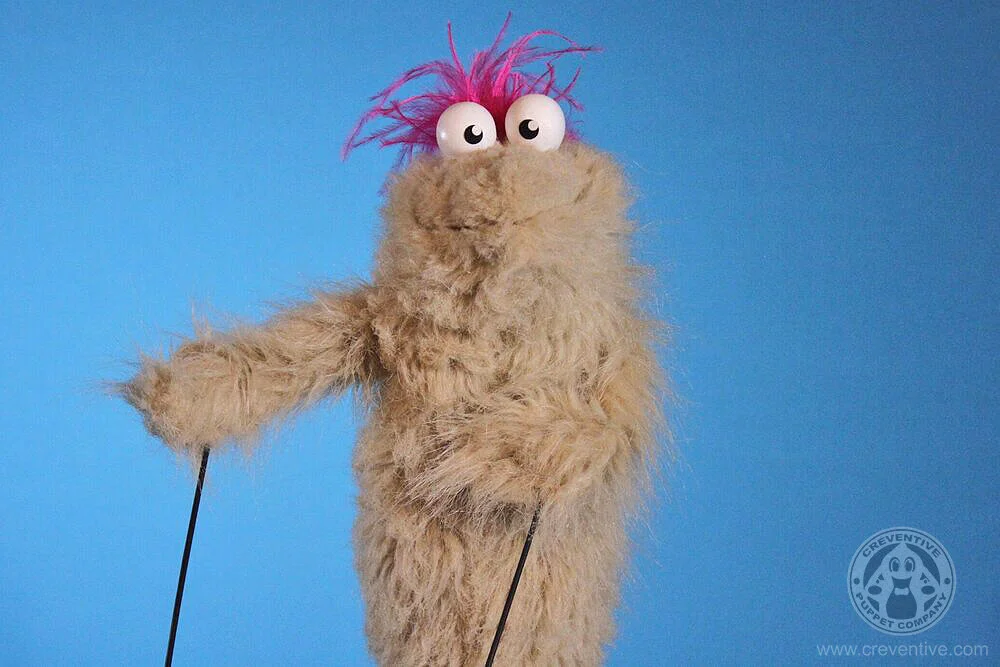
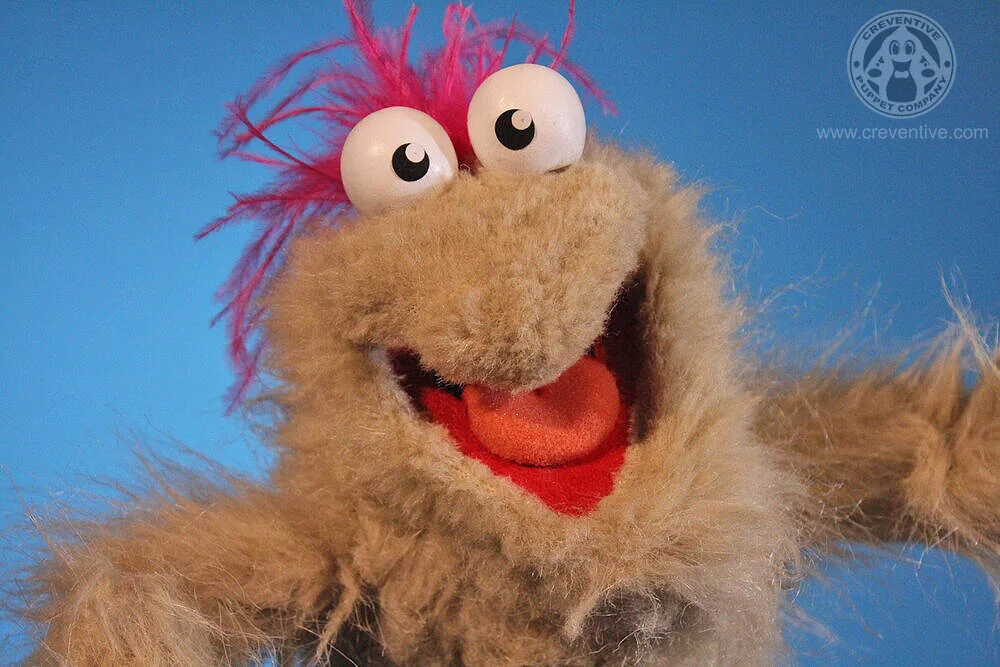
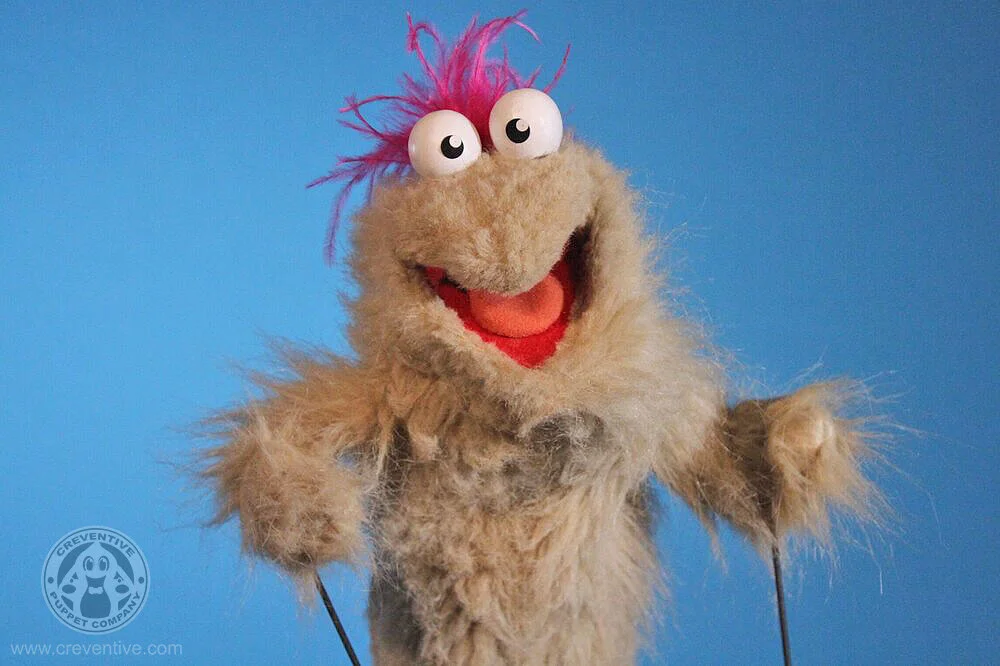
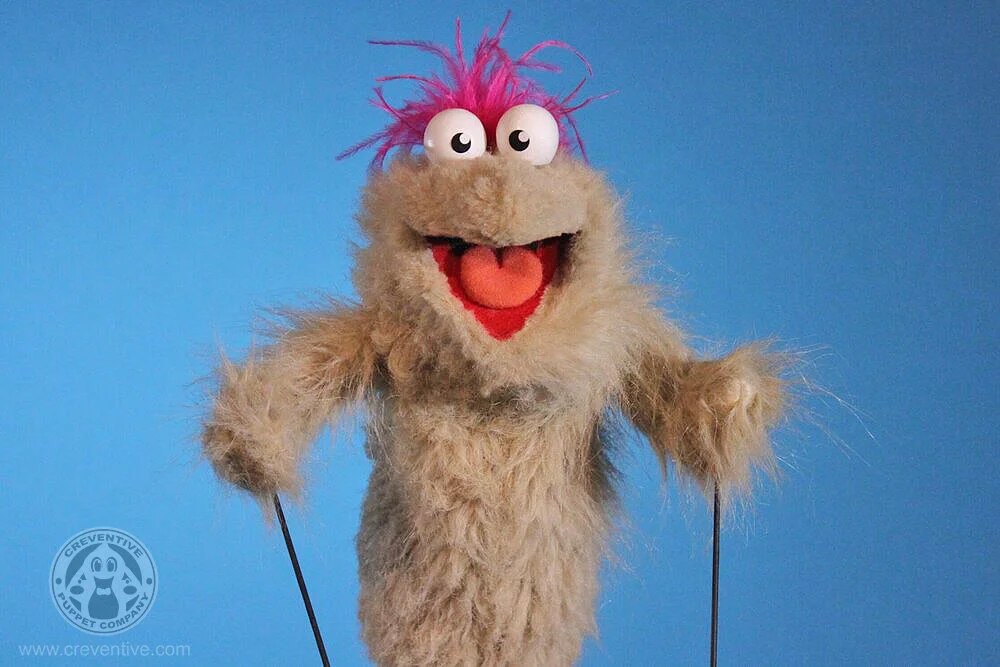
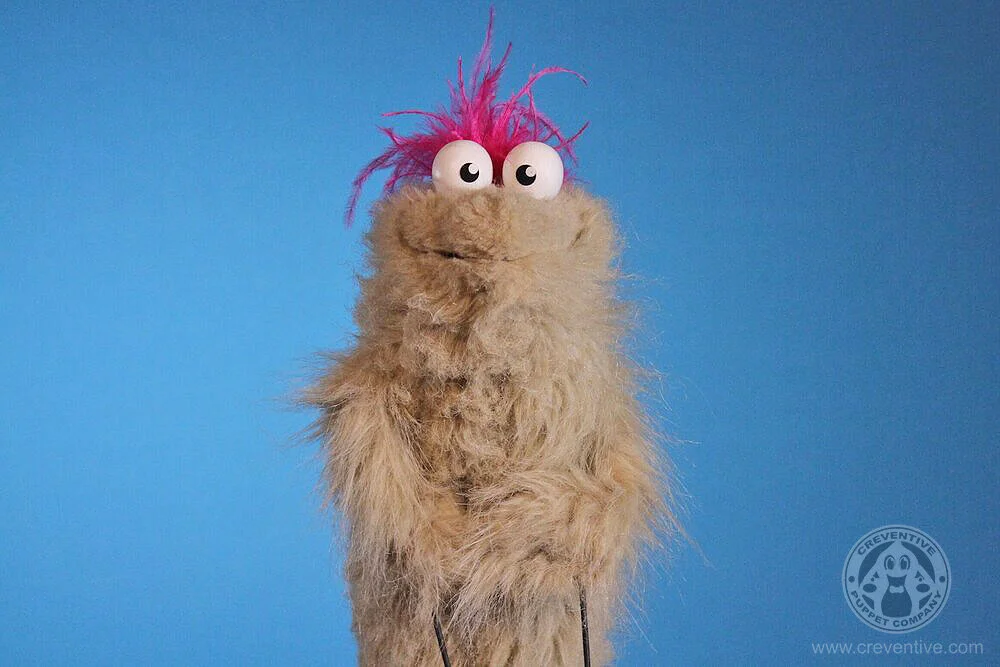
Today we’re featuring our latest rental puppet: Shmoop. A hand/rod puppet designed and built by Connor Asher.
Built using: Faux fur, gasket rubber, ostrich feathers, felt, velvet, wooden spheres.
What’s a rental puppet?
If you don't have the time or budget to have a custom puppet built, you can rent one from our stock for a reasonable daily rate.
Our rental puppets can be customized to fit the needs of your project. Whether its an individual character or a full cast, any and all existing customizations are possible to be built from our own minds directly to your own hands.
As always, contact us here to discuss a quote for your own custom projects!
See him in action now:
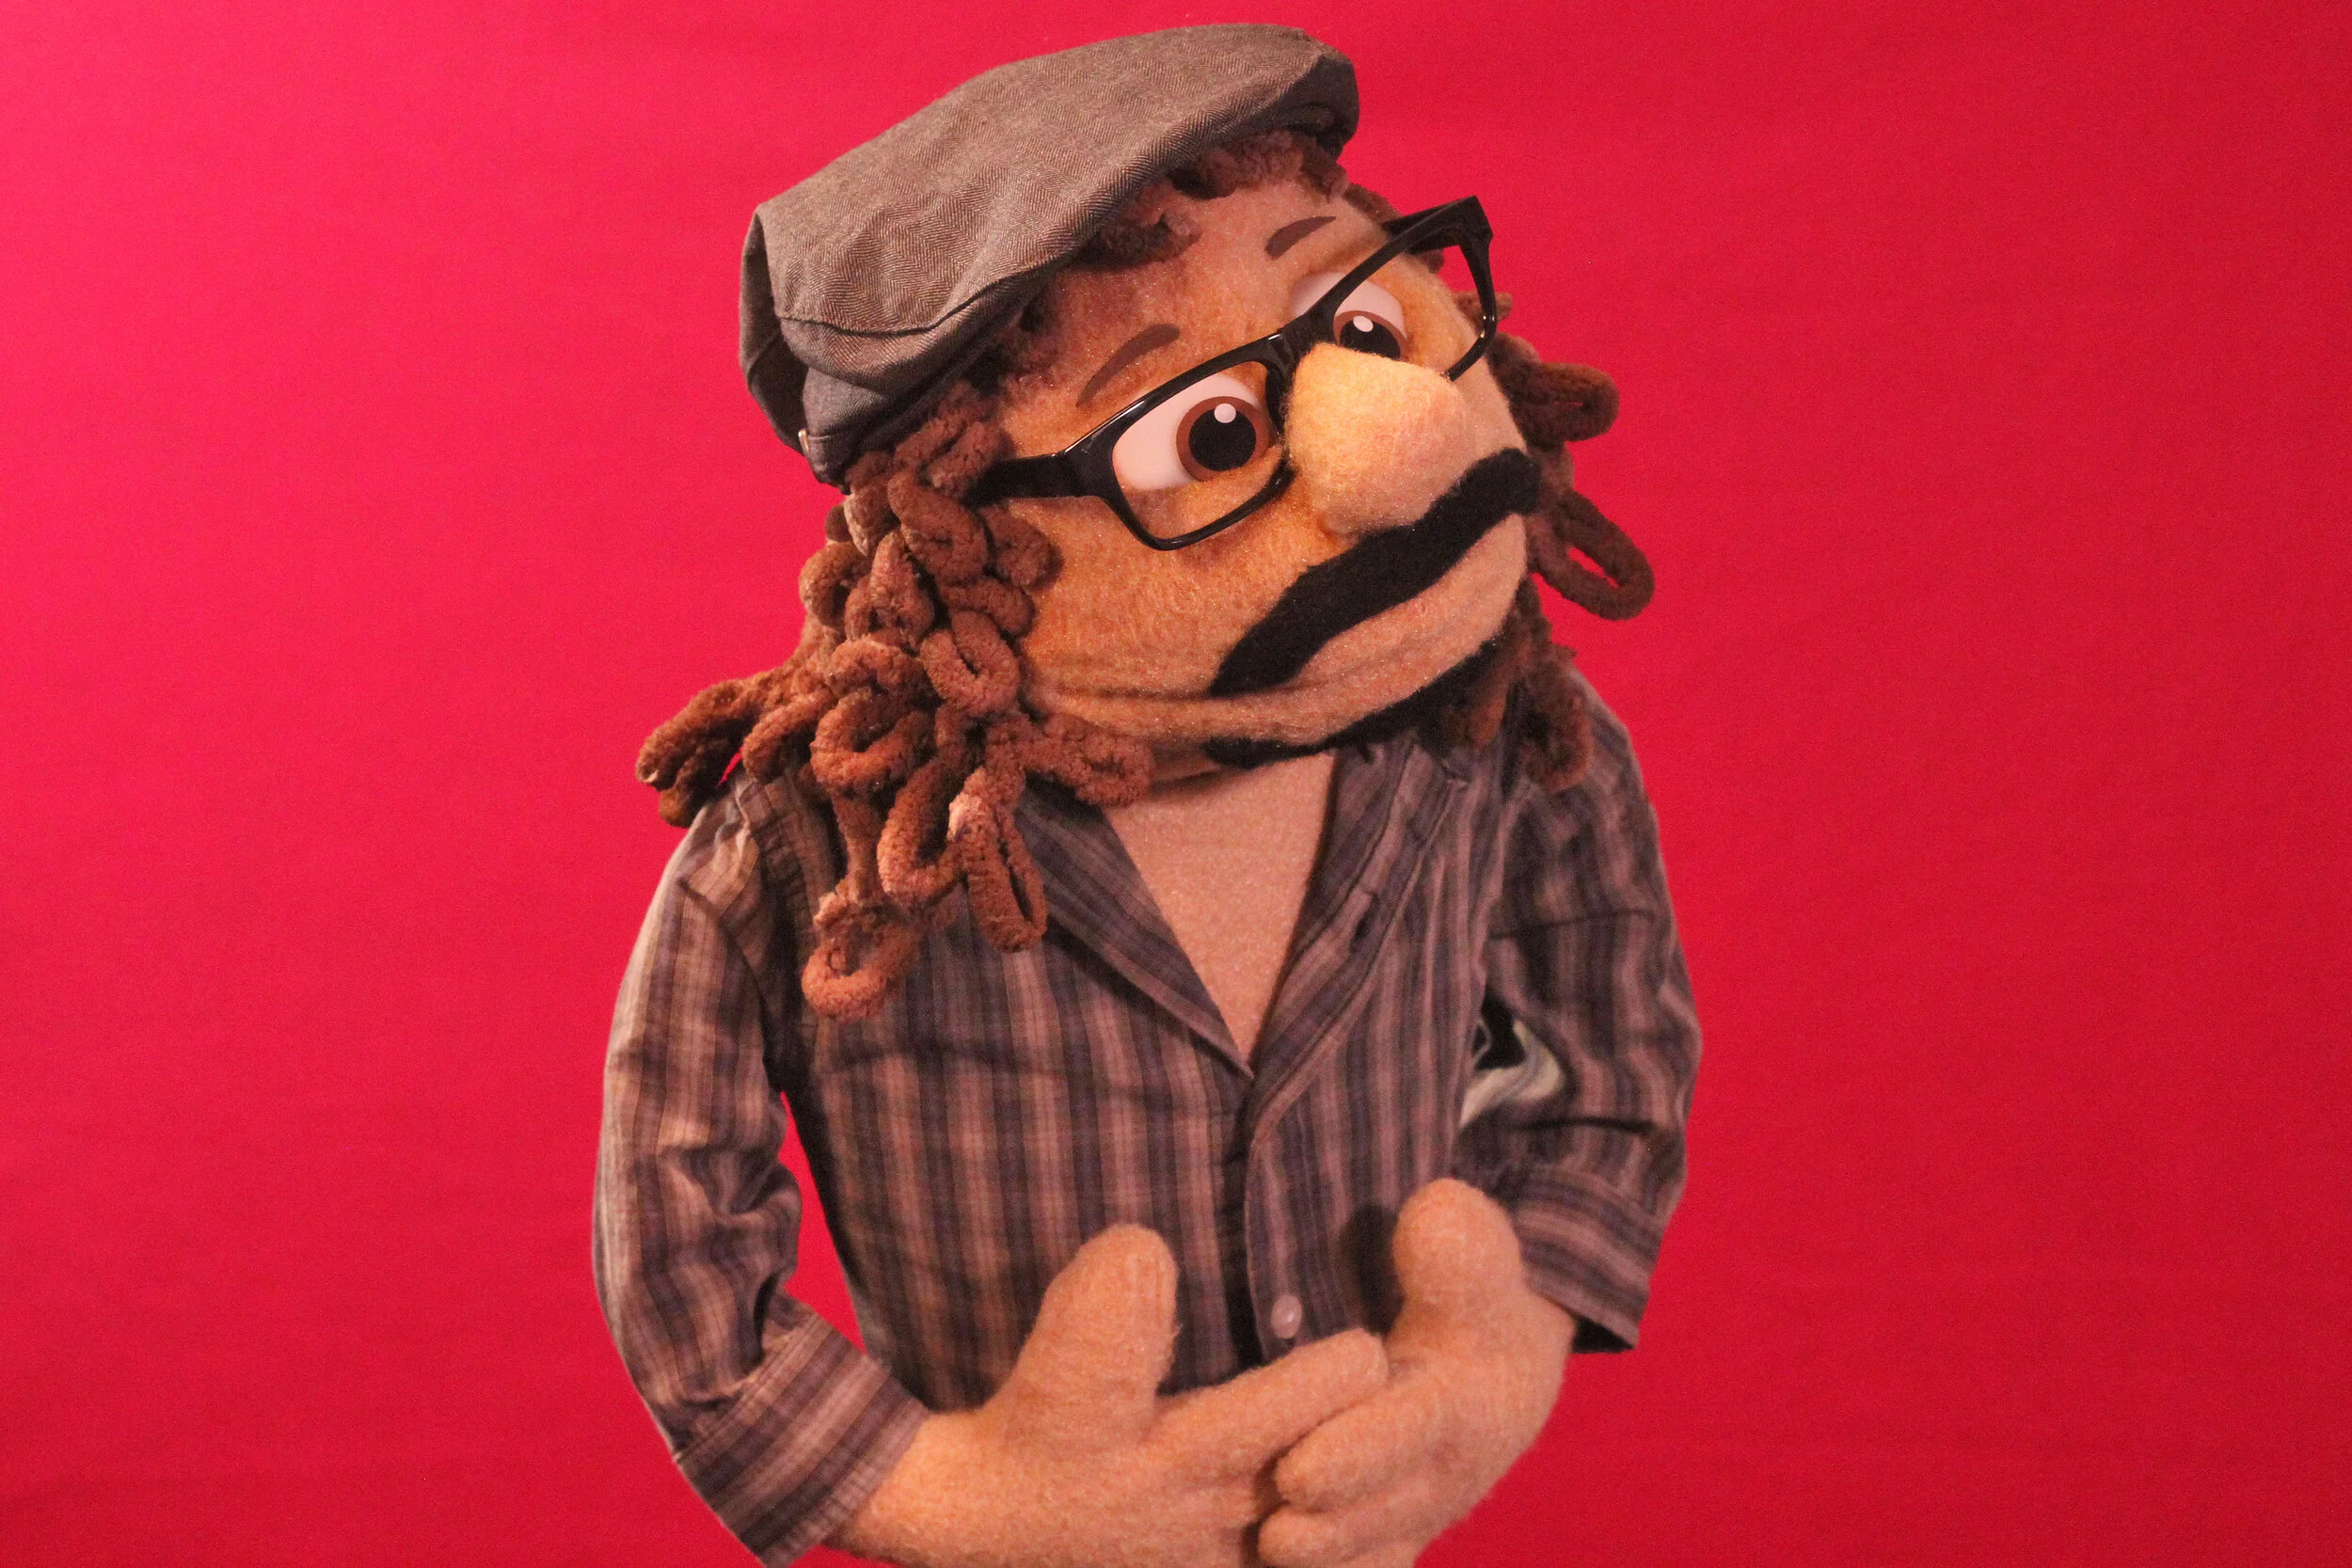
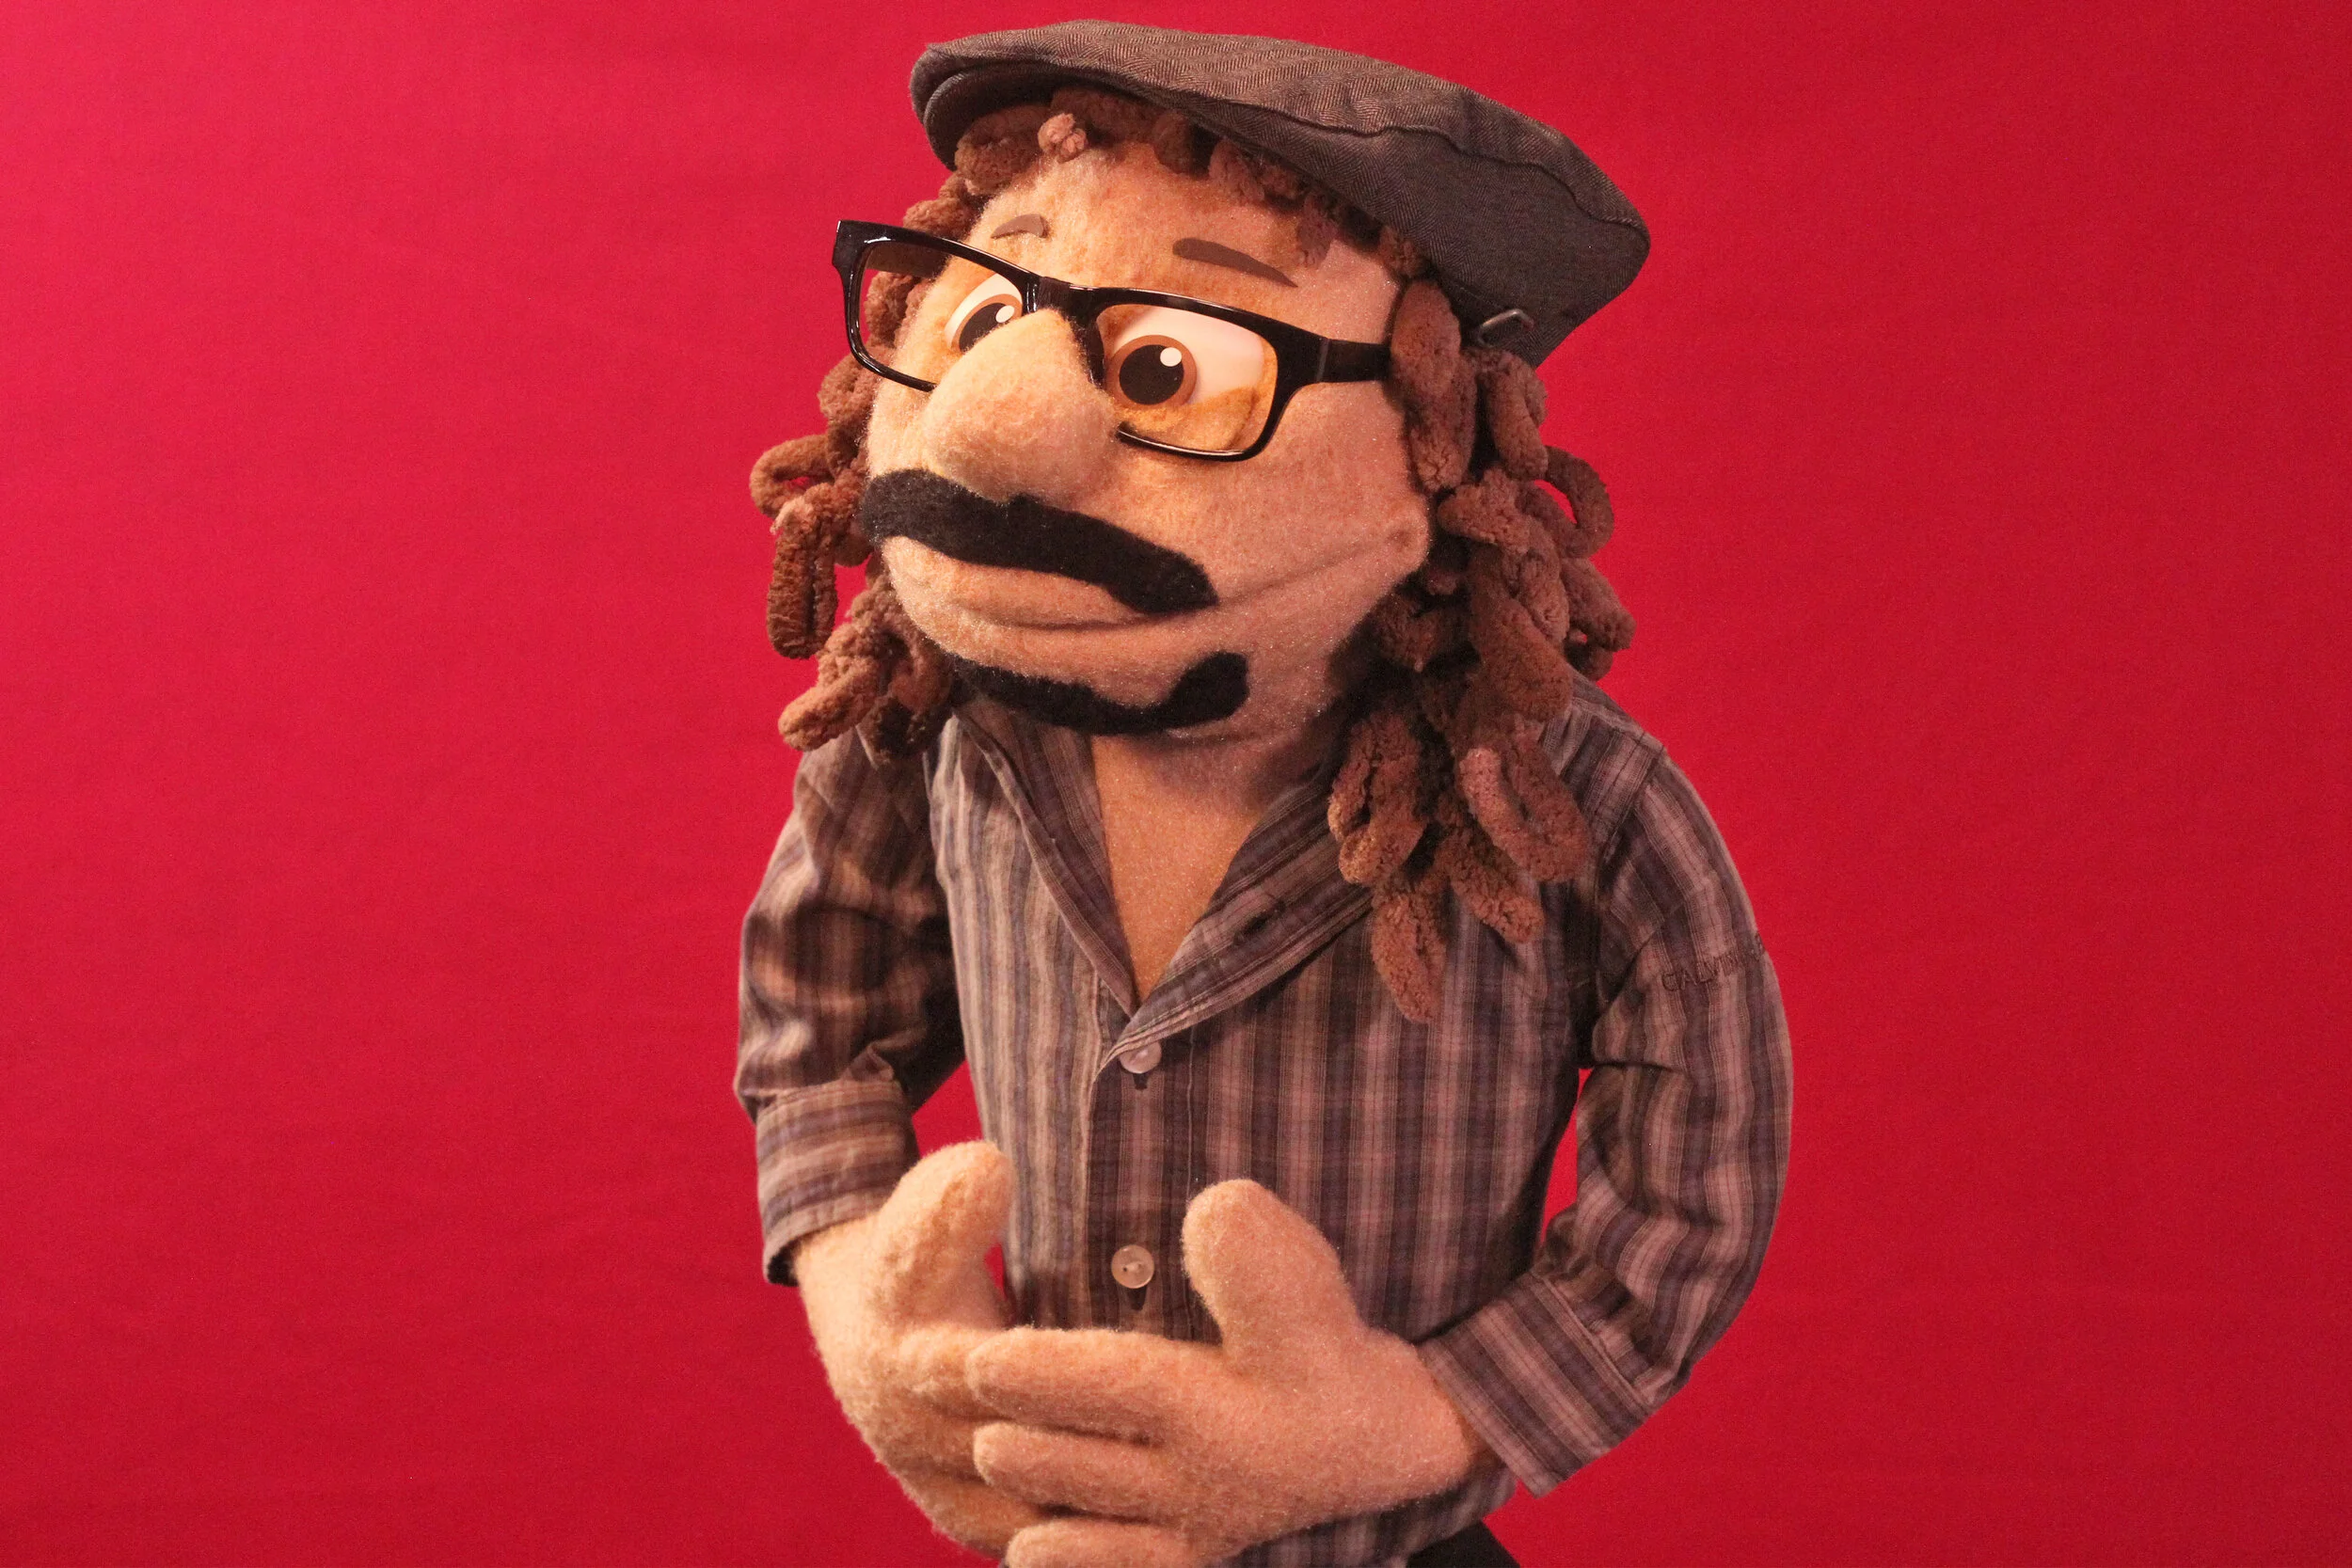
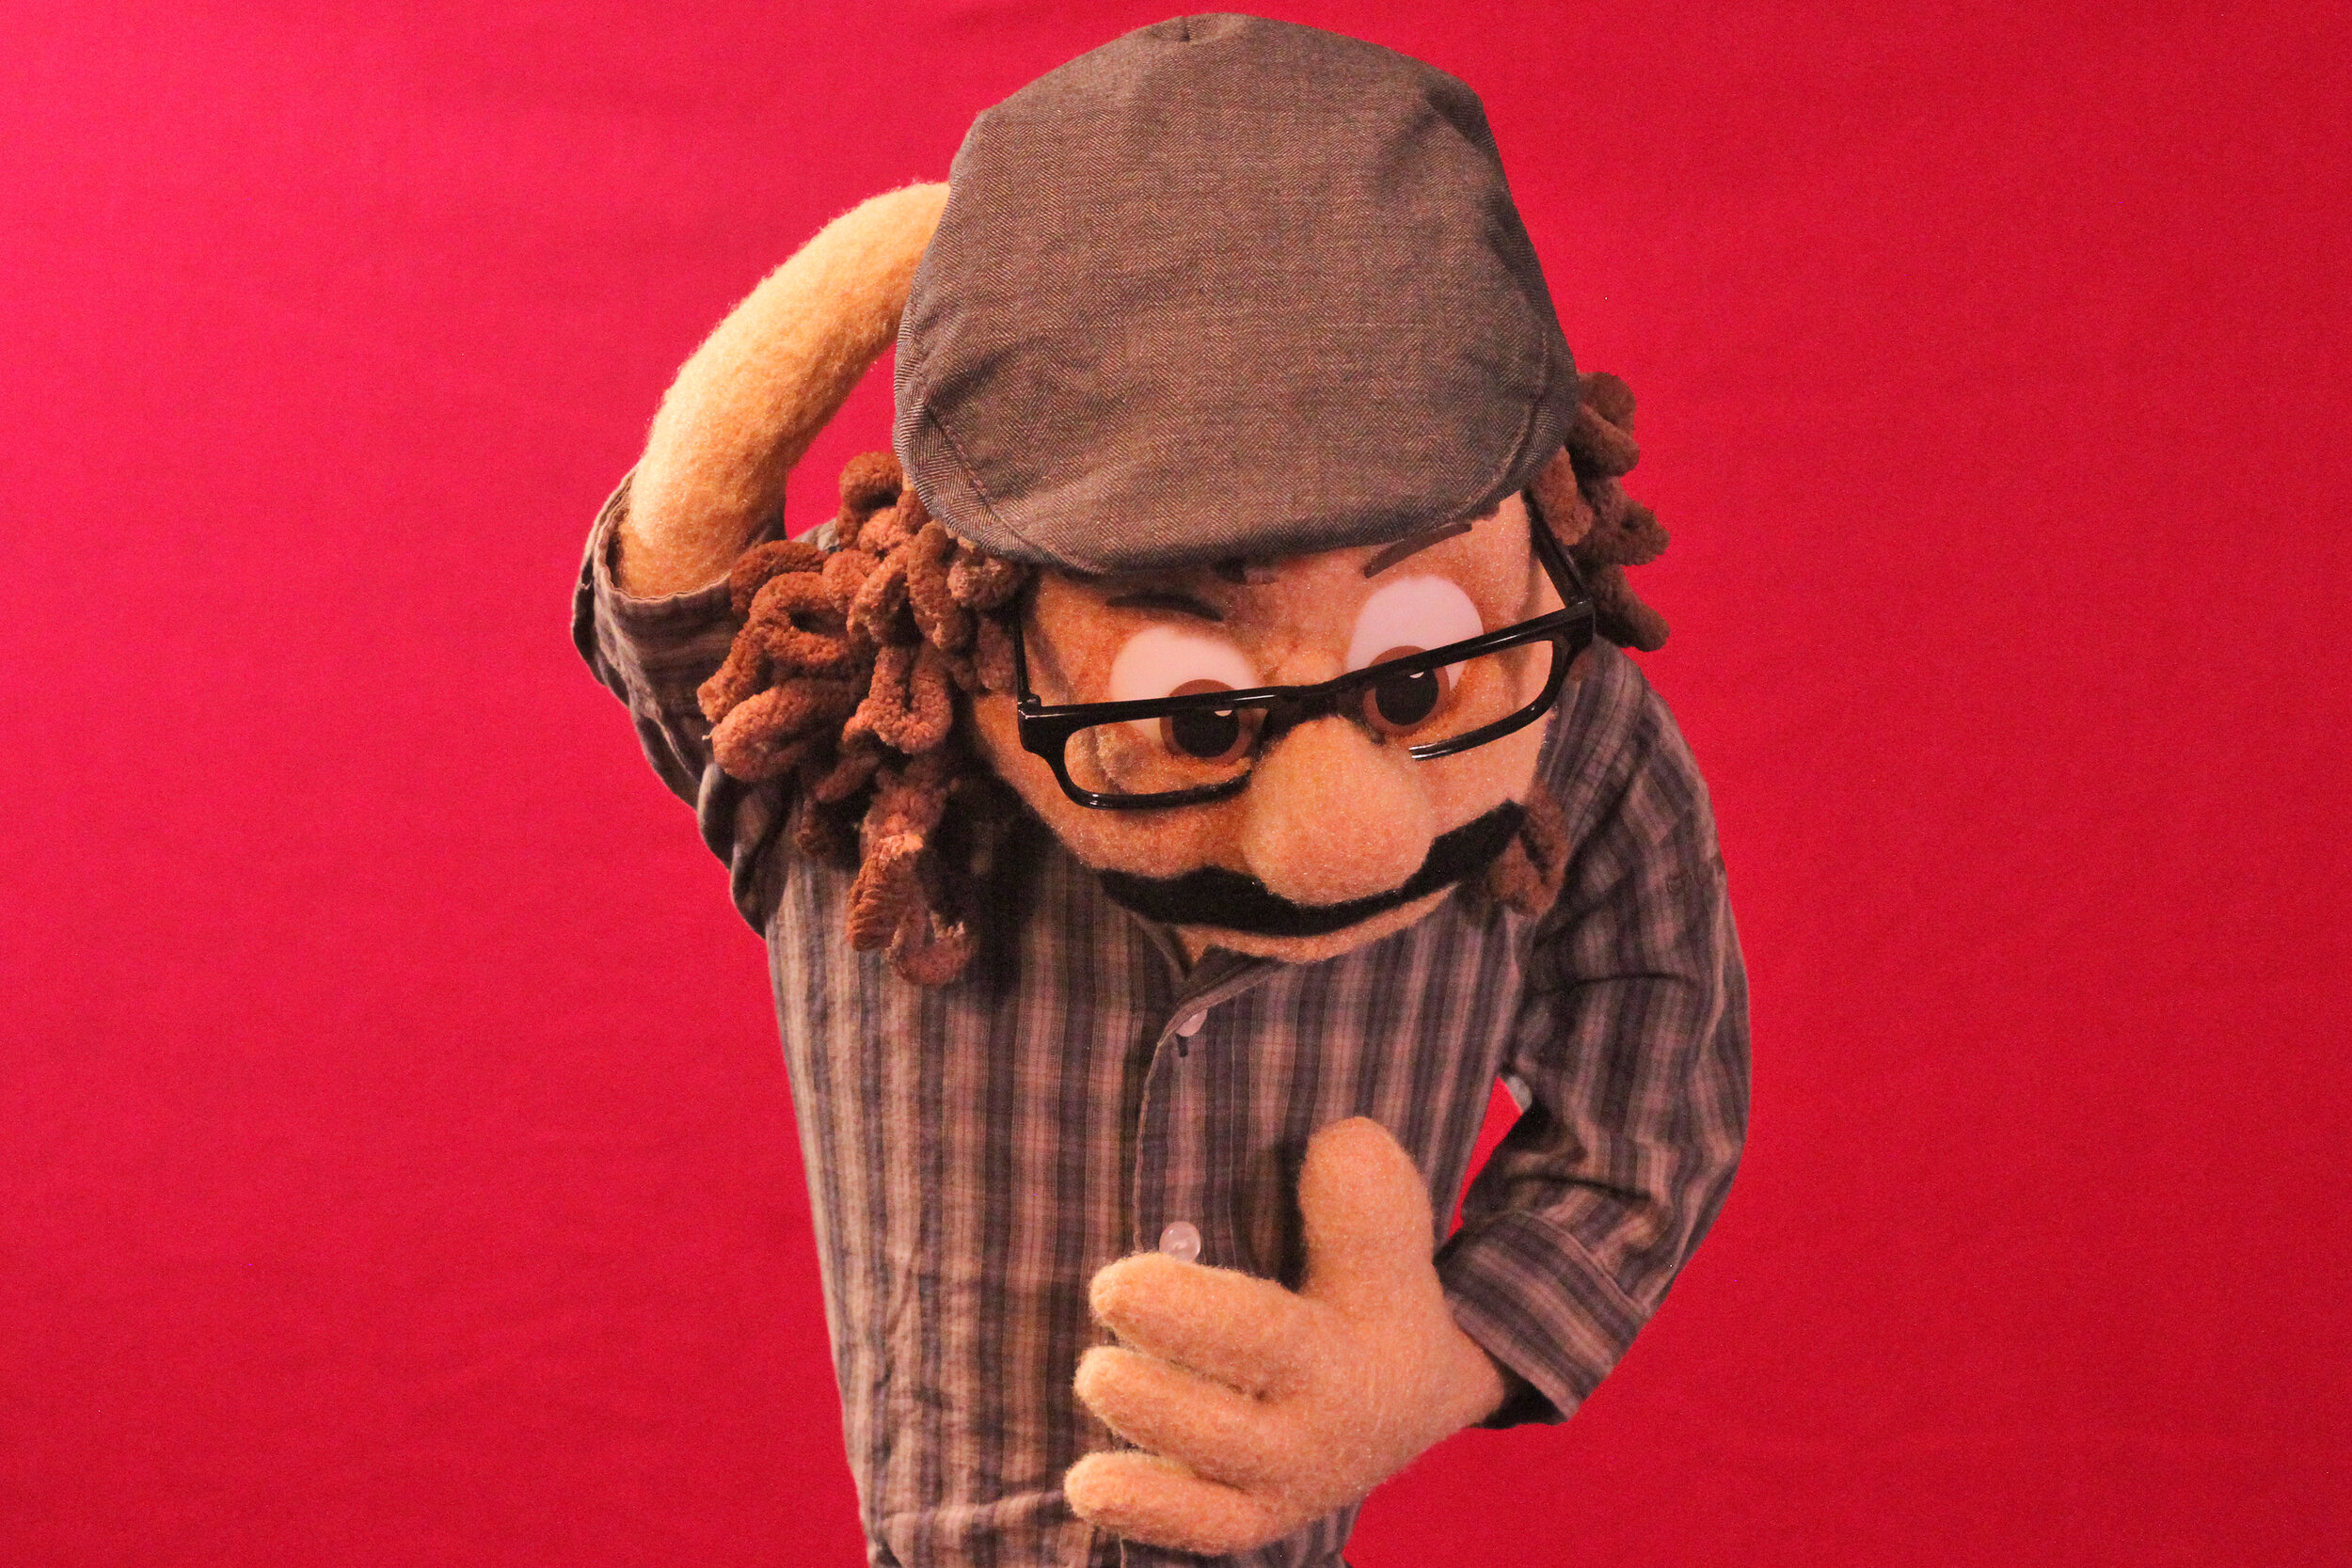
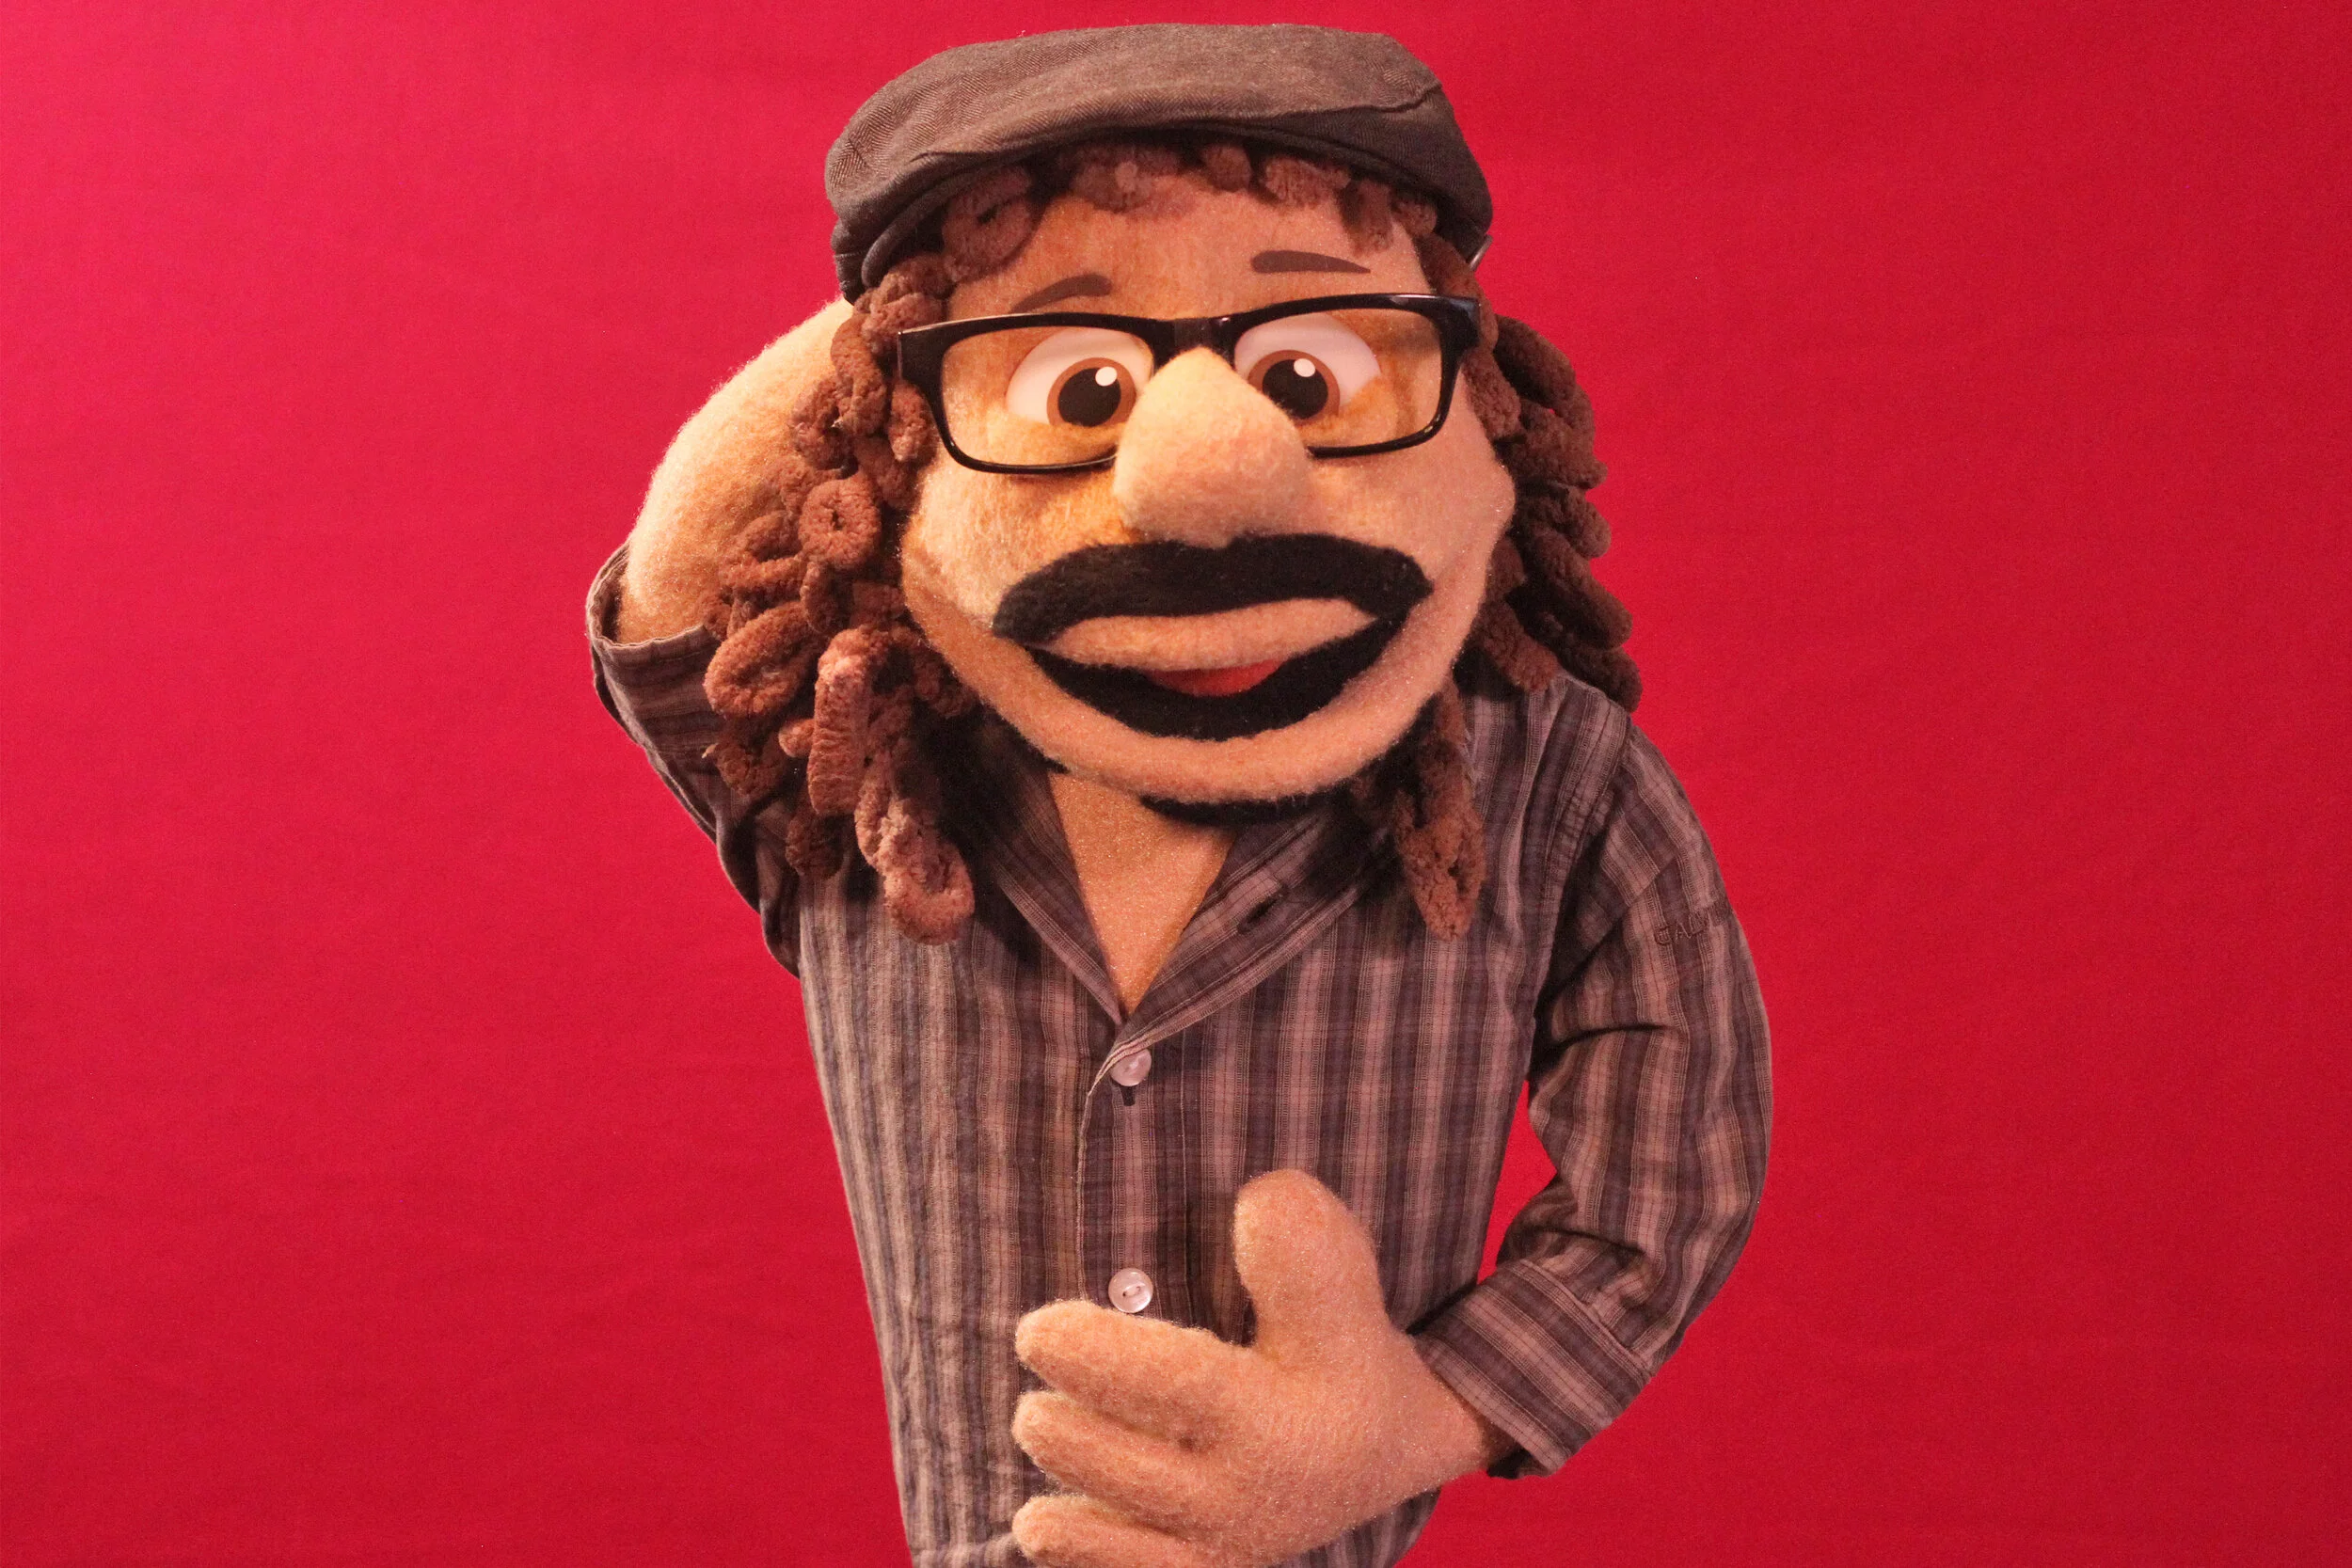
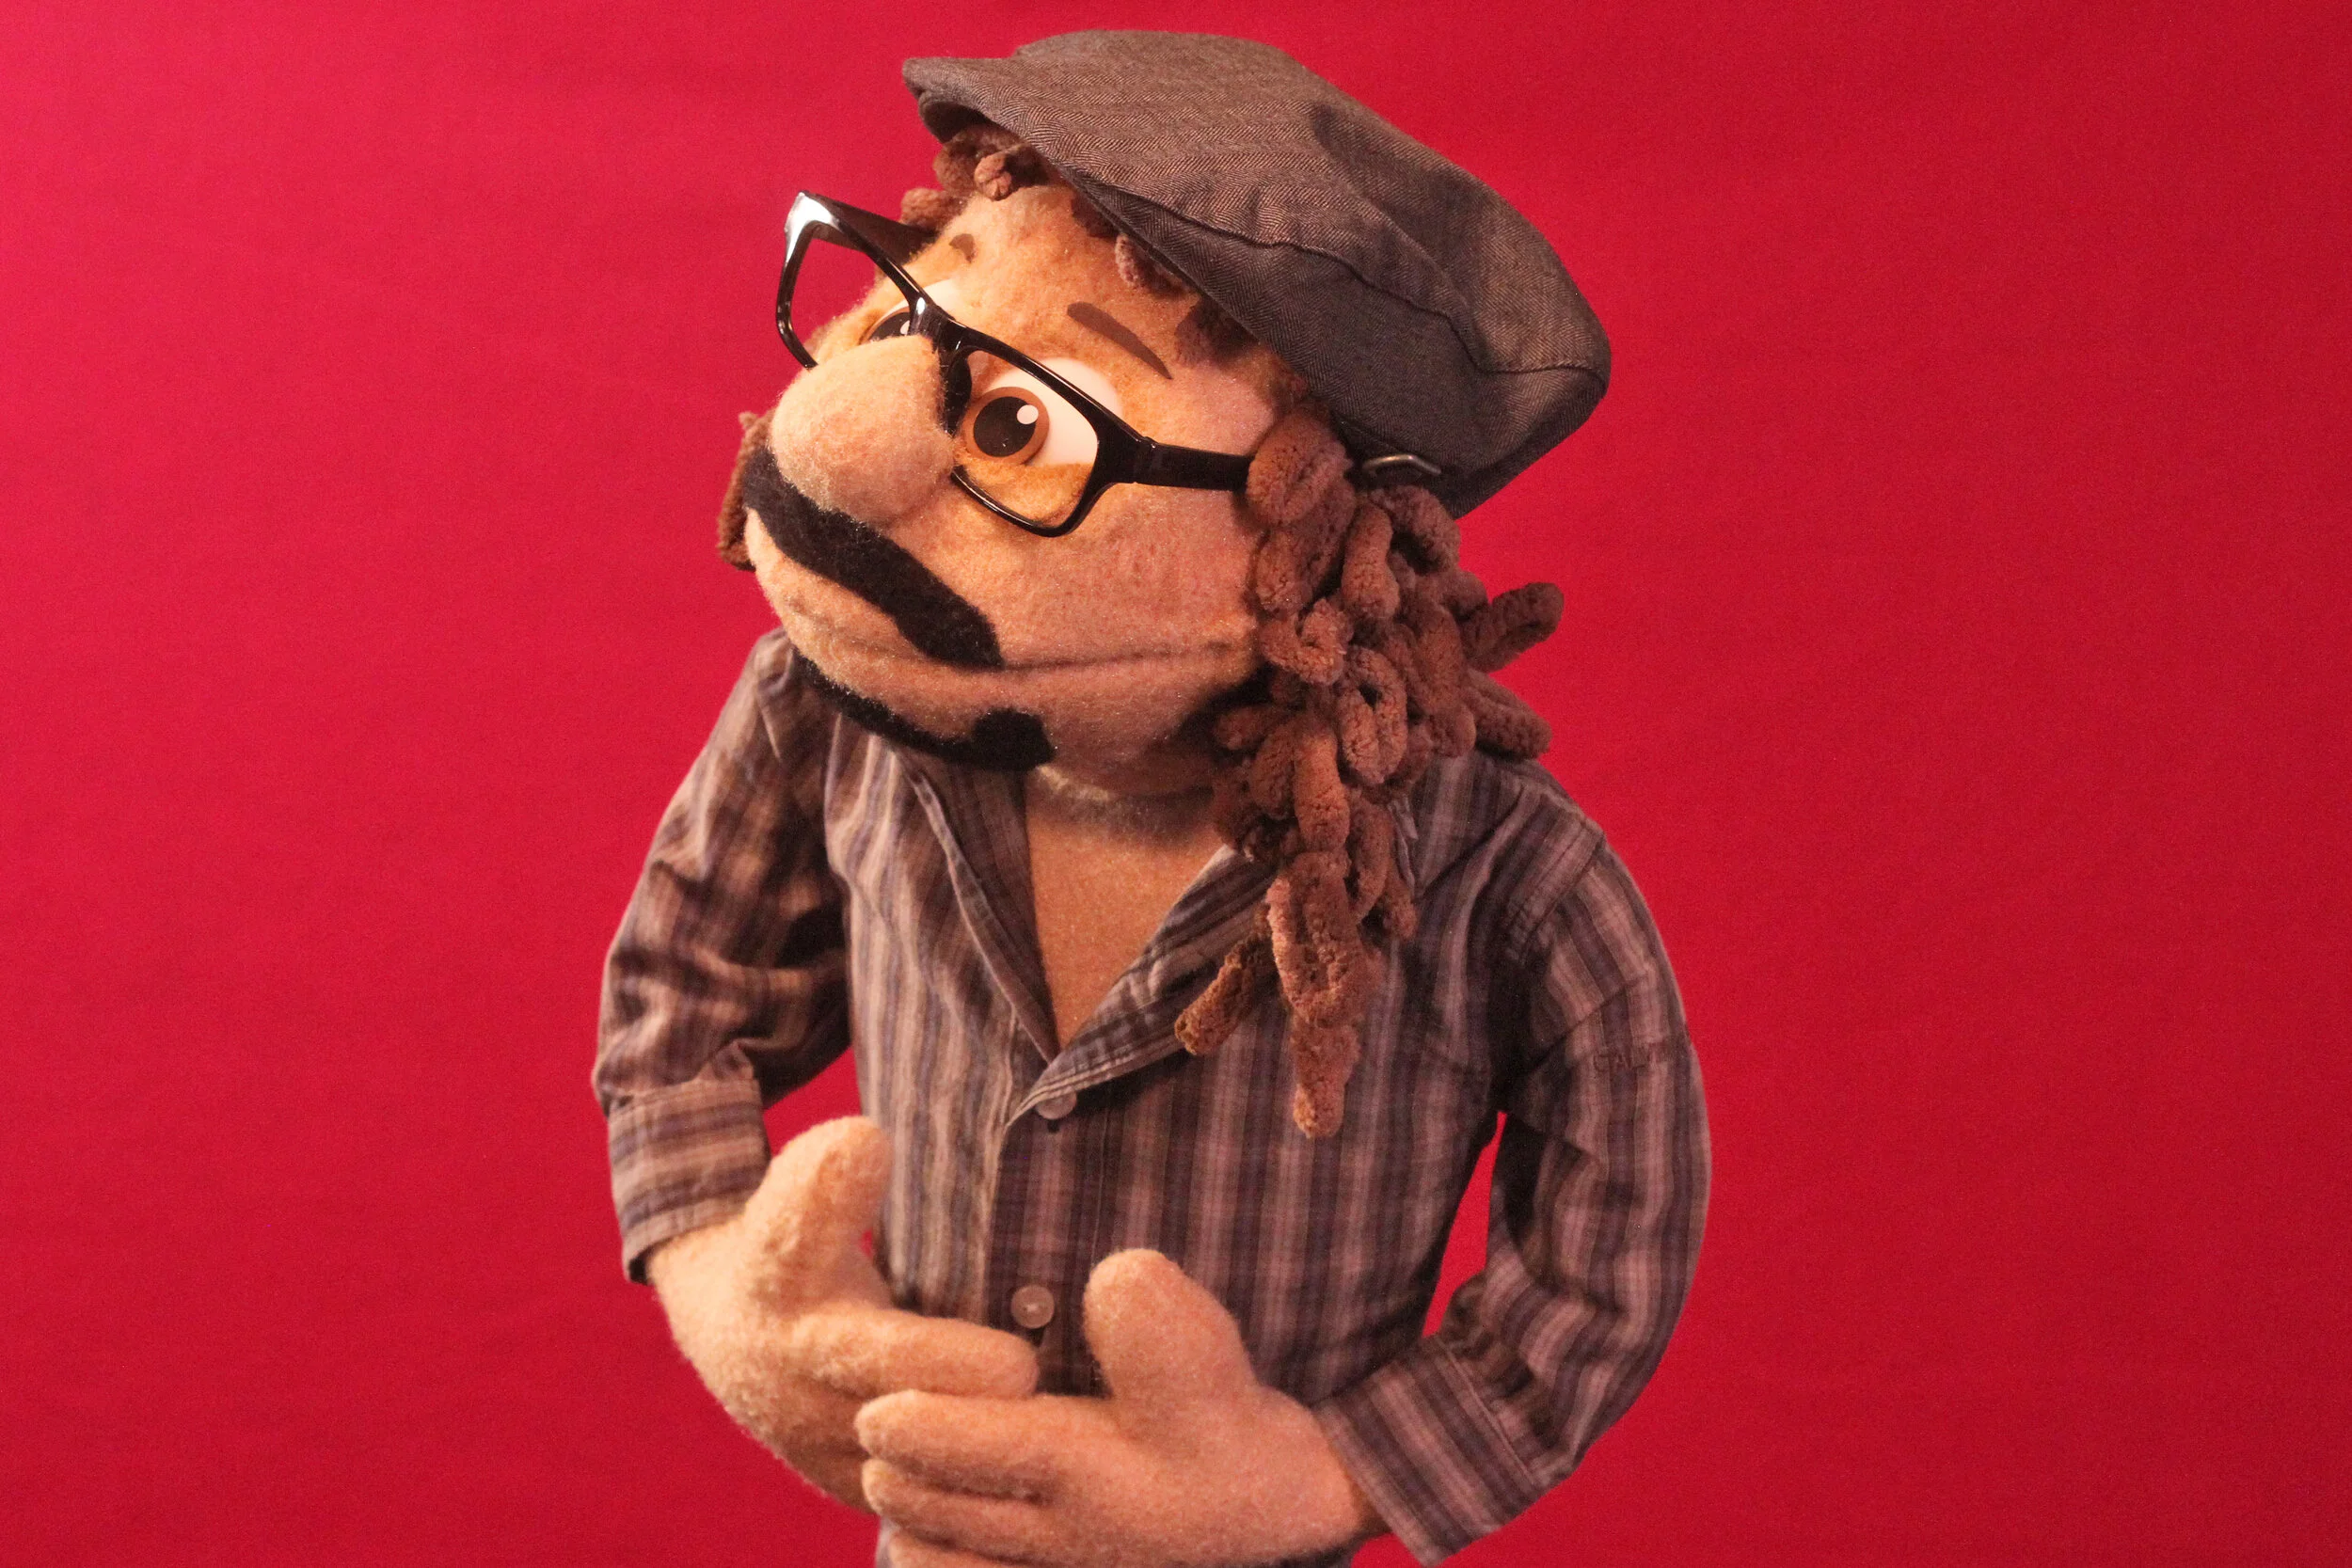
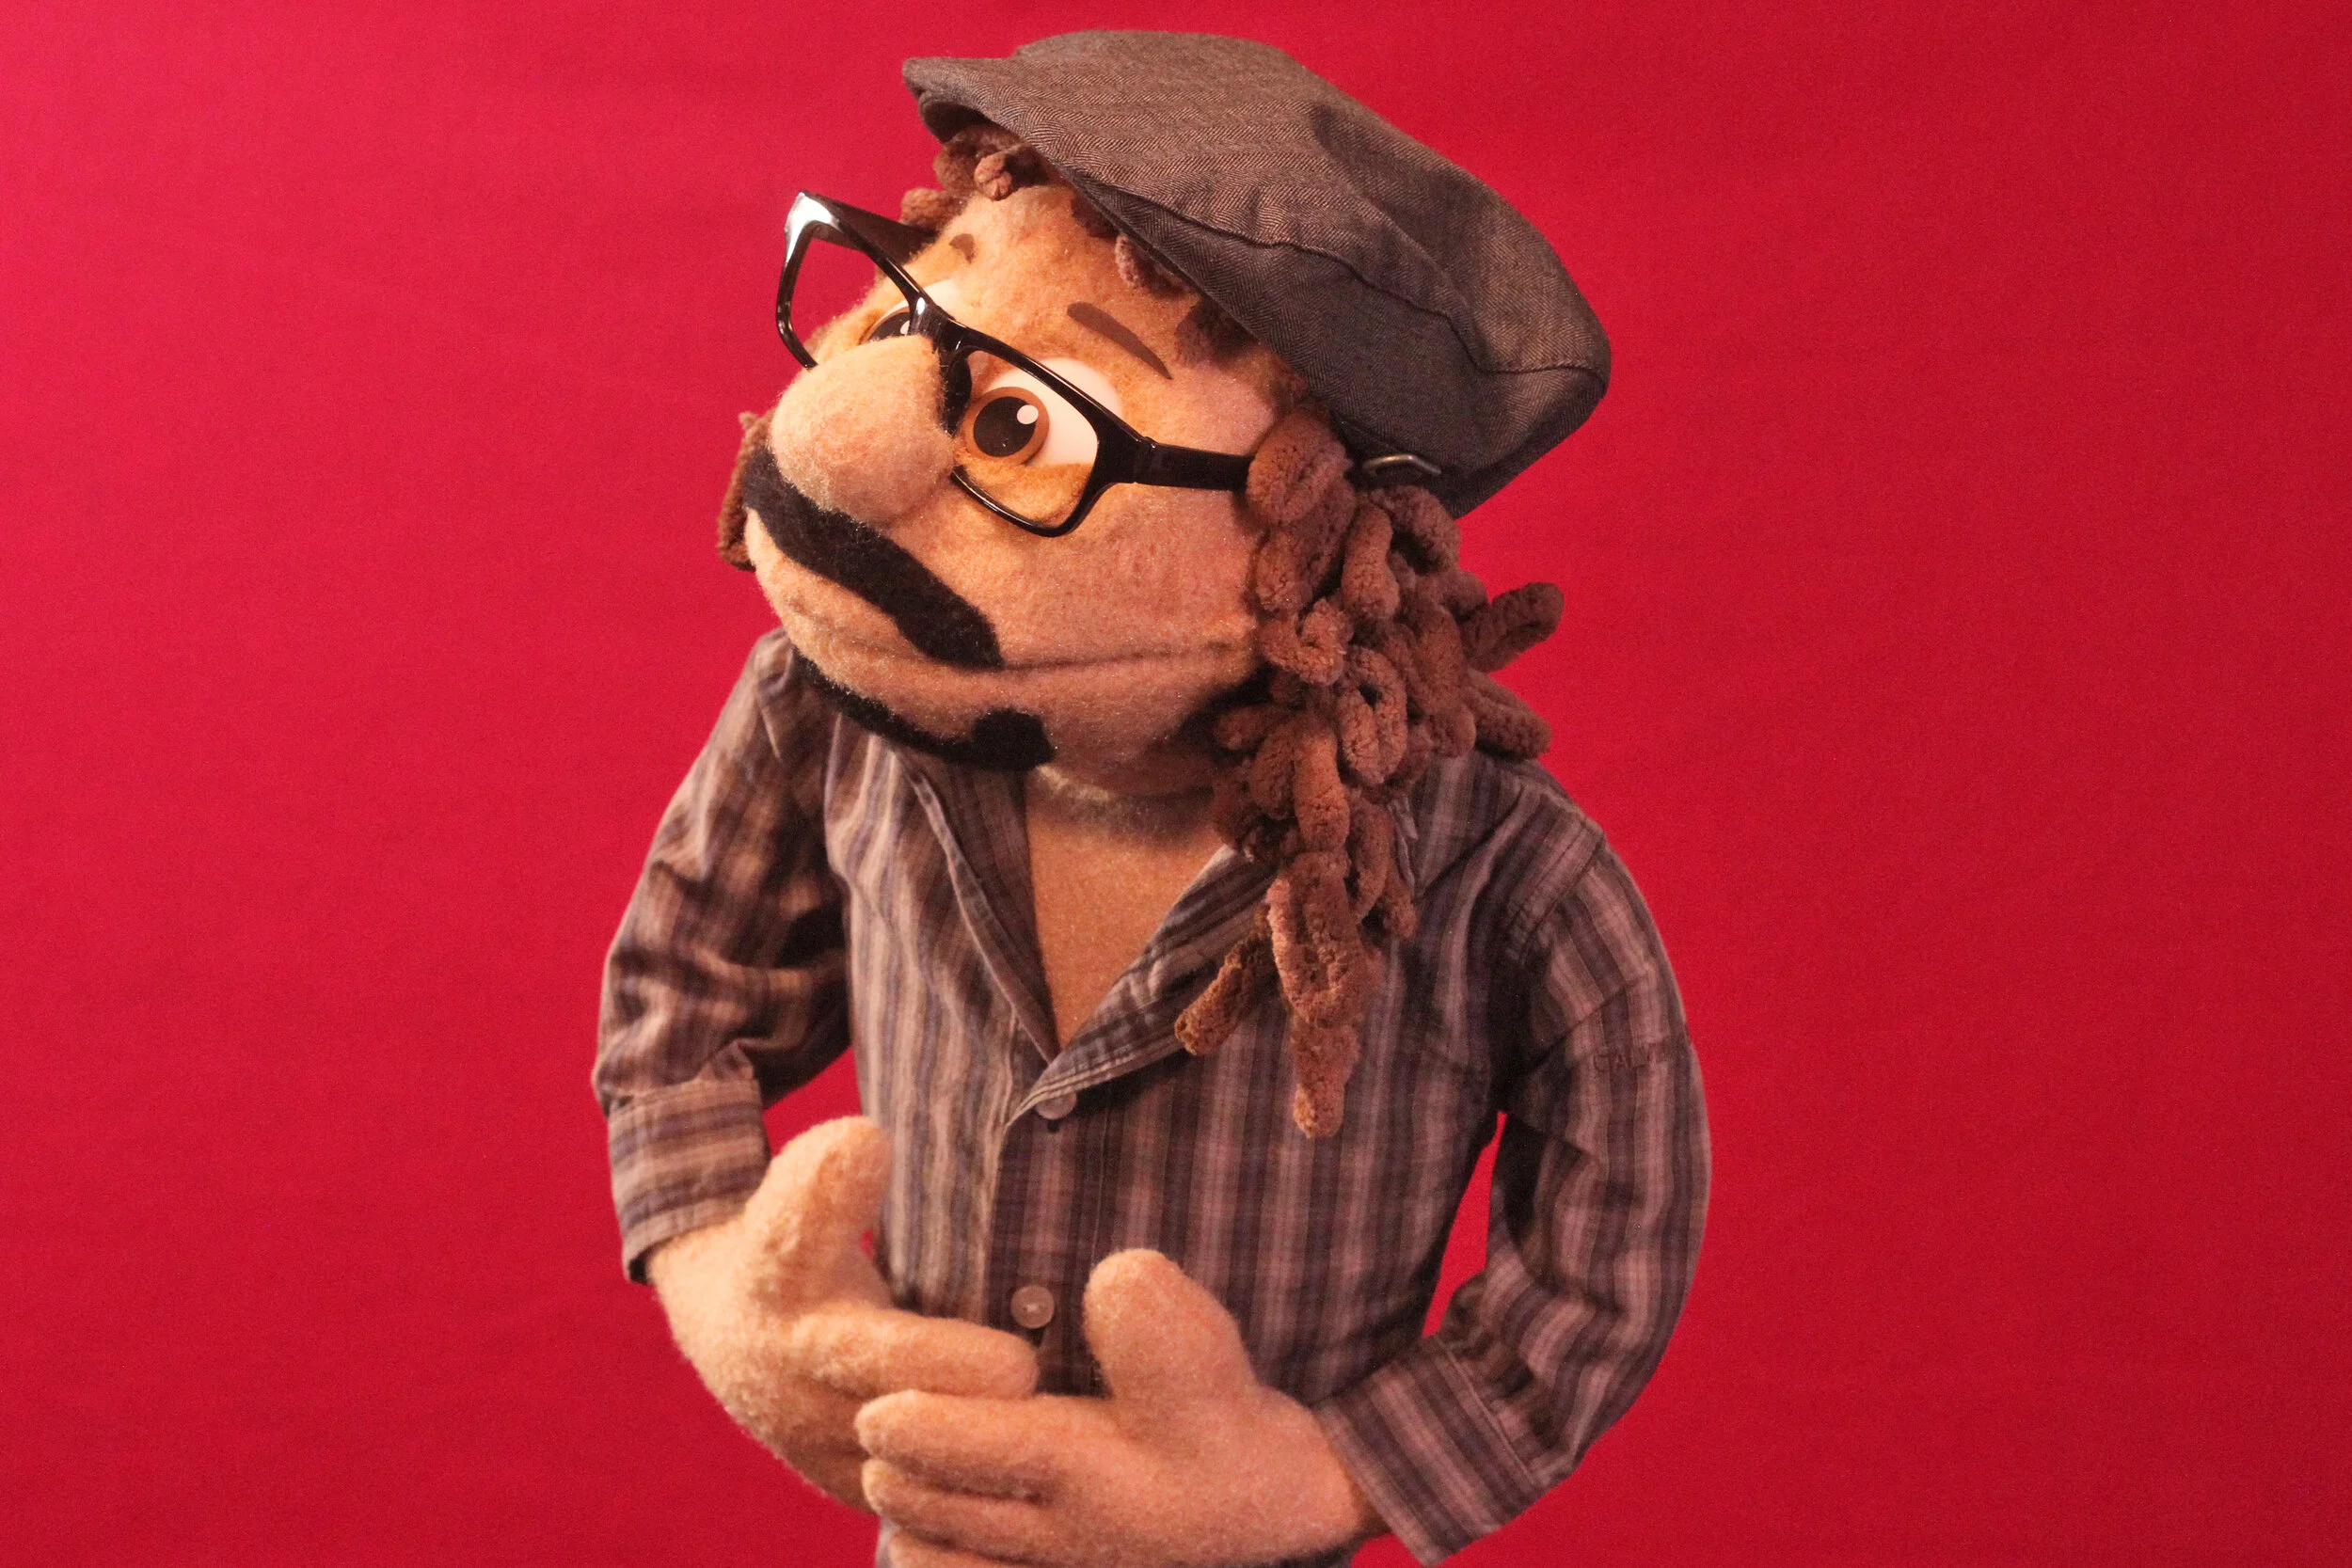
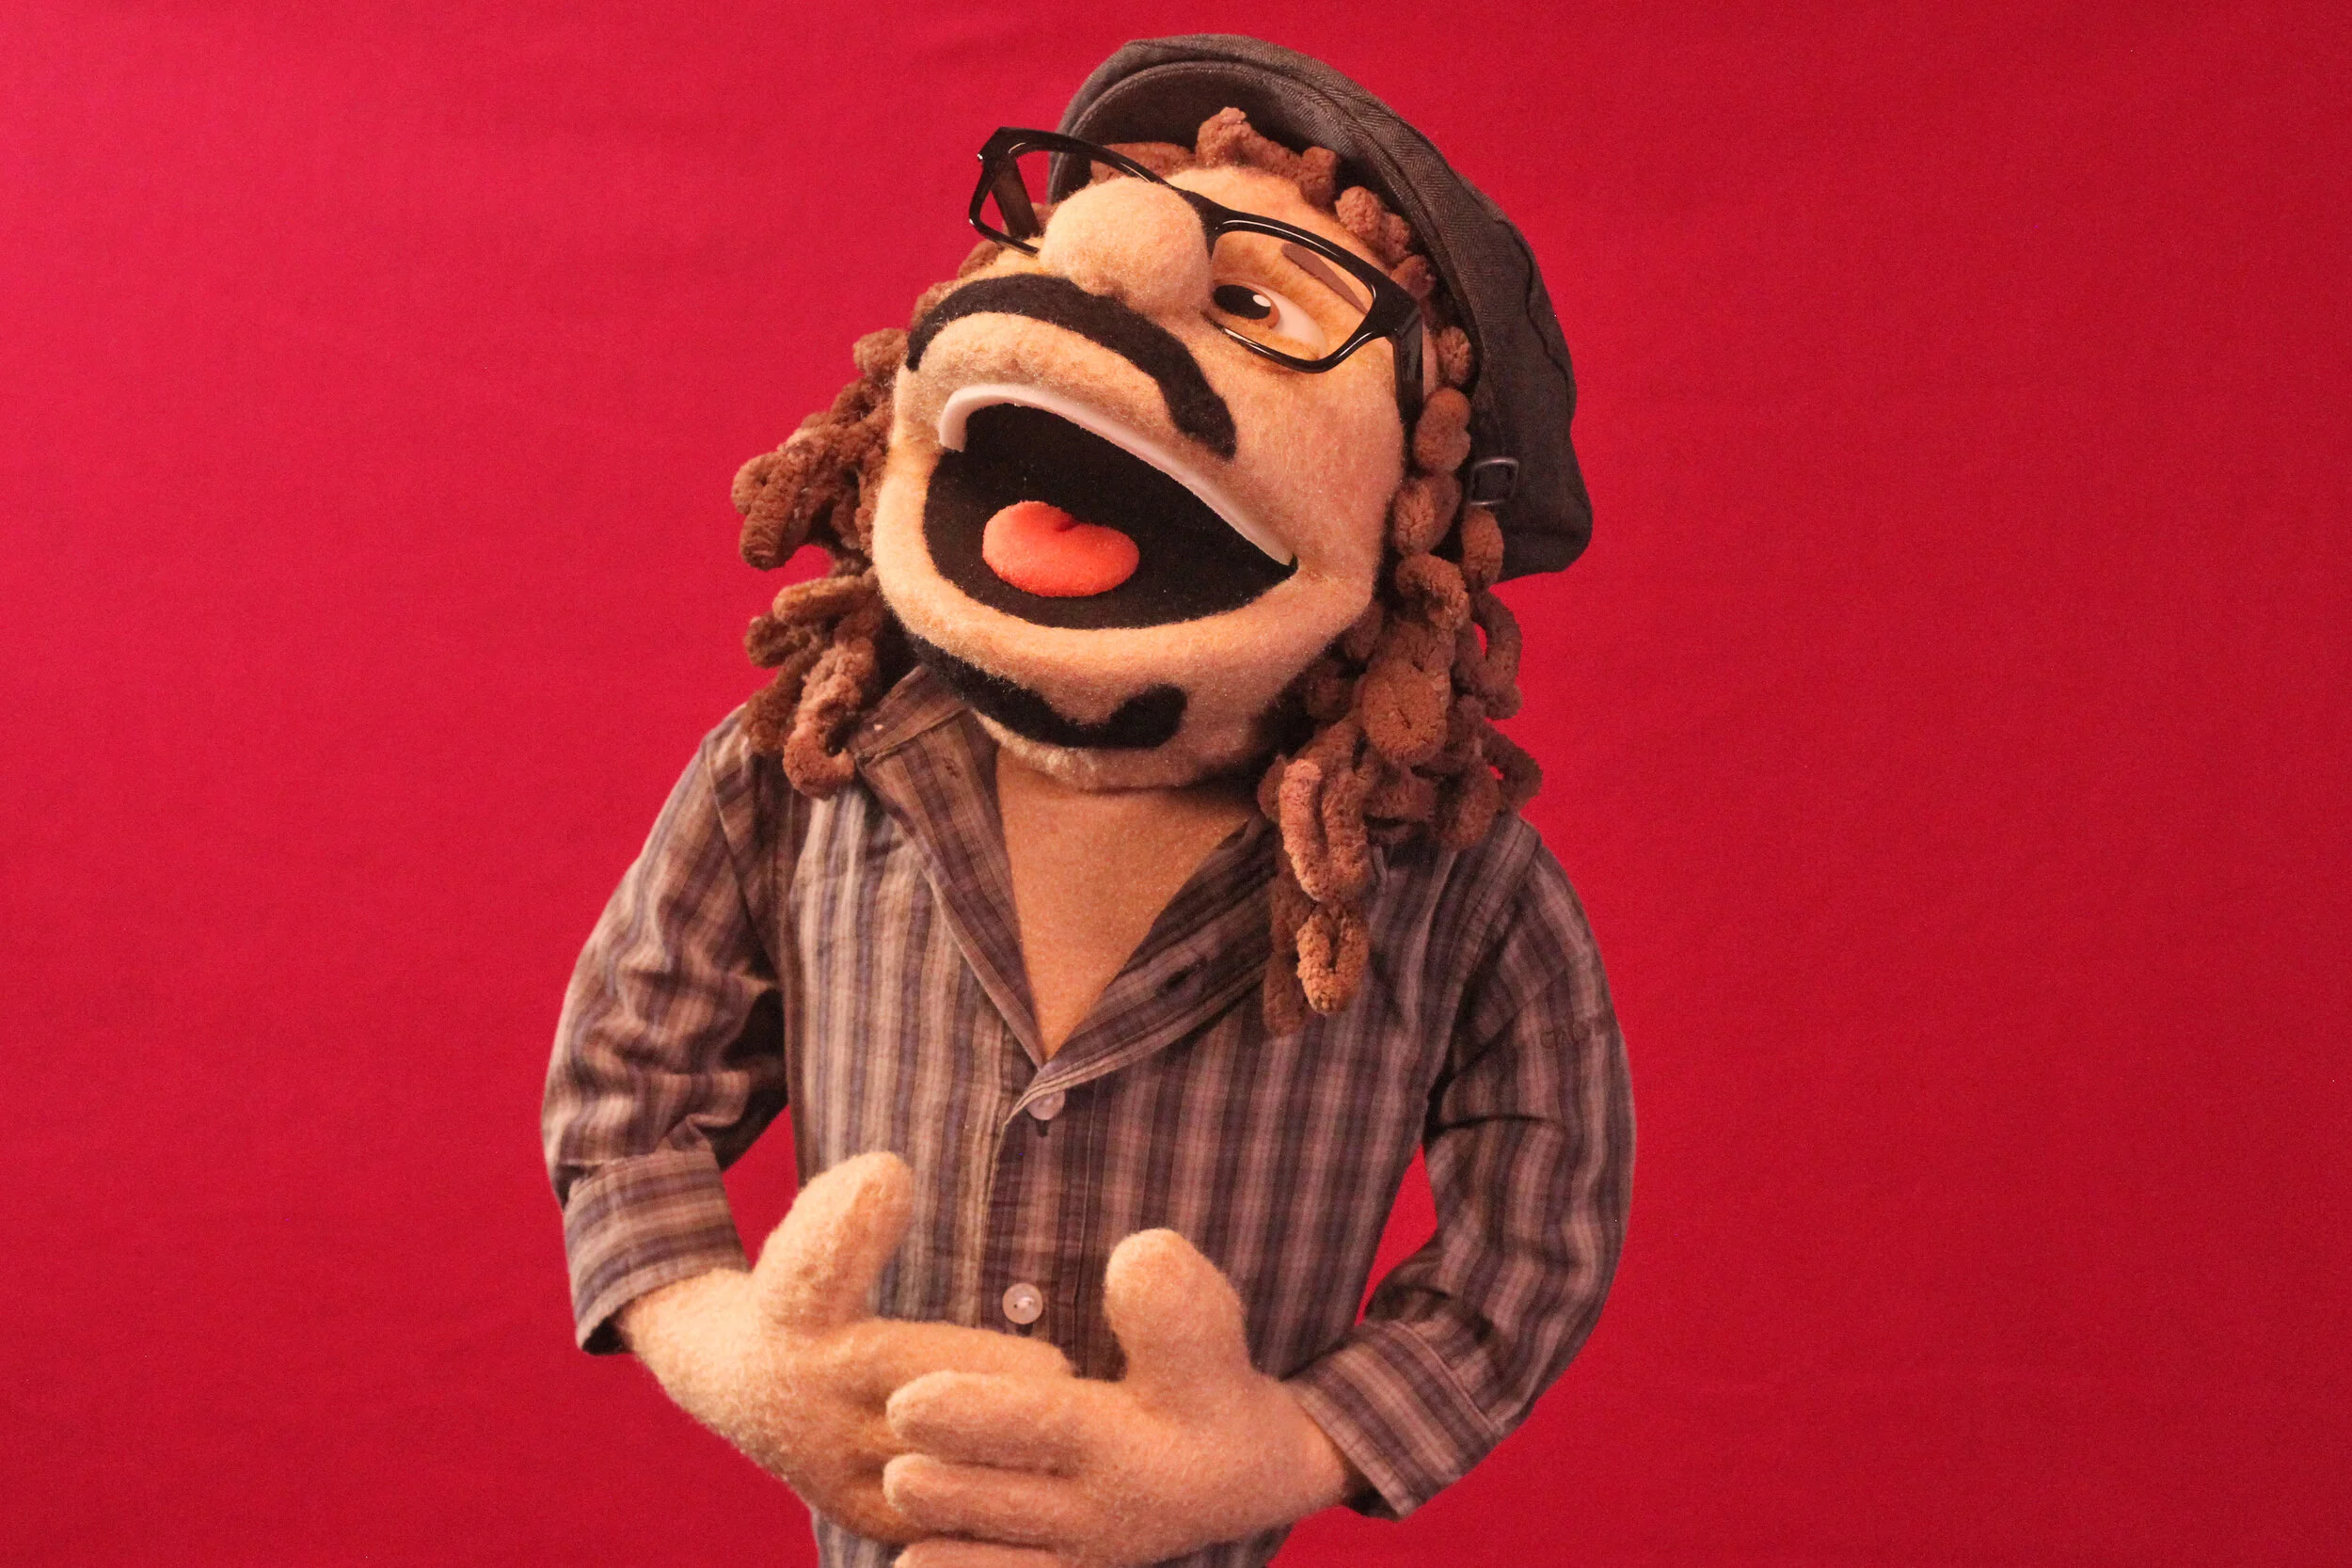
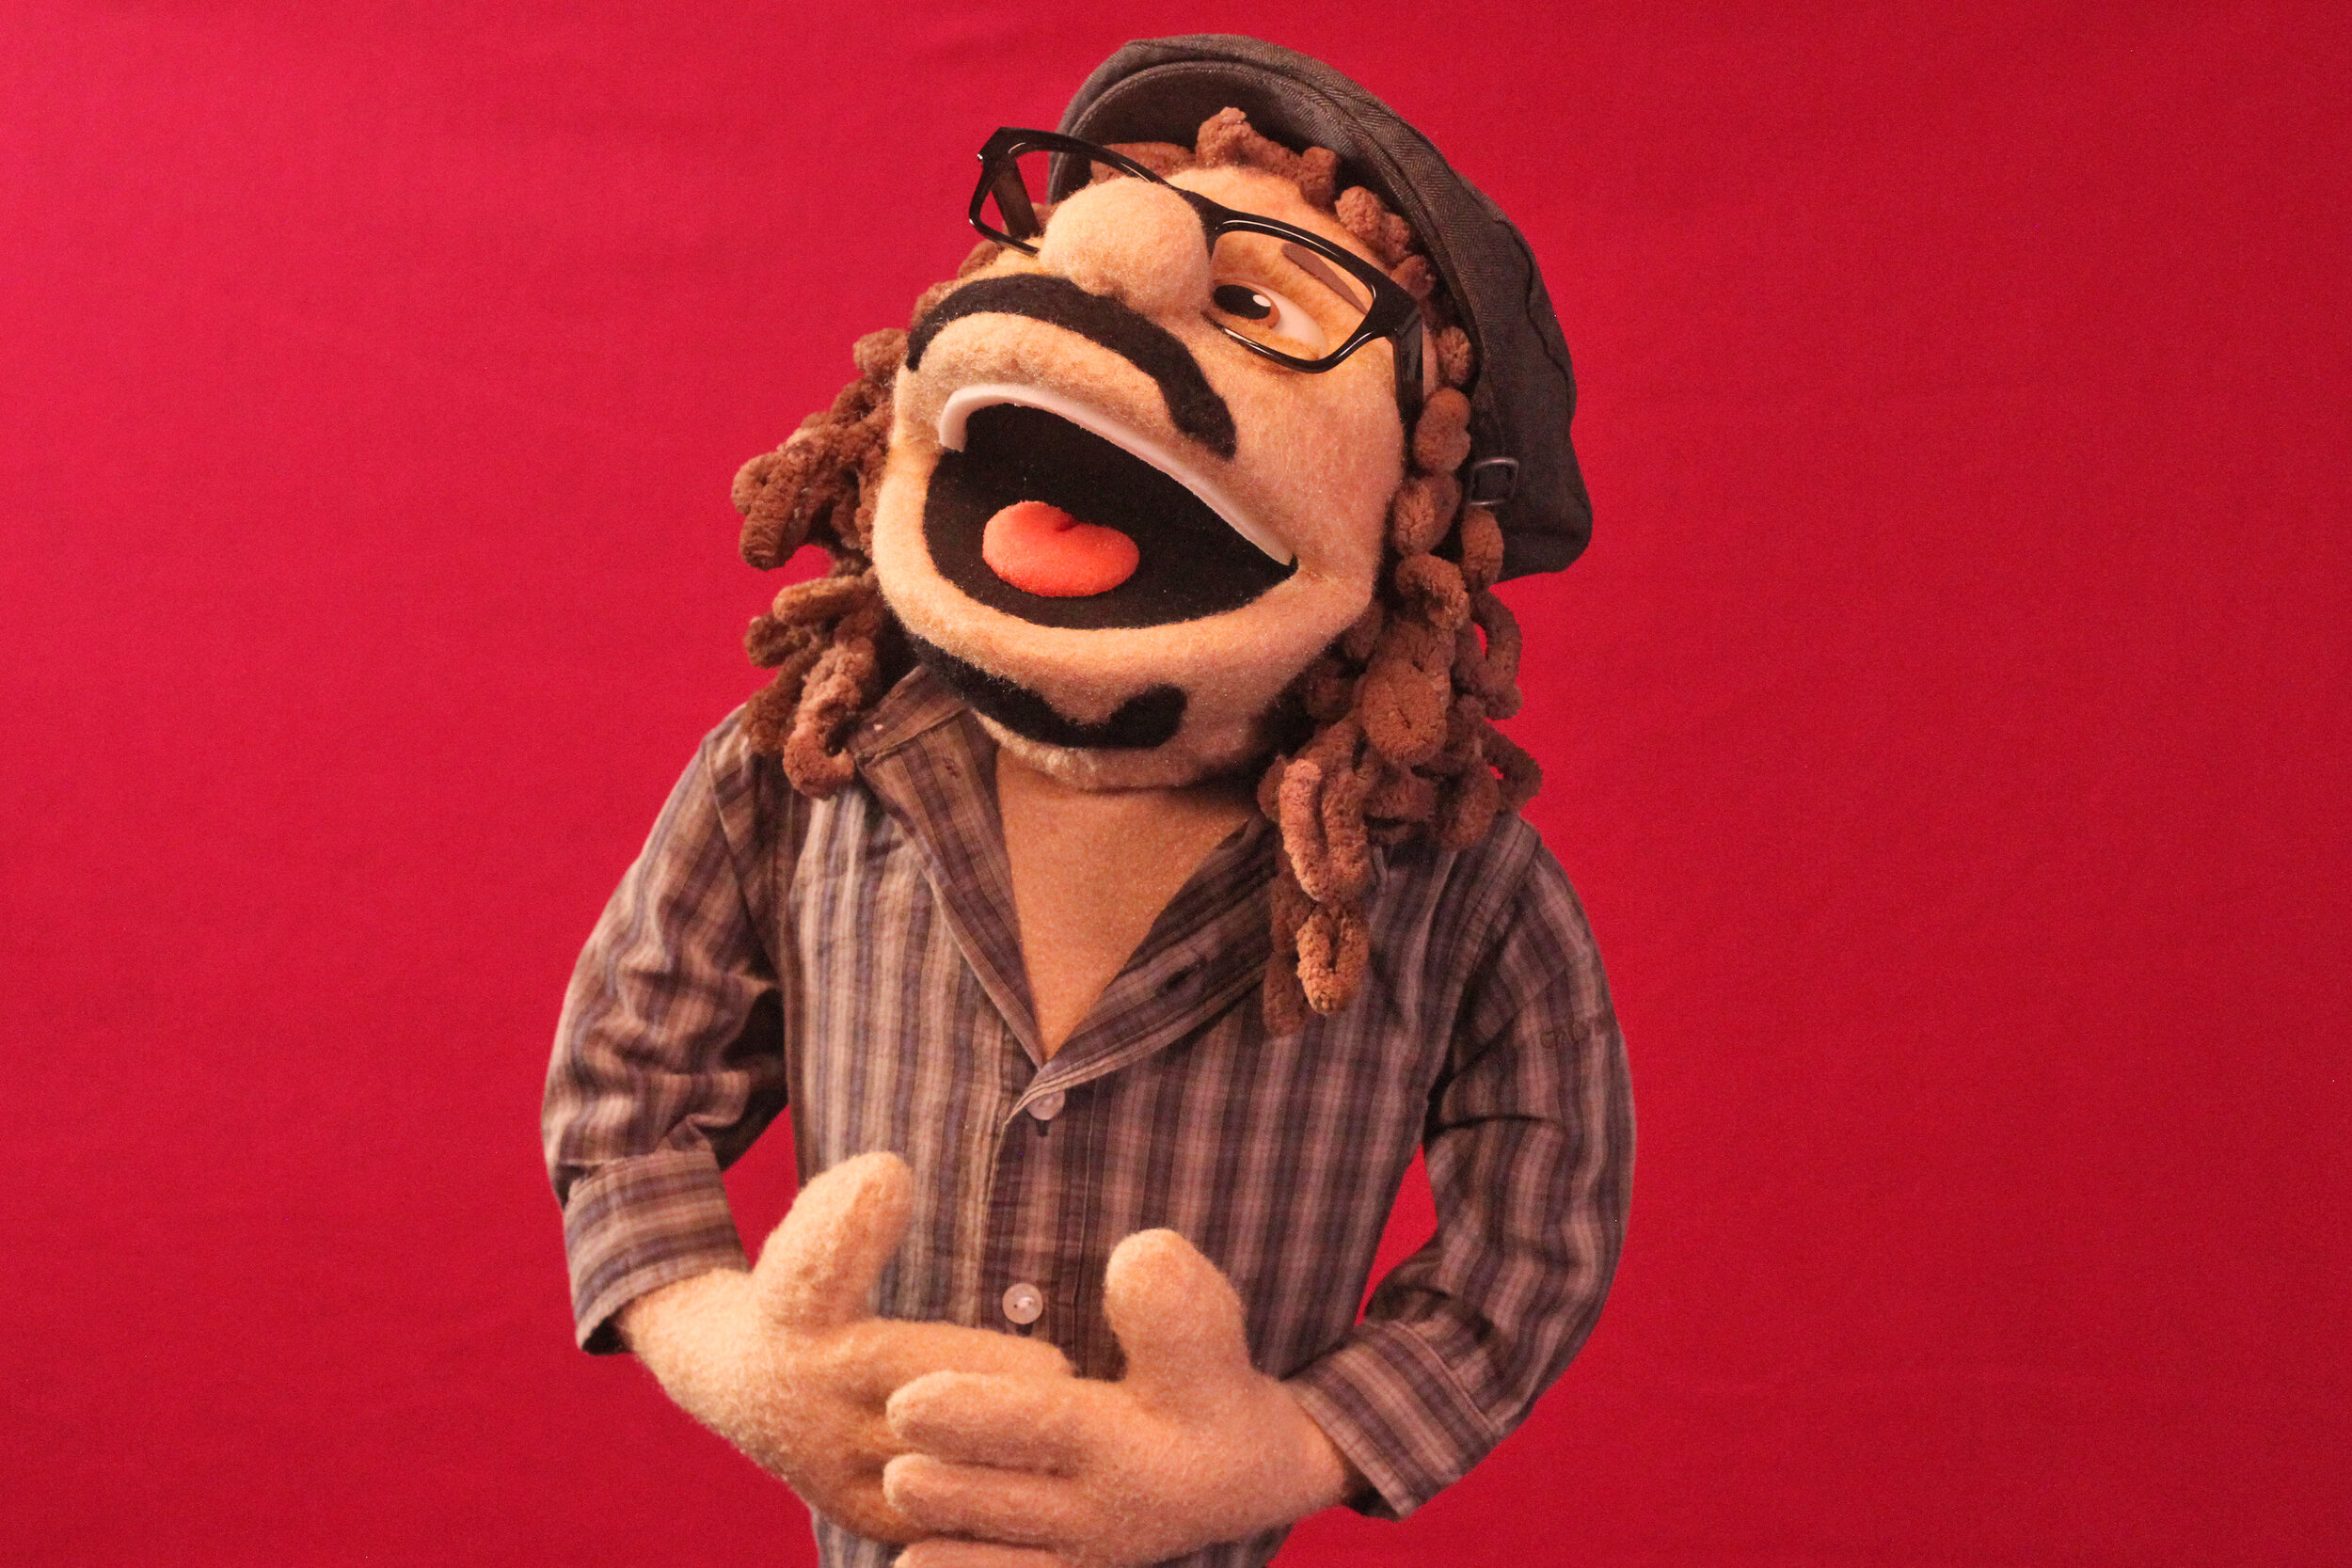
Custom Portrait Puppet for Client
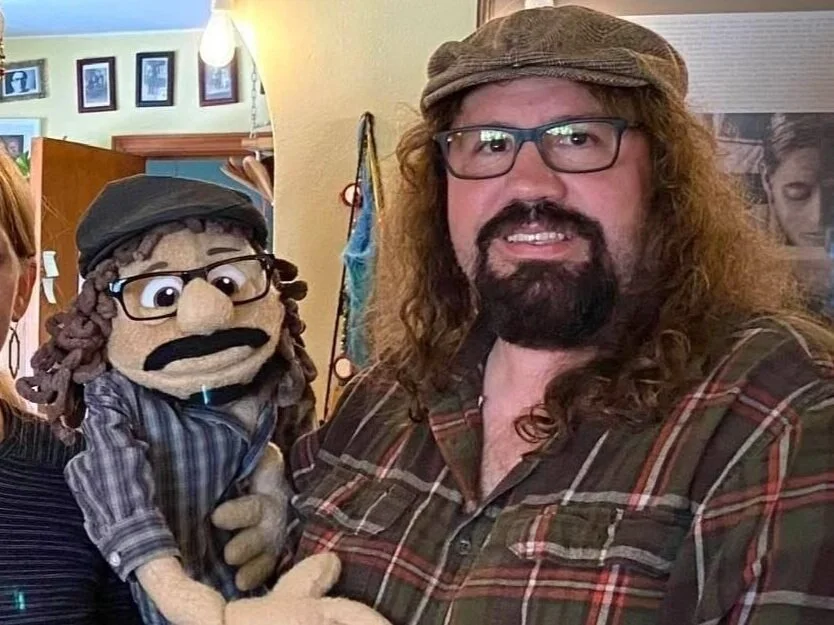
Welcome back to the Creventive Newsletter,
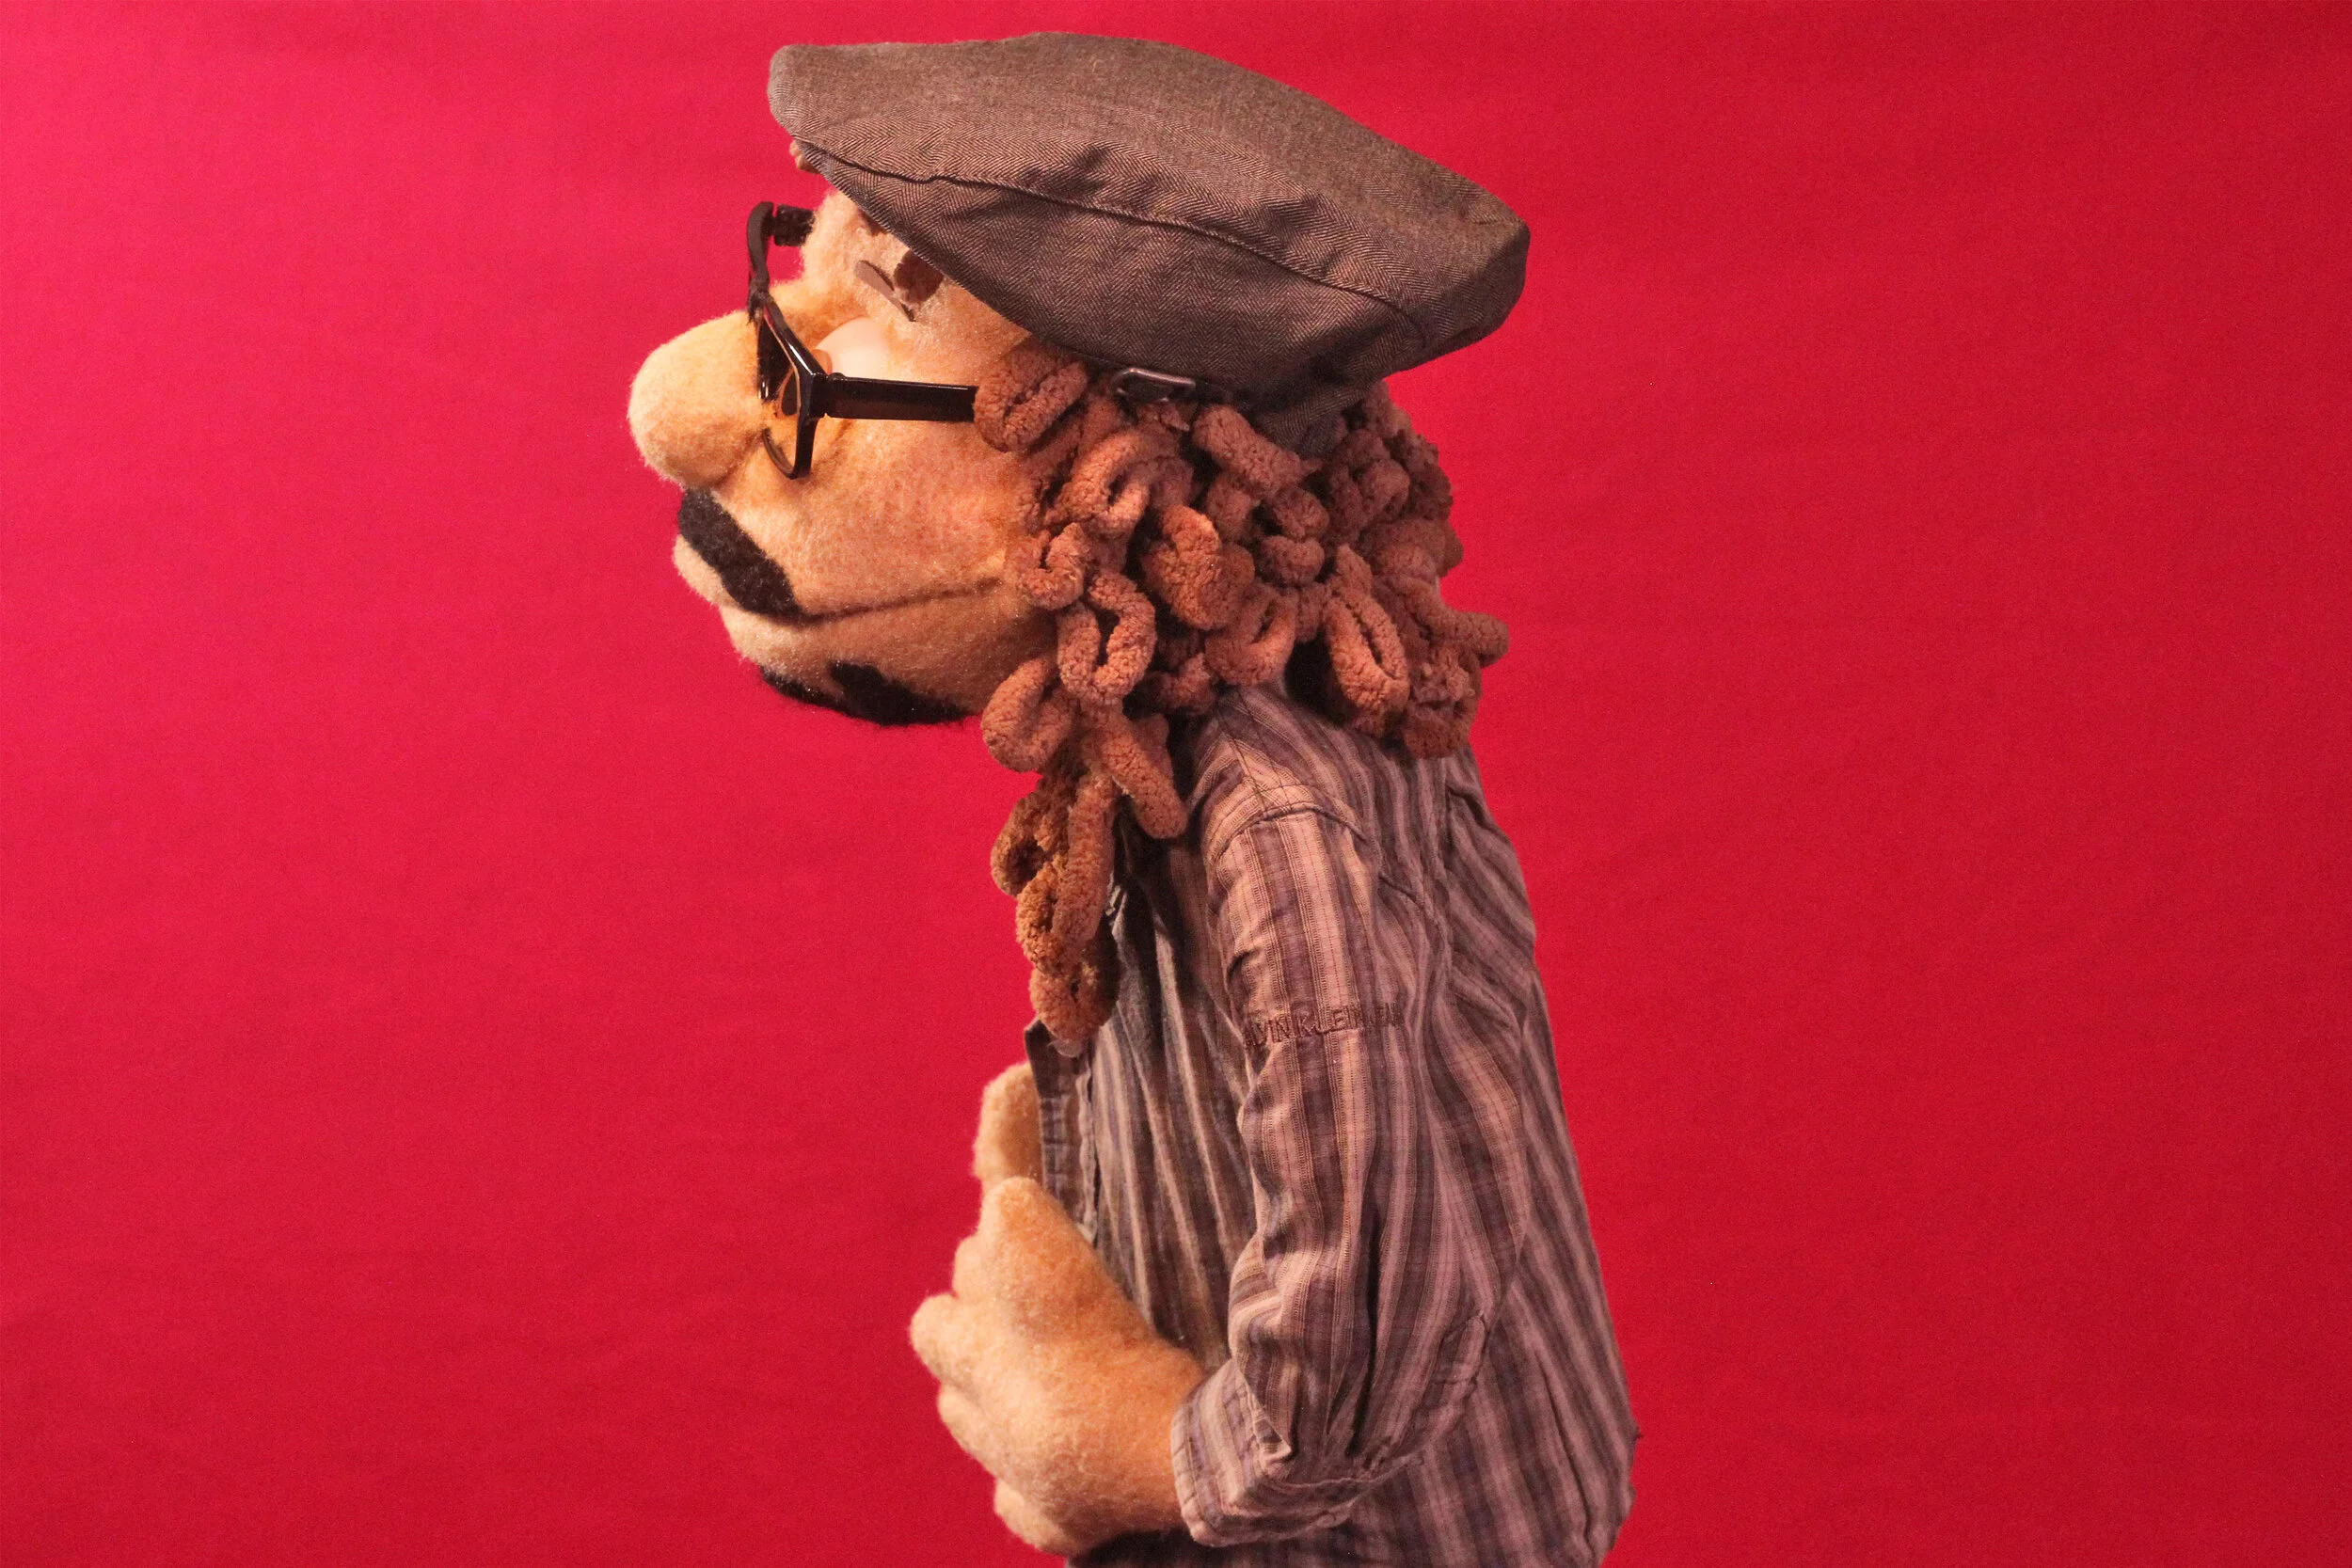
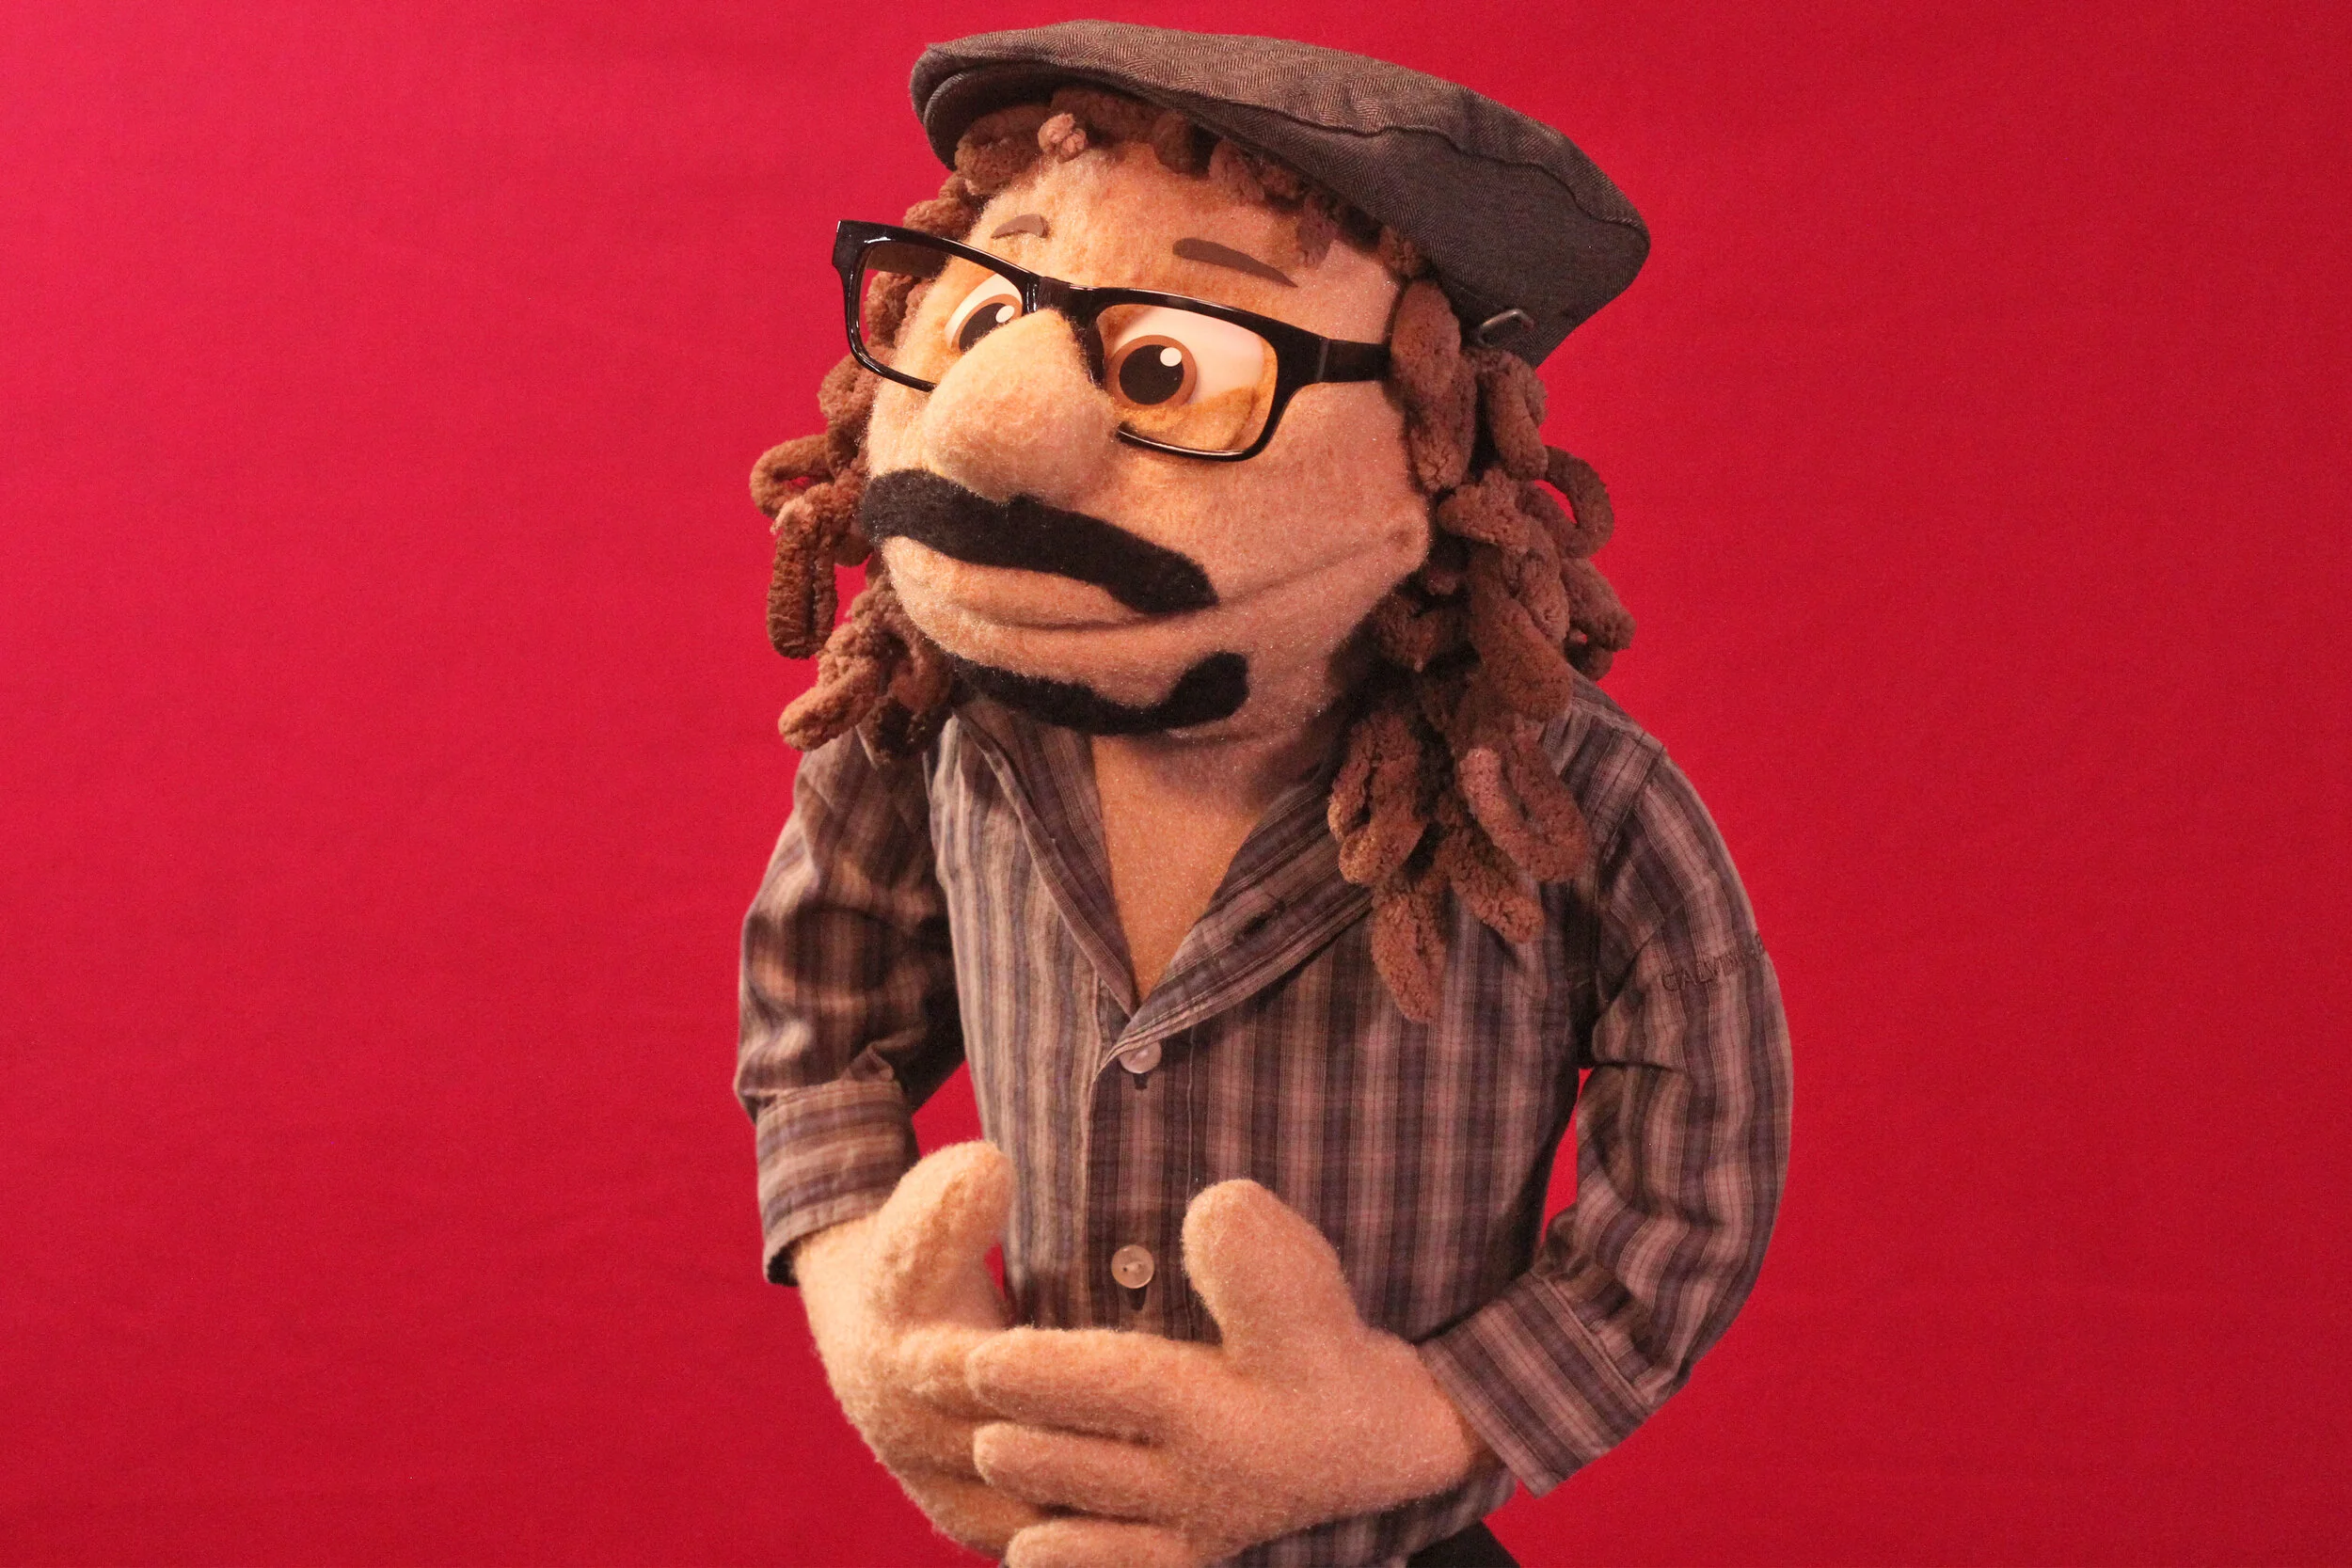
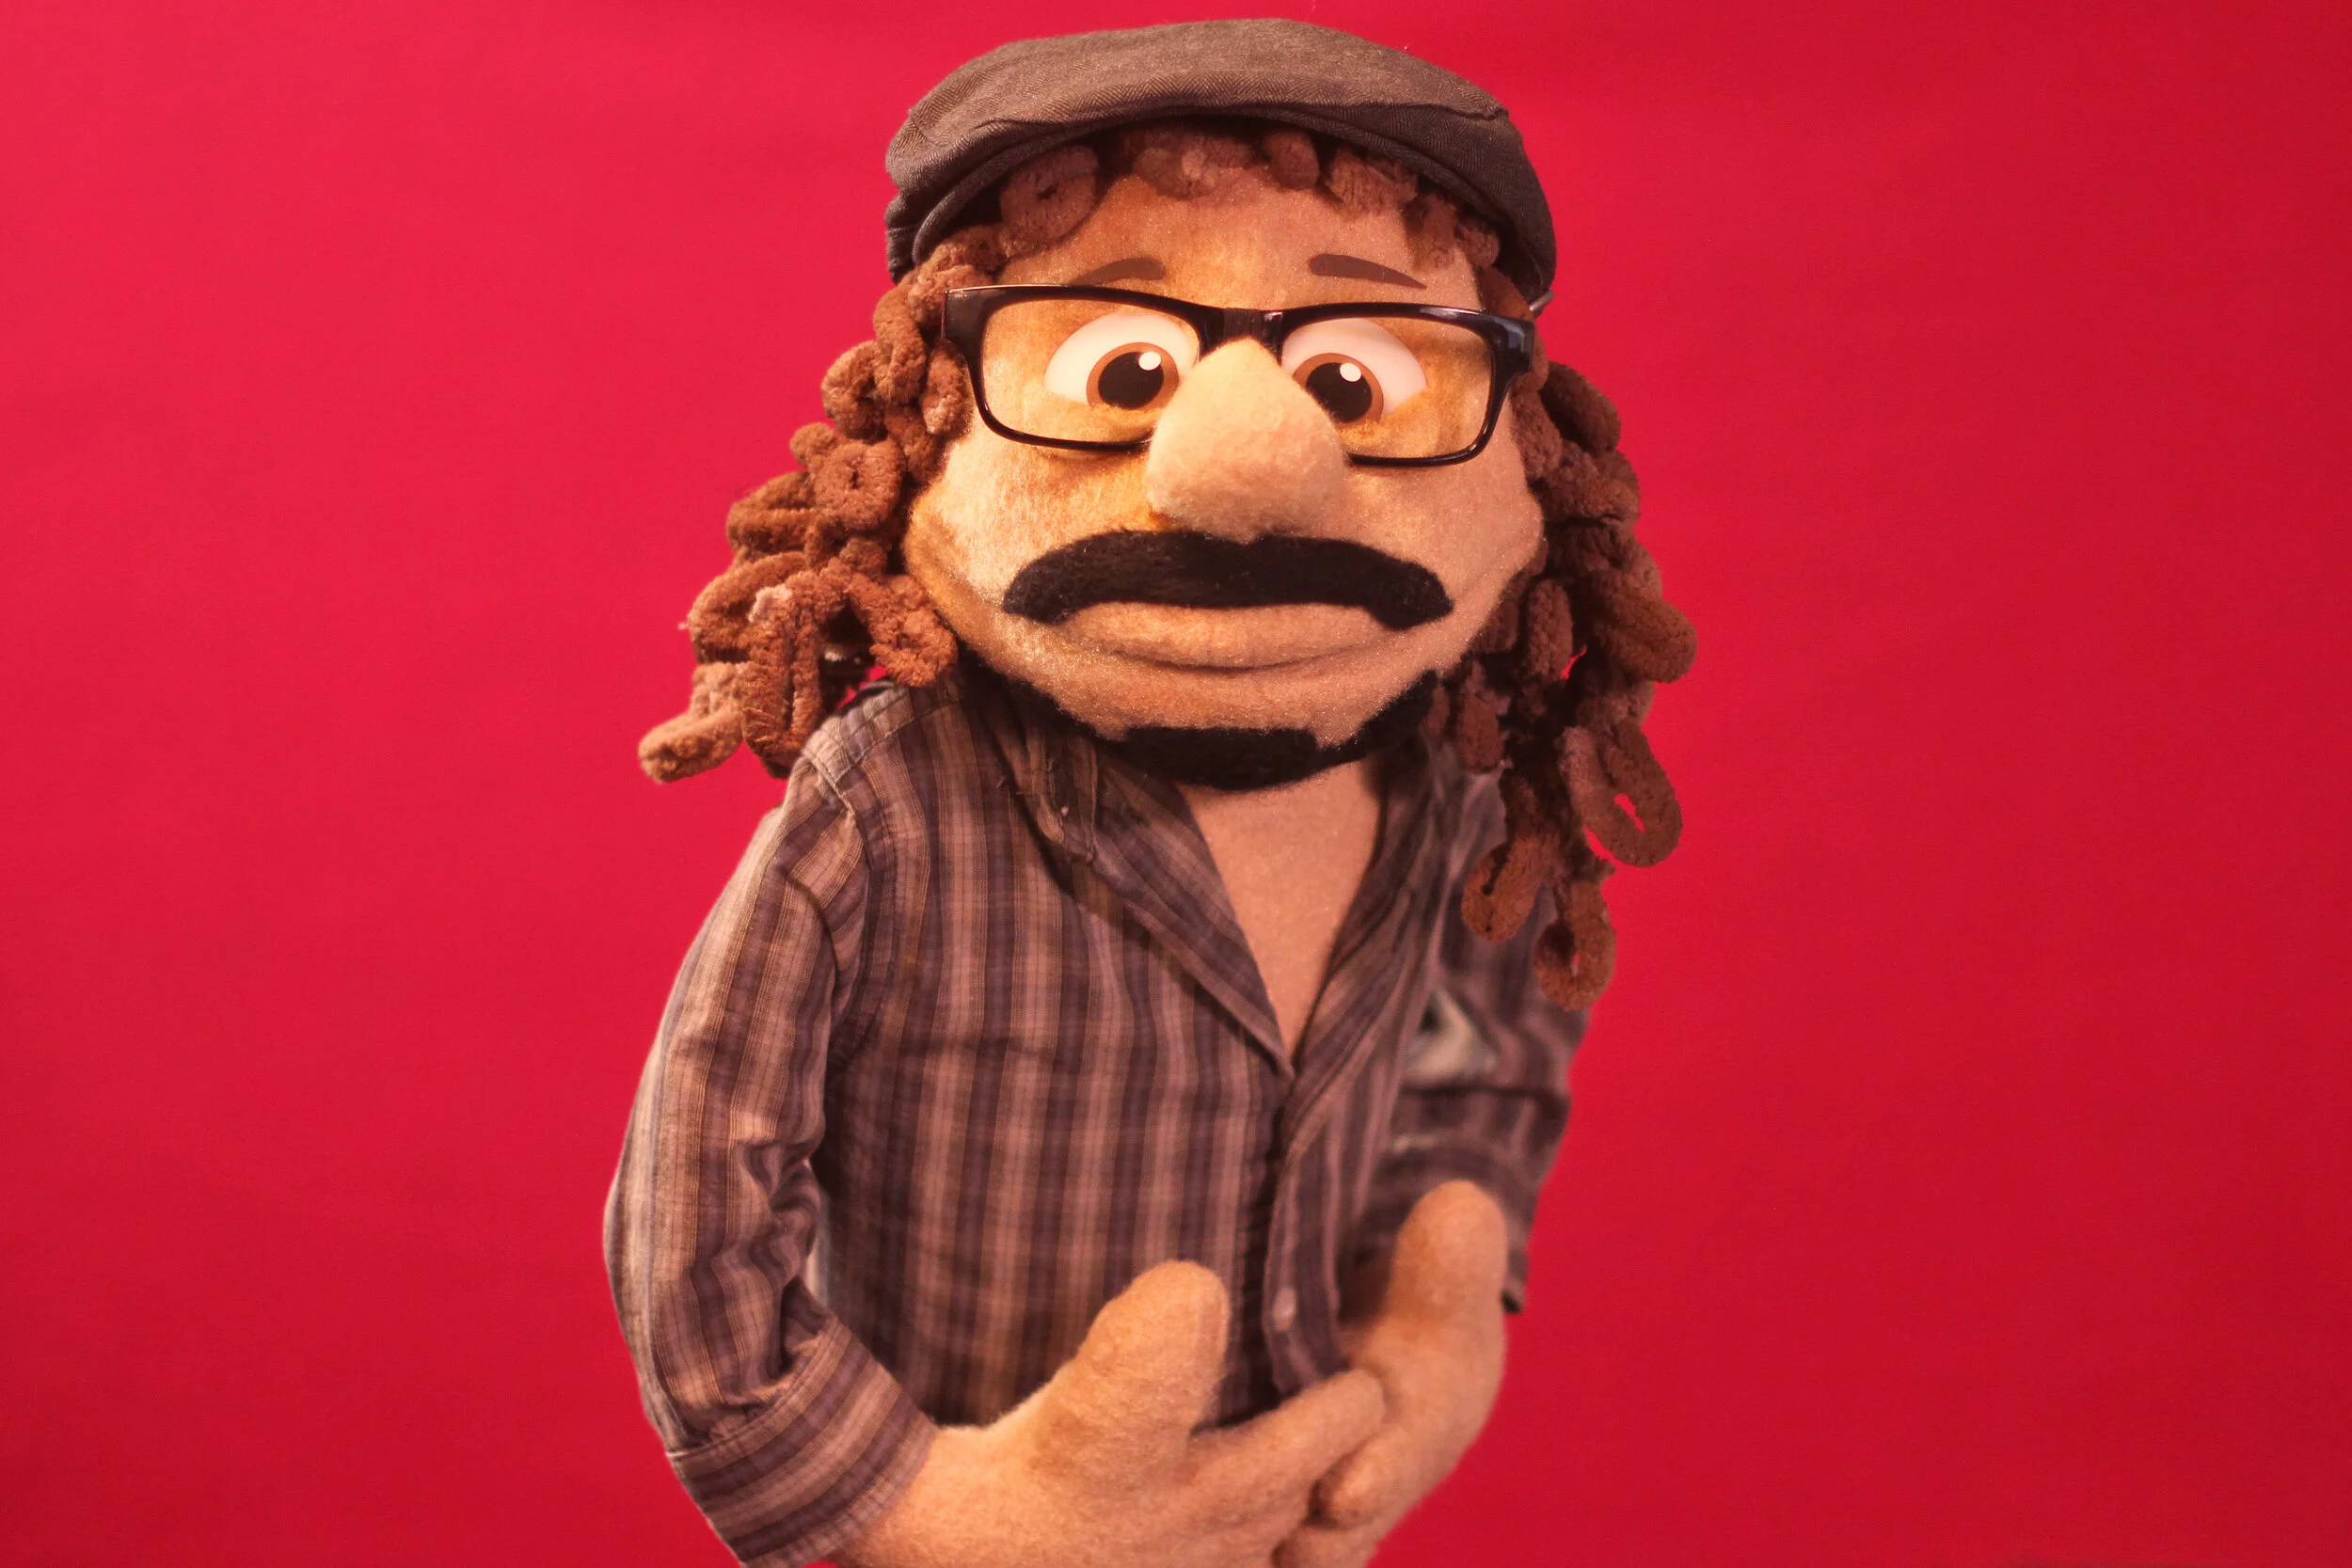
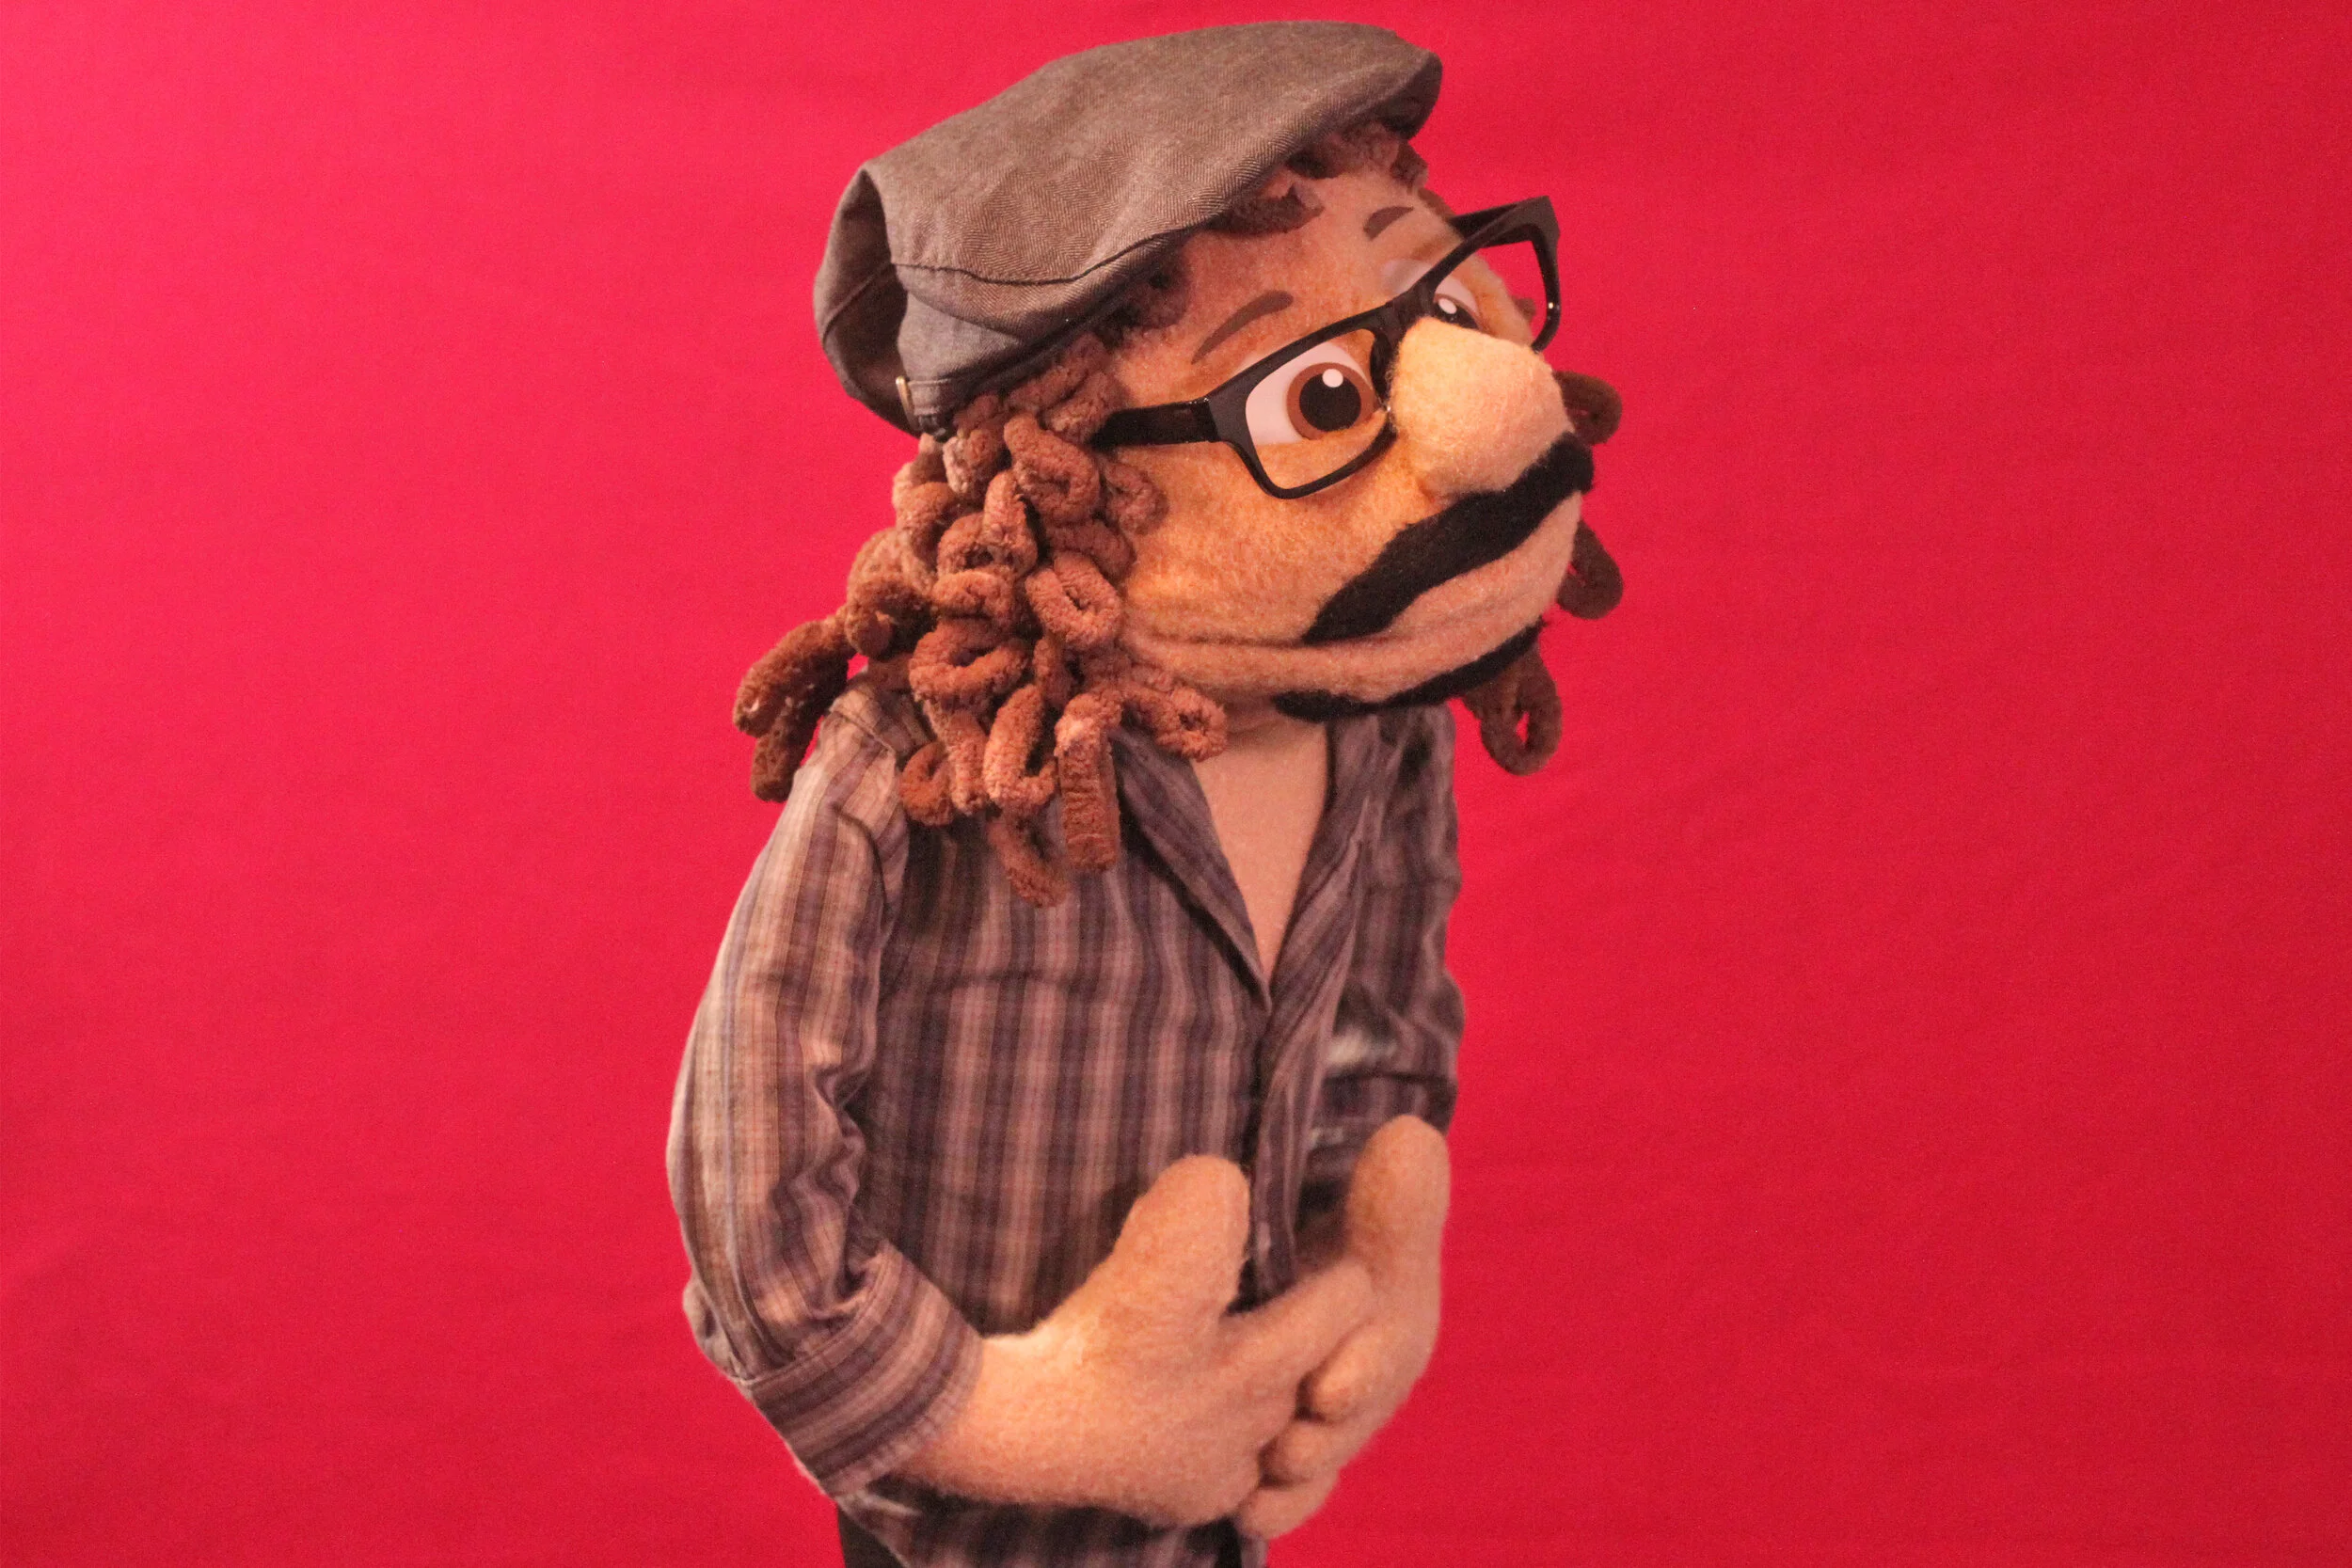
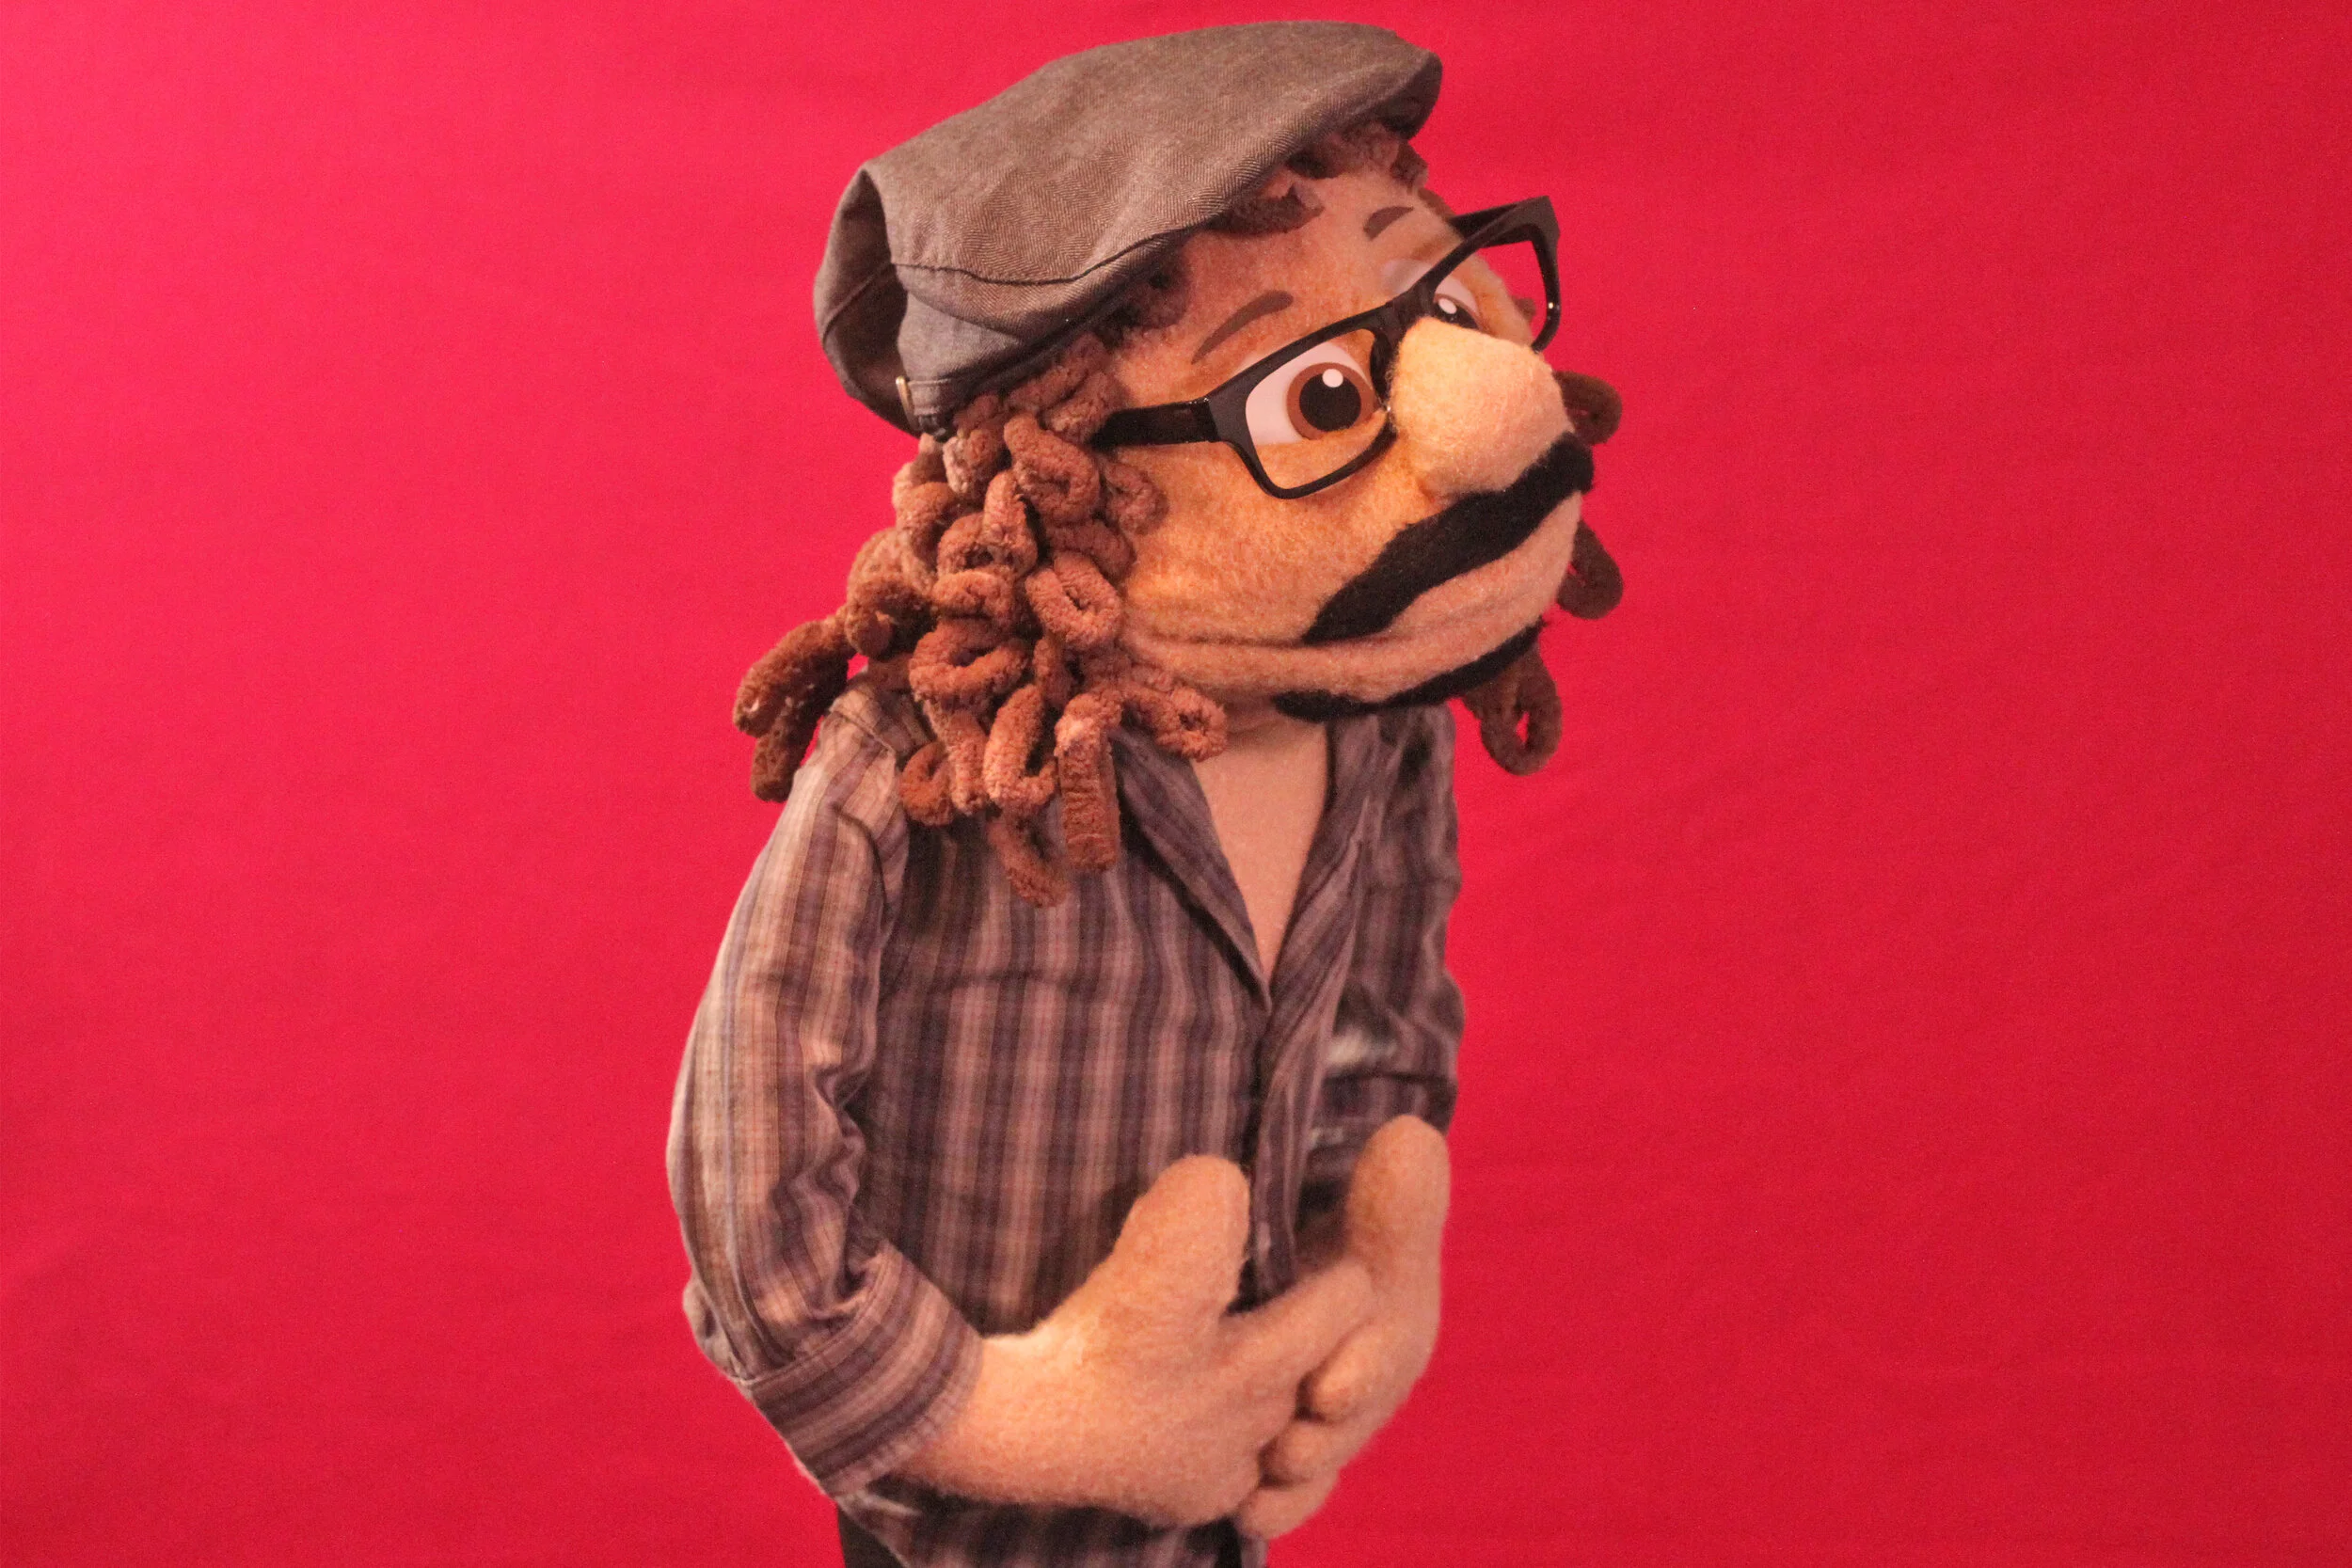
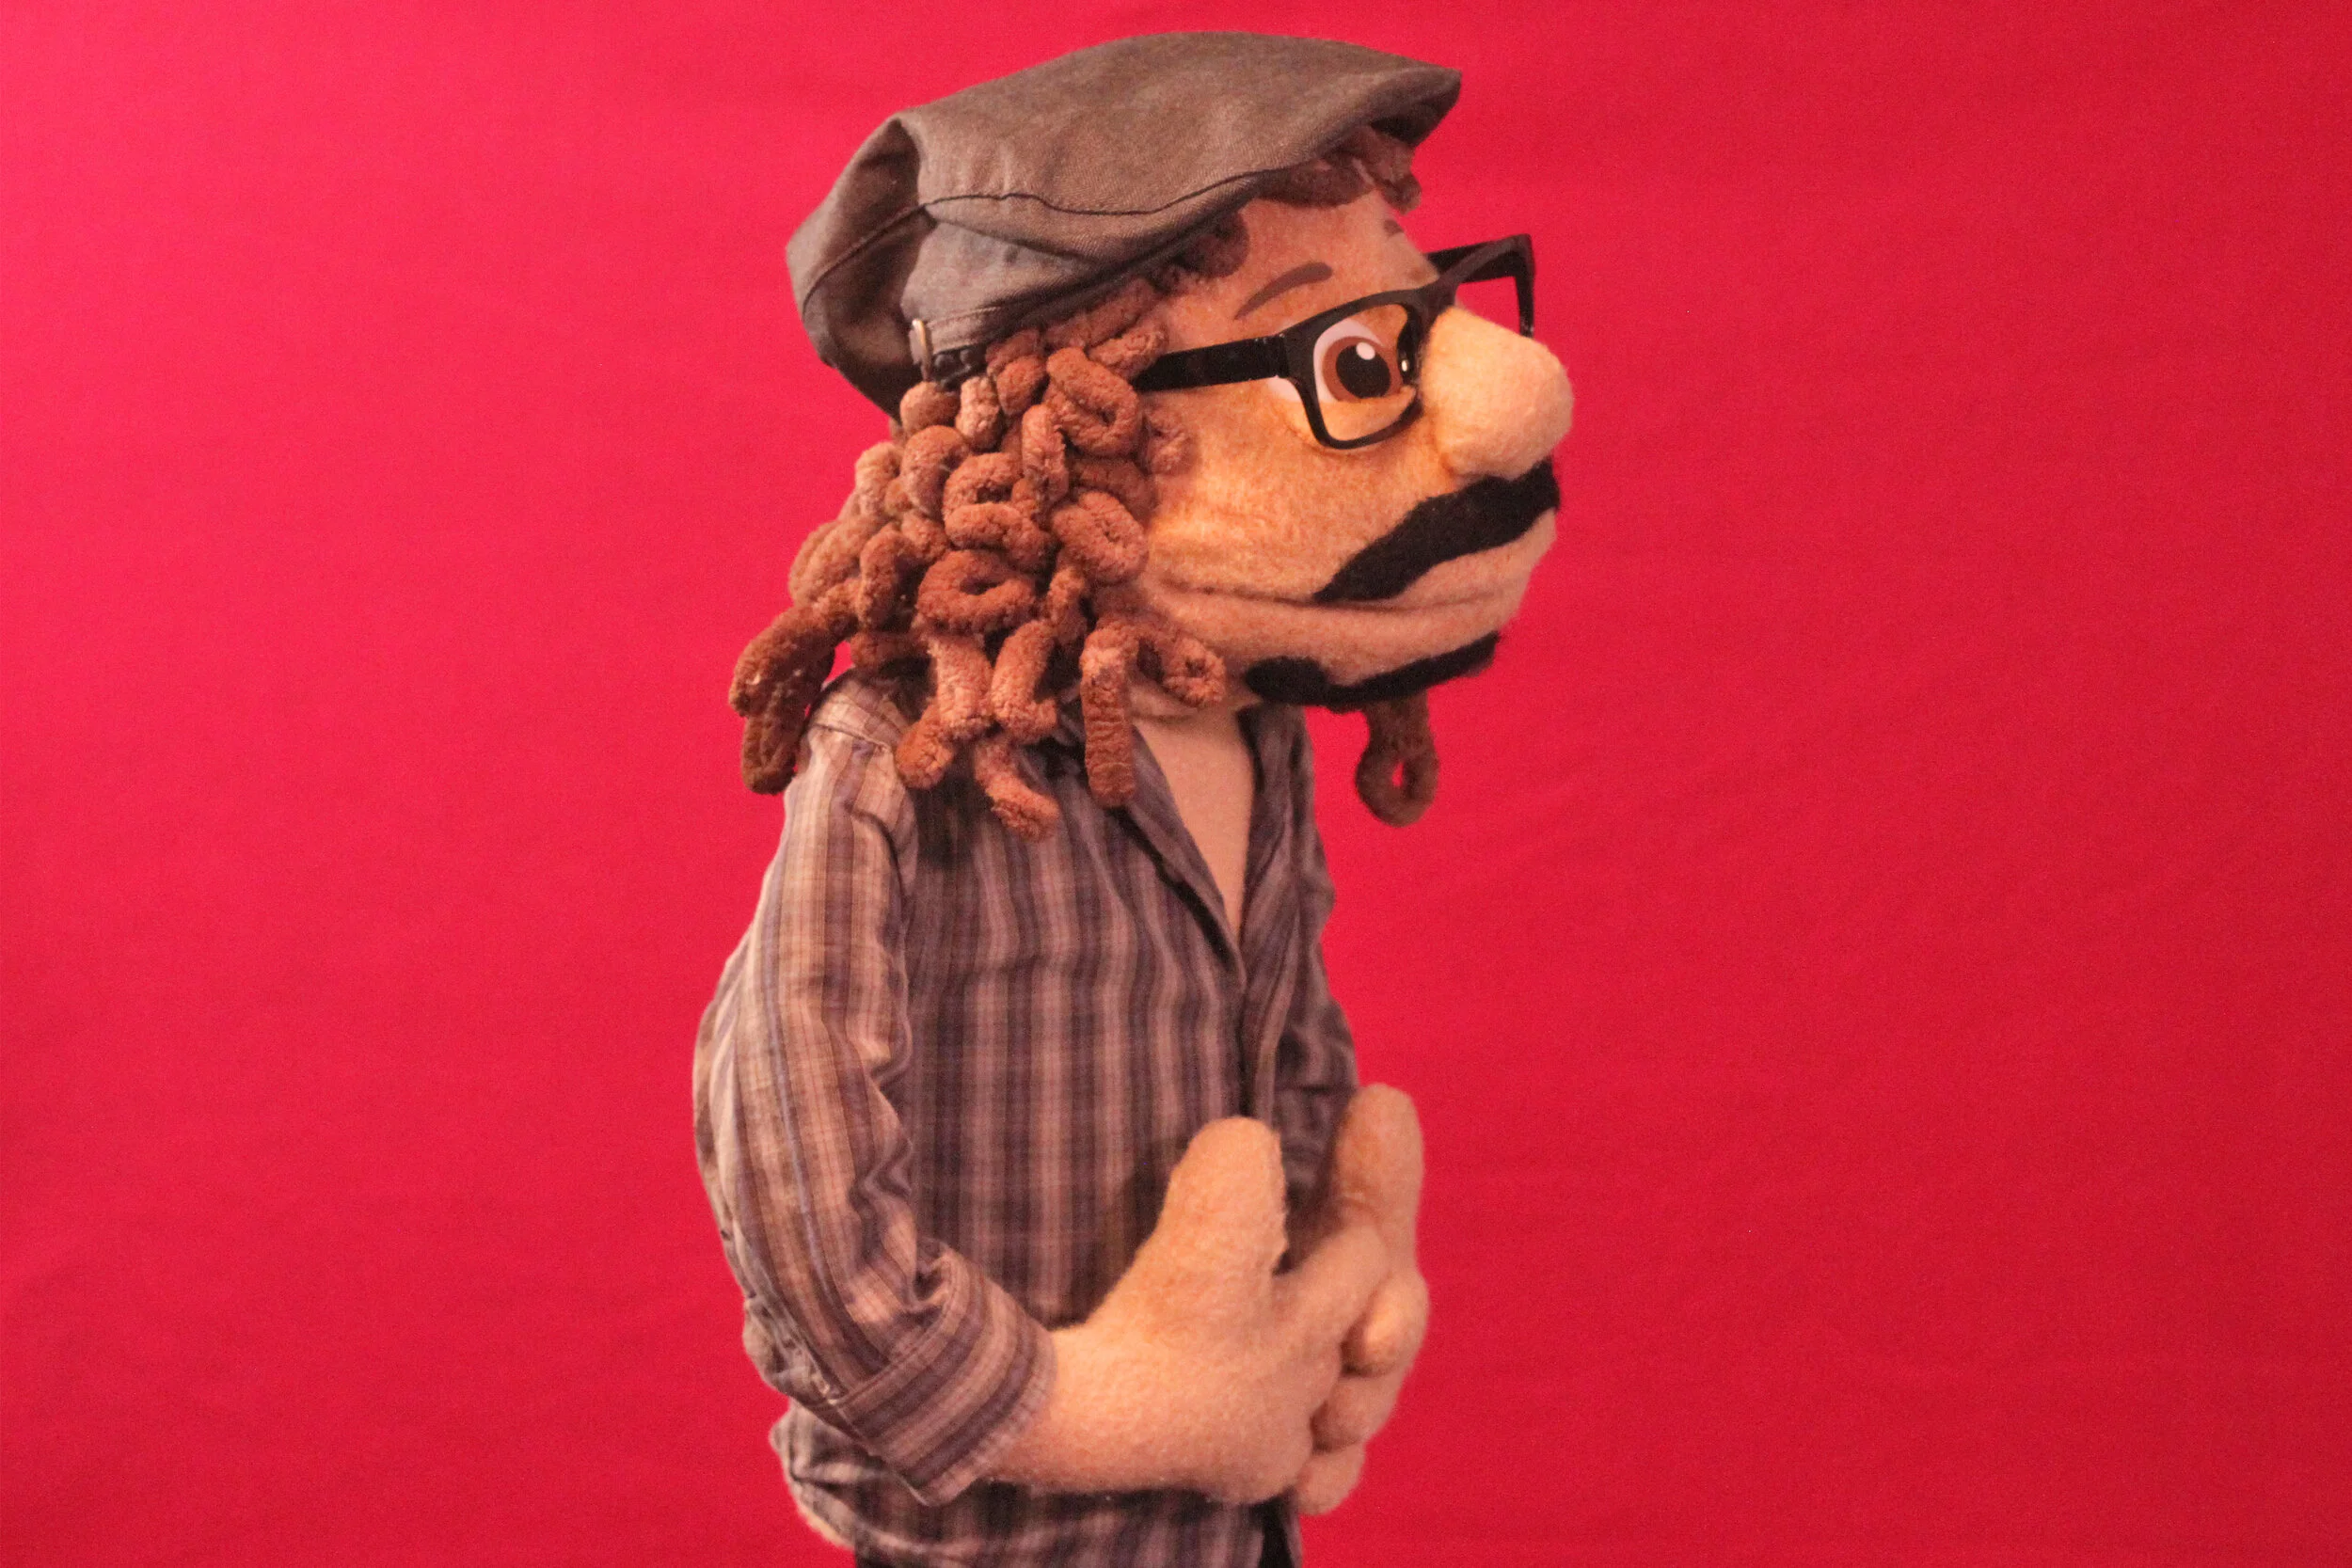
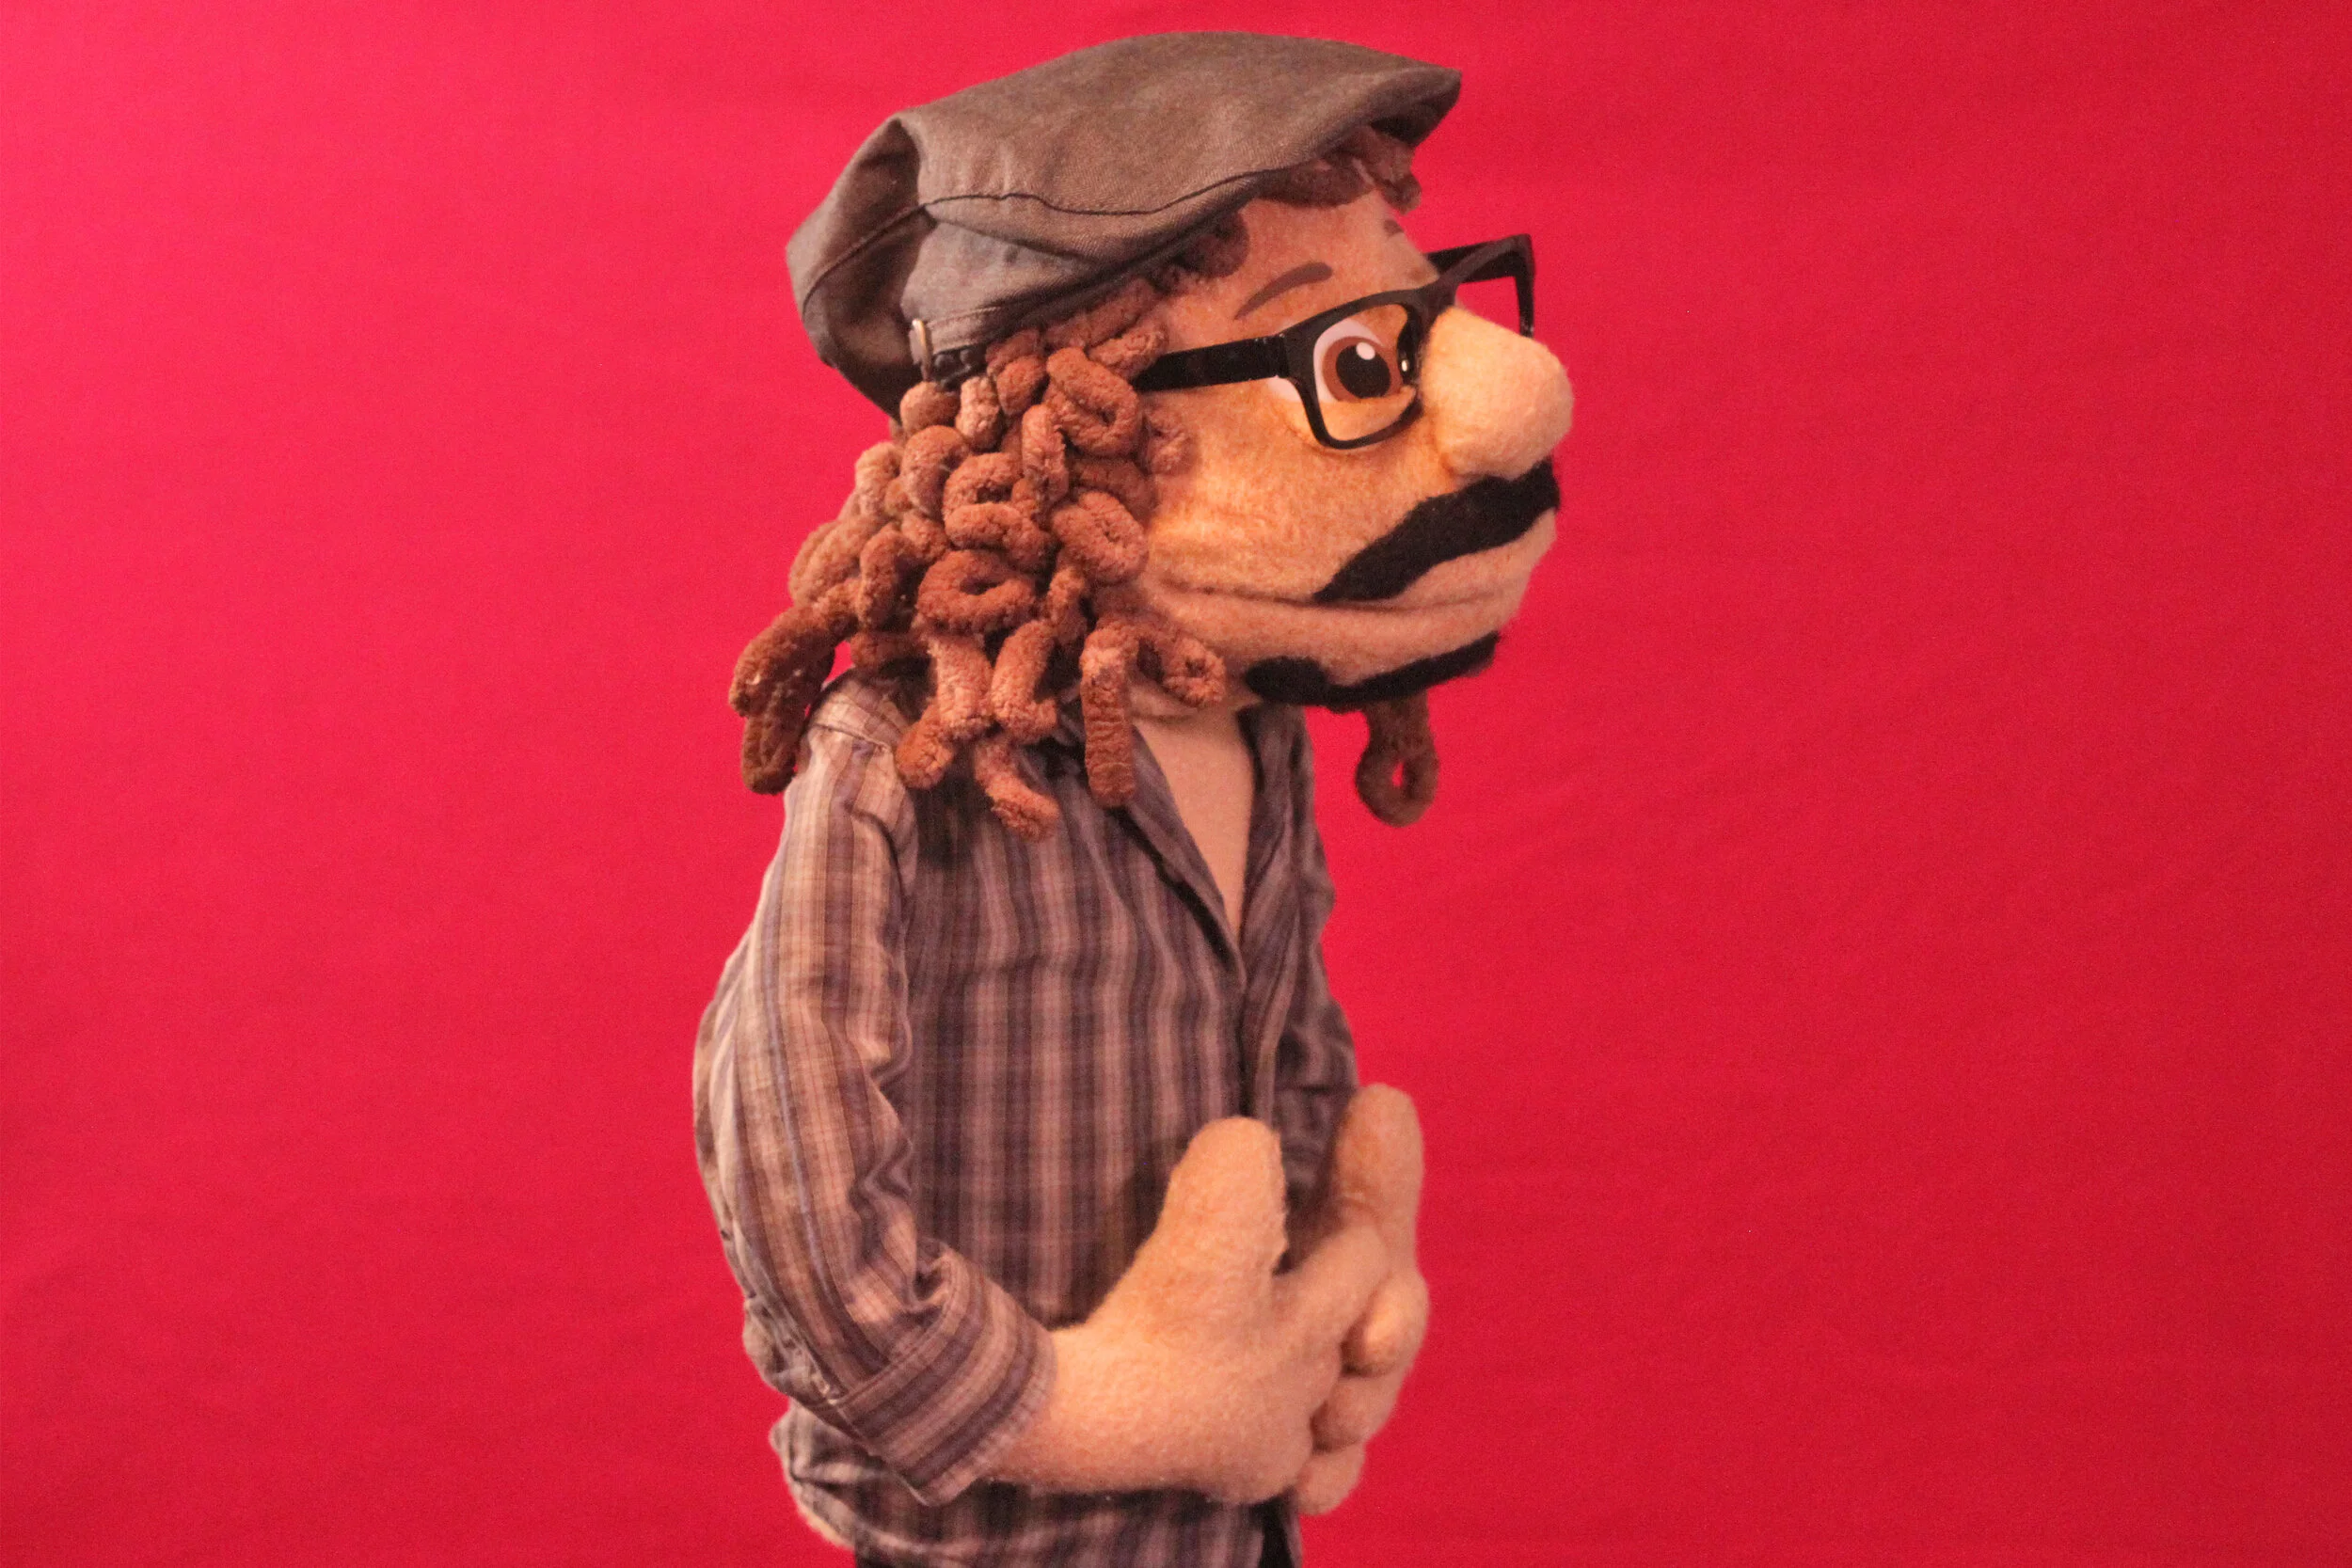
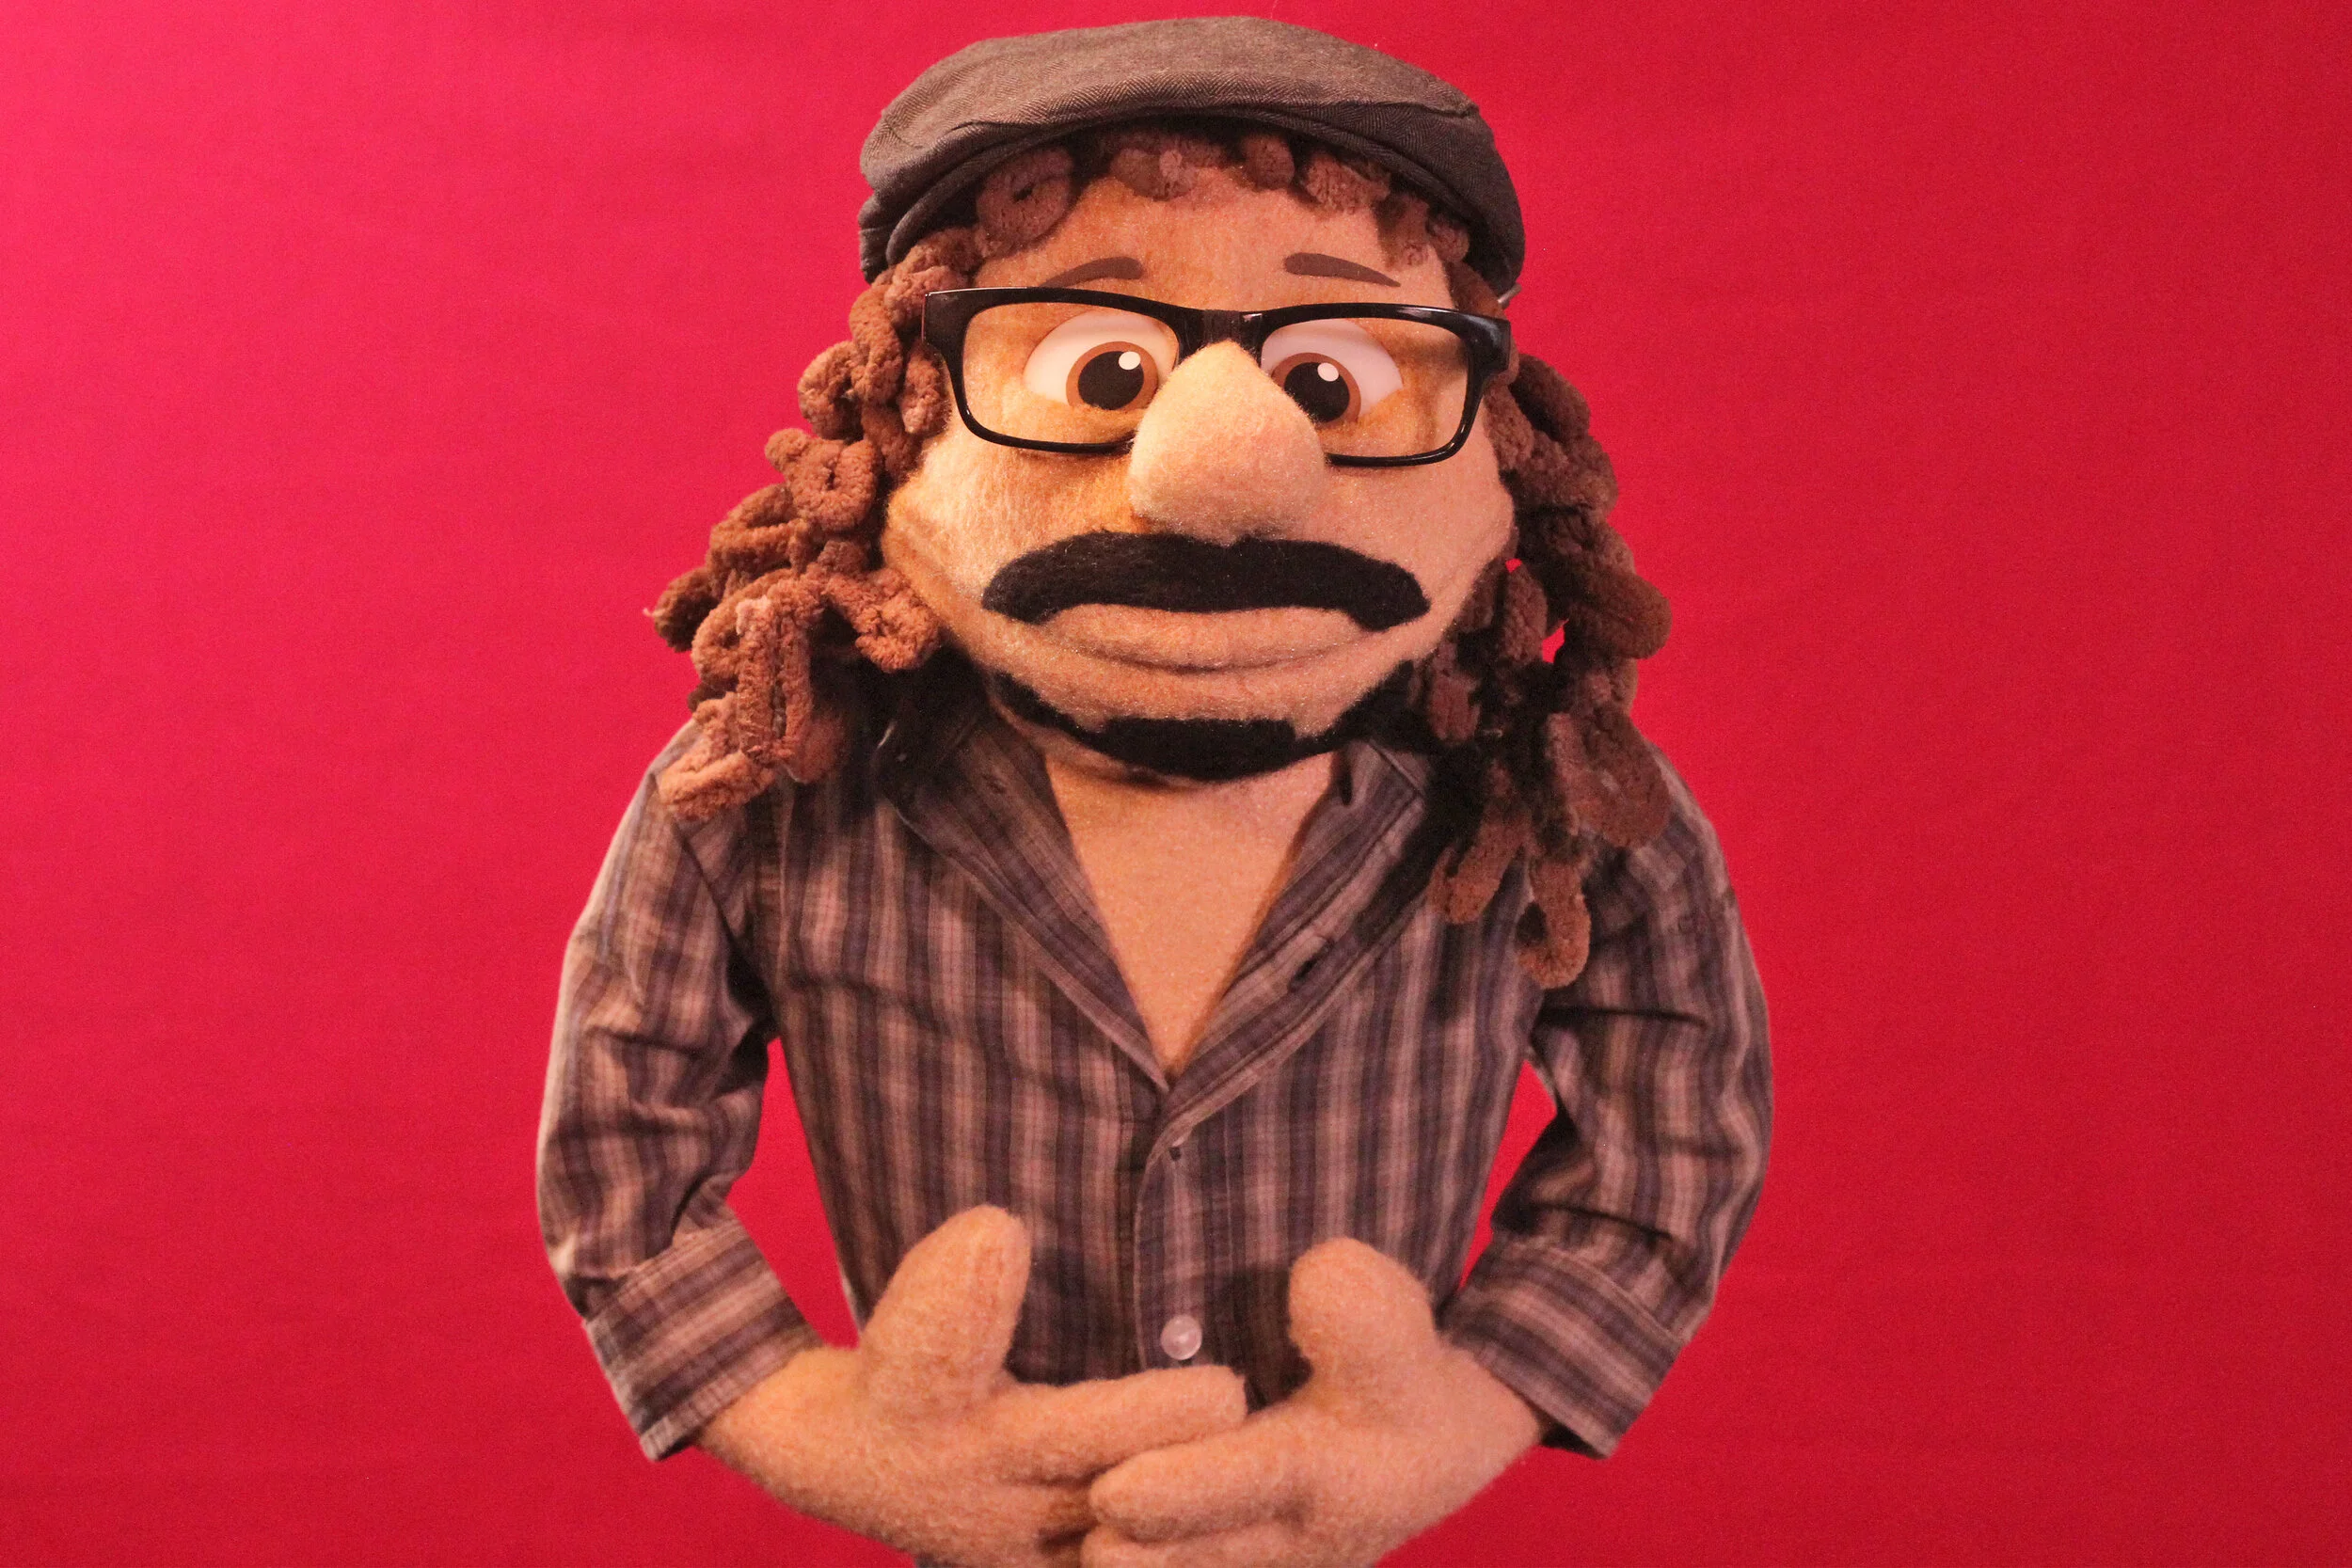
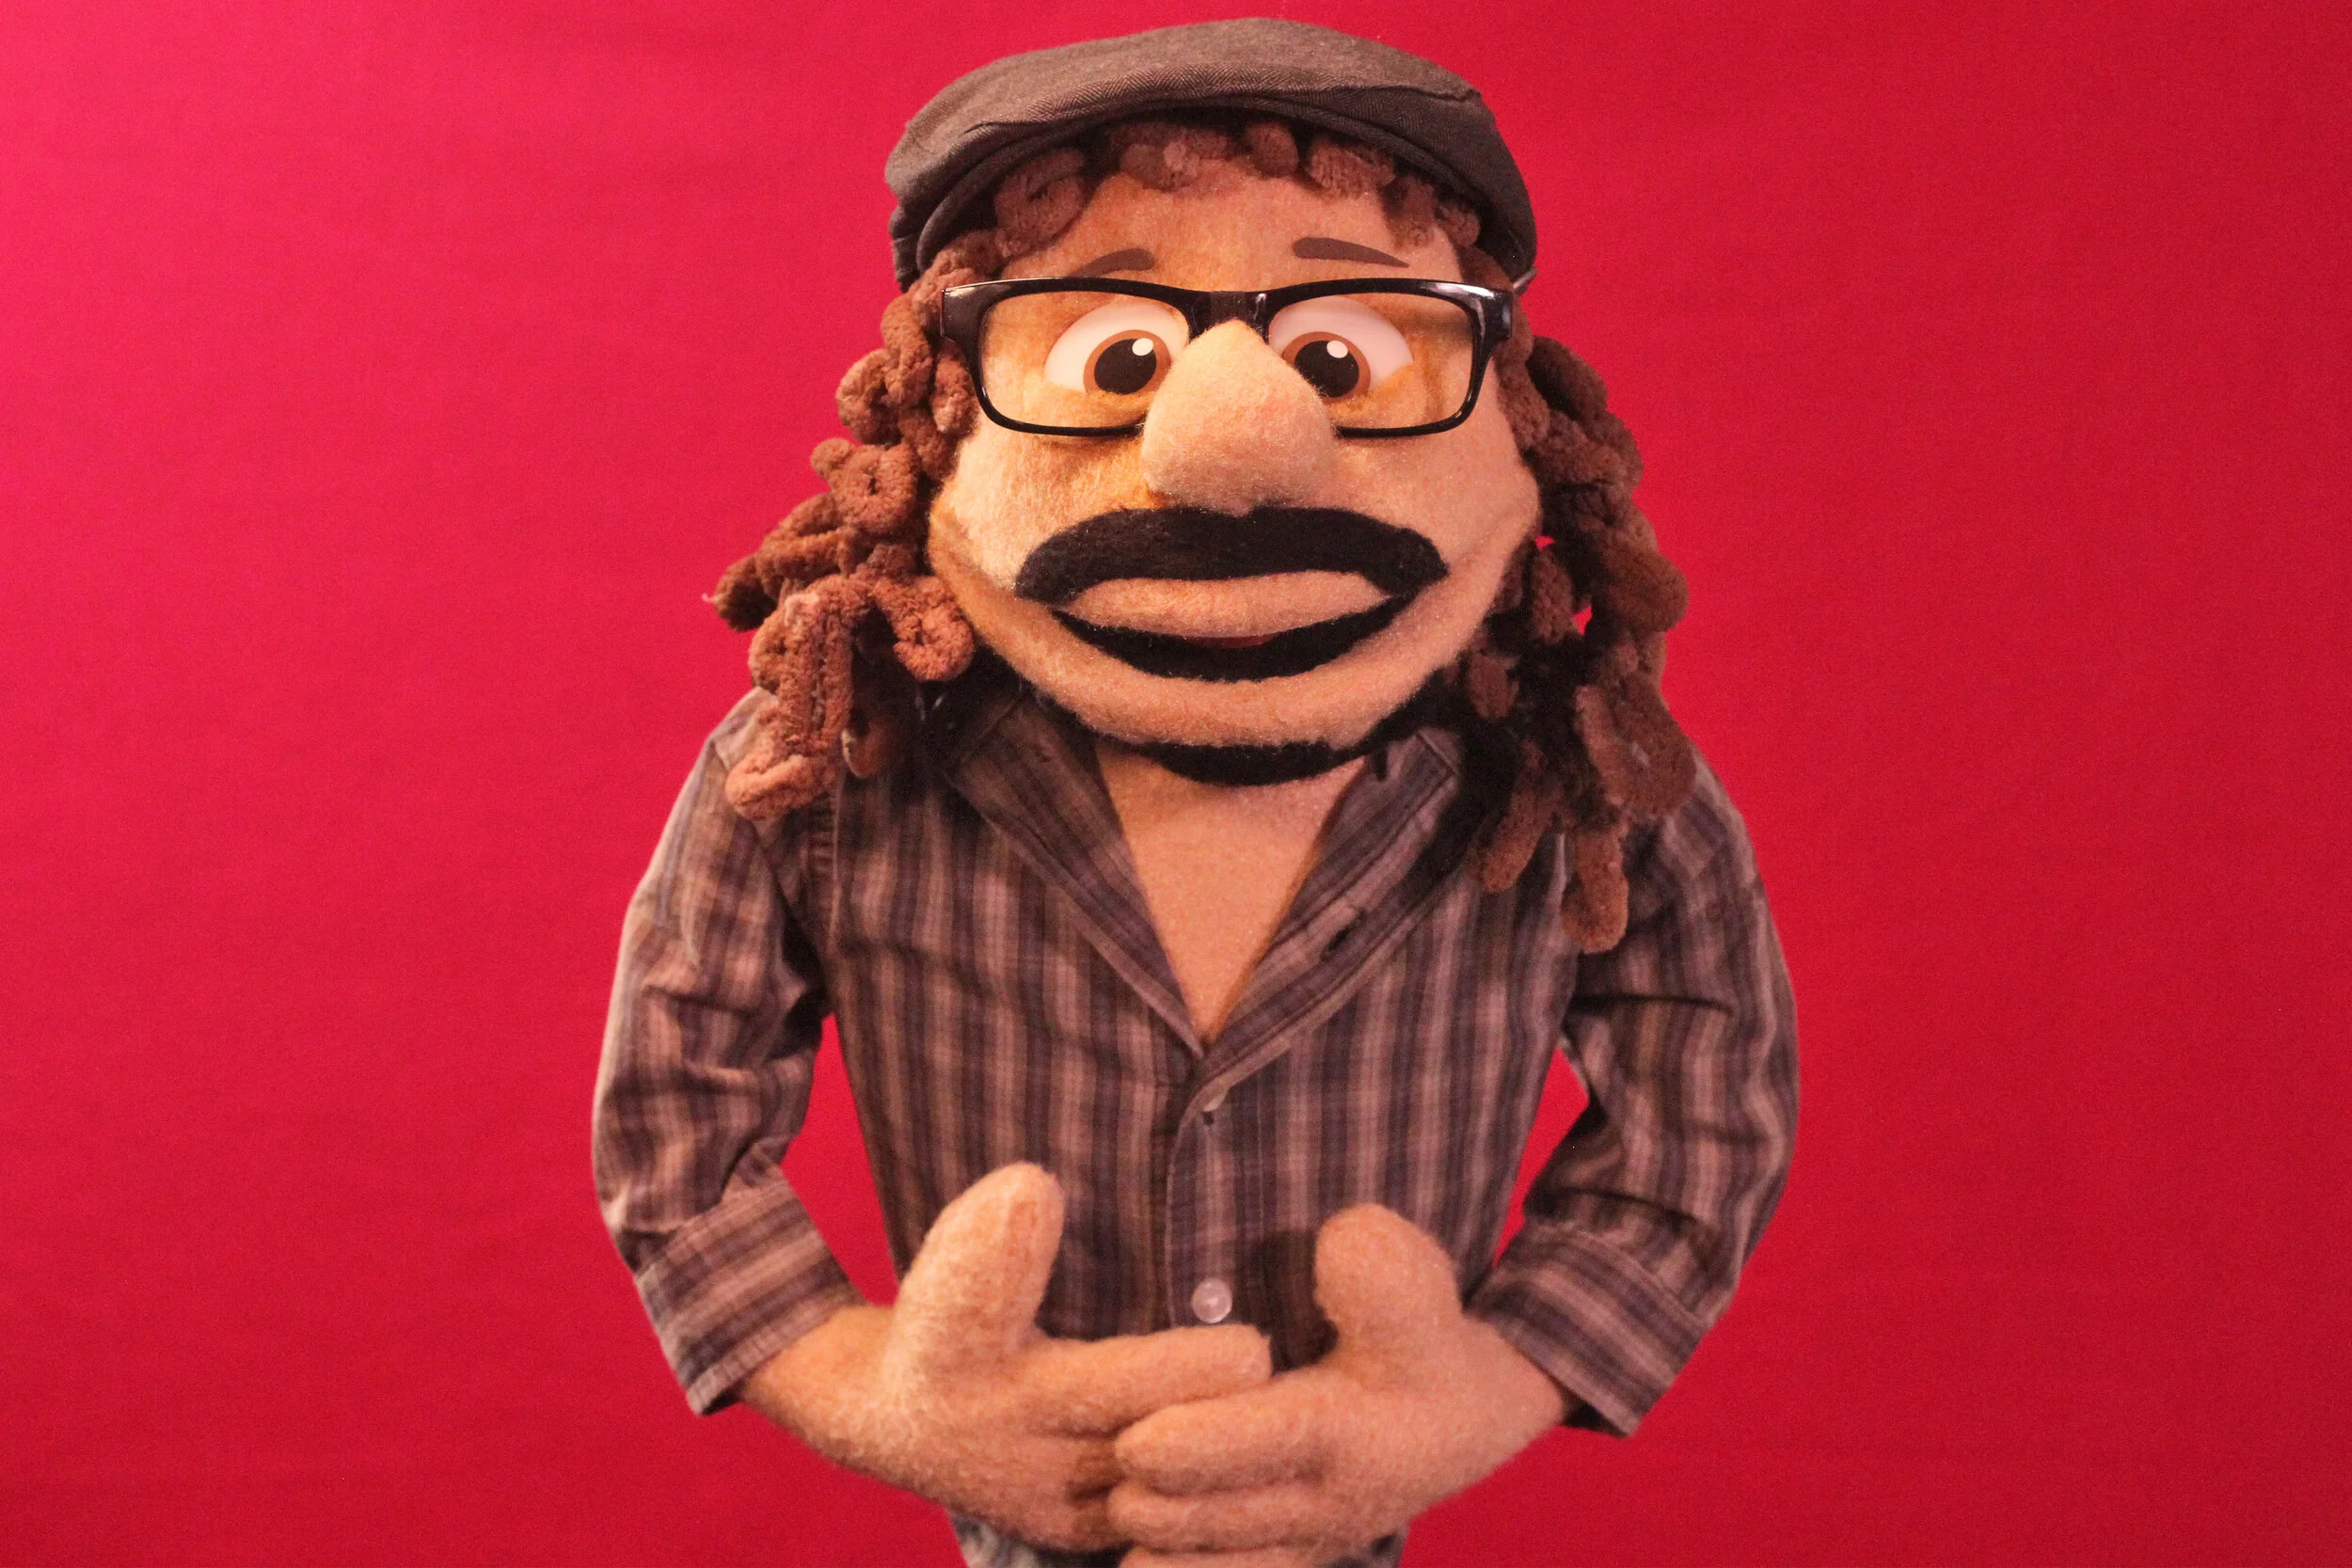
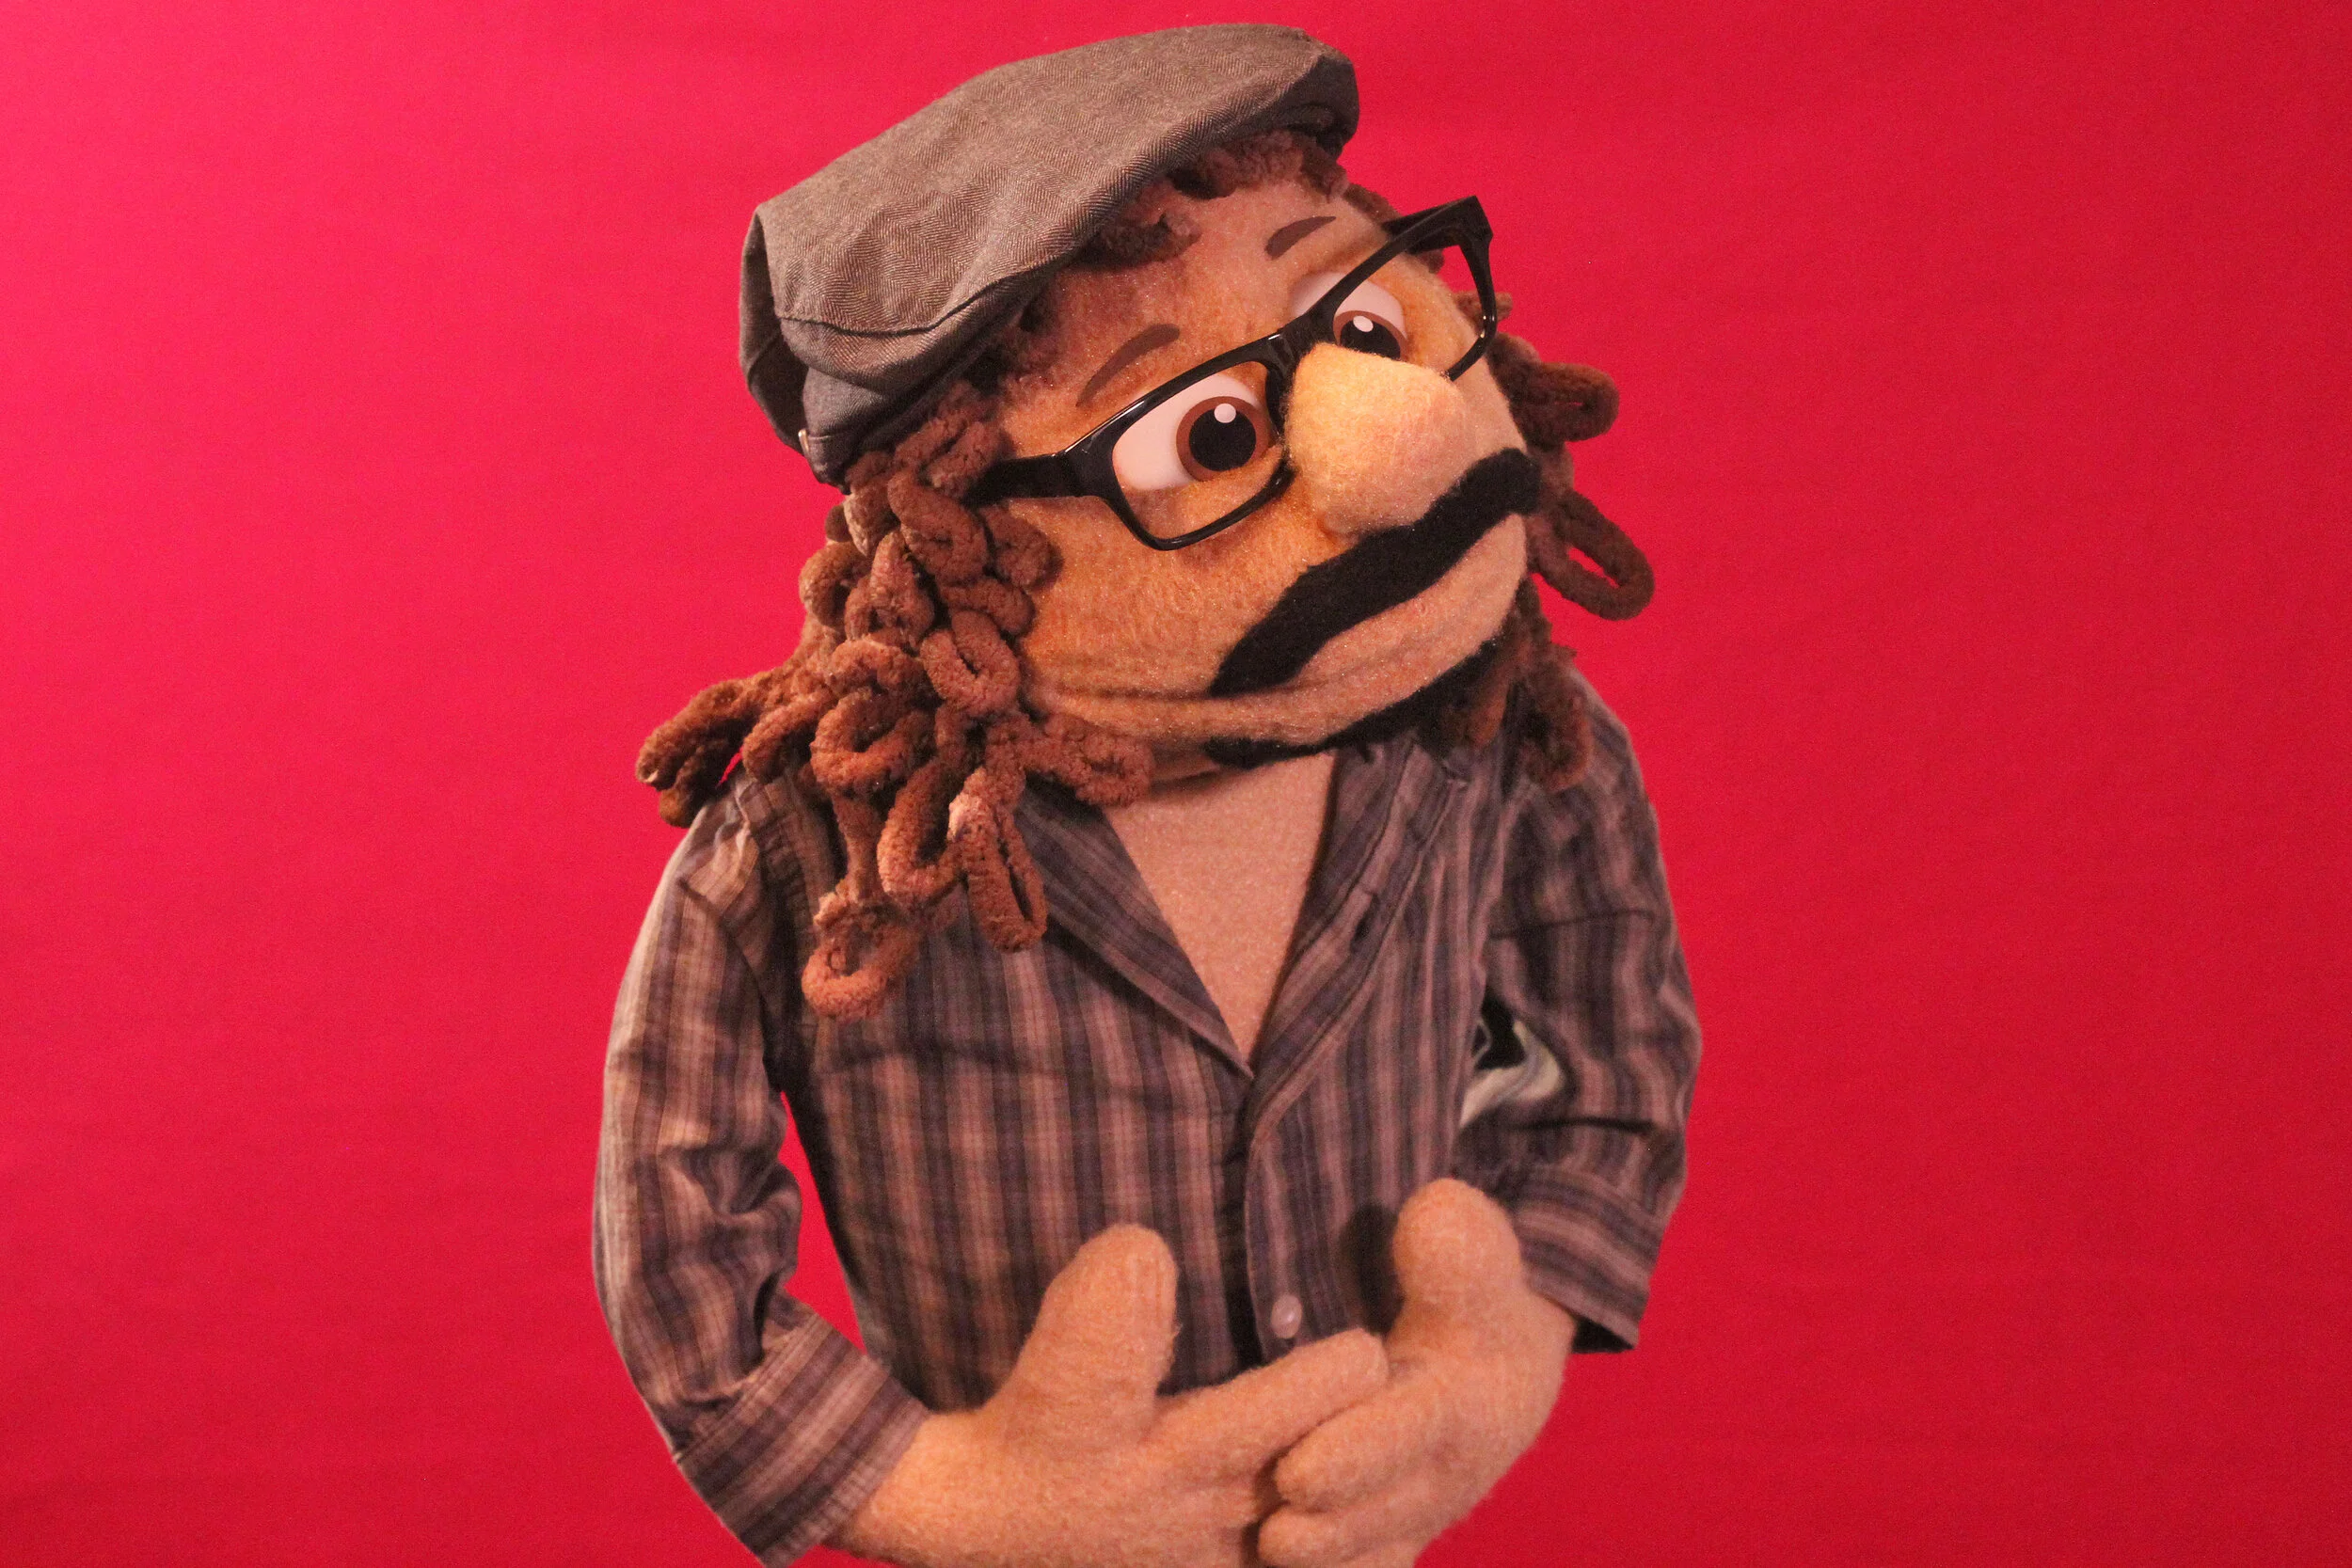
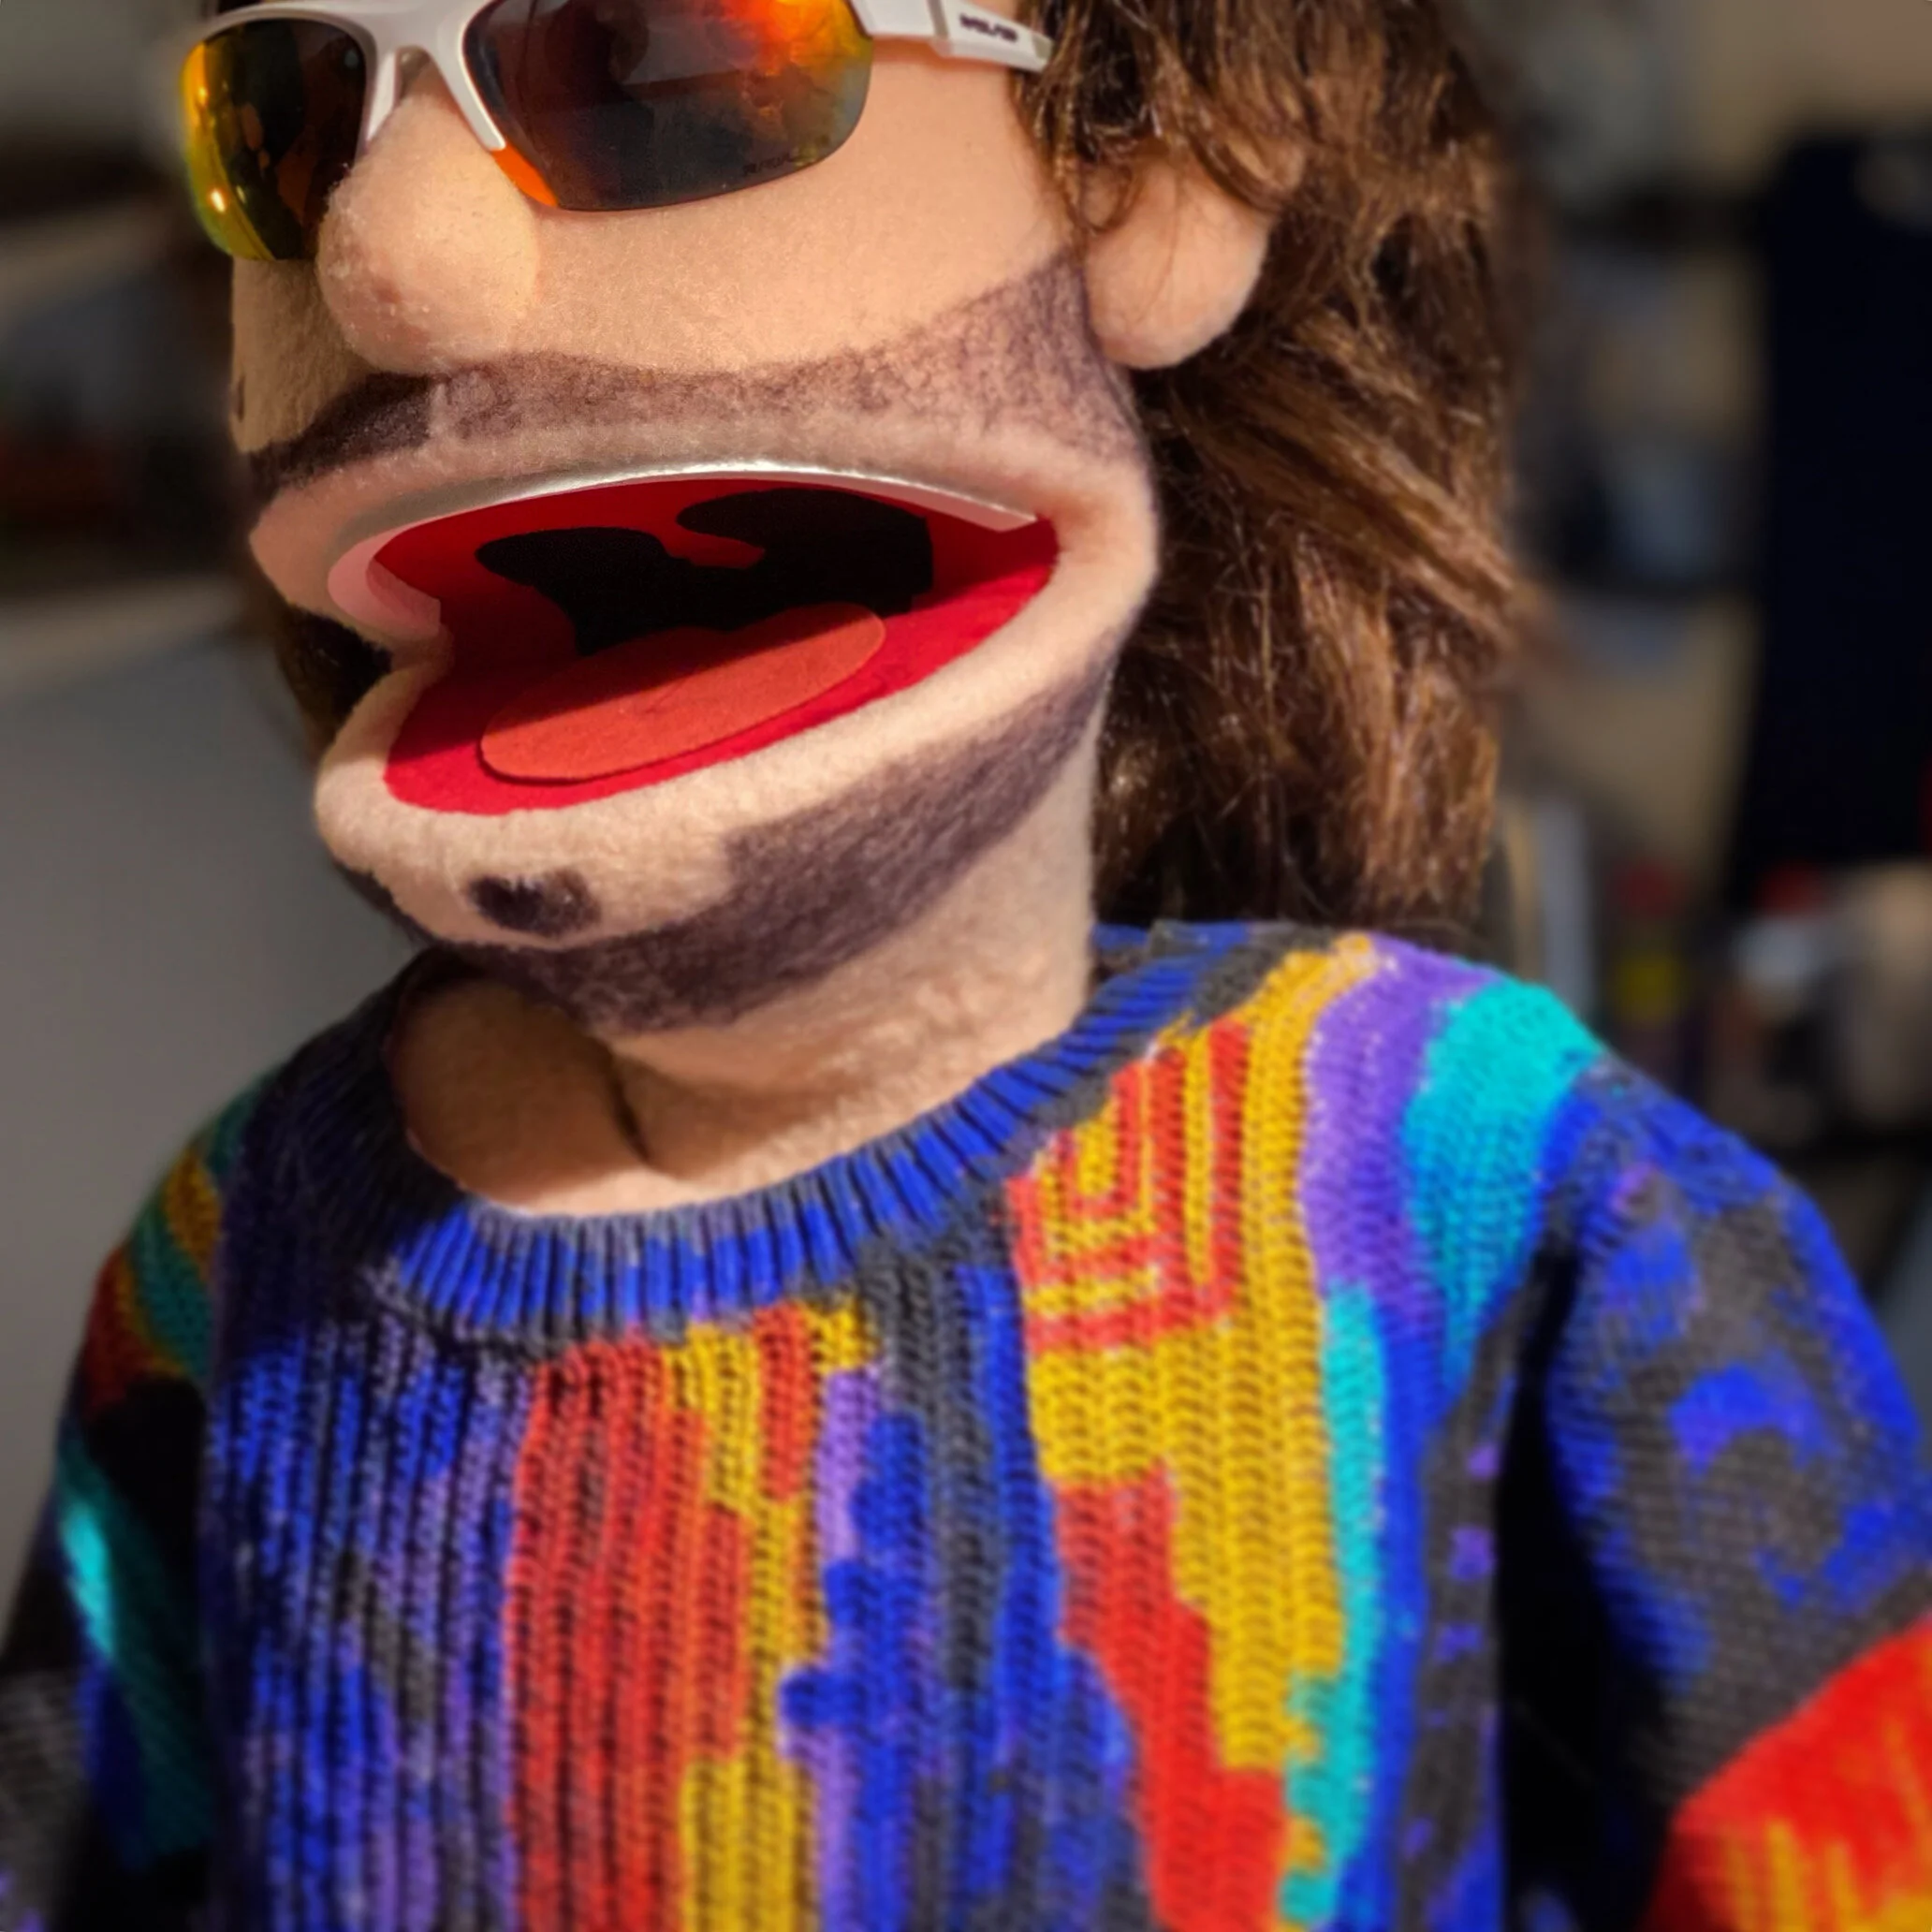
Today we’re featuring a new custom portrait puppet that we just built for a client’s husband as a birthday present for her husband.
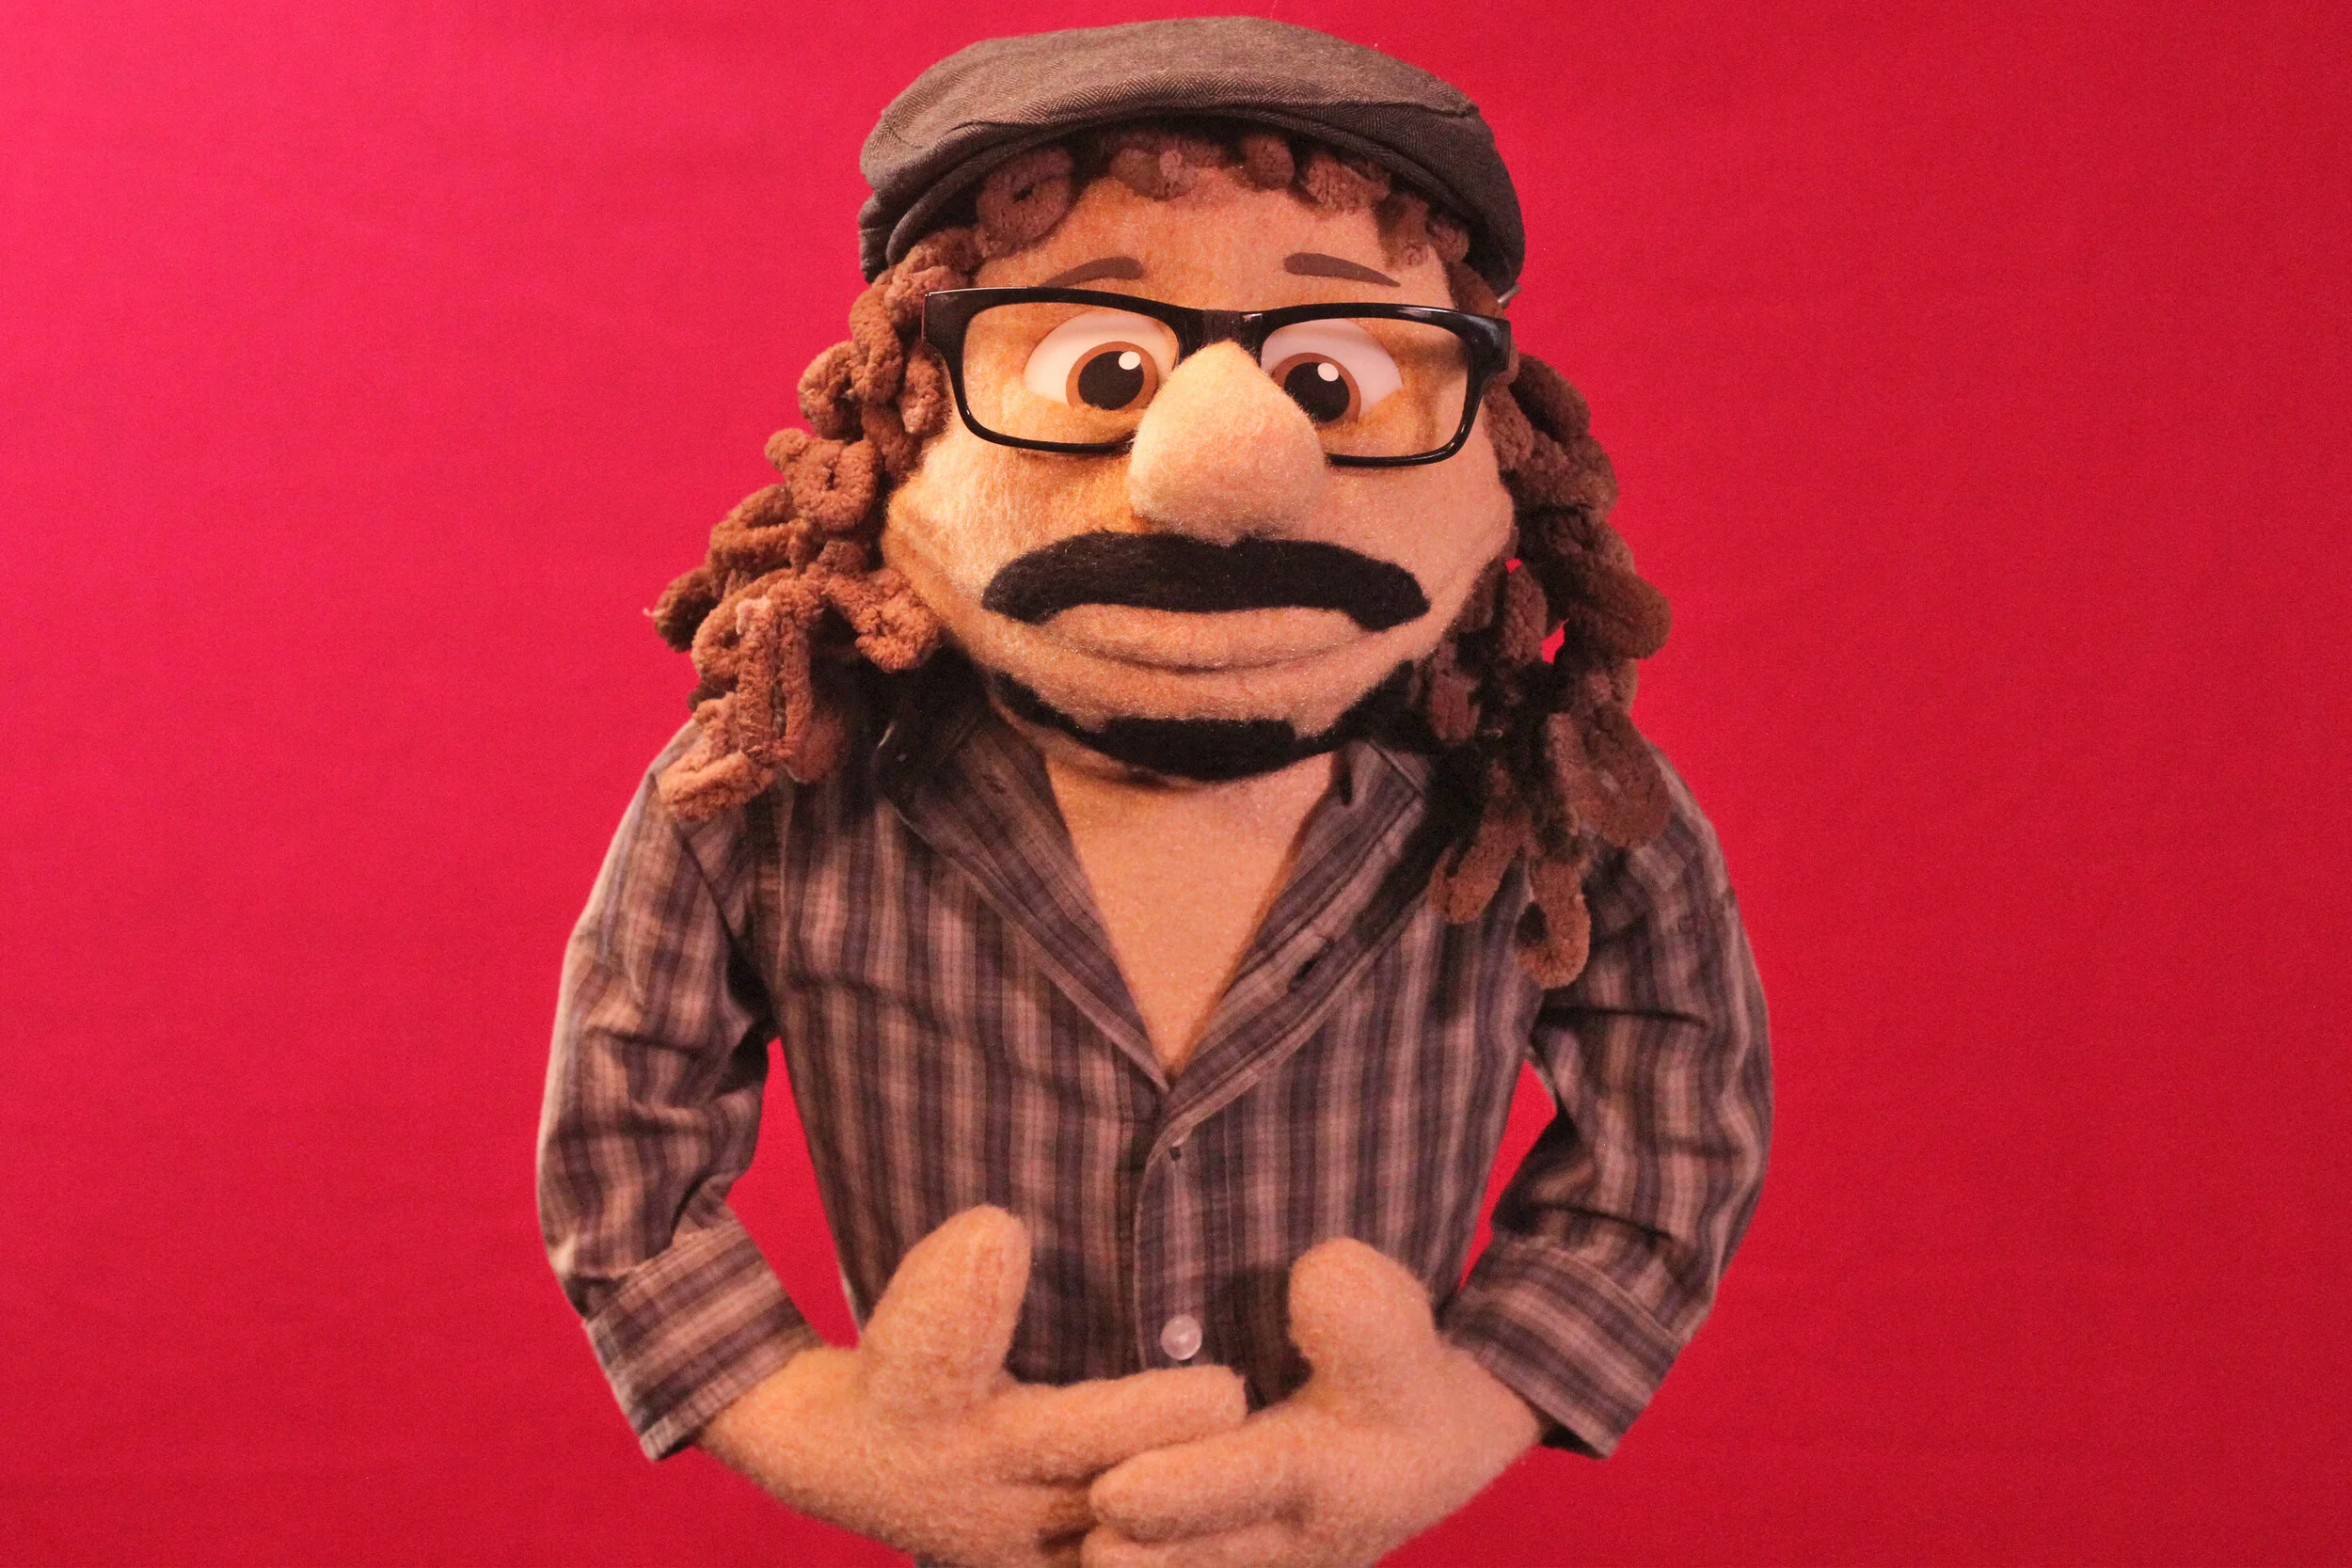
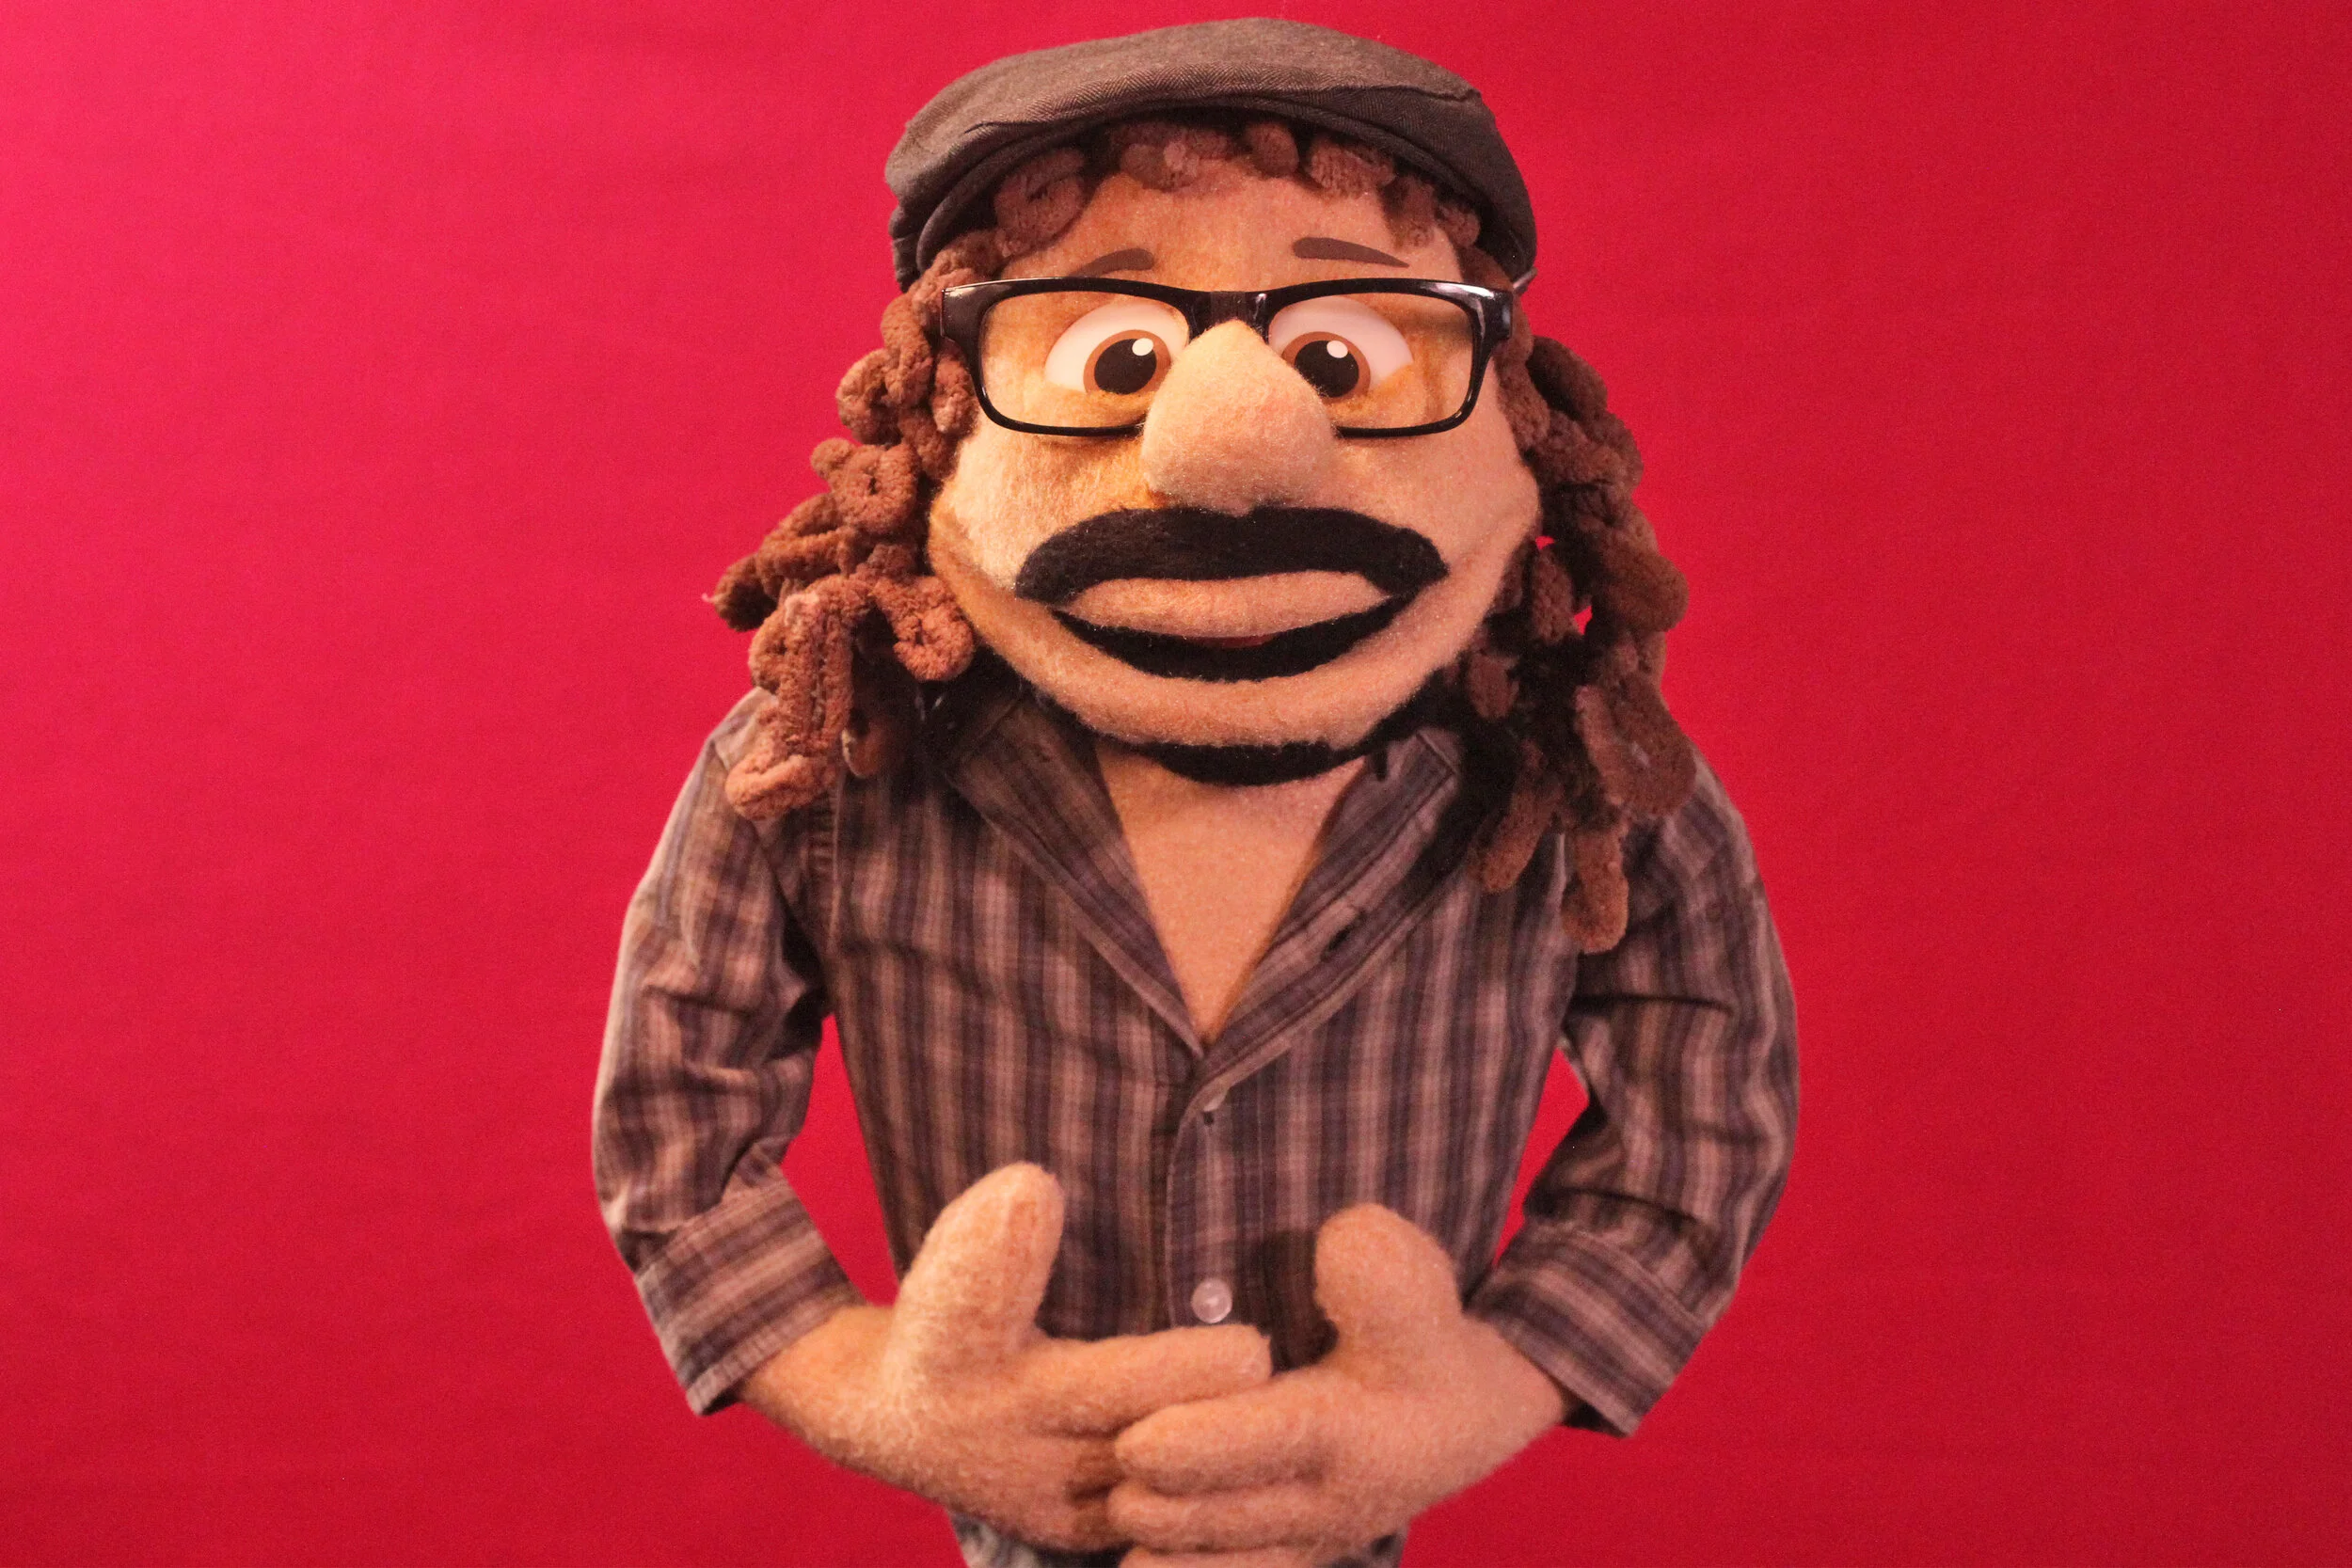
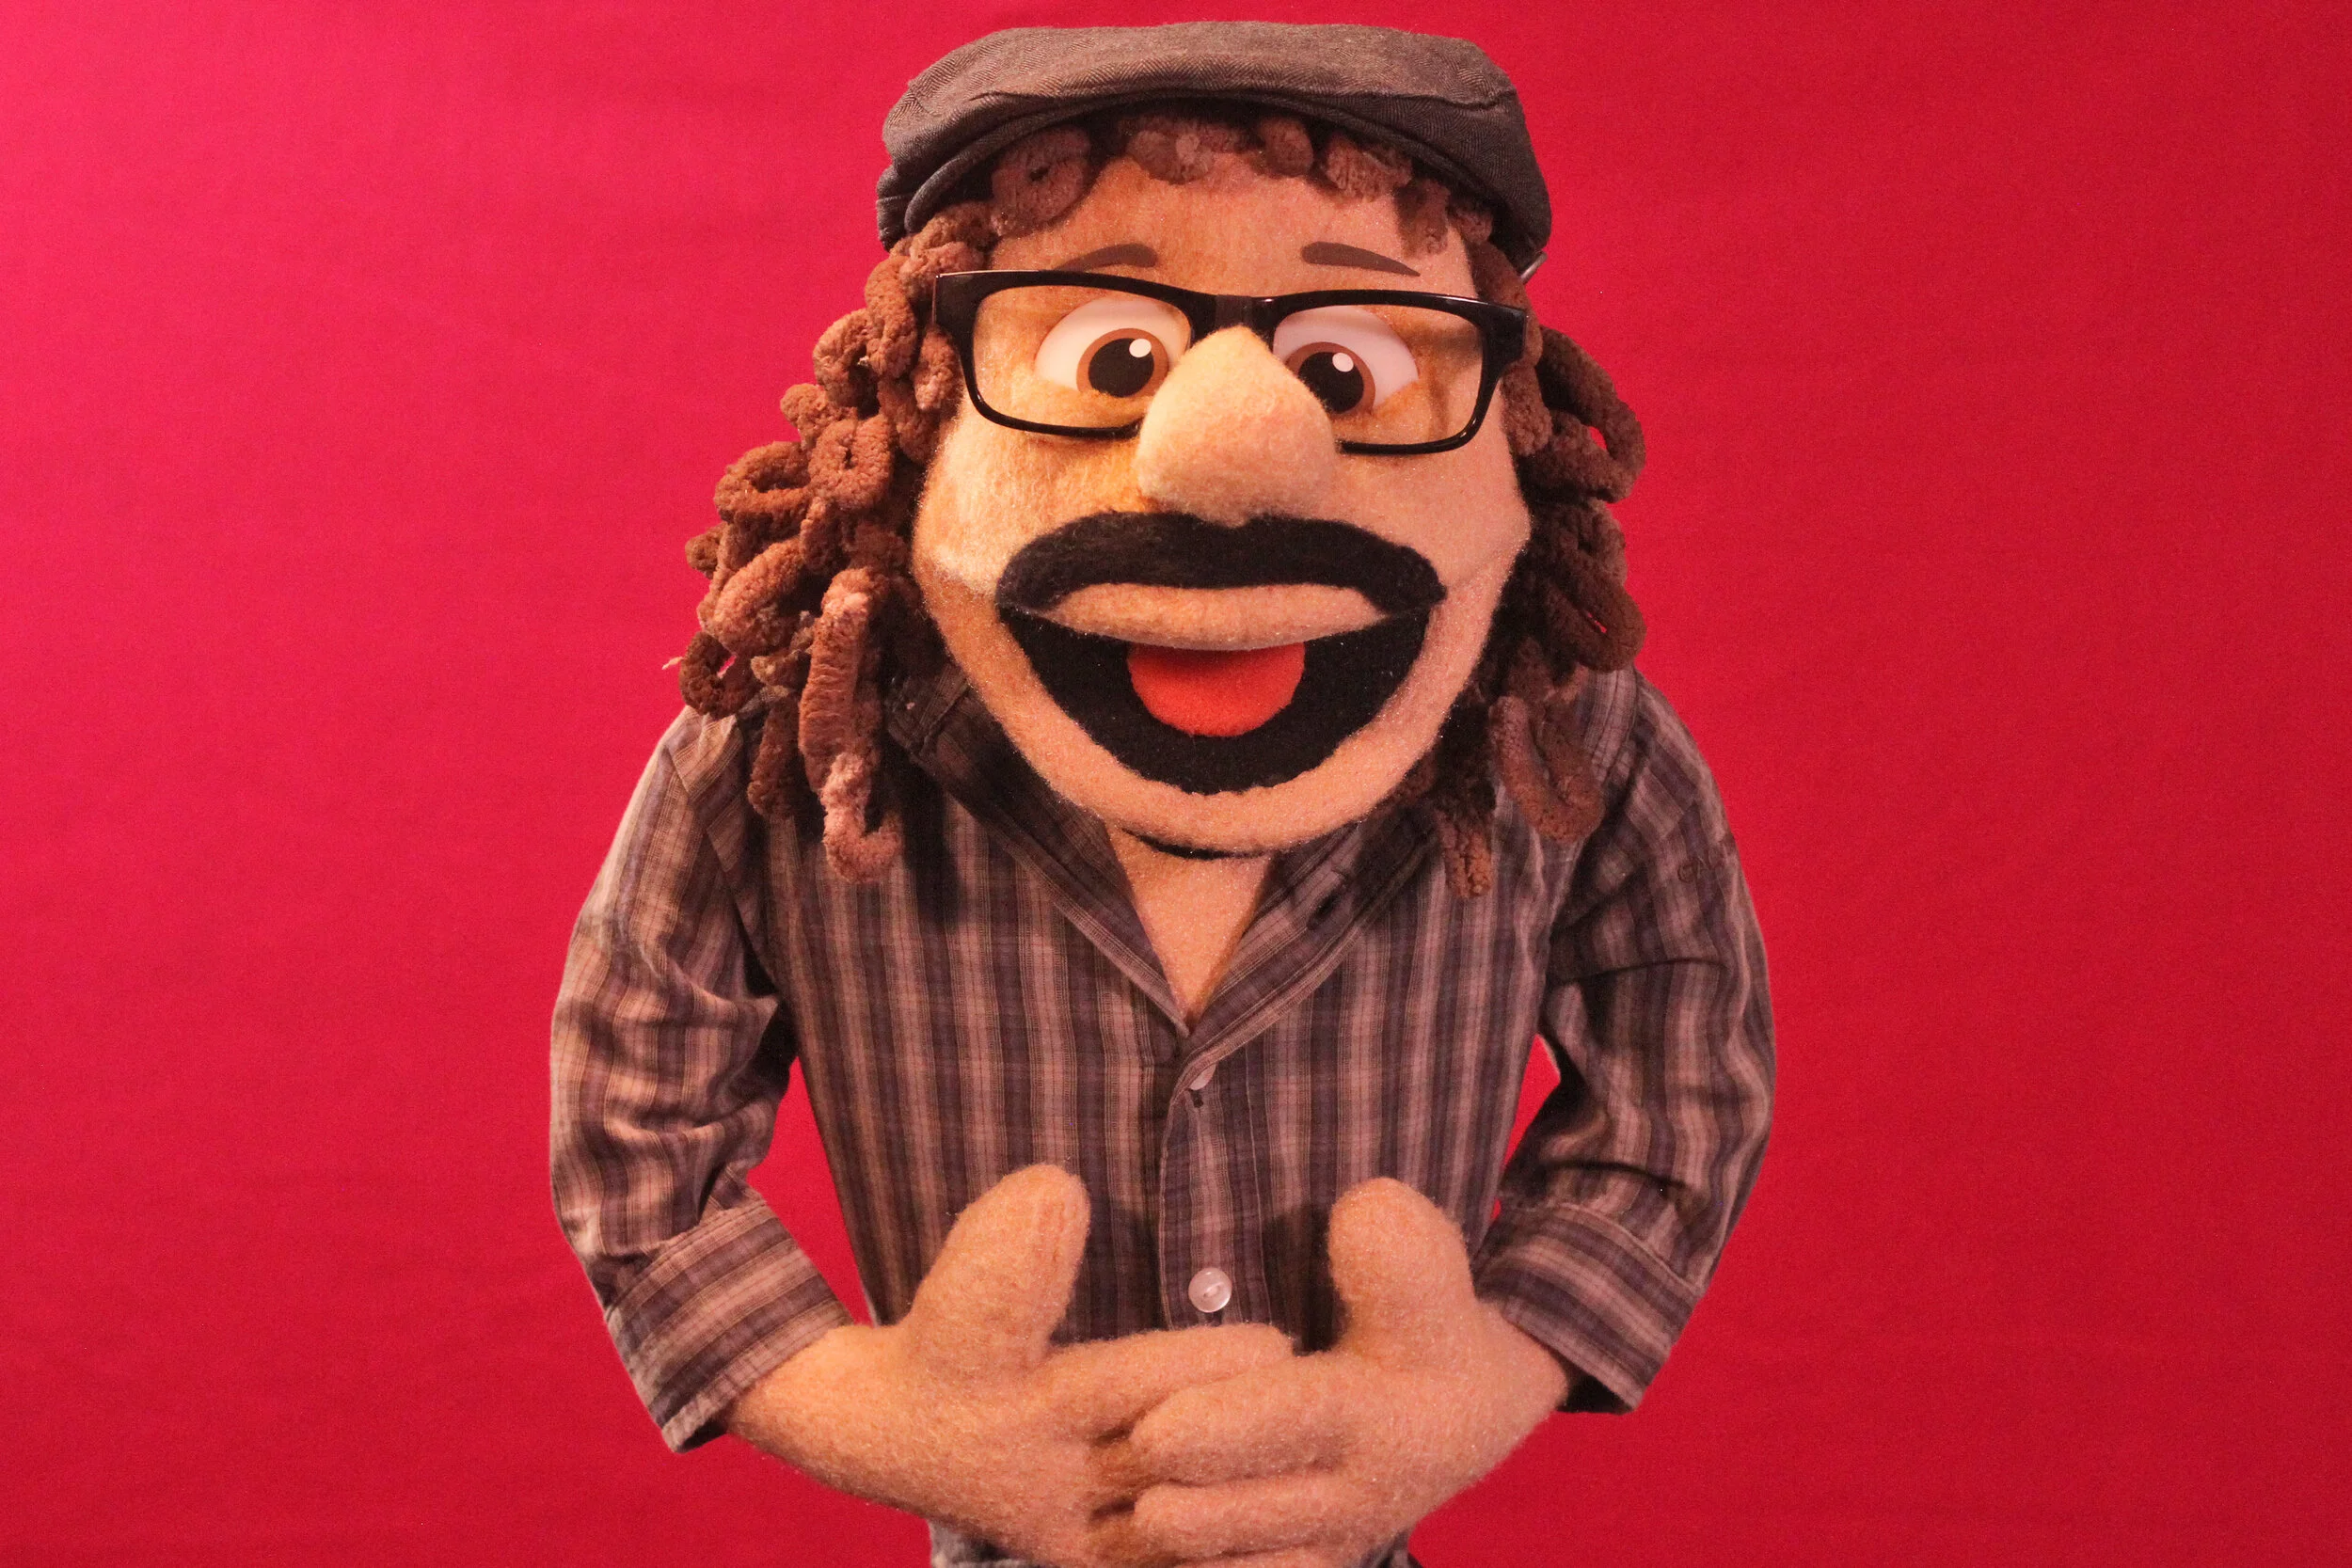
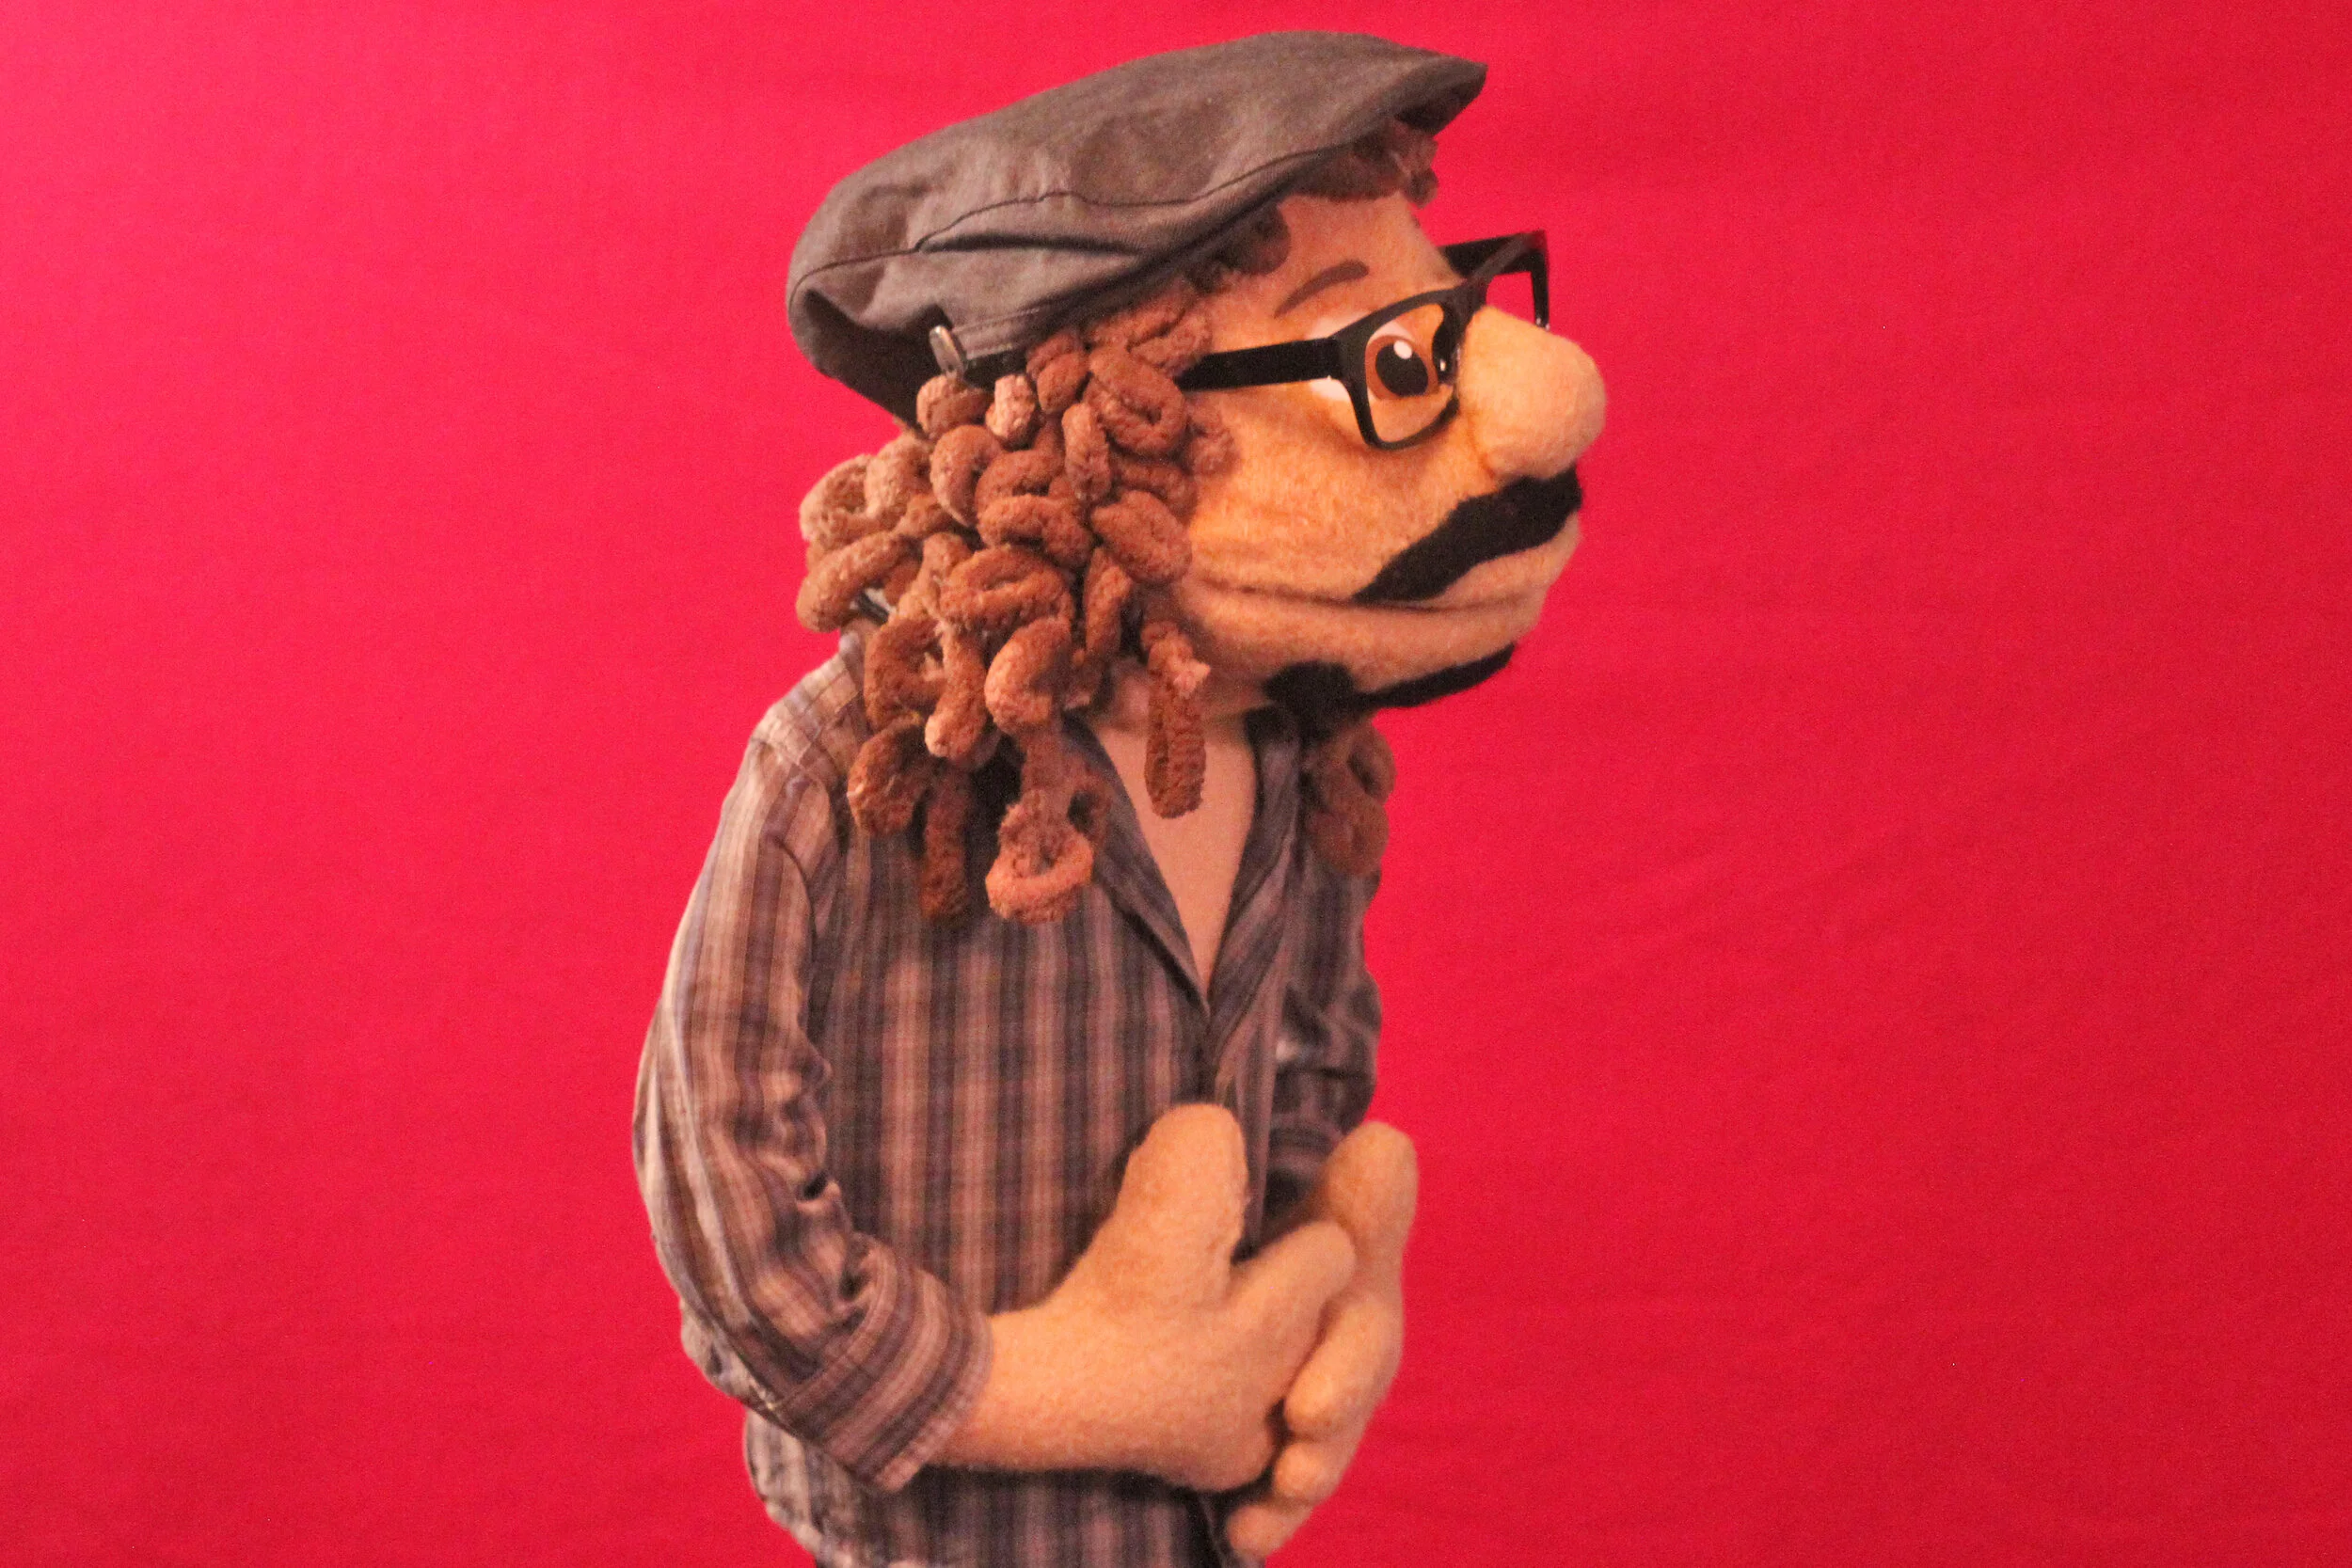
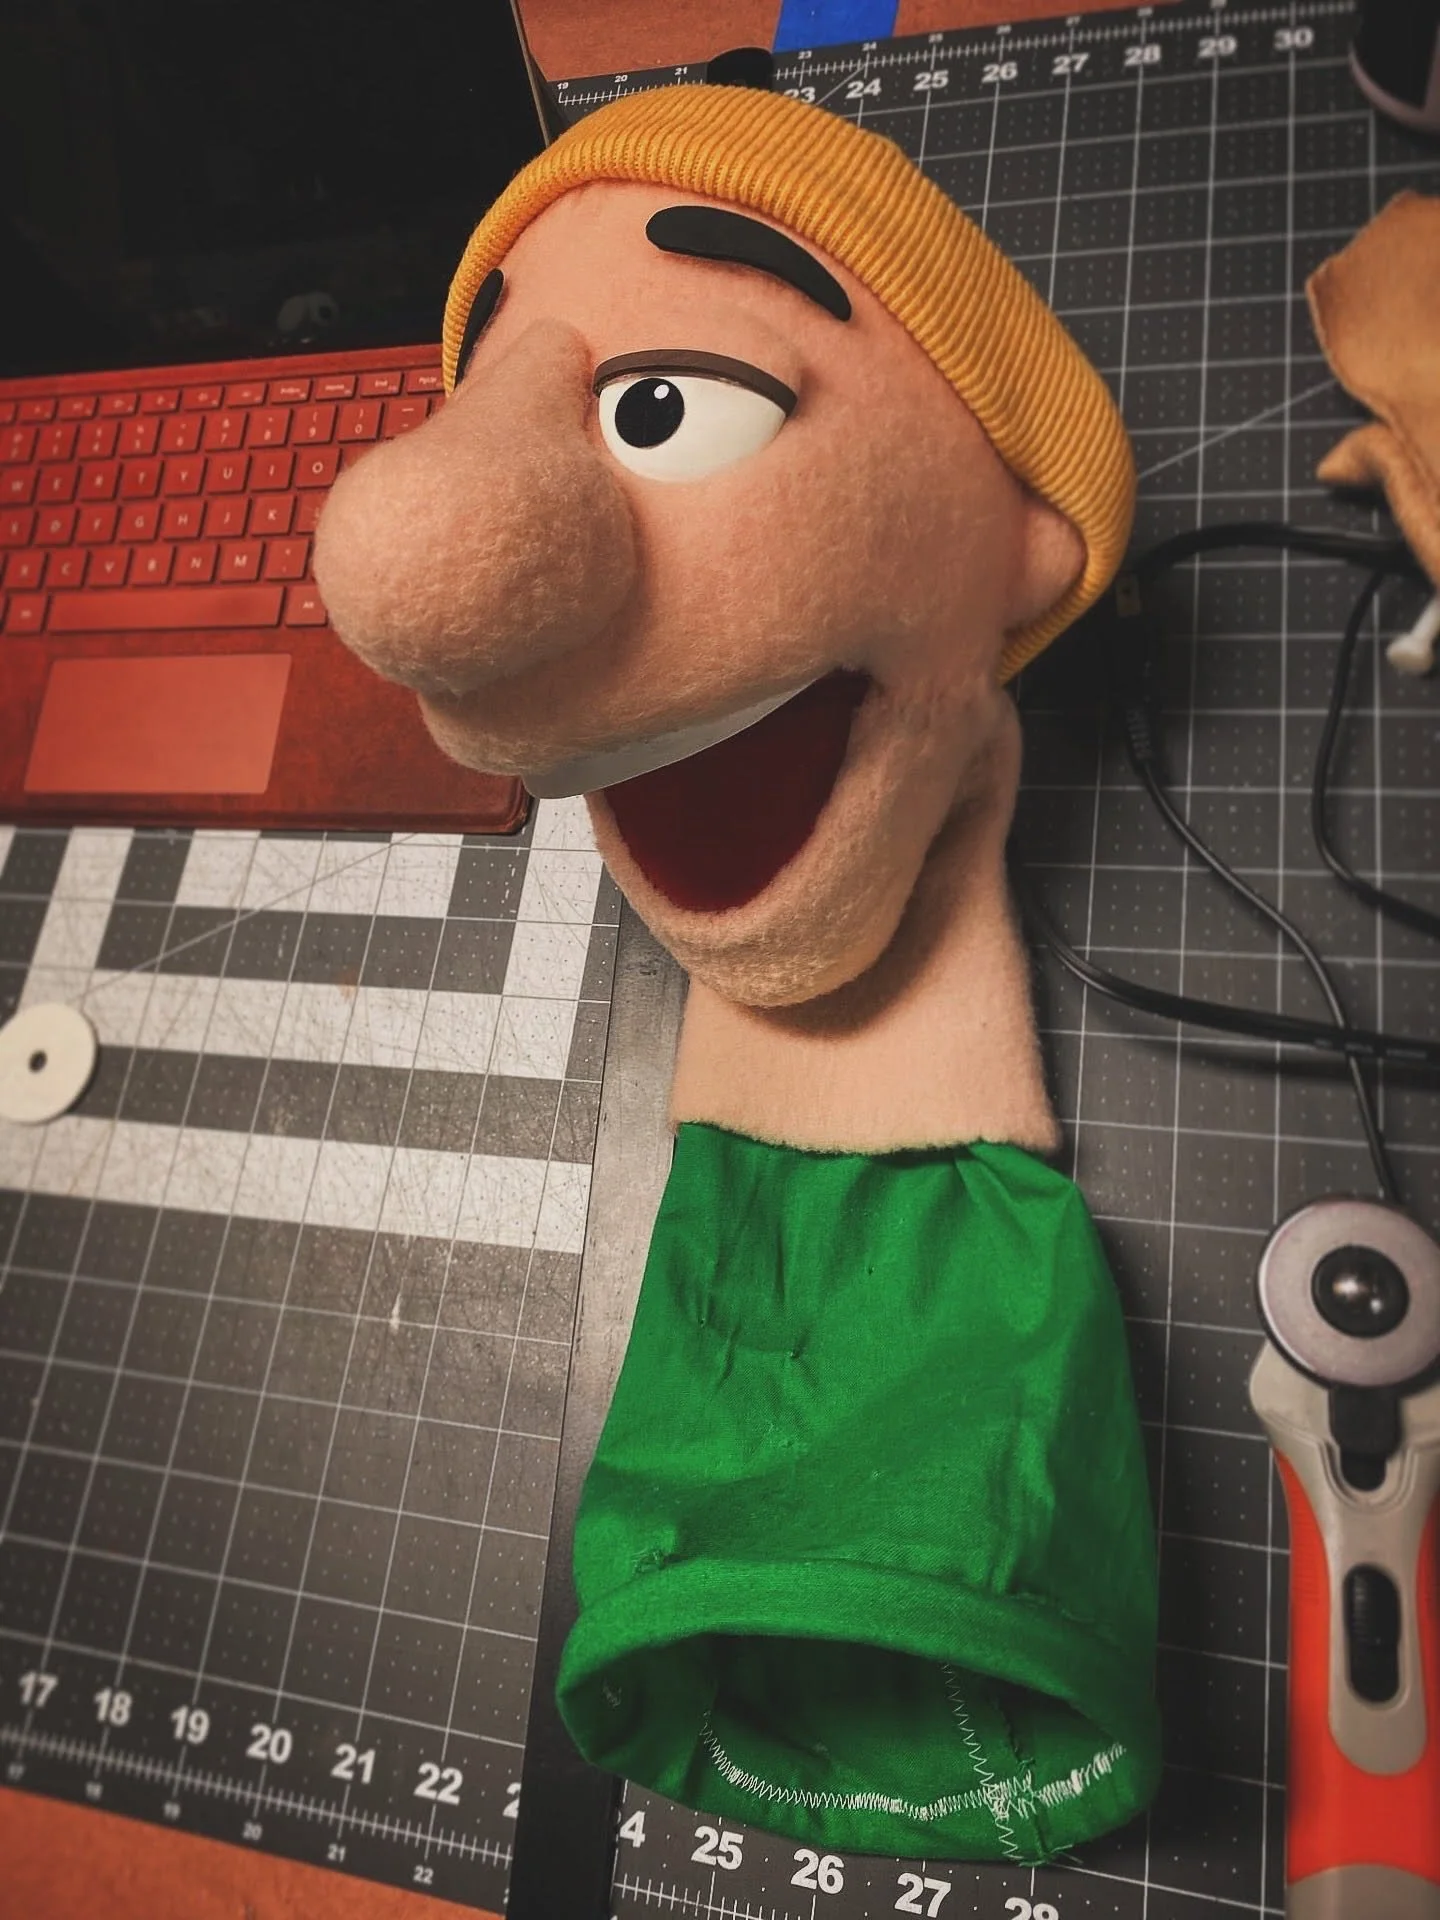
Handmade custom puppet made to order. Featuring a needle-felted goatee, custom-dyed hair, nylon fleece skin, custom made shirt.
To request your own custom puppet, visit: https://www.creventive.com/request-a-custom-puppet-quote